
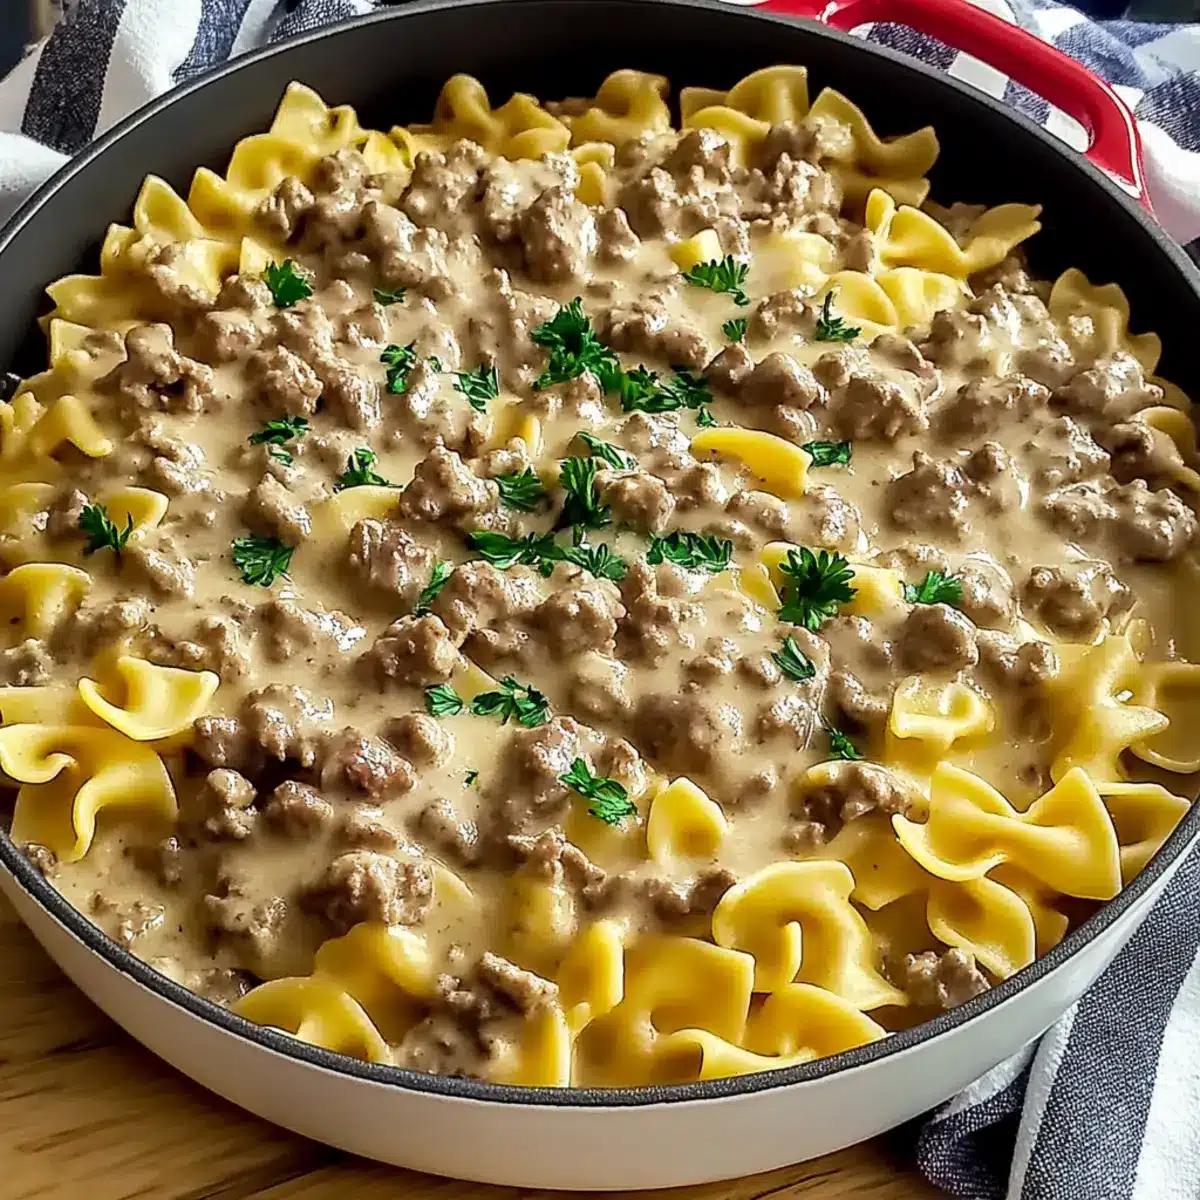
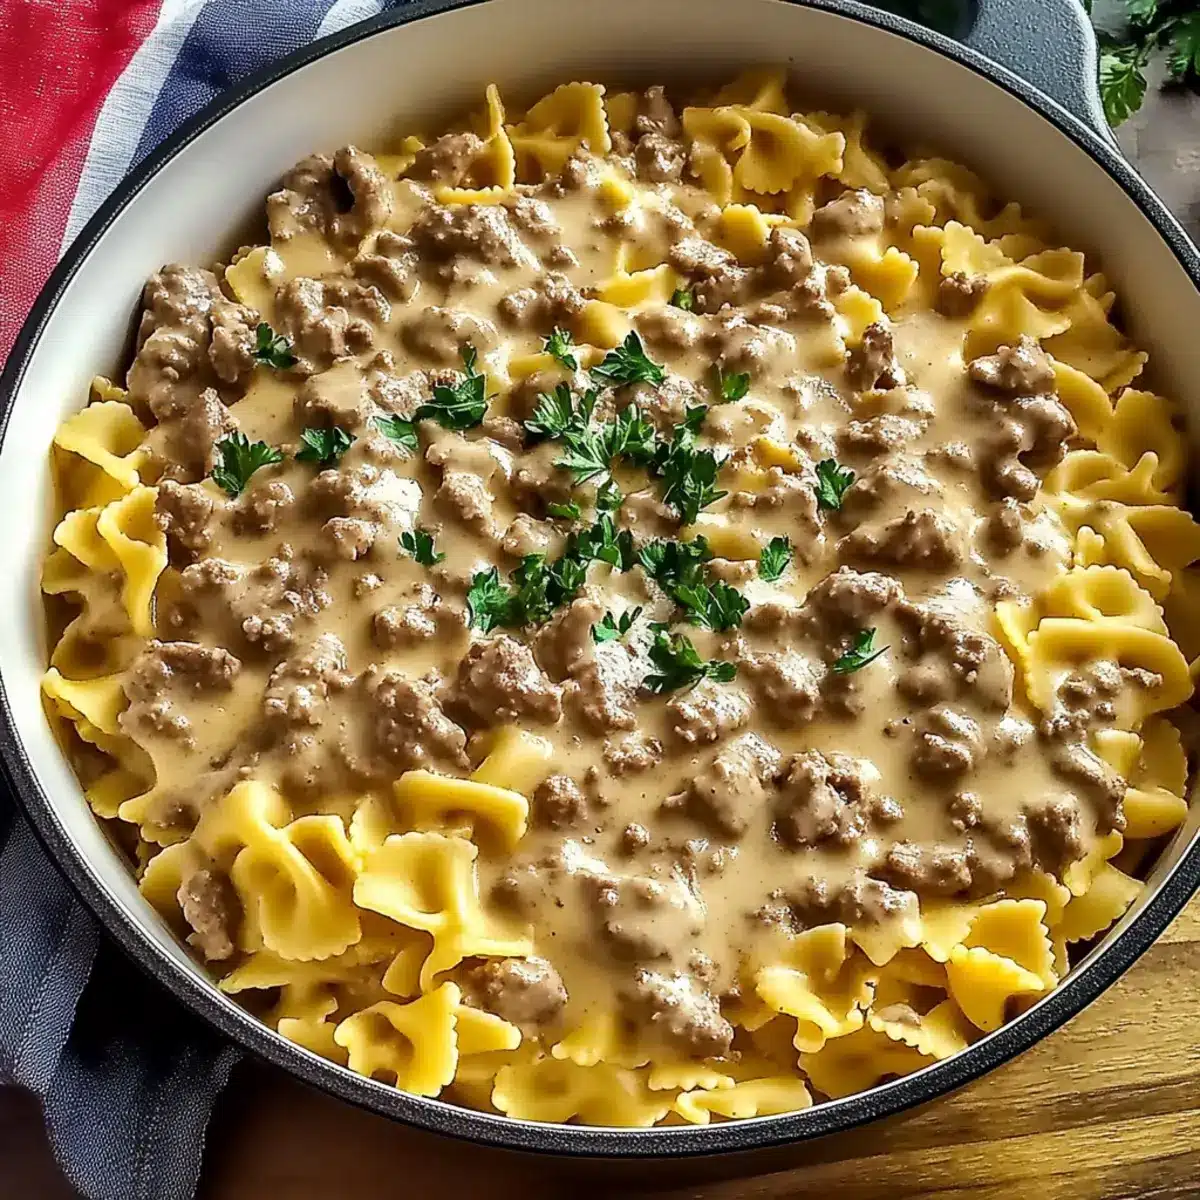
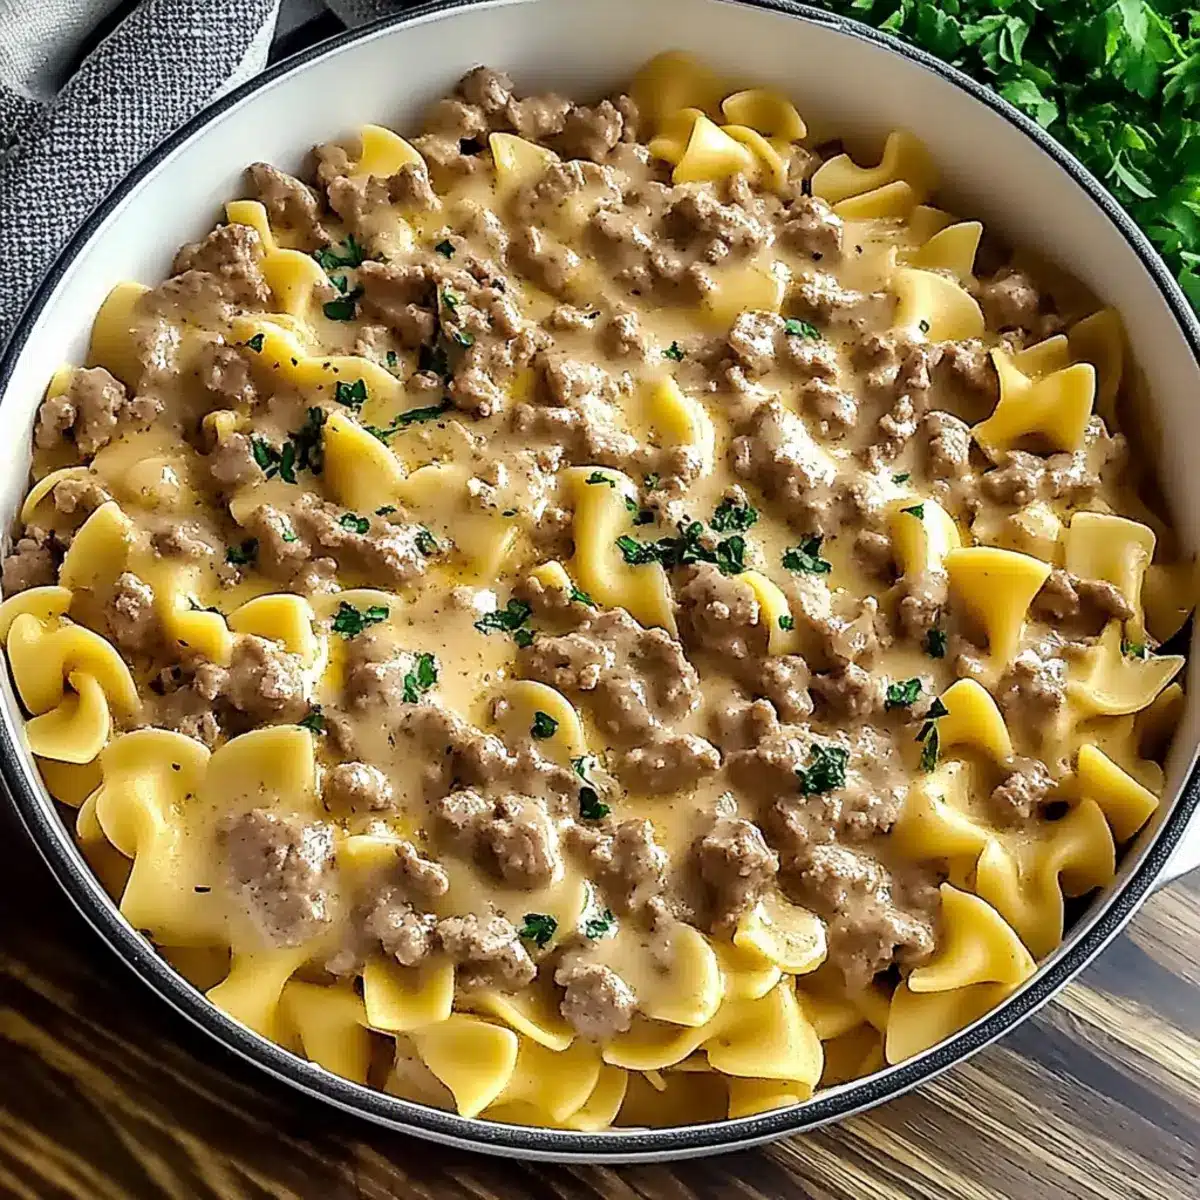
“I’m hungry!” my partner called from the living room, and just like that, the clock was ticking. If you’re anything like us, busy weeknights often leave little time for complicated meals. Enter my One-Pot Homemade Hamburger Helper Beef Stroganoff—a delightful dish that brings comfort to the table in just 30 minutes! This quick recipe combines tender beef, creamy sauce, and egg pasta, making it a customizable crowd-pleaser for everyone, even the pickiest of eaters. Plus, it minimizes cleanup thanks to all the flavors coming together in one pan. With variations for every dietary preference, you can easily swap ingredients to make it your own. Are you ready to discover how easy comfort food can be? Let’s dive into this cozy classic that will leave you craving seconds!
Why is this Beef Stroganoff a Game Changer?
One-Pot Wonder: Cleanup is a breeze with this all-in-one dish, making it ideal for busy evenings.
Quick and Delicious: Ready in just 30 minutes, it’s perfect for busy weeknights when time is limited.
Customizable to You: Easily swap in lean ground turkey or add fresh veggies like spinach for a nutritious twist!
Comfort in Every Bite: The creamy sauce and tender beef offer a nostalgic taste that comforts the soul, perfect for cozy family dinners.
Family-Friendly Flavors: It pleases even the pickiest eaters at the table—who could resist a bowl of creamy goodness?
For a refreshing salad on the side, try my Arugula Salad Zesty or mix in some veggies to the beef mixture for added nutrition!
Egg Pasta Ingredients
• For the fans of comfort food who love one-pot meals, here are the essential ingredients.
For the Beef Mixture
- Ground Beef – Choose 80/20 for rich flavor, or opt for 90/10 for a leaner option.
- Salt – Enhances flavor; adjust according to your taste preferences.
- Black Pepper – Adds a hint of heat; freshly ground packs the best punch.
- Garlic Powder – Introduces a savory depth; fresh garlic can also work wonders.
- Onion Powder – Boosts the savory notes; modify the amount if using fresh onions.
For the Sauce
- Cornstarch – Thickens the sauce for that luscious texture; can be swapped with flour for a thicker base.
- Beef Broth – Serves as the sauce’s backbone; low-sodium options are available for a healthier choice.
- Milk – Adds creaminess; substitute with half-and-half if you crave a richer flavor.
- Worcestershire Sauce – Incorporates a burst of umami; soy sauce offers a gluten-free alternative.
- Cream of Mushroom Soup – Contributes a creamy, flavorful component; consider homemade or vegan options.
- Sour Cream – Brings tanginess and creaminess; full-fat yogurt or Greek yogurt is a great substitute.
- Paprika – Elevates flavor and adds a hint of color—a sprinkle of smoked paprika gives an exciting twist.
For the Pasta
- Egg Pasta – This forms the base of our delicious dish; feel free to use gluten-free pasta for dietary needs.
Embrace the joy of cooking with this customizable Homemade Hamburger Helper Beef Stroganoff that’s bursting with flavor!
Step‑by‑Step Instructions for One-Pot Homemade Hamburger Helper Beef Stroganoff
Step 1: Brown the Beef
In a large skillet over medium-high heat, add the ground beef and cook for 5-7 minutes until it’s nicely browned, breaking up the chunks with a wooden spoon. Ensure the beef is no longer pink and is starting to crisp on the edges, which adds flavor.
Step 2: Season the Meat
Once the beef is browned, stir in salt, black pepper, garlic powder, and onion powder. Cook for an additional minute to allow the spices to become aromatic, ensuring they coat the beef evenly. This step infuses the meat with a savory flavor that’ll be the heart of your Homemade Hamburger Helper Beef Stroganoff.
Step 3: Thicken the Mixture
Sprinkle the cornstarch over the seasoned beef and stir for about 30 seconds until the beef is fully coated. This will help thicken the sauce later on, promoting a creamy texture that clings beautifully to the egg pasta.
Step 4: Prepare Sauce Base
Remove the beef mixture from the skillet and set it aside. In the same skillet, pour in the beef broth, milk, and Worcestershire sauce, scraping the bottom to release the flavorful bits. Bring this mixture to a gentle boil, which should take around 1-2 minutes, stirring constantly.
Step 5: Add Pasta
Stir in the egg pasta to the boiling sauce, ensuring it’s fully submerged. Cover the skillet and reduce the heat to a simmer for about 8 minutes, stirring occasionally to prevent sticking. The pasta should be al dente when done, soaking up the delicious flavors of the sauce.
Step 6: Combine Ingredients
Once the pasta is cooked, return the browned beef to the skillet. Add the cream of mushroom soup and sour cream, stirring until everything is well mixed and creamy. The combination of these ingredients creates the heart of this comforting dish, enhancing the vintage flavor profile.
Step 7: Finish Cooking
Stir in the paprika and simmer for an additional 2-3 minutes to meld the flavors together. As the sauce thickens, check the consistency and feel free to add a splash of milk or broth if it gets too thick. Allow the dish to rest briefly before serving for maximum flavor integration.

Make Ahead Options
These delightful Egg Avocado Salads are perfect for meal prep enthusiasts! You can hard-boil the eggs up to 3 days in advance, making this a great option for busy weeknights. Prepare the avocado mixture (mashing avocados and mixing in red onion, cherry tomatoes, cilantro, lime juice, and olive oil) up to 24 hours ahead for maximum freshness. To maintain quality and prevent browning, keep the mashed avocado mixture in an airtight container and refrigerate. When you’re ready to serve, simply peel and chop the hard-boiled eggs, fold them into the salad, adjust seasoning to taste, and you’ll have a vibrant, protein-packed meal ready in no time!
What to Serve with Creamy Workout Egg Avocado Salad
Building a delightful meal around this creamy salad invites a symphony of flavors and textures to your table.
- Crunchy Whole Wheat Toast: The hearty crunch offers a satisfying contrast to the creamy salad, making each bite a delightful experience.
- Fresh Veggie Sticks: Carrot, cucumber, and bell pepper sticks add a refreshing crunch and vibrant color that complement the richness of the dish.
- Chilled Gazpacho: This refreshing Spanish soup brings a cooling element and a brighter flavor profile, enhancing the overall dining experience.
- Zesty Quinoa Salad: Packed with protein and light seasonings, this dish’s nuttiness pairs perfectly with the smooth elements of the salad.
- Grilled Asparagus: Lightly charred, these tender spears provide a smoky flavor to balance the creaminess of the avocado salad beautifully.
- Lemonade Spritzer: A sparkling drink with a hint of citrus brightness elevates your meal, offering a refreshing sip between bites.
- Dark Chocolate Mousse: For a sweet finish, the rich chocolate contrasts beautifully with the lightness of the salad, making for a perfect ending.
- Herbed Couscous: Light and fluffy, this side brings a herbal note that ties in the fresh ingredients of the salad with a slight savory touch.
- Fruit Salad: A mix of seasonal fruits drizzled with lime juice adds a bright and juicy element to cleanse the palate.
Each of these pairings adds unique elements, ensuring every meal becomes a cherished moment filled with love and flavor.
Egg Avocado Salad Variations
Feel free to tailor this delightful egg avocado salad to your tastes and dietary needs!
- Egg-Free: Substitute the eggs with silken tofu for a creamy, vegan-friendly alternative. This maintains the texture and keeps the dish satisfying.
- Dairy-Free: Use coconut yogurt instead of traditional yogurt if you’re looking for a dairy-free option that still adds creaminess to the mix. You won’t miss the dairy!
- Spicy Twist: Add diced jalapeños or a splash of hot sauce for a spicy kick that elevates the flavors. A hint of heat can truly energize your salad.
- Herb-Infused: Swap out cilantro for fresh dill or basil for a unique herbaceous twist. This simple change can dramatically transform your salad’s flavor profile!
- Veggie Boost: Mix in chopped bell peppers or diced cucumbers for extra crunch and nutrition. These fresh additions not only enhance texture but also make your salad even more colorful.
- Protein Punch: Toss in chickpeas or edamame for a plant-based protein boost that makes this salad even heartier. Both options pair beautifully with the avocado.
- Zesty Kick: Incorporate a splash of red wine vinegar for added acidity and depth, complementing the lime juice beautifully. This unexpected twist can awaken your taste buds!
- Creamy Spread: Blend the ingredients into a smooth spread instead of a salad! This makes a delicious topping for whole-grain breads or as a filling in lettuce wraps.
For another fantastic salad option, consider my Thai Cucumber Salad that also offers freshness and flavor, or a comforting twist with the Ambrosia Salad Southern.
Expert Tips for Homemade Hamburger Helper Beef Stroganoff
-
Perfect Meat Choice: Use ground beef with at least 20% fat content for optimal flavor; leaner options can be more dry, so drain excess fat after cooking.
-
No Boiling Sour Cream: Always reduce the heat before adding sour cream to prevent curdling; it keeps the sauce smooth and creamy.
-
Optimal Pasta Cooking: Stir occasionally and aim for al dente pasta; overcooking can result in mushy noodles that won’t hold up to the sauce.
-
Creamy Sauce Adjustments: If the sauce thickens too much, simply stir in a splash of milk or broth during reheating to bring back its luscious consistency.
-
Herb Additions: Elevate flavor by mixing in fresh herbs like thyme or parsley at the end—not only do they add freshness, but they also enhance the overall dish beautifully.
Enjoy making this comforting Homemade Hamburger Helper Beef Stroganoff that fits perfectly into your busy schedule!
Storage Tips for Homemade Hamburger Helper Beef Stroganoff
Fridge: Store leftovers in an airtight container for up to 4 days to maintain freshness and flavor.
Freezer: Freeze the dish in a tightly sealed container for up to 2 months. When ready to enjoy, thaw in the fridge overnight before reheating.
Reheating: Reheat gently on the stovetop or in the microwave, stirring in a splash of milk or broth to restore creaminess if the sauce thickens.
Make-Ahead: Prepare the beef mixture and sauce in advance, refrigerating them separately while cooking the egg pasta fresh on the day you plan to serve.
Creamy Workout Egg Avocado Salad Recipe FAQs
What type of avocados are best for this salad?
Absolutely! For the best texture, you want ripe avocados that yield slightly to gentle pressure when squeezed. Look for skin that is dark green or black without large dark spots. If they feel hard, they likely aren’t ripe; leave them at room temperature for a few days to ripen.
How should I store leftover egg avocado salad?
To keep any leftovers fresh, store the salad in an airtight container in the fridge. It’s best consumed within 1-2 days, as the avocado can brown quickly. If you notice browning, you can mix in a bit more lime juice to revive its color and flavor!
Can I freeze the egg avocado salad?
I don’t recommend freezing this salad because the creamy texture of avocado does not freeze well and can become mushy when thawed. However, you could prepare the egg and other components separately, freeze them, and assemble the salad fresh when you’re ready to eat.
What should I do if my eggs are difficult to peel?
Very! If you’re struggling with peeling your eggs, try using older eggs; they tend to peel easier than fresh ones. Additionally, after boiling, an ice bath helps separate the shell from the egg, making the peeling process smoother. Simply place the boiled eggs in ice water for about 5 minutes before peeling!
Can I customize the salad for dietary restrictions?
Absolutely! This recipe is highly customizable. If you’re vegan, substitute the eggs with silken tofu for a similar creamy texture. You can also consider omitting the cilantro if you have an aversion to it, or replace it with parsley. Check for allergies with ingredients like olive oil and red pepper flakes as well!
How can I make the egg avocado salad ahead of time?
Of course! You can prepare the egg and mix the fresh ingredients the night before. Just remember not to combine them until just before serving to prevent the avocado from browning. For best results, mix the salad right before you plan to enjoy it for peak freshness!
Creamy Egg Avocado Salad for a Zesty Lunch Boost
Ingredients
Equipment
Method
- In a mixing bowl, combine chopped hard-boiled eggs and diced avocados.
- Add the finely chopped red onion and cilantro to the bowl.
- Drizzle lime juice over the mixture and season with salt and black pepper.
- Gently mix everything until well combined.
- Serve immediately or chill in the fridge for 30 minutes before serving.
Leave a Reply