
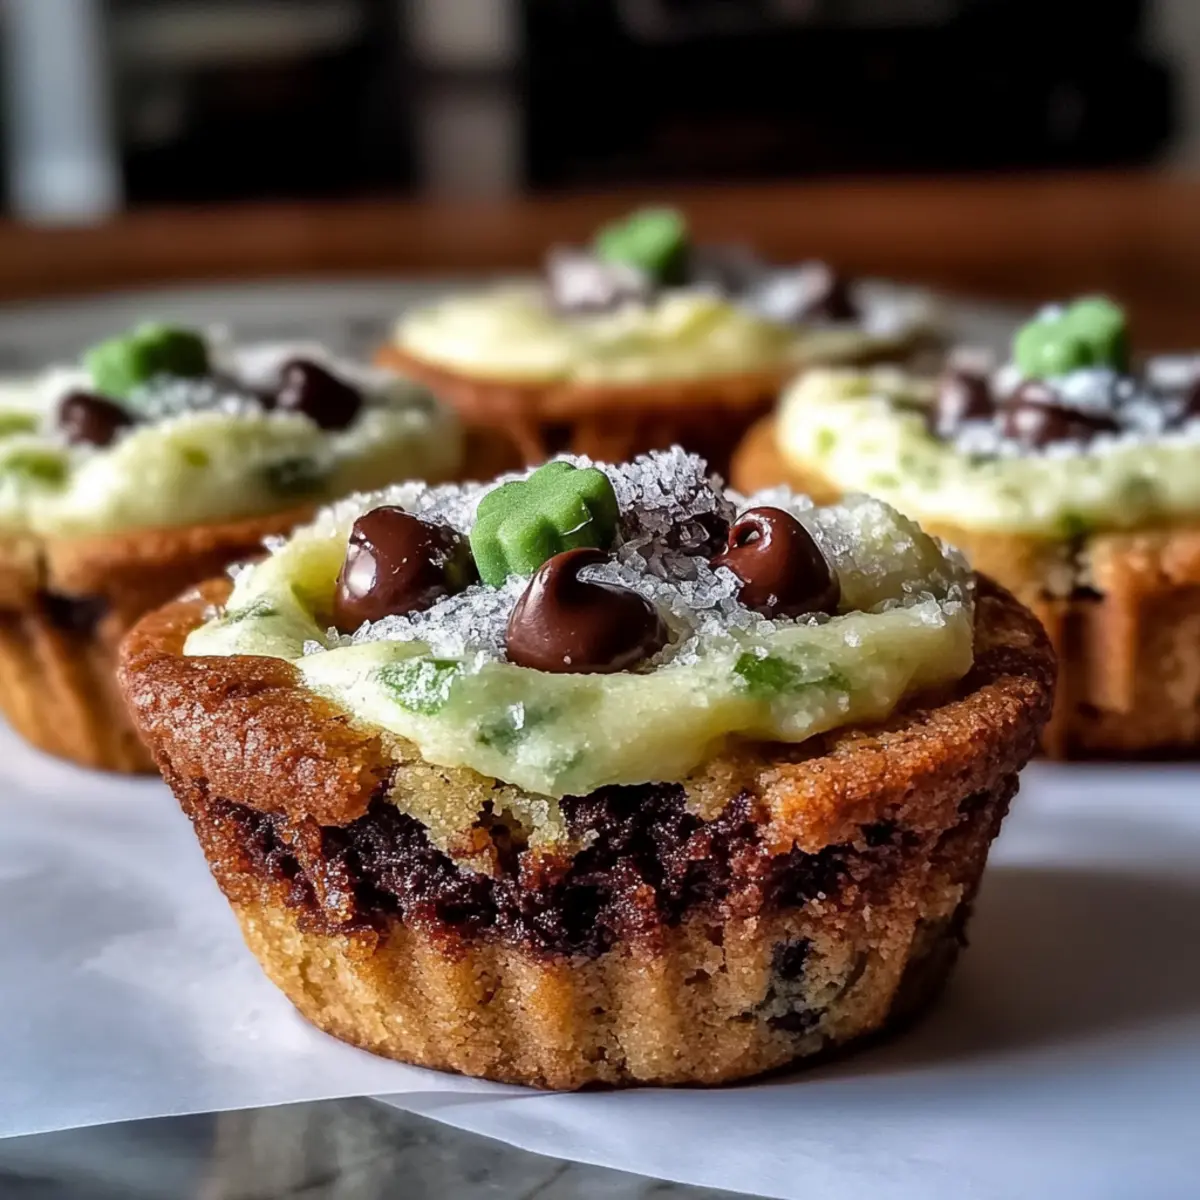
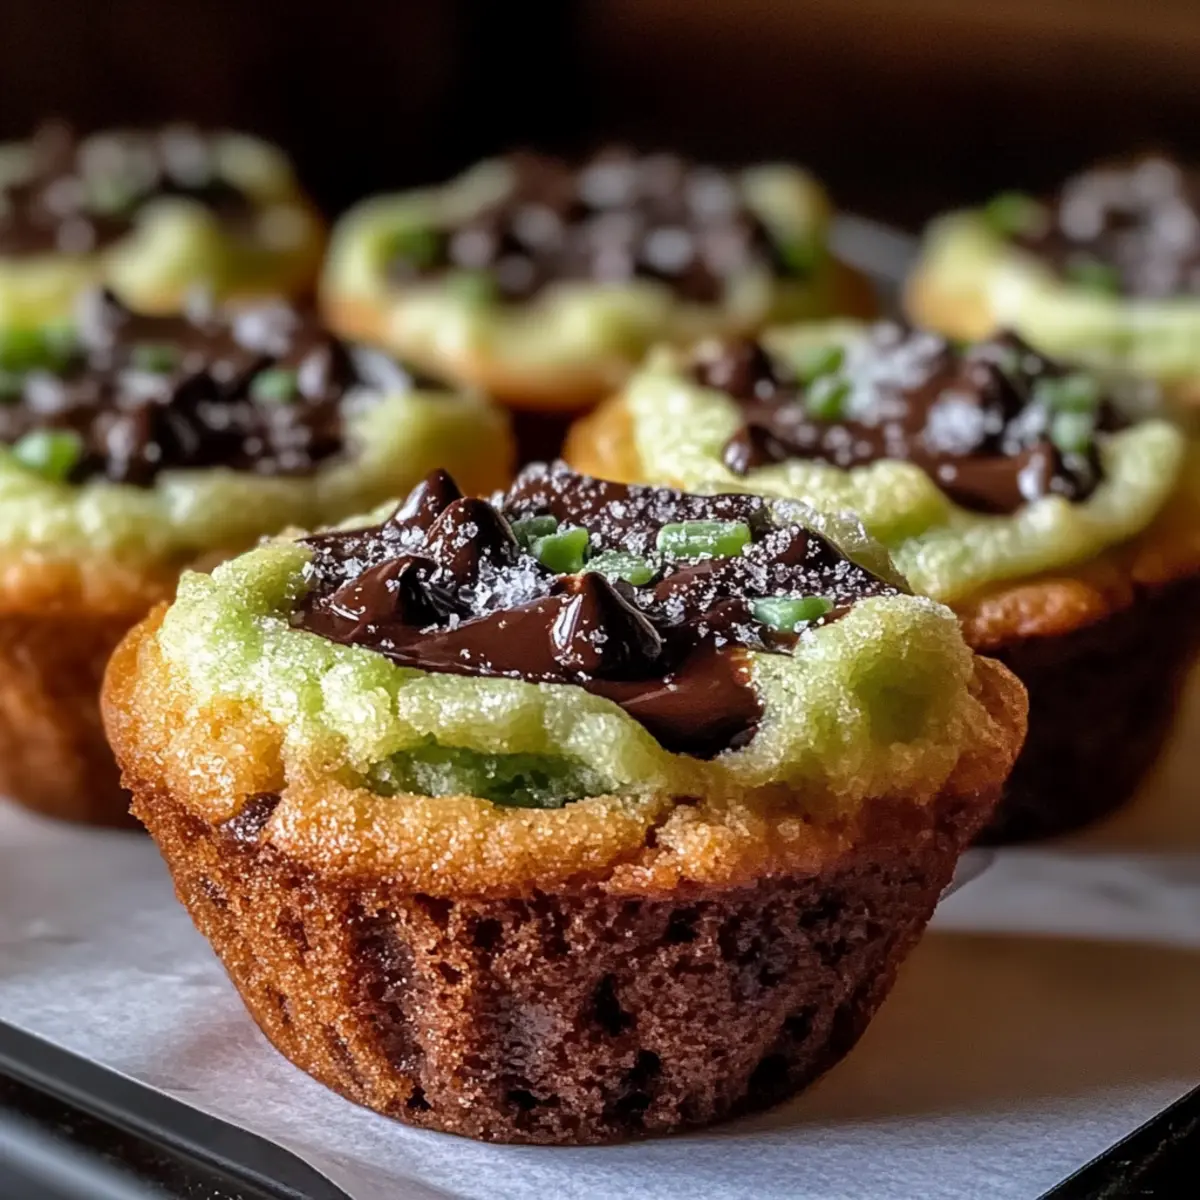
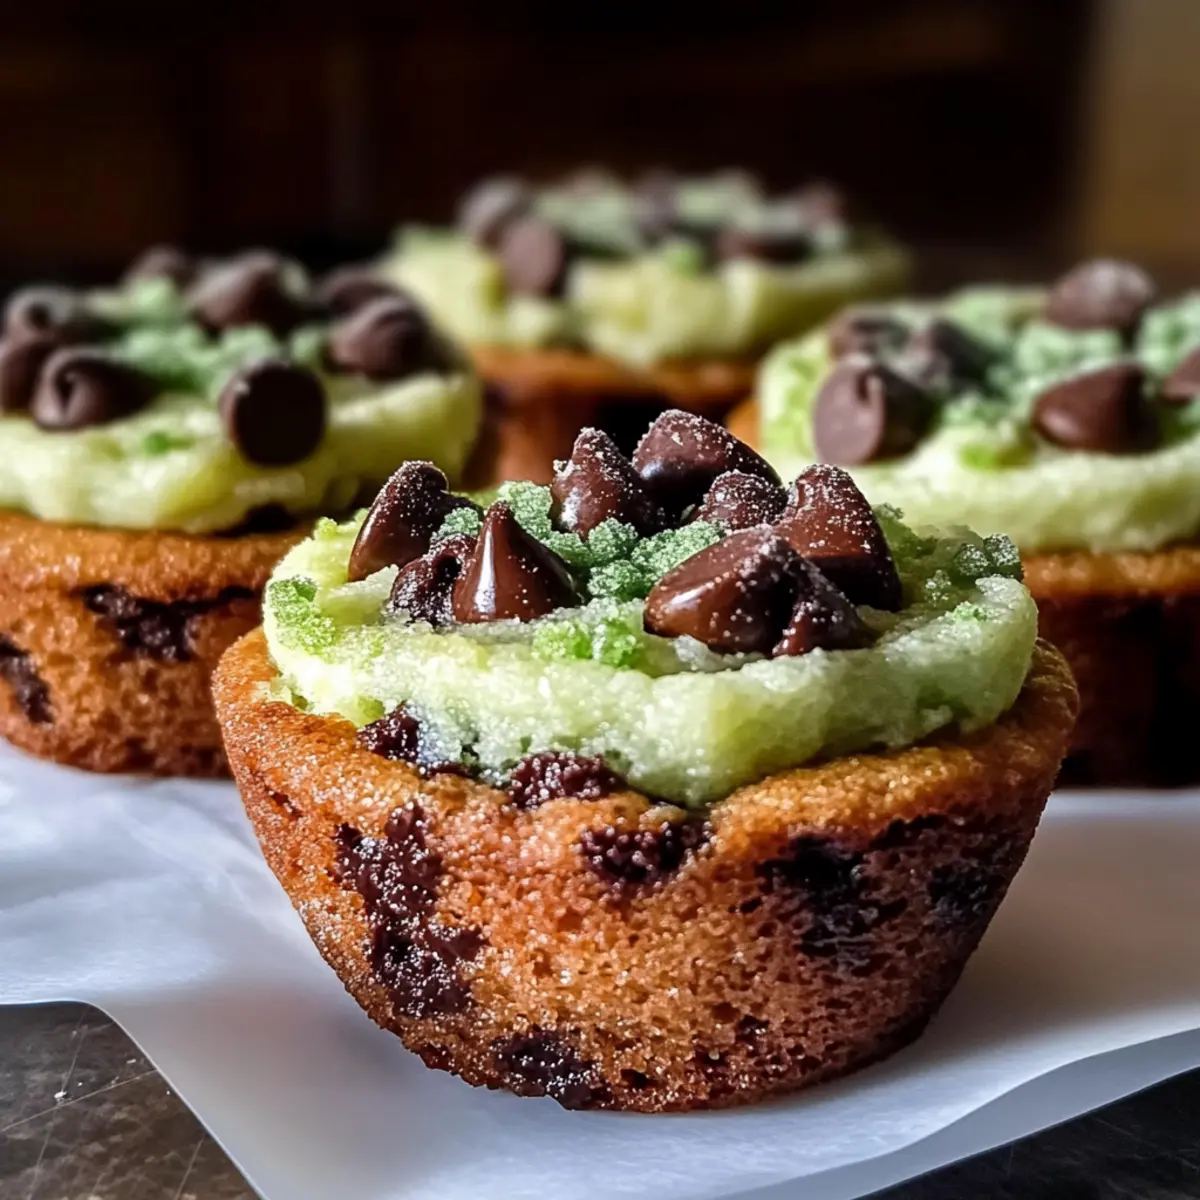
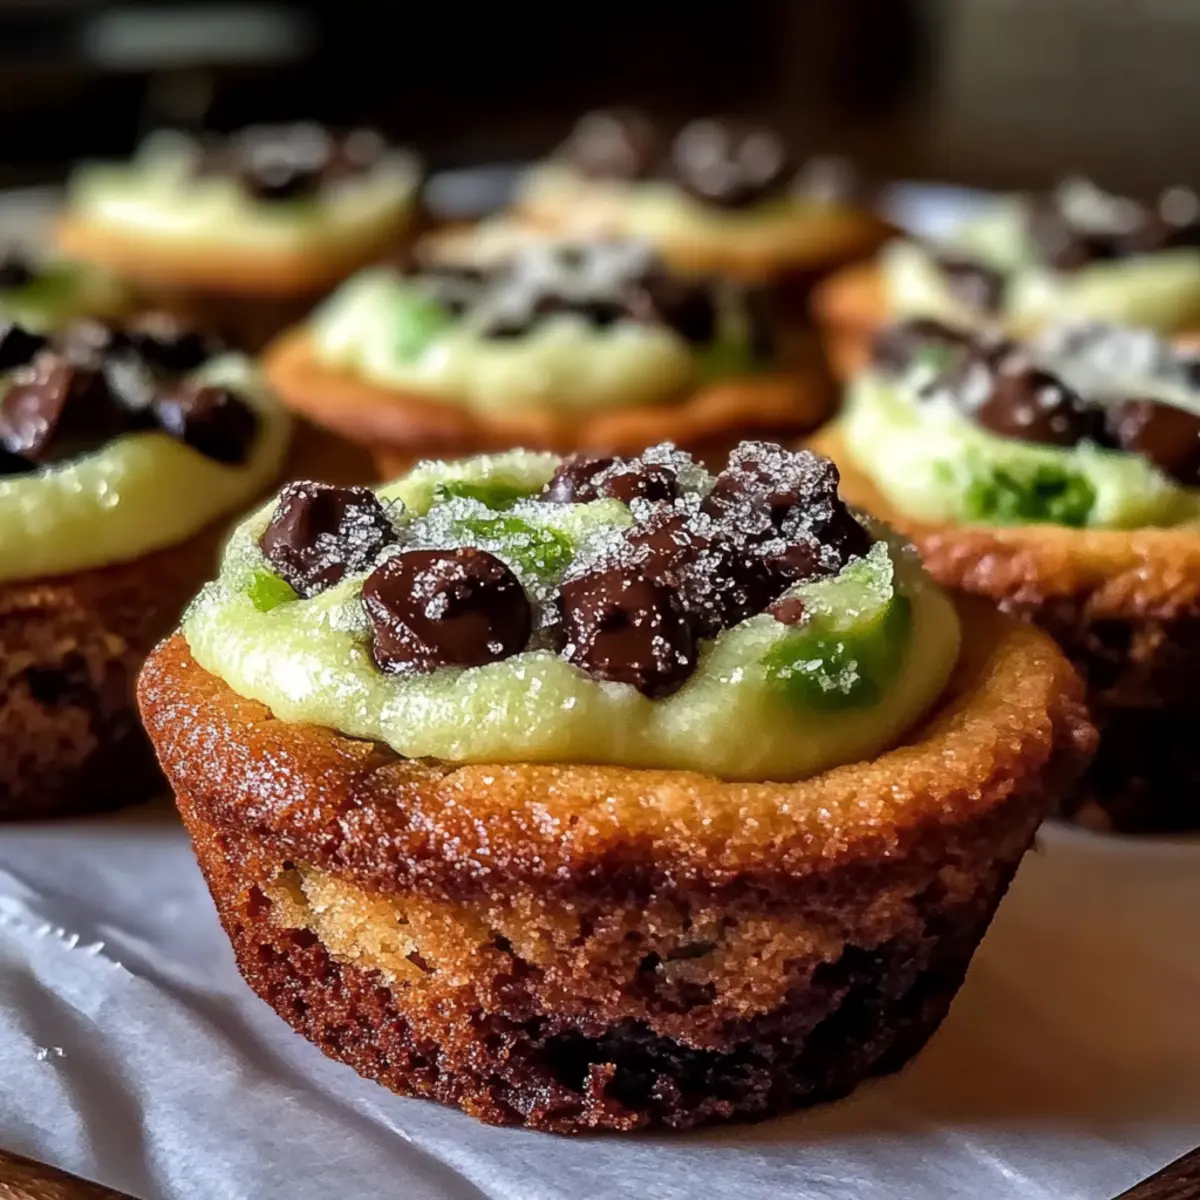
The sweet aroma of minty chocolate wafting through my kitchen feels like a cozy invitation to celebrate. With St. Patrick’s Day approaching, I’ve whipped up a batch of Crispy St. Patrick’s Mint Chocolate Chip Cookie Cups that are not only festive but also incredibly easy to make. These delightful treats feature crunchy edges and gooey centers, making them an instant crowd-pleaser for your gathering. They’re quick enough for a spontaneous baking session and offer a fun twist with customizable options, so you can get as creative as you like. Plus, for those following a gluten-free diet, I’ve got you covered with simple substitutions. Ready to bring a touch of magic to your dessert table? Let’s dive into the recipe and make some memorable moments!
Why Are These Cookie Cups So Special?
Crispy Edges, Gooey Centers: Each cookie cup has a delightful contrast, with crunchy outer layers surrounding a soft, minty chocolate center. Endless Customization: With options like almond flour for gluten-free lovers or rainbow sprinkles for festival flair, creativity knows no bounds! Quick and Easy: Ready in under 30 minutes, these treats fit perfectly into any busy schedule. Crowd Favorite: Perfect for parties, they disappear fast and spark smiles all around. If you love a fusion of flavors, consider trying these alongside my Cheesecake Cookie Cups for a double sweet surprise!
St. Patrick’s Mint Chocolate Chip Cookie Cups Ingredients
For the Cookie Cups
• All-Purpose Flour – Provides structure for deliciously chewy cookie cups. Substitution: Use a 1:1 gluten-free flour blend for gluten-free options.
• Baking Soda – Helps the cookie cups rise beautifully. No substitutions necessary.
• Baking Powder – Ensures a light and airy texture. No substitutions necessary.
• Salt – Enhances flavor and balances sweetness. Can be omitted for low-sodium diets.
• Brown Sugar – Adds moisture and a rich, caramel-like flavor. Substitution: Use coconut sugar for a lower glycemic index.
• Granulated Sugar – Contributes sweetness and a delightful structure. No substitutions necessary.
• Unsalted Butter – Infuses richness and flavor into each bite. Substitution: Use vegan butter for a dairy-free option.
• Egg – Binds the ingredients together for a perfect dough. Substitution: Opt for a flax egg (1 tbsp flaxseed + 2.5 tbsp water) for vegan options.
• Mint Extract – Imparts a refreshing mint flavor that shines through. Substitution: Use peppermint oil in a smaller quantity due to its potency.
• Mint Chocolate Chips – Gives the cookie cups their signature minty chocolate taste. Substitution: For a richer flavor, use regular chocolate chips or dark chocolate instead.
Optional Toppings
• Crushed Peppermint Candies – Sprinkled on top for extra crunch and festive color. Add after baking for a delightful finish.
• Sprinkles – Rainbow sprinkles for a fun, festive touch, especially great for St. Patrick’s Day celebrations. Add to the tops before baking for a pop of color.
• Whipped Cream or Ice Cream – Serve with a scoop for an indulgent treat that’s simply irresistible. Perfect topping to enhance the dessert experience.
Dive into baking these St. Patrick’s Mint Chocolate Chip Cookie Cups and let your creativity shine!
Step‑by‑Step Instructions for Crispy St. Patrick’s Mint Chocolate Chip Cookie Cups
Step 1: Preheat the Oven
Begin by preheating your oven to 350°F (175°C). This ensures that your Crispy St. Patrick’s Mint Chocolate Chip Cookie Cups will bake evenly and achieve that perfect golden edge. While the oven heats up, gather your equipment, including mixing bowls, a whisk, and a mini muffin tin that you’ll need for this delightful recipe.
Step 2: Mix Dry Ingredients
In a large mixing bowl, whisk together the all-purpose flour, baking soda, baking powder, and salt until well combined. This crucial step aerates the mixture, giving your cookie cups that lovely light texture. Visually, the dry ingredients should be evenly blended, with no flour lumps remaining. Set this bowl aside to prepare for the next delicious layers.
Step 3: Cream Butter and Sugars
In another mixing bowl, combine the unsalted butter, brown sugar, and granulated sugar. Using an electric mixer, cream these ingredients together on medium speed for about 2-3 minutes, until the mixture is light and fluffy. This step infuses air into the batter, contributing to the cookie cups’ delightful texture. You’ll know it’s ready when it has a pale, creamy appearance.
Step 4: Add Egg and Mint Extract
Next, beat in one egg and your refreshing mint extract to the butter-sugar mixture. Continue mixing on low speed until everything is thoroughly combined, which should take about 1-2 minutes. The mixture should be smooth and slightly thickened, filling your kitchen with a sweet minty aroma that hints at the delicious cookie cups to come.
Step 5: Combine Wet and Dry Ingredients
Gradually add the dry ingredient mixture to your wet ingredients. Using a spatula, gently mix until the dough is just combined—be careful not to overmix, as this can affect the tenderness of the cookie cups. Aim for a thick, cohesive dough that holds together nicely, with no dry flour remaining.
Step 6: Fold in Mint Chocolate Chips
Gently fold in the mint chocolate chips with your spatula, distributing them evenly through the dough. This step adds that delightful minty chocolate flavor that makes these cookie cups irresistible. You’ll want a beautiful mixture where the chips are evenly integrated, creating pockets of gooey mint chocolate in every cup.
Step 7: Scoop Dough into Muffin Tin
Using a cookie scoop or tablespoon, carefully scoop the dough into a greased mini muffin tin, filling each cup about two-thirds full. This gives the dough room to expand while baking without overflowing. Take a moment to admire your beautiful scoops—each will transform into an adorable cookie cup.
Step 8: Bake the Cookie Cups
Place the muffin tin in the preheated oven and bake the cookie cups for 10-12 minutes. Keep an eye out for edges that turn a lovely golden brown, while the centers remain soft but set. The delightful aroma filling your kitchen will let you know they’re close to being ready for that celebratory taste.
Step 9: Cool Before Serving
After baking, allow the cookie cups to cool in the pan for at least 10 minutes. This step lets them set properly and makes for easier removal. Once they’re a bit cooler, gently transfer the cookie cups to a wire rack. Let them cool completely, and just wait for the moment you can indulge in these sweet St. Patrick’s Mint Chocolate Chip Cookie Cups!
Make Ahead Options
These Crispy St. Patrick’s Mint Chocolate Chip Cookie Cups are perfect for busy home cooks looking to save time during the festive rush! You can prepare the cookie dough up to 24 hours in advance. Simply mix the dough, scoop it into your greased mini muffin tin, cover tightly with plastic wrap, and refrigerate. When you’re ready to bake, just pop them into a preheated oven without thawing. The batter will maintain its freshness, yielding cookie cups that are just as delicious as when made fresh. For an even more convenient option, baked cookie cups can be stored in an airtight container at room temperature for up to 4 days, ensuring a delightful treat is always on hand.
Storage Tips for St. Patrick’s Mint Chocolate Chip Cookie Cups
Room Temperature: Store cookie cups in an airtight container for up to 4 days at room temperature to keep their delightful freshness.
Fridge: If you prefer, these cookie cups can be refrigerated for up to a week; just ensure they’re tightly wrapped to prevent drying out.
Freezer: Freeze in a zip-top bag or airtight container for up to 2 months. When ready to enjoy, reheat in a microwave or oven for the best texture.
Reheating: For optimal results, reheat cookie cups in the oven at 350°F (175°C) for 5-7 minutes or microwave for 15-30 seconds until warmed through.
What to Serve with Crispy St. Patrick’s Mint Chocolate Chip Cookie Cups
Indulging in the harmony of mint and chocolate evokes cozy, joyful moments; let’s enhance that experience with delightful pairings!
-
Vanilla Ice Cream: A refreshing scoop on top creates a creamy contrast, making each bite melt in your mouth. The smoothness of the ice cream complements the crispy cookie texture beautifully.
-
Whipped Cream: Light and fluffy, a dollop of whipped cream adds a touch of elegance and enhances the festive feel of your dessert table. Don’t forget to sprinkle some green-colored sugar or crushed mint candies for a playful twist!
-
Fruit Compote: Bright, tangy fruit preserves, such as raspberry or strawberry, bring vibrant flavors that pair wonderfully with mint. The acidity cuts through the sweetness, balancing the dessert and awakening the palate.
-
Milkshake: A decadent mint chocolate milkshake can elevate the experience, echoing the flavors in the cookie cups. Blend together ice cream, milk, and a touch of mint extract for a deliciously nostalgic treat.
-
Beverage Pairing: Serve alongside a rich hot chocolate or peppermint tea for a cozy duo that harmonizes with the minty notes in the cookie cups. The warmth of these drinks will envelop your guests in comfort, perfect for celebrating any occasion!
-
Chocolate-Dipped Strawberries: These indulgent bites complement the mint chocolate theme, while their fresh texture adds a delightful contrast. Each bite of juicy strawberry with rich chocolate is simply irresistible alongside the crispy cookie cups.
St. Patrick’s Mint Chocolate Chip Cookie Cups Variations
Feel free to let your creativity flow with these delightful swaps, adding your own flair to each cookie cup!
-
Gluten-Free: Use a 1:1 gluten-free flour blend for a wonderful alternative that keeps the cookie cups equally delicious.
-
Dairy-Free: Swap out unsalted butter with vegan butter to ensure everyone can enjoy these festive treats.
-
Extra Minty: Substitute Andes mint baking pieces in place of regular mint chocolate chips for an intensified minty experience.
-
Flavor Depth: Add a pinch of espresso powder to the cookie dough; it beautifully complements the sweetness and brings a rich depth of flavor.
-
Festive Sprinkles: Top each cookie cup with rainbow sprinkles before baking to transform them into a colorful celebration for St. Patrick’s Day!
-
Nutty Crunch: Incorporate chopped nuts like walnuts or pecans into the dough for added texture and a nutty flavor contrast.
-
Choco Delight: For a chocolate lover’s twist, mix in dark chocolate chips alongside the mint chocolate chips for a richer taste.
-
Peppermint Crunch: Enhance the toppings with crushed peppermint candies for a delightful finish packed with sweet and crunchy texture.
These variations not only spice up your St. Patrick’s Mint Chocolate Chip Cookie Cups but also allow you to cater to everyone at your gathering. If you wish to explore even more delicious options, consider trying these alongside my Loaded Cookie Brittle or my delightful Matcha Butter Cookies. Happy baking!
Expert Tips for St. Patrick’s Mint Chocolate Chip Cookie Cups
• Dough Consistency: Ensure your dough isn’t too sticky. If it is, chill for 10-15 minutes to make processing easier.
• Grease the Tin: Liberally grease your mini muffin tin to avoid any tearing when removing the cookie cups.
• Mixing Method: Mix the dry ingredients into the wet just until combined. Overmixing can lead to tough centers in your St. Patrick’s Mint Chocolate Chip Cookie Cups.
• Baking Time: Watch closely toward the end of baking. Take them out when the edges are golden, but the centers should still be soft for that gooey promise.
• Serving Suggestions: For a festive touch, top warm cookie cups with a drizzle of chocolate or a dollop of whipped cream right before serving!
• Experiment with Flavors: Don’t hesitate to adjust mint extract levels or add crushed peppermint candies for extra crunch and flavor!
Crispy St. Patrick’s Mint Chocolate Chip Cookie Cups Recipe FAQs
What is the best way to select mint chocolate chips?
Absolutely! When choosing mint chocolate chips, look for ones that are brightly colored and have a strong mint aroma. The more vibrant the color, the fresher the chips are likely to be. If opting for regular or dark chocolate, ensure they are high-quality for maximum flavor impact in your cookie cups.
How should I store leftover cookie cups?
To keep your Crispy St. Patrick’s Mint Chocolate Chip Cookie Cups fresh, store them in an airtight container at room temperature for up to 4 days. If you’d like to keep them longer, refrigerate them in a tightly sealed container for up to a week. This keeps their delightful texture intact!
Can I freeze these cookie cups?
Absolutely! To freeze your cookie cups, first, allow them to cool completely. Then, place them in a zip-top bag or an airtight container. These can be kept in the freezer for up to 2 months. When you’re ready to enjoy, simply reheat in the oven at 350°F (175°C) for about 5-7 minutes, or warm them in the microwave for 15-30 seconds for that perfect gooey center!
What should I do if my dough is too sticky?
Very good question! If you find your cookie dough is too sticky to handle, simply chill it in the refrigerator for 10-15 minutes. This will firm it up, making it easier to scoop and work with. Also, be sure to grease your mini muffin tin well to prevent any sticking!
Are there any dietary considerations for these cookie cups?
Yes! For gluten-free options, substitute the all-purpose flour with a 1:1 gluten-free flour blend. For a dairy-free version, use vegan butter in place of unsalted butter and a flax egg (1 tablespoon of flaxseed meal mixed with 2.5 tablespoons of water) instead of a regular egg. This way, everyone can indulge in these festive treats!
Can I customize the mint flavor?
Absolutely! Feel free to experiment with the mint extract to adjust the flavor intensity according to your taste. For an extra minty kick, consider adding crushed peppermint candies on top after baking, or swapping out some of the mint chocolate chips for Andes mint baking pieces to enhance the flavor profile!
Crispy St. Patrick’s Mint Chocolate Chip Cookie Cups Delight
Ingredients
Equipment
Method
- Preheat your oven to 350°F (175°C).
- In a large mixing bowl, whisk together the all-purpose flour, baking soda, baking powder, and salt until well combined.
- In another mixing bowl, cream together the unsalted butter, brown sugar, and granulated sugar until light and fluffy.
- Beat in one egg and the mint extract until thoroughly combined.
- Gradually add the dry mixture to the wet mixture and mix until just combined.
- Fold in the mint chocolate chips evenly through the dough.
- Scoop the dough into a greased mini muffin tin, filling each cup about two-thirds full.
- Bake for 10-12 minutes until edges are golden brown and centers remain soft.
- Allow to cool in the pan for at least 10 minutes before transferring to a wire rack to cool completely.
Leave a Reply