
Stumbling upon unexpected flavor combinations can lead to delightful culinary surprises, and that’s exactly what happens with this Lemon-Ginger Chili Jam! With its bright citrus notes and a spicy kick, this jam transforms any dull afternoon into a sunshine-filled culinary adventure. This homemade delight is not only impressively quick to whip up, but it also makes for an exceptional crowd-pleaser, perfect for toast or enhancing savory dishes. Imagine spreading a layer of this zesty jam on a warm croissant or pairing it with grilled meats—the possibilities are endless! Ready to learn how to make your very own jar of magic? Let’s dive into this vibrant recipe together!
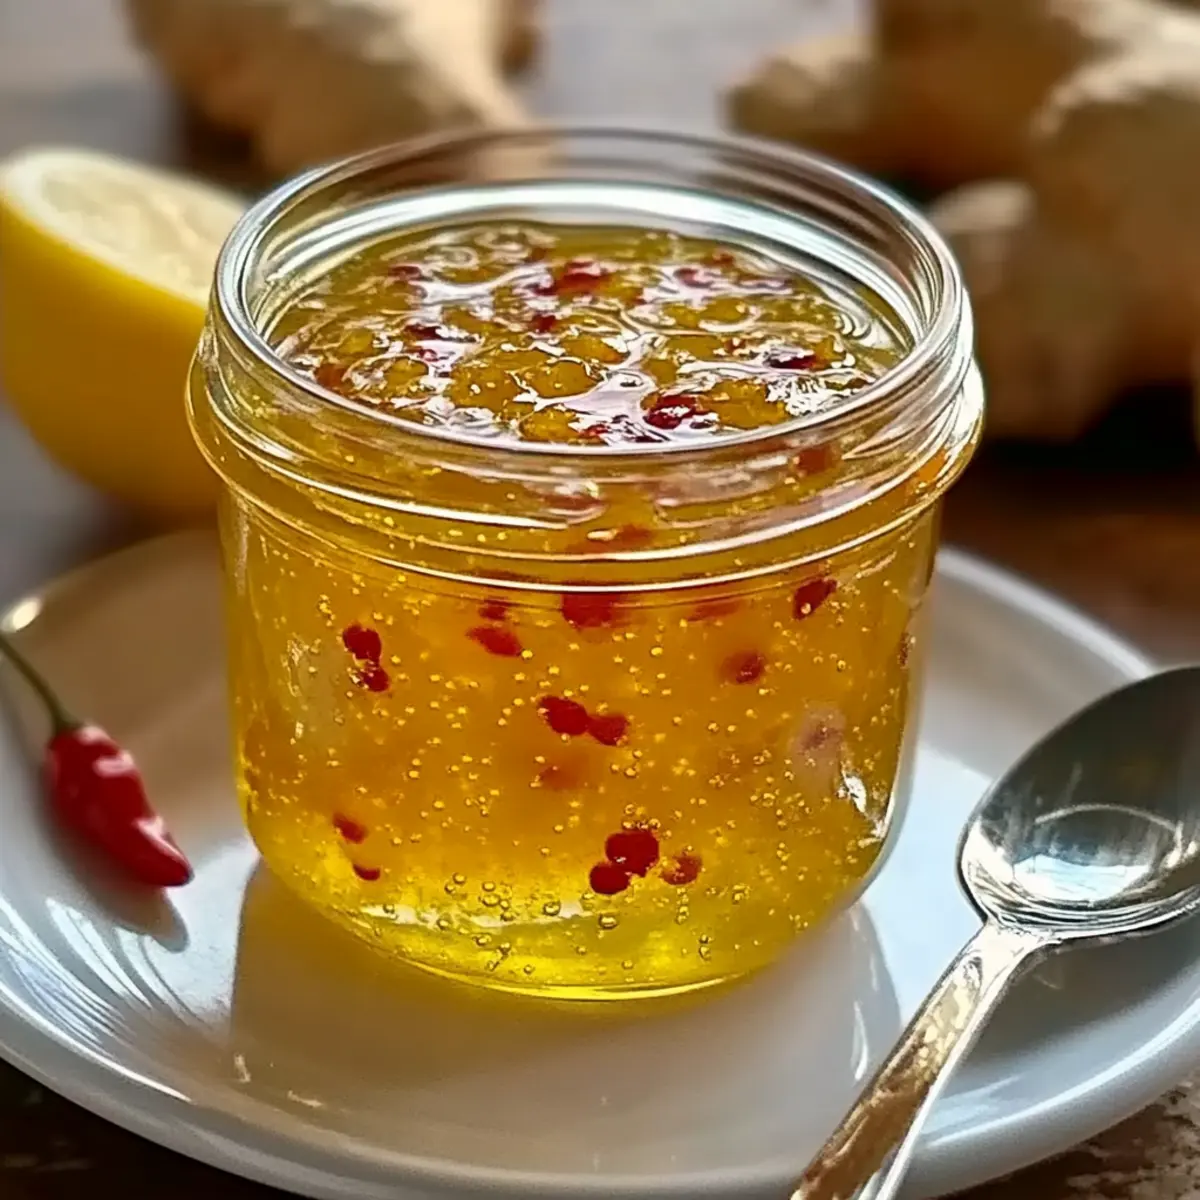
Why is Lemon-Ginger Chili Jam a Must-Try?
Bright, Bold Flavor: This jam packs a punch with the perfect fusion of citrus and spice, creating a taste sensation like no other.
Quick and Simple: In just about 35 minutes, you can create this flavor-packed preserve, making it ideal for busy afternoons.
Versatile Pairing: Whether you’re slathering it on toast, complementing a cheese platter, or enhancing grilled meats, this jam elevates any dish.
Health Boosting: Packed with vitamin C from fresh lemons and the warming properties of ginger, it’s a treat that’s good for you too!
Unique Twist: By adding a chili kick, this recipe breaks away from ordinary jams, offering a delightful surprise for your taste buds.
Don’t forget to explore other enticing recipes like Vegan Lemon Poppy and Chinese Lemon Chicken for more zesty inspirations!
Lemon Ginger Jam Ingredients
For the Jam Base
• 3 large lemons, zested and juiced – Fresh lemons are essential for a bright flavor and acidity.
• 1.5 cups granulated sugar – This sweetener is crucial for achieving the classic jam texture; honey can be a substitute but may change the consistency.
• 0.5 cup water – Helps dissolve the sugar smoothly and allows the flavors to mingle.
For the Flavor Boost
• 2 tablespoons fresh ginger, finely grated – Fresh ginger adds a sharp, spicy note for that zesty kick.
• 1 small red chili, finely minced – Introduces heat; feel free to swap with chili flakes for adjustable spice levels.
• 0.5 teaspoon turmeric (optional) – Adds a warm color and subtle earthy flavor.
• 1 tablespoon apple cider vinegar – This balances the sweetness with a bit of acidity for added complexity.
• A pinch of salt – Enhances overall flavors and balances the sweetness.
Discover the delightful zesty twist of this Lemon Ginger Jam that can elevate your meals and sweet treats!
Step‑by‑Step Instructions for Lemon Ginger Jam
Step 1: Prepare the Lemons
Start by zesting and juicing the 3 large lemons, ensuring you capture the bright yellow outer skin as well as the tangy juice. Combine the zest and juice in a medium pot over low heat. This initial step sets the vibrant citrus foundation for your Lemon Ginger Jam, so be careful not to burn the zest.
Step 2: Dissolve the Sugar
Next, add 1.5 cups of granulated sugar and 0.5 cup of water to your lemon mixture. Heat on medium, stirring steadily until the sugar has completely dissolved, which should take about 5 minutes. You’ll know it’s ready when the mixture is clear and glossy, creating a luscious syrup that melds beautifully with the lemony goodness.
Step 3: Mix in the Fresh Flavors
Stir in 2 tablespoons of finely grated fresh ginger and 1 small minced red chili, along with 0.5 teaspoon of turmeric (if using), 1 tablespoon of apple cider vinegar, and a pinch of salt. Continue to stir and allow the flavors to mingle for about 2 minutes. This step is crucial, as it infuses your Lemon Ginger Jam with that delightful spicy and tangy depth.
Step 4: Bring to a Boil
Bring the mixture to a gentle boil, then reduce the heat to a simmer. Allow it to cook for approximately 35 minutes, stirring occasionally. Look for the mixture to thicken, coating the back of a spoon—a sign your jam is reaching that perfect consistency. You may even catch that enticing aroma wafting through your kitchen!
Step 5: Jar the Jam
Once the jam has thickened, remove it from heat and let it sit for a minute. Carefully spoon the hot Lemon Ginger Jam into sterilized jars, ensuring not to overfill them. Seal the jars immediately while the jam is still hot. This preserves the freshness, allowing you to enjoy this delightful treat on your favorite foods.
Step 6: Cool and Store
Allow the filled jars to cool completely at room temperature. As they cool, you’ll hear the satisfying pop of the lids sealing, locking in the zesty flavors. Once cooled, store in the fridge for up to 3 weeks, or freeze for longer storage. Your homemade Lemon Ginger Jam is now ready to add a bright, spicy kick to your meals!
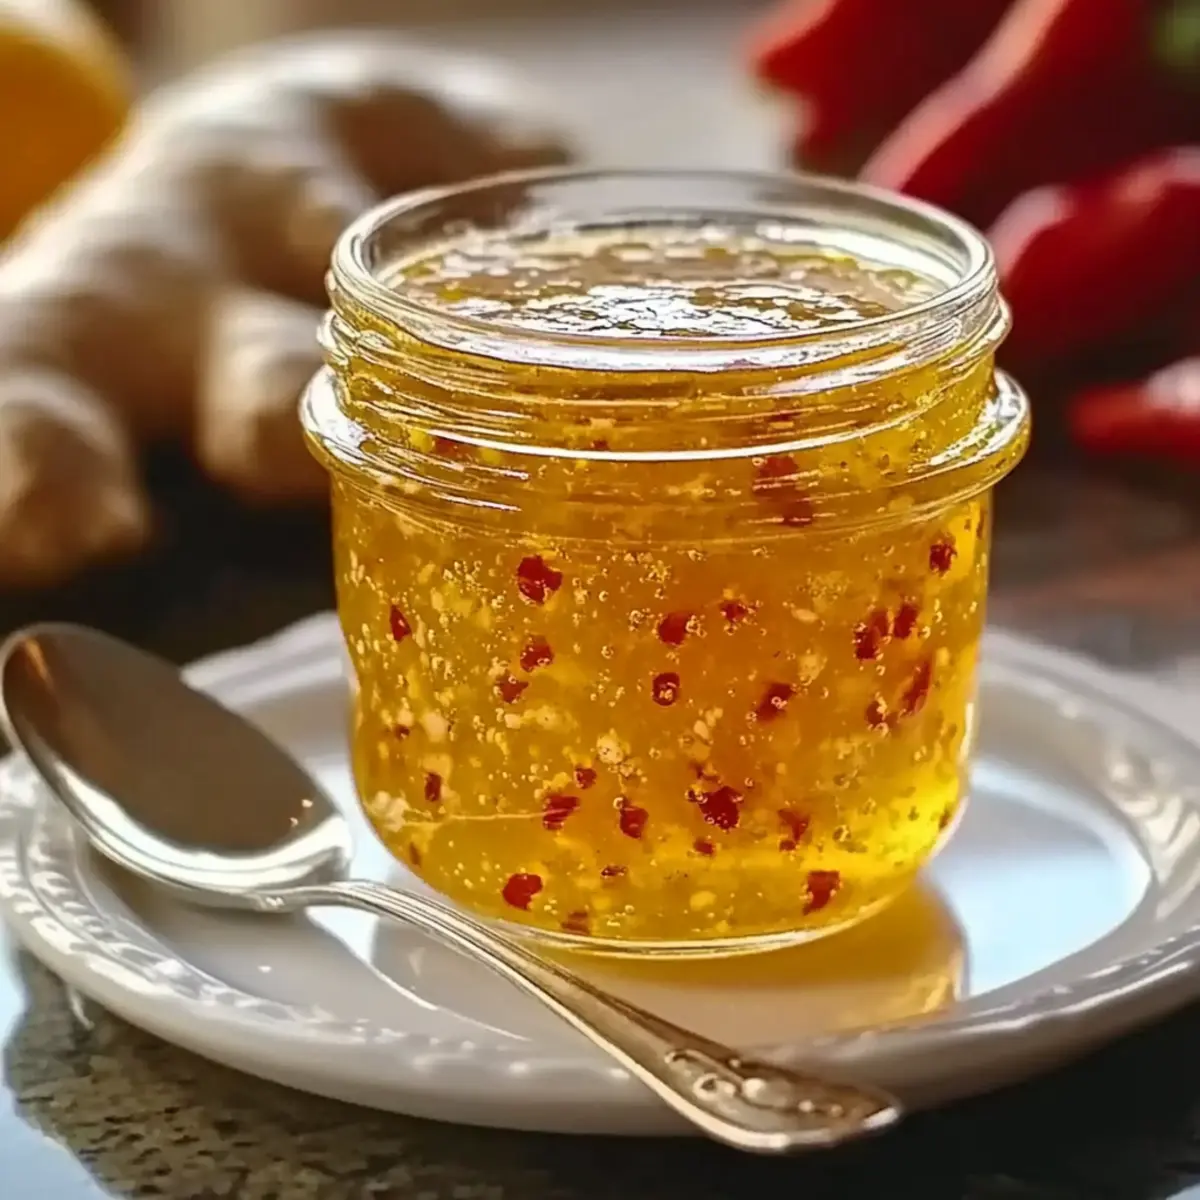
Lemon Ginger Jam Variations & Substitutions
Feel free to play with flavors and textures to make this jam truly your own!
-
Jalapeño Swap: Replace the red chili with jalapeño for a milder, yet still spicy, kick. This subtle switch adds a different layer of heat.
-
Herb Infusion: Introduce fresh herbs like mint or basil for a refreshing twist. The cool notes of the herbs complement the jam’s zesty profile perfectly.
-
Tropical Touch: Mix in small pieces of pineapple or mango for an exotic spin. Their sweetness adds a delightful contrast to the zingy lemon and ginger flavors.
-
Honey Sweetener: Substitute granulated sugar with honey for a richer, more complex sweetness. Just be mindful that this may affect the jam’s texture slightly.
-
Citrus Variety: Switch fresh lemons with limes or oranges for a different citrus experience. Each fruit offers its unique flavor, creating a jam that takes on a new personality.
-
Spicy Garlic: For an adventurous addition, stir in a pinch of garlic powder. The combination of garlic and spice will introduce an umami twist that’s intriguing!
-
Apple Cider Kick: Use apple cider vinegar in place of regular vinegar for a sweeter, fruitier base. It enhances the overall depth of the jam.
-
Ginger Variations: Experiment with powdered ginger if fresh is unavailable. While it won’t have the same punch, it can still provide a lovely warm spiciness.
For an added dose of inspiration, try complementing your dishes with something like Orange Ginger Honey for another zesty kick!
Make Ahead Options
These Lemon-Ginger Chili Jam jars are a fantastic choice for meal prep enthusiasts striving for delicious homemade flavors! You can prepare the jam up to 24 hours in advance by following the entire cooking process and storing it in sterilized jars after it cools. Just remember to let the flavors meld in the fridge to enhance the zesty profile. When you’re ready to use, simply take it out and serve at room temperature, or warm it slightly for a delightful spread. This way, you’ll enjoy a bright, spicy addition to your meals with minimal effort, making your busy weeknights feel special and flavorful!
How to Store and Freeze Lemon Ginger Jam
Fridge: Store your Lemon Ginger Jam in a sealed jar for up to 3 weeks. Keep it refrigerated to maintain its bright flavor and freshness.
Freezer: For longer storage, freeze the jam in airtight containers for up to 3 months. This preserves its delicious taste and texture.
Thawing: When you’re ready to enjoy, simply let the jam thaw overnight in the fridge. This helps it retain its original consistency.
Reheating: If desired, gently reheat the jam in a saucepan over low heat, stirring until warmed through—a delightful way to enjoy it on breakfast items!
What to Serve with Lemon-Ginger Chili Jam
Elevate your culinary experience with delightful pairings that complement the vibrant zing of this homemade jam.
- Creamy Goat Cheese: The tangy richness of goat cheese contrasts beautifully with the spicy sweetness of the jam, creating a sophisticated appetizer.
- Grilled Chicken: Serve alongside grilled chicken for a zesty glaze that brightens up each bite, infusing your meal with bold flavors.
- Soft-Baked Brie: The gooey brie melds with the spicy, citrus notes for a dreamy cheese board highlight, perfect for celebrations or cozy nights in.
- Charcuterie Plates: This jam adds a lively burst to cured meats and cheeses, enhancing both flavor and visual appeal on a beautifully arranged platter.
- Toasted Sourdough: Spread a layer of this zesty jam on warm, crusty sourdough, creating a delightful crunch and explosion of flavor with every bite.
- Spicy Shrimp Tacos: A dollop of lemon-ginger jam can take your shrimp tacos to the next level, enriching them with zesty undertones and bright flavors.
- Sparkling Wine: Pair this jam with a bubbly sparkling wine to balance the heat and sweetness, creating a refreshing drink experience.
- Vanilla Ice Cream: Pour over scoops of vanilla ice cream for an indulgent dessert that marries creamy and citrusy flavors in a delightful spoonful.
Expert Tips for Lemon Ginger Jam
-
Fresh Ingredients Matter: Always use fresh lemons and ginger for the best flavor. Dried or older spices can dull the vibrant tastes in this delicious Lemon Ginger Jam.
-
Consistency Check: The jam is ready when it coats the back of a spoon; if it’s too runny, it might need more cooking time to thicken properly.
-
Sterilize Jars Properly: Ensure your jars are well-sterilized to prevent spoilage. Boil them for 10 minutes before using to ensure safety and longevity.
-
Customize Spice Levels: Adjust the amount of chili to suit your taste. For a milder version, remove the seeds or use fewer chili flakes.
-
Make-Ahead Magic: This Lemon Ginger Jam tastes even better after a day in the fridge; the flavors meld beautifully, enhancing the overall taste experience.
-
Freezing Tips: If storing longer, freeze the jam in airtight containers. Thaw overnight in the fridge before using, which helps maintain its flavor and texture.
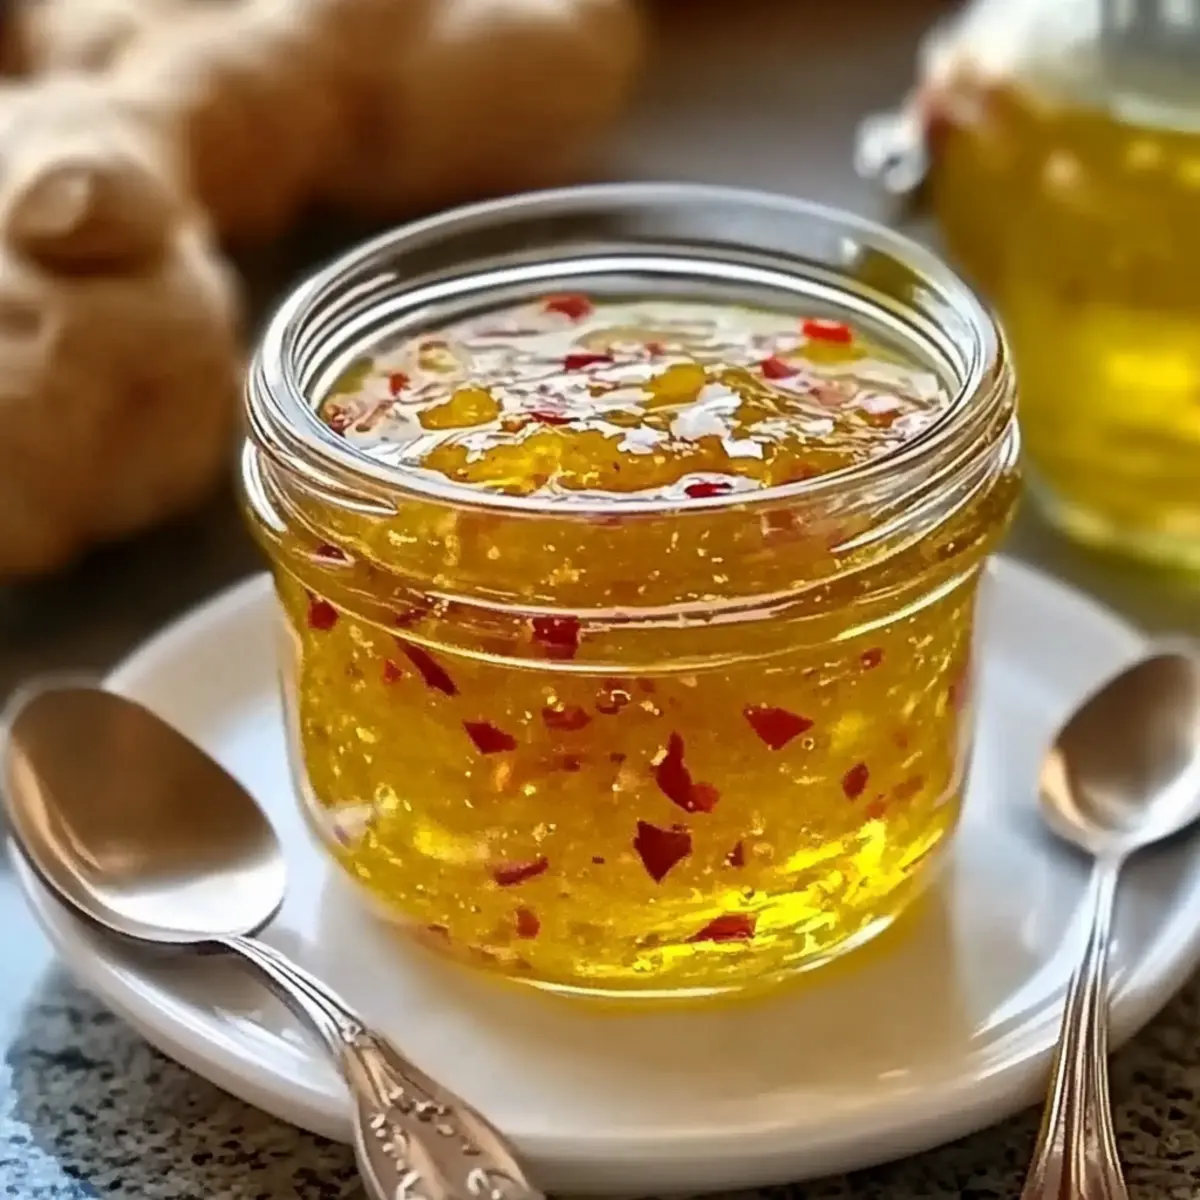
Lemon-Ginger Chili Jam Recipe FAQs
How do I choose ripe lemons for this jam?
Absolutely! When selecting lemons, look for ones that are vibrant and firm with a smooth skin. Avoid any that have dark spots or feel overly soft, as these indicate they may be past their prime. The best lemons are heavy for their size and have a zesty fragrance.
What is the best way to store Lemon-Ginger Chili Jam?
To maximize the flavor and freshness of your jam, store it in a sealed jar in the fridge, where it will last for up to 3 weeks. Make sure the jar is tightly sealed to keep out air and potential contaminants, preserving that wonderful zesty kick.
Can I freeze Lemon-Ginger Chili Jam?
Yes, you can! Freezing is a great way to extend its shelf life. Pour the jam into airtight containers, leaving a little space at the top for expansion, and freeze for up to 3 months. When you’re ready to use it, let it thaw overnight in the fridge for the best consistency.
What should I do if my jam doesn’t thicken?
Very! If your jam isn’t thickening as expected, cook it a bit longer—about 5 to 10 more minutes—on medium heat, stirring frequently. Keep an eye on it; you’re looking for a consistency that thickly coats the back of a spoon. If it still doesn’t thicken, you can also add a bit more sugar or a thickening agent like pectin, recombining and simmering again.
Is this jam safe for pets or people with allergies?
I recommend caution! The ingredients in Lemon-Ginger Chili Jam are generally safe for most people, but it does contain sugar and chili, which may be unsuitable for pets. If you have allergies to citrus, ginger, or chili, it’s best to avoid this jam altogether or consult a healthcare professional. Always check ingredient labels if you’re buying pre-made options.
How can I enhance the flavor of my Lemon-Ginger Chili Jam?
For a burst of freshness, consider adding herbs like mint or basil during the cooking process. Another delightful twist would be mixing in some diced pineapple or mango for a tropical vibe. The more the merrier! Just be sure to adjust the sweetness to balance those extra flavors!
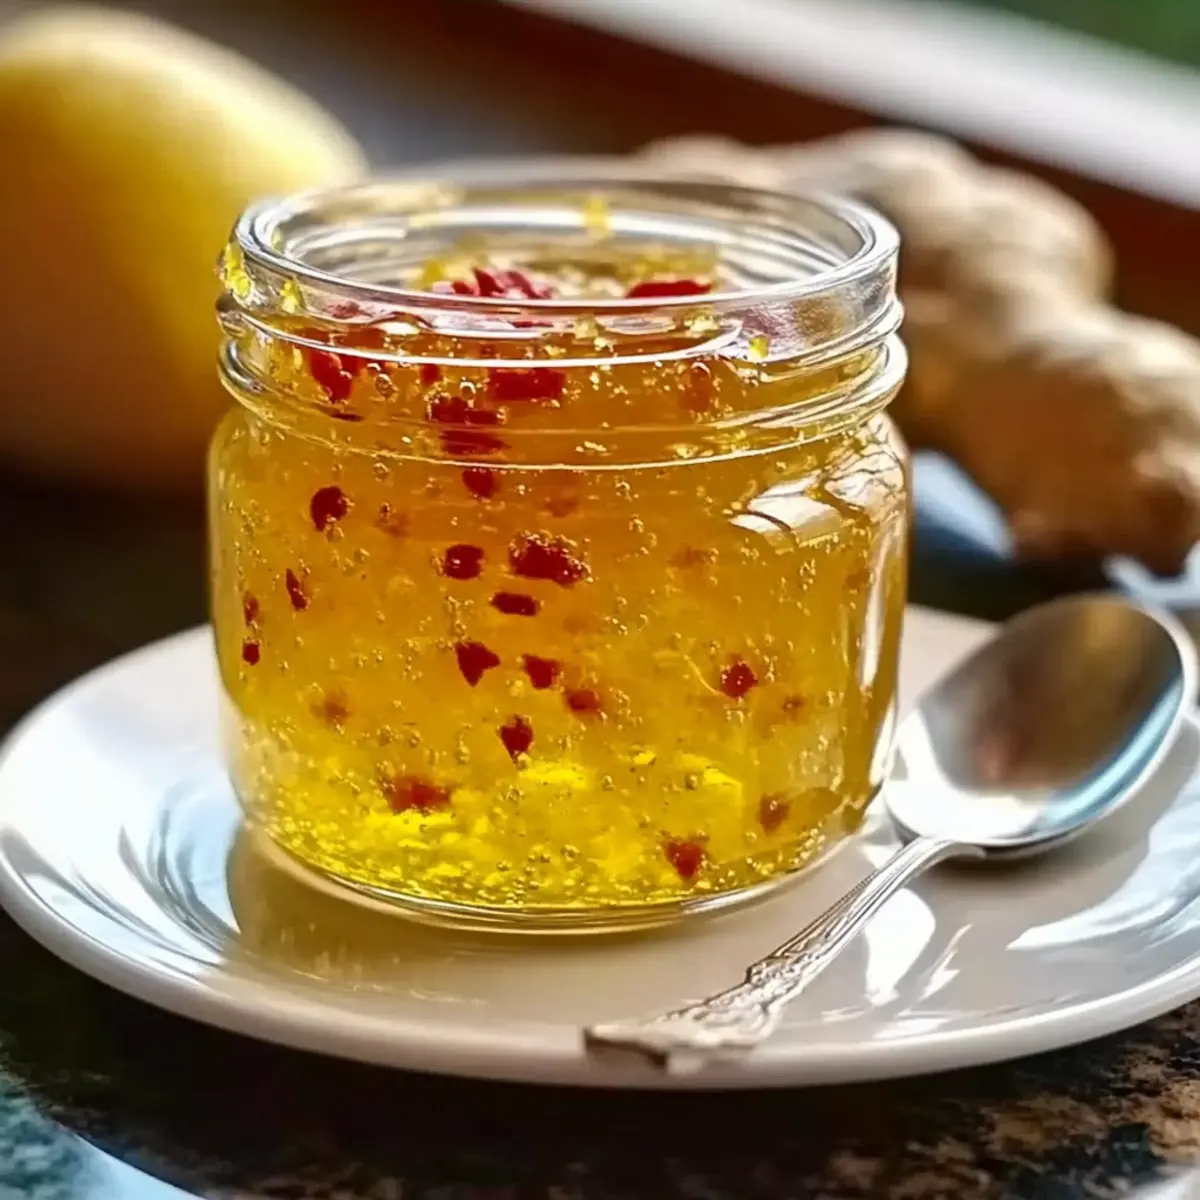
Zesty Lemon Ginger Jam for a Bold Flavor Boost
Ingredients
Equipment
Method
- Start by zesting and juicing the 3 large lemons, ensuring you capture the bright yellow outer skin as well as the tangy juice. Combine the zest and juice in a medium pot over low heat.
- Next, add 1.5 cups of granulated sugar and 0.5 cup of water to your lemon mixture. Heat on medium, stirring steadily until the sugar has completely dissolved.
- Stir in 2 tablespoons of finely grated fresh ginger and 1 small minced red chili, along with 0.5 teaspoon of turmeric (if using), 1 tablespoon of apple cider vinegar, and a pinch of salt.
- Bring the mixture to a gentle boil, then reduce the heat to a simmer. Allow it to cook for approximately 35 minutes, stirring occasionally.
- Once the jam has thickened, remove it from heat and let it sit for a minute. Carefully spoon the hot Lemon Ginger Jam into sterilized jars.
- Allow the filled jars to cool completely at room temperature.
Leave a Reply