
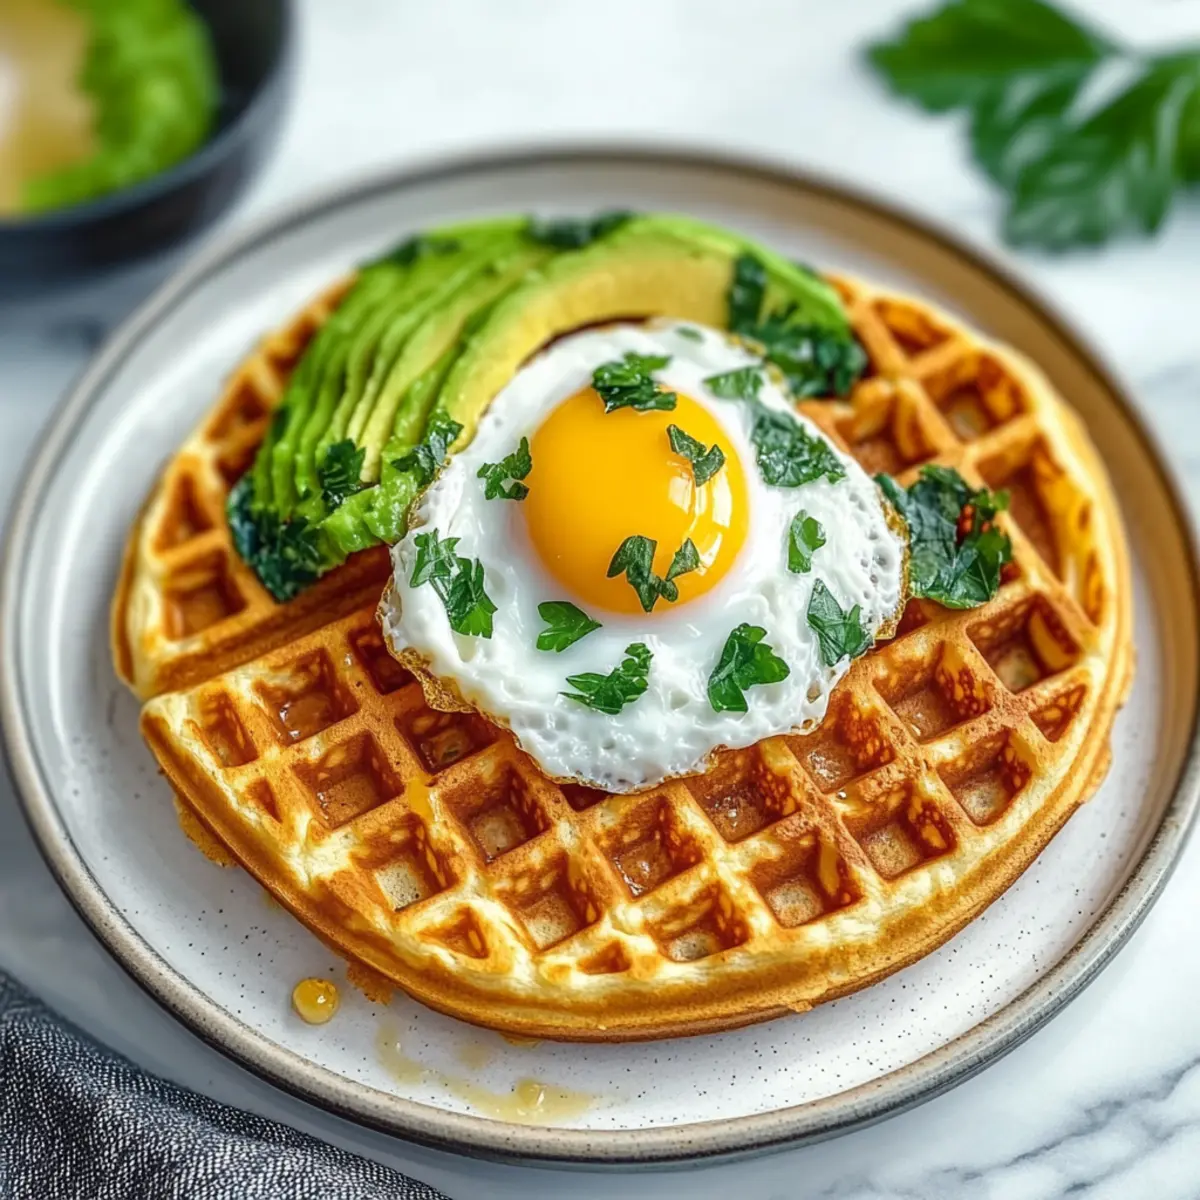
As I flipped through my recipe journal, a flurry of delectable memories washed over me—the tantalizing aroma of warm Savory Chickpea Waffles filled my kitchen. These gluten-free delights are not just a breakfast option; they’re a protein-packed twist that transforms your morning routine into a satisfying experience. Picture a crispy exterior giving way to a tender, nutty interior that invites endless topping possibilities—from a fluffy fried egg topped with creamy avocado to a colorful medley of fresh veggies and hummus for a light lunch. Quick to prepare and perfect for meal prep, these waffles will keep you fueled and inspired all day long. Are you ready to elevate your meals with this savory delight? Let’s dive in!
Why Try Savory Chickpea Waffles?
Nutritious powerhouses: Packed with protein and fiber, these gluten-free waffles offer a healthy start to your day.
Versatile toppings: From avocado and eggs to fresh veggies and hummus, the topping choices are endless, pleasing everyone’s palate.
Quick prep time: Whip these up in no time, making them ideal for busy mornings or meal prep.
Unique twist: Say goodbye to ordinary waffles! Experience the delightful nutty flavor of chickpeas that will keep your taste buds excited.
Crowd favorite: Whether for a family breakfast or a brunch gathering, these waffles are sure to impress your guests!
Chickpea Waffle Ingredients
For the Batter
- Chickpea Flour – This base ingredient provides protein and structure, ensuring your waffles hold together perfectly.
- Water – Hydrates the chickpea flour, creating a smooth and cohesive batter.
- Olive Oil – Adds moisture and promotes browning; feel free to substitute with melted coconut oil or vegetable oil.
- Salt – Essential for enhancing the flavor, bringing out the nuttiness of the chickpea flour.
- Sugar (optional) – A hint of sweetness to balance flavors; you can omit it if you’re looking for savory-only waffles.
For Toppings
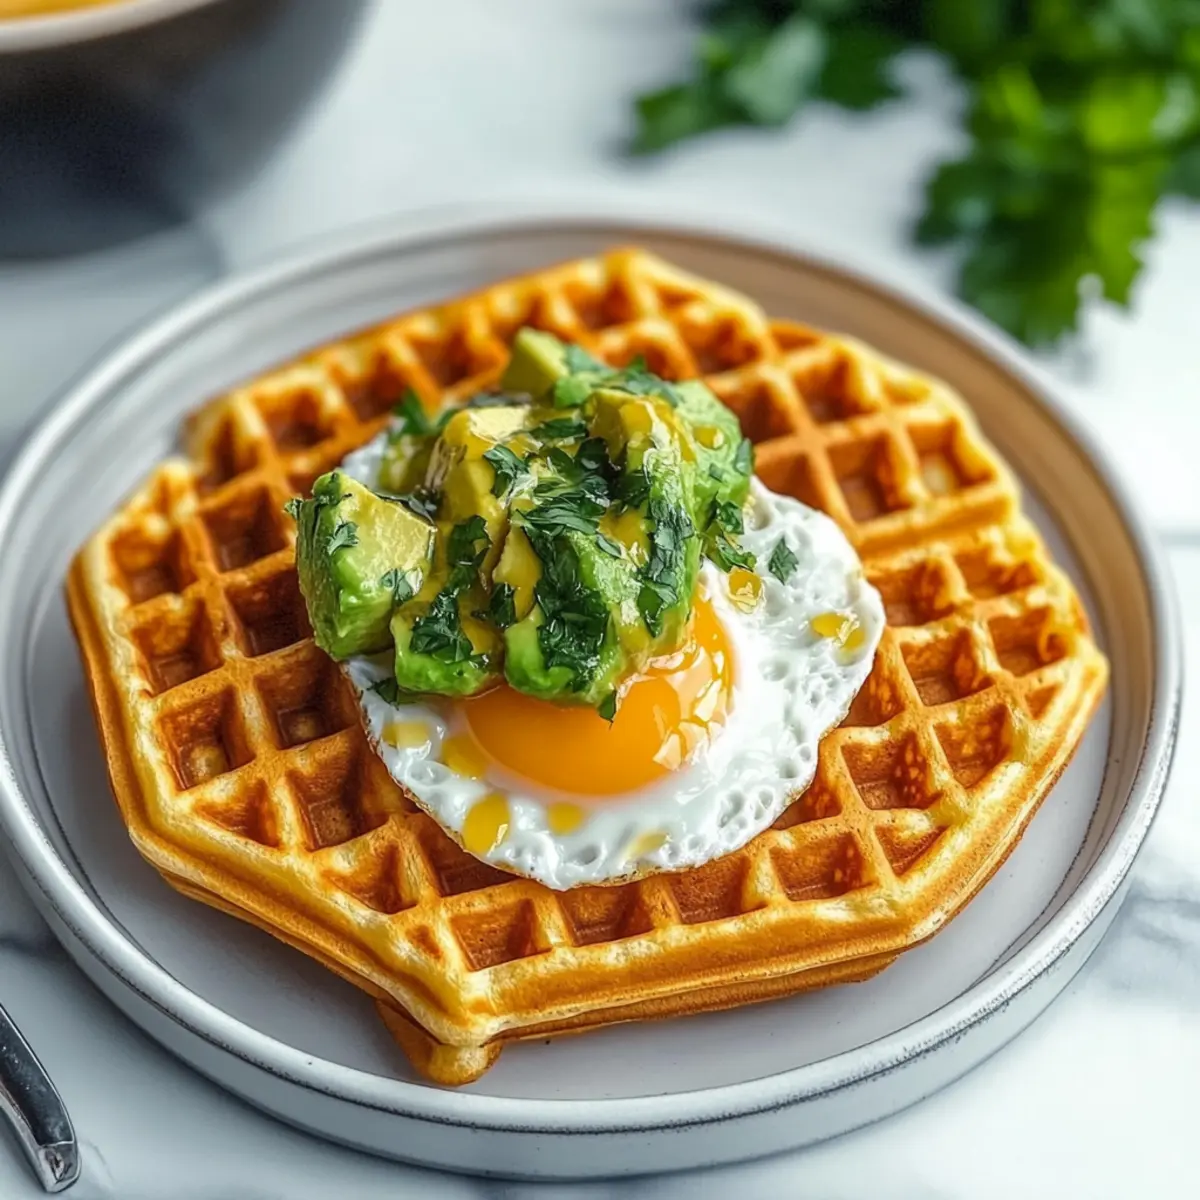
- Avocado – Provides a creamy texture while boosting nutrients; it’s a fantastic pairing with the chickpea waffles.
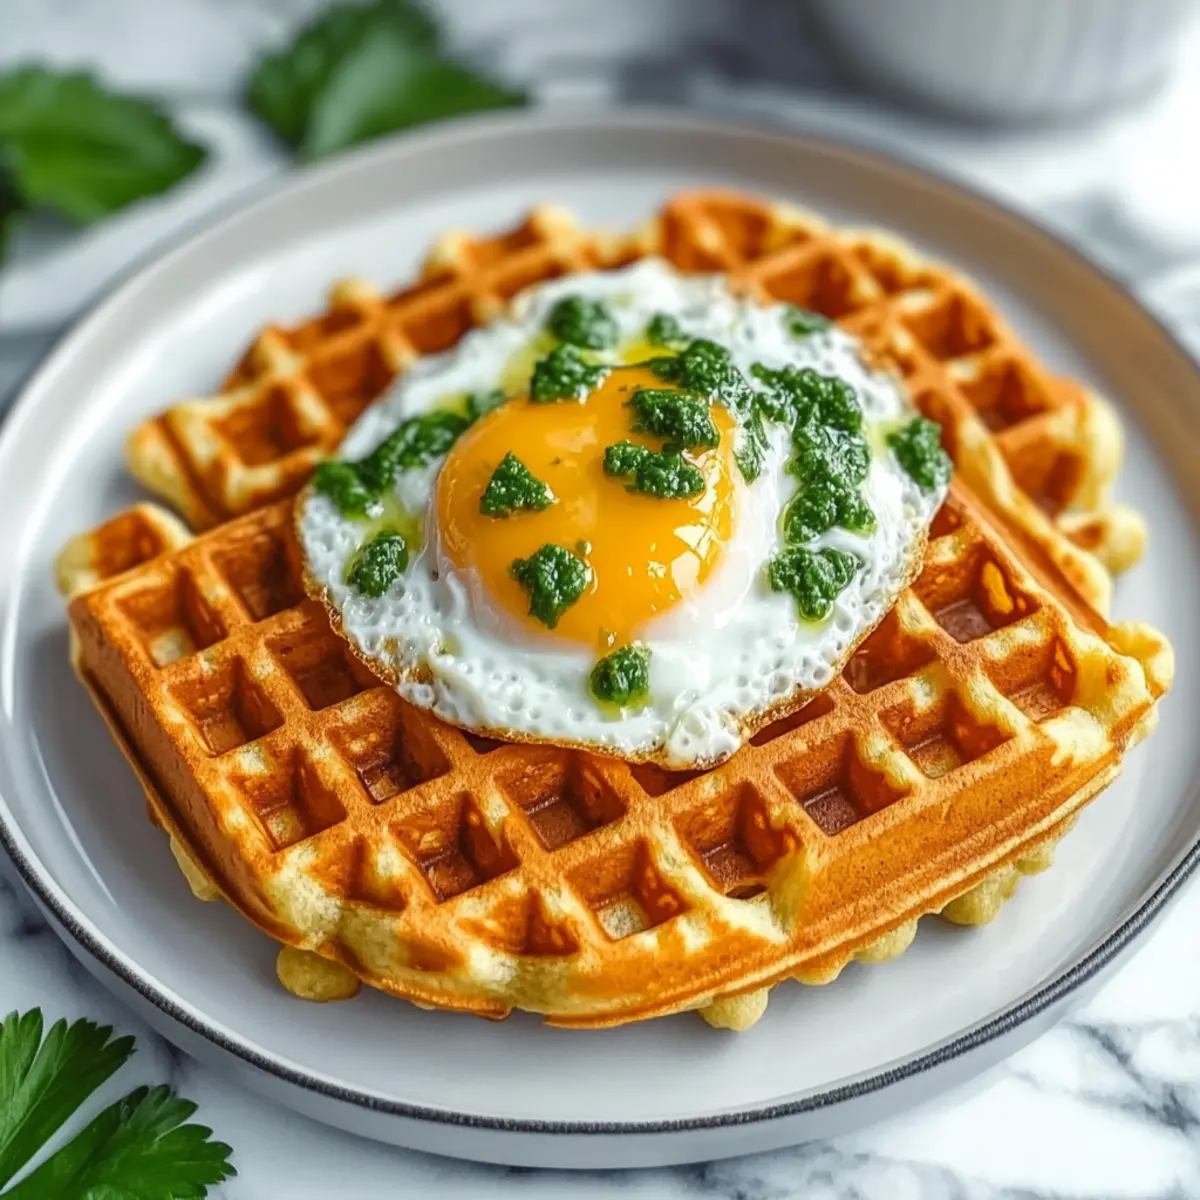
- Fried Egg – Adds protein and richness, making your meal more filling and satisfying.
- Hummus – Offers creaminess and depth of flavor; try different varieties for added zest!
- Fresh Vegetables – A plethora of options such as tomatoes, spinach, or bell peppers add nutrition and vibrant color to the dish.
Step‑by‑Step Instructions for Savory Chickpea Waffles
Step 1: Prepare the Batter
In a large mixing bowl, whisk together 1 cup of chickpea flour, 1 cup of water, 2 tablespoons of olive oil, and a pinch of salt until the mixture is smooth and free of lumps. Ensure that the batter is well-combined and cohesive, resembling a pancake batter. This step is crucial for making your Chickpea Waffles light and tender.
Step 2: Rest the Batter
Cover the bowl with a clean kitchen towel or plastic wrap and let the batter rest at room temperature for at least 30 minutes. This resting period allows the chickpea flour to fully hydrate and enhances the texture of the waffles. You’ll notice the mixture thickens slightly as it settles, which is a good sign that it’s ready for cooking.
Step 3: Preheat the Waffle Iron
While the batter rests, plug in your waffle iron and preheat it to medium-high heat, typically around 375°F (190°C). This temperature setting is essential for achieving that irresistible crispy exterior on your Chickpea Waffles. Be sure to refer to your specific waffle iron’s instructions for optimal settings.
Step 4: Oil the Iron
Once the waffle iron is preheated, lightly brush the plates with olive oil or your preferred cooking spray to prevent sticking. A thin layer is all you need for the best results. This step ensures that your Chickpea Waffles come out easily and maintain their lovely, crisp texture.
Step 5: Cook the Waffles
Pour an appropriate amount of the batter (about ½ cup, depending on your waffle iron) into the preheated waffle iron, closing the lid carefully. Cook for about 4 to 6 minutes, or until the waffles turn golden brown and crisp. Keep an eye on them; visual cues will show when they are perfectly done.
Step 6: Serve Warm
Once cooked, carefully remove the Chickpea Waffles from the iron and let them cool slightly on a wire rack. Serve immediately while they are still warm, topped with your favorite ingredients like avocado, a fried egg, or hummus. If you need to hold them, keep the waffles warm in a preheated oven at 200°F (93°C) for up to 15 minutes.
Make Ahead Options
These Savory Chickpea Waffles are perfect for meal prep enthusiasts! You can prepare the batter up to 24 hours in advance by whisking together 1 cup of chickpea flour with 1 cup of water, 2 tablespoons of olive oil, and salt, then cover and refrigerate to keep it fresh and prevent browning. The waffles themselves can be cooked ahead and stored in the fridge for up to 3 days. Just make sure to layer them with parchment paper in an airtight container to maintain crispness. When you’re ready to serve, simply reheat in a 350°F oven for 10 minutes, and you’ll have delicious, crispy Chickpea Waffles ready with minimal effort!
Chickpea Waffles Variations & Substitutions
Feel free to get creative and make these Chickpea Waffles your own with these delightful permutations!
- Herb-Infused: Add finely chopped fresh herbs like dill or basil for a burst of flavor that brightens every bite.
- Spicy Kick: Sprinkle in a dash of paprika or cayenne pepper for a spicy twist that warms your palate with each mouthful.
- Veggie Boost: Fold in grated carrots or shredded zucchini for an extra dose of nutrients and a hint of sweetness.
- Mediterranean Flair: Mix in sun-dried tomatoes, olives, and feta cheese to introduce a savory Mediterranean influence that’s simply irresistible.
- Cheesy Delight: Incorporate shredded cheese like feta or cheddar into the batter for a melty, savory goodness that will melt in your mouth.
- Nutty Twist: Swirl in some ground flaxseed or chia seeds to enhance the nutritional profile, adding omega-3s while boosting the texture.
- Dairy-Free Option: Substitute olive oil with aquafaba for a lighter batter that still holds together beautifully, perfect for those avoiding dairy.
- Nut-Free Version: Use a gluten-free flour blend if you’re looking to steer clear of chickpeas while still enjoying something hearty and delicious.
Explore these variations to give your Chickpea Waffles a personal touch. And if you’re on a meal prep journey, don’t forget to check out our tips on how to store these beauties for later enjoyment!
How to Store and Freeze Chickpea Waffles
Fridge: Store cooked Chickpea Waffles in an airtight container, layered with parchment paper, for up to 3 days to maintain their freshness.
Freezer: For longer storage, freeze the waffles in a single layer on a baking sheet, then transfer to an airtight container for up to 2 months.
Reheating: Reheat directly from the freezer in a toaster or oven at 350°F for about 10 minutes, restoring their crispy texture while warming through.
Room Temperature: If serving immediately, keep the waffles warm in a 200°F oven for up to 15 minutes to enjoy them at their best!
Expert Tips for Chickpea Waffles
- Proper Preheating: Preheat your waffle iron thoroughly to achieve that coveted crispy texture. An underheated iron may result in soggy waffles.
- Mixing Technique: Avoid overmixing the batter to retain fluffiness. Stir just until large lumps disappear for perfectly tender Chickpea Waffles.
- Resting Time: Letting the batter rest for at least 30 minutes is key to enhancing texture, so don’t rush this step!
- Serving Warm: Serve immediately for the best taste, but if you need to hold them, keep in a 200°F oven.
- Topping Flexibility: Feel free to get creative with toppings! Fresh herbs or spicy elements can elevate your meal even more.
What to Serve with Savory Chickpea Waffles?
Enhance your mealtime experience with delightful sides and toppings that perfectly complement the flavors of these crispy, savory waffles.
- Creamy Avocado: A luscious avocado adds a rich creaminess, balancing the nuttiness of the chickpea and offering healthy fats.
- Sunny-Side-Up Egg: A beautifully fried egg on top delivers a protein punch and a delightful runny yolk that ties everything together.
- Fresh Veggie Medley: Load your waffles with vibrant, chopped vegetables like bell peppers or cherry tomatoes, adding crunch and color to every bite.
- Savory Hummus: Spread a generous layer of hummus for a smooth, earthy flavor; it pairs wonderfully with the waffles’ texture.
- Zesty Salsa: A spoonful of fresh salsa brings a burst of acidity and brightness, cutting through the richness and elevating the dish.
- Spicy Sriracha Drizzle: For those who crave heat, a drizzle of Sriracha adds the perfect kick, making each waffle an exciting flavor adventure.
- Fruit Salad: A refreshing fruit salad on the side provides a sweet contrast and a pop of freshness against the savory waffles.
- Crisp Green Salad: A simple side salad with crisp greens and a light vinaigrette adds a refreshing element to your meal, balancing the waffles’ heartiness.
- Herbal Tea or Fresh Juice: Sip on a soothing herbal tea or a glass of bright juice to elevate your breakfast experience and cleanse your palate between bites.
- Dark Chocolate Squares: For a unique twist, enjoy a square of dark chocolate afterward as a light dessert; its bitterness pairs wonderfully with the savory flavors.
Chickpea Waffles Recipe FAQs
How do I choose the right chickpea flour?
Absolutely! For the best texture in your Chickpea Waffles, opt for finely ground chickpea flour, also known as besan or gram flour. It’s essential as it helps achieve that light and fluffy interior. If you find coarse flour, you can blend it in a food processor for a finer consistency.
How should I store leftover chickpea waffles?
Very! To keep your cooked Chickpea Waffles fresh, store them in an airtight container, layered with parchment paper, for up to 3 days in the refrigerator. This layering prevents them from sticking together and helps maintain their texture.
Can I freeze chickpea waffles?
Absolutely! For freezing, lay the cooked waffles in a single layer on a baking sheet to flash freeze them for about an hour. Once solid, transfer them to an airtight container or freezer bags, where they can be stored for up to 2 months. To reheat, simply pop them straight from the freezer into a toaster or an oven preheated to 350°F for around 10 minutes.
What if my chickpea waffle batter is too thick?
Ah, that’s a common concern! If your batter seems overly thick, gradually add a small amount of water (1-2 tablespoons at a time), mixing gently until you reach a smooth, pourable consistency similar to pancake batter. Just be careful not to overmix, as this can affect the fluffiness!
Are chickpea waffles safe for my gluten-sensitive family members?
Absolutely! Chickpea flour is naturally gluten-free, making these waffles a great option for anyone with gluten sensitivities. Just be sure to check that all your toppings and other ingredients are also gluten-free to avoid cross-contamination.
How can I enhance the flavor of chickpea waffles?
Very! You can boost the flavors by adding fresh herbs like rosemary or thyme directly into the batter. Alternatively, a pinch of cayenne pepper can add a beautiful kick. Another fun idea is to fold in finely chopped vegetables, like grated zucchini or spinach, for added nutrition and taste!

Crispy Chickpea Waffles That Will Revamp Your Breakfast Game
Ingredients
Equipment
Method
- In a large mixing bowl, whisk together 1 cup of chickpea flour, 1 cup of water, 2 tablespoons of olive oil, and a pinch of salt until smooth.
- Cover and let the batter rest for at least 30 minutes.
- Preheat your waffle iron to medium-high heat (around 375°F or 190°C).
- Lightly brush the waffle iron with olive oil.
- Pour about ½ cup of batter into the preheated waffle iron and cook for 4 to 6 minutes.
- Carefully remove the waffles and serve warm with your favorite toppings.
Leave a Reply