
As I stood in my kitchen, the aroma of freshly fried chicken wafted through the air, instantly transporting me to the vibrant streets of Hawaii. That’s when I decided to whip up my quick, crispy Chicken Katsu Musubi, a delightful snack where juicy fried chicken meets seasoned sushi rice, lovingly wrapped in seaweed. This easy-to-make fusion dish not only satisfies those midday cravings but also serves as a comforting alternative to fast food. In just a few simple steps, you’ll be ready to indulge in a crunchy, flavorful treat that everyone will love. Ready to make your kitchen the star of the show? Let’s dive into this delicious adventure!
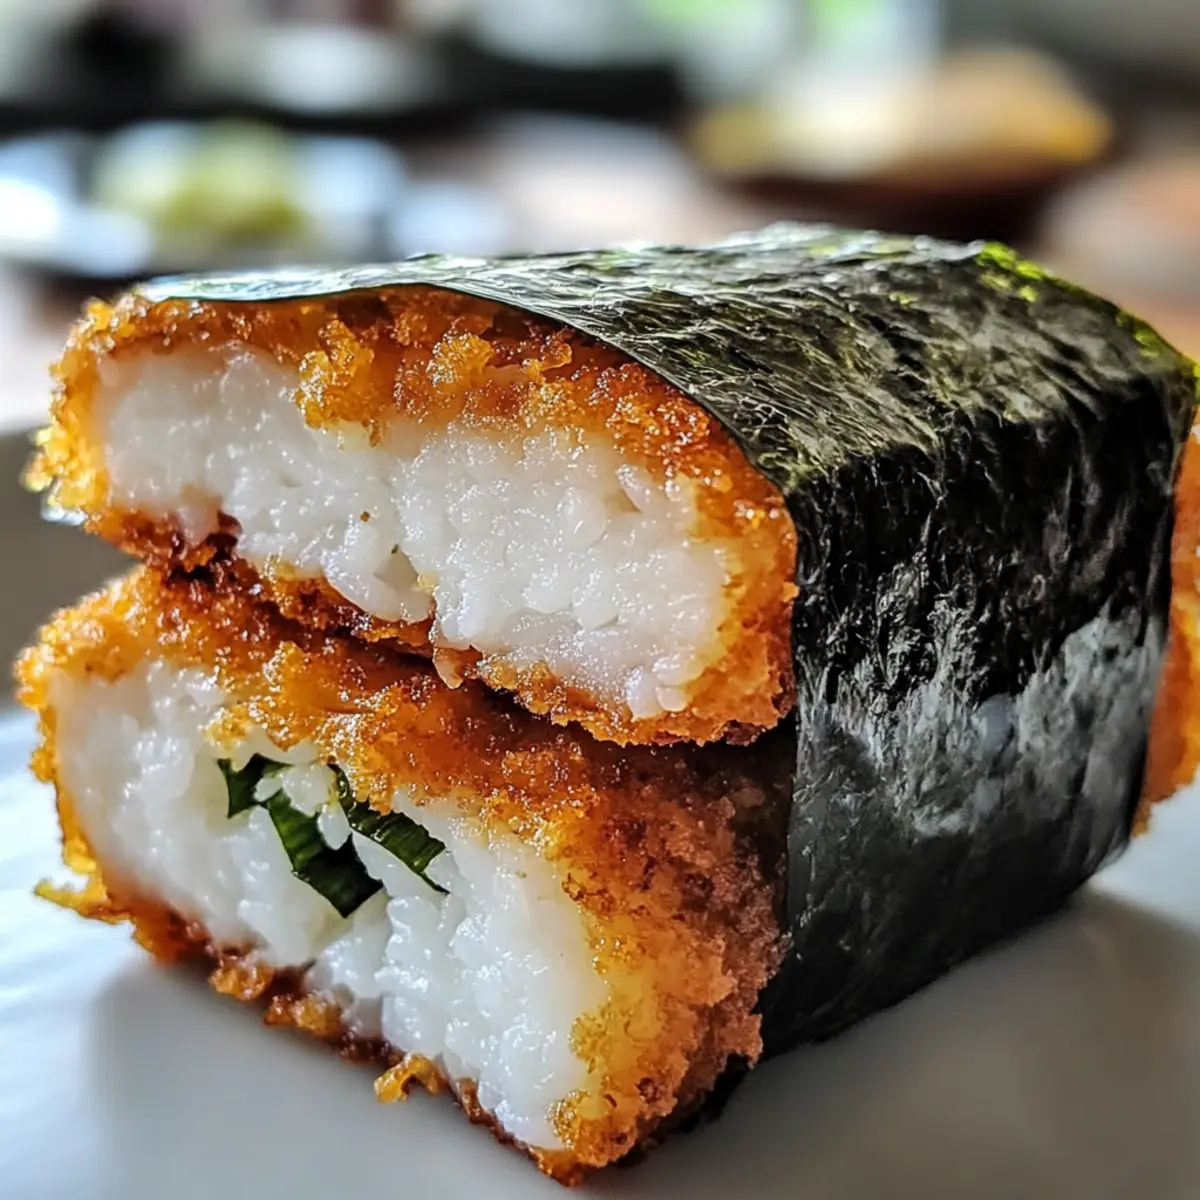
Why is Chicken Katsu Musubi a Must-Try?
Irresistible Crunch: The crispy panko coating gives each bite a perfect crunch, making it a delightful snack.
Flavor Fusion: Juicy fried chicken and savory sushi rice create a delicious blend of tastes that will wow your taste buds.
Quick and Easy: This recipe simplifies cooking and can be on your table in no time—perfect for busy days!
Customizable Options: Whether you prefer a vegan twist or a spicy kick, there are endless ways to tailor your musubi to suit your cravings.
Crowd-Pleasing Delight: Serve it at parties or family gatherings, and watch as everyone reaches for seconds—it’s hard not to love!
Meal Prep Friendly: Make-ahead options mean you can enjoy this beauty even on the busiest days; just heat and indulge.
For more mouthwatering chicken recipes, don’t miss out on my Crispy Pecan Crusted Chicken or hearty Pretzel Chicken with Mustard Cheddar Sauce!
Crispy Chicken Katsu Musubi Ingredients
• Here’s everything you need to create this delightful, quick snack!
For the Chicken
- Boneless Skinless Chicken Thighs – Juicy star of the dish, offering rich flavor; substitute with chicken breasts for a leaner option.
- Large Eggs – Binds the coating to the chicken for a crispy texture; a vegan egg alternative can be used.
- All-Purpose Flour – Creates a wet batter that adheres well to chicken; gluten-free flour works as a great substitute.
- Salt – Enhances flavors; adjust based on dietary preferences.
- Ground Black Pepper – Adds warmth and depth; optional based on taste preference.
- Panko Breadcrumbs – Provides a deliciously crispy crust; regular breadcrumbs may be substituted.
- Neutral Oil – Essential for frying the chicken; canola or vegetable oil are excellent options. Ensure enough oil for proper frying.
For the Musubi Assembly
- Nori Sheets – Wraps the musubi and imparts umami flavor; soy paper can be used as a gluten-free alternative.
- Cooked Sushi Rice – Forms the hearty base of the musubi; swap for brown rice for a healthier twist.
- Tonkatsu Sauce – Adds delightful sweetness and tang; barbecue sauce can serve as a substitute.
Dive into these ingredients and prepare to make your very own Crispy Chicken Katsu Musubi that’s sure to satisfy!
Step‑by‑Step Instructions for Crispy Chicken Katsu Musubi
Step 1: Pound the Chicken
Begin by placing the boneless skinless chicken thighs between two sheets of plastic wrap. Use a meat mallet or rolling pin to pound the chicken to about ½-inch thickness, ensuring even cooking. This step is crucial for achieving a juicy interior, so take your time to create a uniform surface for your crispy Chicken Katsu Musubi.
Step 2: Prepare the Batter
In a large bowl, whisk together the large eggs, all-purpose flour, salt, and ground black pepper until the mixture resembles a smooth pancake batter. This batter will be key to achieving that perfectly crispy coating. Make sure there are no lumps, as this will help it adhere well to the chicken.
Step 3: Coat the Chicken
Dip each pounded chicken thigh into the batter, allowing the excess batter to drip off. Next, roll the chicken in panko breadcrumbs, ensuring an even coating for that delicious crunch. You want to see a thick layer of breadcrumbs covering each piece, which will become beautifully golden brown when fried.
Step 4: Fry the Chicken
Heat enough neutral oil in a skillet to reach about 350°F. Carefully place the coated chicken thighs in the hot oil, frying for 4-6 minutes on each side until they turn golden brown and crispy. After frying, check that the internal temperature of the chicken has reached 165°F. Use a meat thermometer for accuracy.
Step 5: Shape the Rice
While the chicken cools, prepare your sushi rice. Place a strip of nori on a flat surface, and using a musubi mold, pack the cooked sushi rice into a compact layer on top of the nori. Press it down firmly to ensure that it holds together and creates a sturdy base for your Crispy Chicken Katsu Musubi.
Step 6: Assemble the Musubi
Spread a generous layer of tonkatsu sauce over the packed sushi rice, then place the crispy fried chicken directly on top. Carefully lift the nori to wrap around the chicken and rice, sealing the edges with a few drops of water to stick the nori. Make sure it’s snug for a perfect holding structure.
Step 7: Slice and Serve
Once assembled, use a wet knife to slice the musubi into bite-sized pieces. This will ensure clean cuts without tearing the nori. Serve your Crispy Chicken Katsu Musubi warm, and watch it disappear in no time as friends and family savor each crunchy, juicy bite.
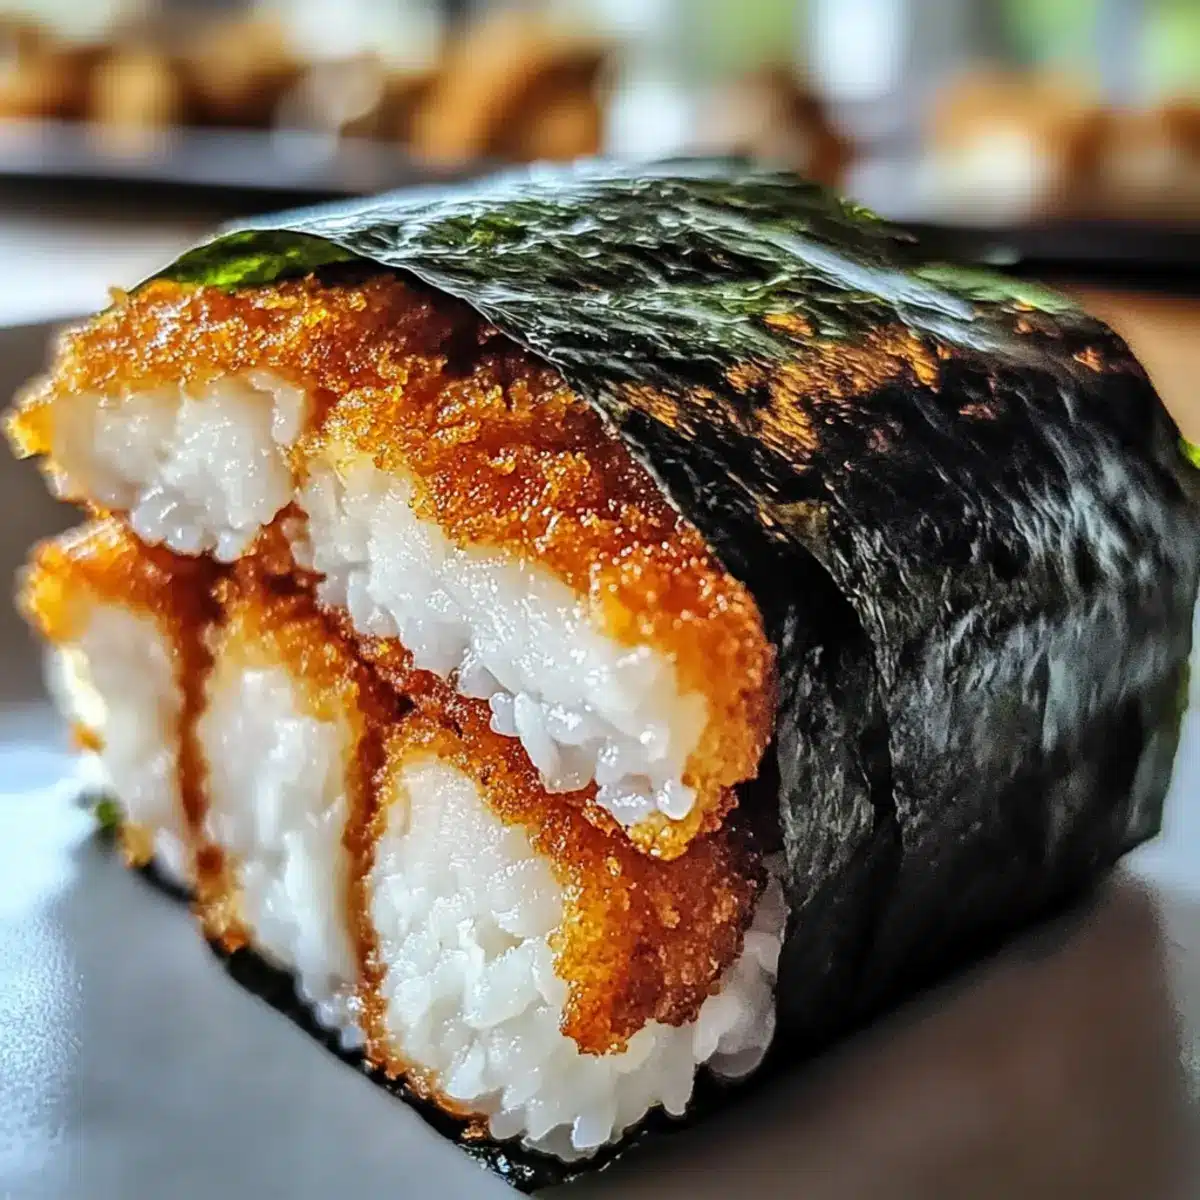
How to Store and Freeze Crispy Chicken Katsu Musubi
Fridge: Store your crispy Chicken Katsu Musubi in an airtight container for up to 3 days to maintain freshness and flavor. A paper towel inside the container can help absorb moisture.
Freezer: If you want to keep it longer, freeze the musubi wrapped in plastic wrap and then in aluminum foil for up to 2 months. This helps preserve texture and flavor.
Reheating: To reheat, thaw overnight in the fridge, then warm in a toaster oven or regular oven at 350°F for about 10 minutes. This will help restore the crispiness of the chicken.
Make-Ahead Tips: You can prepare the chicken and sushi rice up to 24 hours in advance, storing them separately in the fridge. Assemble when ready to enjoy your crispy Chicken Katsu Musubi!
Crispy Chicken Katsu Musubi Variations
Feel free to explore these delightful twists and swaps to suit your cravings and dietary needs!
-
Vegan Option: Replace chicken with tofu or tempeh, marinated in a bit of soy sauce for added flavor. This option offers a delicious plant-based delight!
-
Nutty Sprinkle: Add furikake or toasted sesame seeds to your sushi rice for a crunch and an umami boost that elevates your musubi.
-
Spicy Kick: Drizzle sriracha or a spicy mayo over the chicken before wrapping it up for a fiery surprise that will awaken your taste buds.
-
Double Crunch: Mix tempura flakes with panko for extra crunch in your coating; this brings an unexpected texture to each bite of your musubi.
-
Sweet Twist: Swap out tonkatsu sauce for sweet chili sauce for a refreshing twist—this gives a delightful balance of heat and sweetness that’s oh-so-addictive.
-
Fresh Garnish: Add sliced green onions or avocados on top of your chicken before wrapping it up. This not only looks appealing but adds creaminess to every bite!
-
Low-Carb Switch: Replace sushi rice with quinoa or cauliflower rice for a healthier, low-carb version without compromising on deliciousness.
For additional chicken inspiration, take a look at my Firecracker Chicken Bliss or try the zesty flavors of Chinese Lemon Chicken. Happy cooking!
What to Serve with Crispy Chicken Katsu Musubi
Elevate your meal experience by pairing this crunchy delight with complementary flavors and textures that will make your taste buds sing.
-
Pickled Vegetables: The tangy crunch of pickled vegetables balances the rich flavors of the musubi, adding a refreshing contrast.
-
Coconut Rice: Fluffy coconut-infused rice provides a subtly sweet flavor that harmonizes beautifully with the savory chicken and umami-filled nori.
-
Edamame: These lightly salted pods are a delightful bite-sized appetizer that adds protein and an enjoyable texture to your meal.
-
Miso Soup: A warm bowl of miso soup creates a comforting balance to the crispiness of the musubi while adding a dose of umami.
-
Japanese Potato Salad: Creamy and slightly sweet, this salad offers a smooth contrast to the crunchy musubi, making every bite more satisfying.
-
Sesame Noodles: Cold sesame noodles with a hint of sweetness complement the crispy chicken and provide a refreshing texture.
-
Green Tea: Pair your musubi with a soothing cup of green tea for a wholesome experience that cleanses the palate beautifully.
-
Chocolate Mochi: For a sweet finish, chocolate mochi is a delightful treat, balancing the savory flavors with its chewy texture and rich sweetness.
Expert Tips for Crispy Chicken Katsu Musubi
- Oil Temperature: Ensure the oil is at 350°F for ideal frying; too cool creates greasy chicken, while too hot burns it.
- Rice Packing: Press the sushi rice firmly into the mold to prevent your crispy Chicken Katsu Musubi from falling apart when slicing.
- Cutting Technique: Use a wet knife to make clean cuts on the assembled musubi, ensuring a neat presentation without tearing the nori.
- Flavor Enhancements: Consider adding furikake or sesame seeds to the sushi rice for extra umami and texture in your musubi.
- Leftover Storage: Store any leftovers in an airtight container in the fridge for up to 3 days for enjoyable meals later.
Make Ahead Options
These Crispy Chicken Katsu Musubi are perfect for busy weeknights when you want a delicious meal with minimal effort! You can prepare the fried chicken and sushi rice up to 24 hours in advance, storing each component separately in airtight containers in the refrigerator. This ensures they stay fresh and maintain their quality. When you’re ready to enjoy, simply reheat the chicken in a toaster oven to restore its crunch—just a few minutes will do. Assemble the musubi by packing the rice and adding the chicken, then wrapping it in nori. You’ll have restaurant-quality flavors without all the last-minute hustle!
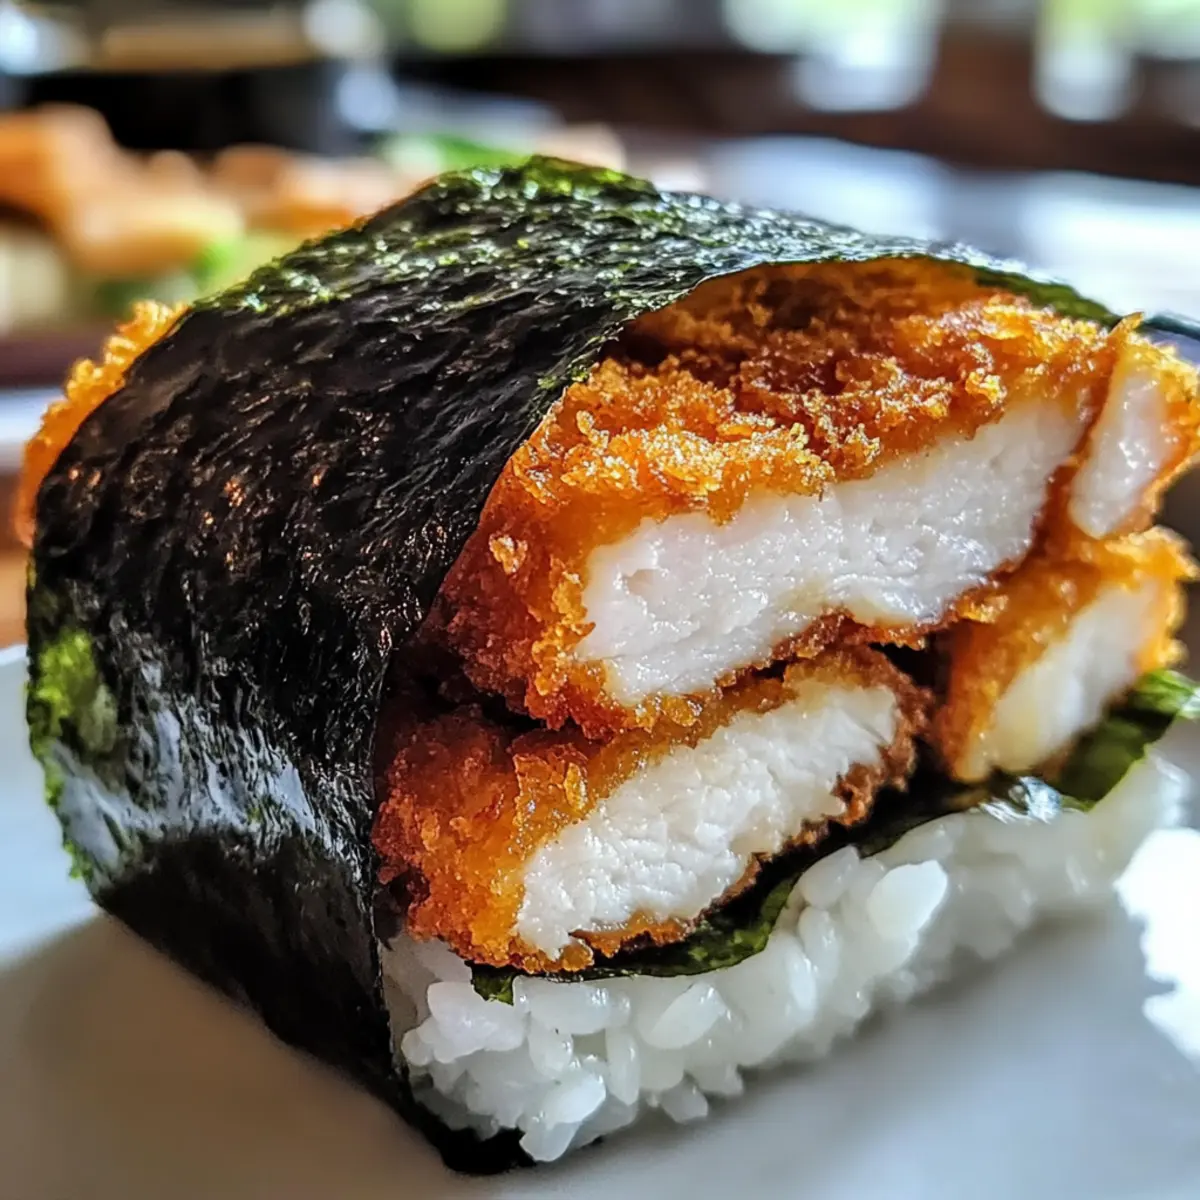
Crispy Chicken Katsu Musubi Recipe FAQs
How do I choose the right chicken for my Chicken Katsu Musubi?
Absolutely! For the best flavor, I recommend using boneless skinless chicken thighs as they are juicier compared to chicken breasts. However, if you prefer a leaner option, chicken breasts can work as a substitute. Just be sure to pound them to an even thickness for consistent cooking!
What’s the best way to store leftover Chicken Katsu Musubi?
Very! To keep your crispy Chicken Katsu Musubi fresh in the fridge, store it in an airtight container for up to 3 days. I often place a paper towel inside to absorb excess moisture, keeping the texture nice and firm.
Can I freeze Chicken Katsu Musubi?
Absolutely! For longer storage, wrap your assembled musubi in plastic wrap and then in aluminum foil, and freeze for up to 2 months. This method helps maintain its delicious crunch and flavor. When you’re ready to enjoy it, just thaw it overnight in the fridge, then heat in a toaster oven or regular oven at 350°F for about 10 minutes.
What should I do if my chicken isn’t crispy?
If your chicken isn’t achieving that crunchy exterior, there are a few things to consider. First, ensure the oil is at the correct temperature (350°F) before frying; if it’s too cool, the chicken can absorb oil, resulting in soggy texture. Additionally, make sure you’re using panko breadcrumbs, which create that irresistible crunch. Double-coating the chicken can also enhance its crispiness—after the first dip in batter and breadcrumbs, let it rest for a few minutes and then dip it again for an extra layer of crunch!
Can I make Chicken Katsu Musubi vegan?
Yes! For a vegan version of your Chicken Katsu Musubi, you can easily replace the chicken with firm tofu or a plant-based chicken alternative. Be sure to press the tofu to remove excess moisture, then follow the same battering and frying steps. You can also use a vegan egg substitute to help the breadcrumbs stick.
Is there a gluten-free option for this recipe?
Yes, definitely! To make your Crispy Chicken Katsu Musubi gluten-free, use gluten-free all-purpose flour and gluten-free panko breadcrumbs. Additionally, switch your soy sauce and tonkatsu sauce with gluten-free alternatives to enjoy this delightful snack without worry.
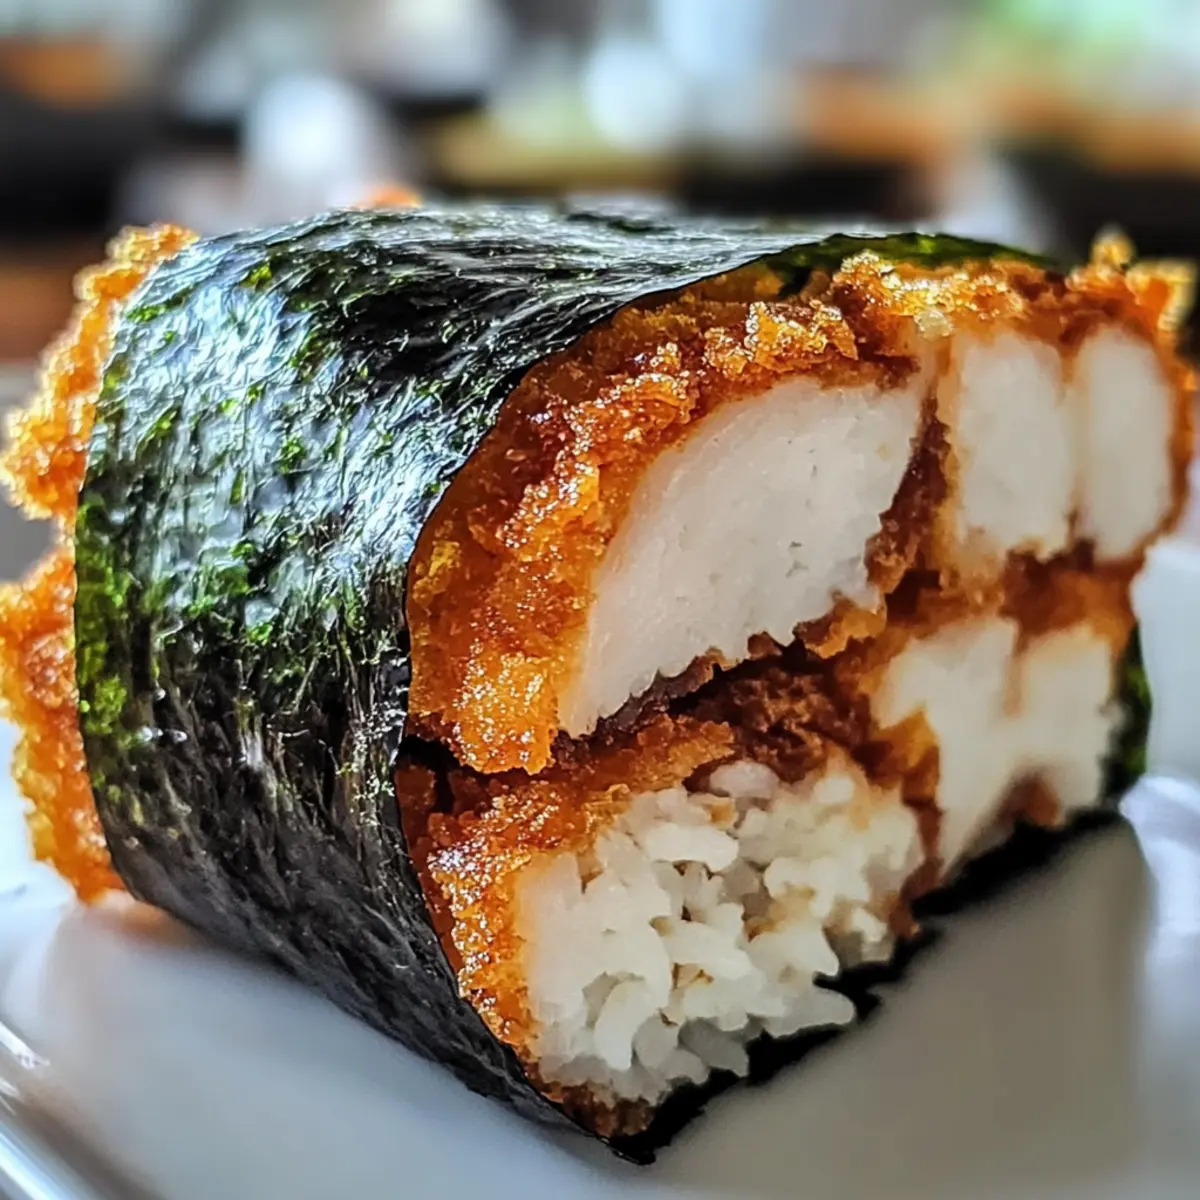
Crispy Chicken Katsu Musubi: Your New Favorite Snack Delight
Ingredients
Equipment
Method
- Pound the Chicken: Place the chicken thighs between plastic wrap and pound to ½-inch thickness for even cooking.
- Prepare the Batter: Whisk together eggs, flour, salt, and pepper until smooth, resembling pancake batter.
- Coat the Chicken: Dip chicken in the batter and roll in panko breadcrumbs for even coating.
- Fry the Chicken: Heat oil to 350°F and fry chicken for 4-6 minutes per side until golden brown.
- Shape the Rice: Pack sushi rice into a musubi mold on a nori sheet to form a sturdy base.
- Assemble the Musubi: Spread tonkatsu sauce, add chicken, and wrap with nori; use water to seal.
- Slice and Serve: Use a wet knife to cut into pieces and serve warm.
Leave a Reply