
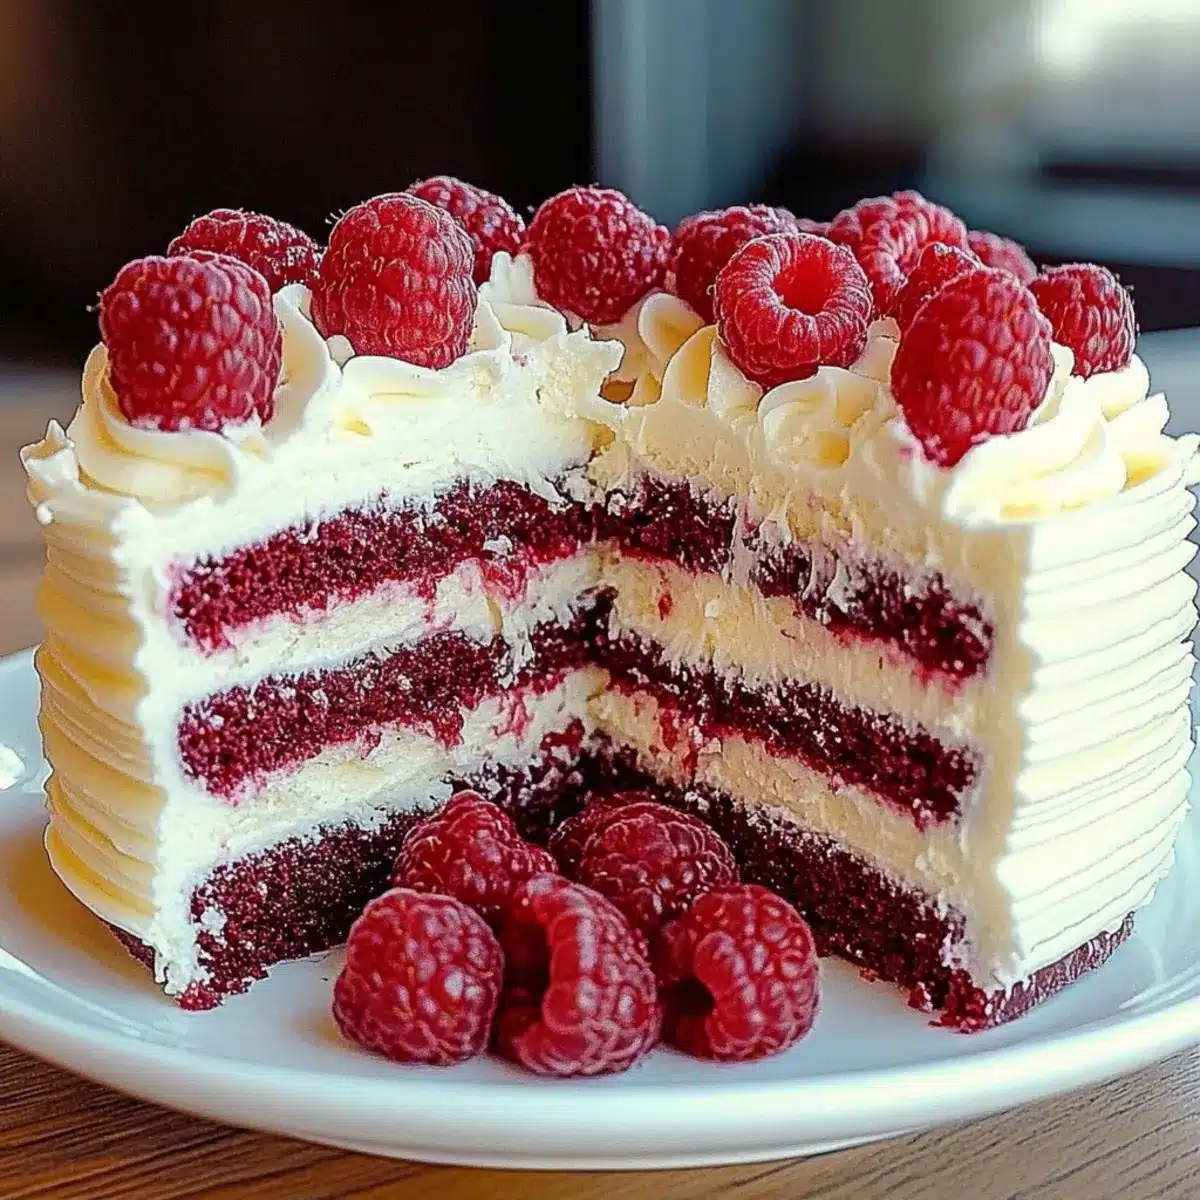
There’s something truly special about creating a dessert that feels like a celebration, and my White Chocolate Raspberry Dream Cake is just that! This indulgent, yet surprisingly quick dessert combines the sweetness of creamy white chocolate with tart, juicy raspberries, making it perfect for any occasion—from birthdays to cozy weeknight treats. Not only does this cake look stunning on the table, but it’s also easy to whip up even on your busiest days; it’s a fantastic way to impress your friends and family without spending hours in the kitchen. Curious about how this glorious cake comes together? Let’s dive into the recipe that promises to turn any moment into a sweet memory!
Why Is This Cake So Irresistible?
Decadent Flavor Explosion: The blend of creamy white chocolate and tart raspberries creates a sweet yet balanced flavor profile that leaves you wanting more.
Quick & Easy: With straightforward steps, this cake can be whipped up in no time, perfect for even the busiest of schedules.
Versatile Ingredients: Feel free to substitute fruits like strawberries or blueberries to match your taste or seasonal availability, ensuring there’s always a personal touch!
Gorgeous Presentation: With its eye-catching layers and creamy frosting, this cake elevates any occasion—from family dinners to festive celebrations.
Crowd-Pleasing Delight: Whether you’re serving it at a gathering or enjoying a slice solo, this cake is bound to win hearts and taste buds alike!
White Chocolate Raspberry Dream Cake Ingredients
• Dive into the delightful components that make this cake a true showstopper!
For the Cake
- All-purpose flour – Provides structure; can be replaced with a gluten-free flour blend (1:1 ratio).
- Granulated sugar – Adds sweetness; reducing by a quarter cup will lessen sweetness.
- Unsalted butter – Creates a tender texture; must be softened for proper creaming.
- Milk – Adds moisture and richness; can use whole milk or alternatives based on preference.
- Large eggs – Provides binding and moisture; ensure they are at room temperature for better mixing.
- Baking powder – Acts as a leavening agent for a light cake; critical for achieving ideal rise.
- Vanilla extract – Enhances flavor; use pure vanilla for the best taste.
- Salt – Balances sweetness; do not omit, as it enhances flavors.
- White chocolate chips – Offers rich, creamy sweetness; can substitute with chopped white chocolate bars.
- Fresh raspberries – Adds a tart, fruity flavor; can replace with strawberries or blueberries for variation.
For the Frosting
- Heavy whipping cream – Provides a light and airy texture for frosting; ensure cold for better whipping results.
- Powdered sugar – Sweetens the whipped cream; adjust based on desired frosting sweetness.
Whether you’re making the White Chocolate Raspberry Dream Cake for a special occasion or simply indulging in a sweet treat, these carefully chosen ingredients will help you achieve a decadent masterpiece that delights the senses!
Step‑by‑Step Instructions for White Chocolate Raspberry Dream Cake
Step 1: Preheat and Prepare
Begin by preheating your oven to 350°F (175°C). While it warms up, grease and flour two 9-inch round cake pans. This will ensure your White Chocolate Raspberry Dream Cake releases effortlessly after baking. You’ll know it’s ready when the floured surface is smooth and lightly coated.
Step 2: Creaming Butter and Sugar
In a large mixing bowl, cream together the softened unsalted butter and granulated sugar using an electric mixer on medium speed for about 3-5 minutes, or until the mixture is light and fluffy. This step is crucial as it incorporates air, giving your cake a tender texture. You’ll see it turn pale in color when properly creamed.
Step 3: Add Eggs and Vanilla
Next, add the large eggs to the butter and sugar mixture one at a time, mixing well after each addition. Pour in the pure vanilla extract and keep mixing for another minute. This step enhances the flavor and ensures all ingredients are well combined, creating a luscious base for your cake.
Step 4: Combine Dry Ingredients
In a separate bowl, whisk together the all-purpose flour, baking powder, and salt. Gradually add this dry mixture to the wet ingredients, alternating with the milk. Start and finish with the dry ingredients, mixing until just combined. Be careful not to overmix, as this could lead to a dense cake.
Step 5: Fold in Chocolate and Raspberries
Gently fold in the white chocolate chips and fresh raspberries, taking care not to crush the berries. This ensures that your White Chocolate Raspberry Dream Cake is packed with bursts of fruity flavor and creamy sweetness. Use a spatula for a light touch, ensuring an even distribution throughout the batter.
Step 6: Bake the Cakes
Evenly divide the batter between the two prepared cake pans. Slide them into the oven and bake for about 25-30 minutes. They are done when a toothpick inserted into the center comes out clean. Keep an eye on them as they bake, ensuring they turn a beautiful golden brown.
Step 7: Cool the Cakes
Once baked, allow the cakes to cool in the pans for 10 minutes. After this, carefully transfer them to a wire rack to cool completely. This step is essential to prevent the whipped cream frosting from melting later on when you assemble your White Chocolate Raspberry Dream Cake.
Step 8: Whip the Cream
While the cakes are cooling, prepare the frosting. In a large bowl, beat together the heavy whipping cream, powdered sugar, and a splash of vanilla extract with an electric mixer on high speed. Whip until soft peaks form, which should take about 3-5 minutes. The mixture needs to be airy yet stable for a perfect frosting.
Step 9: Layer the Cake
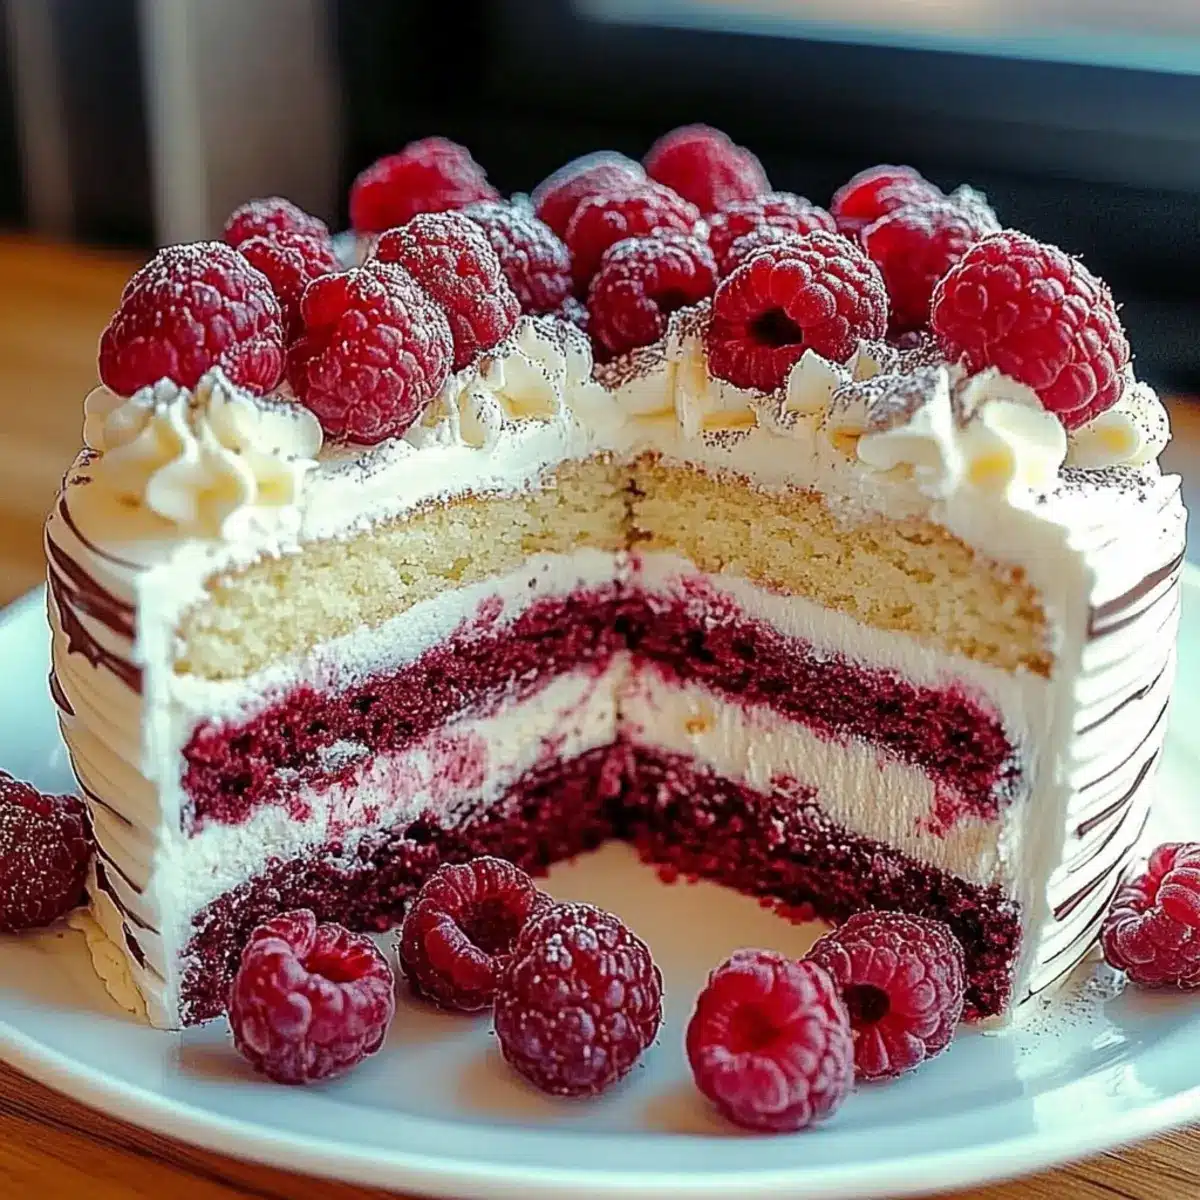
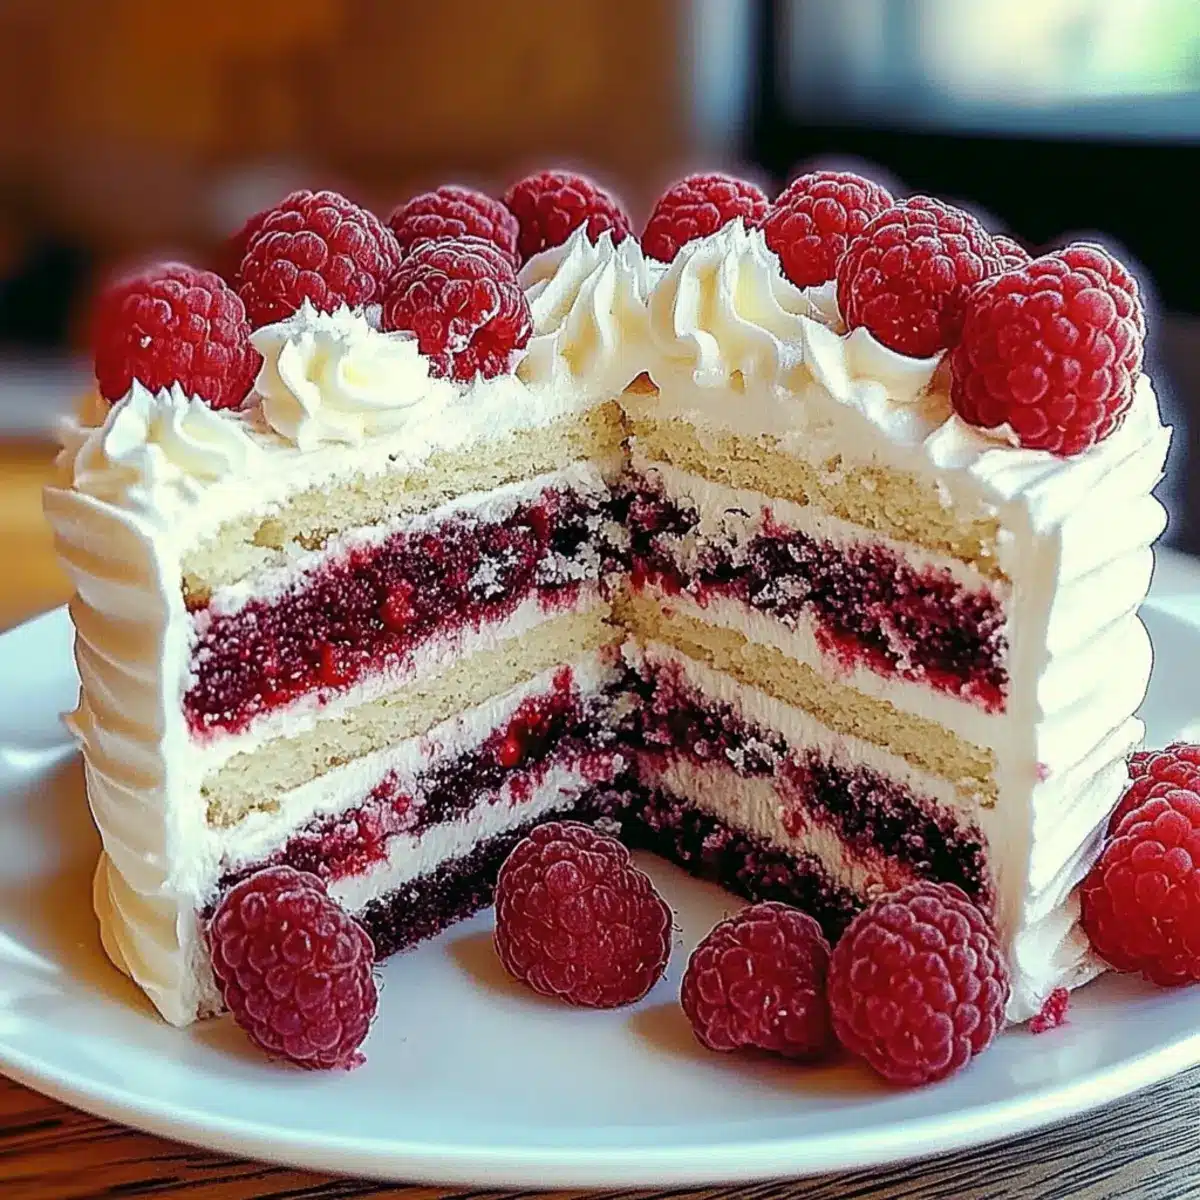
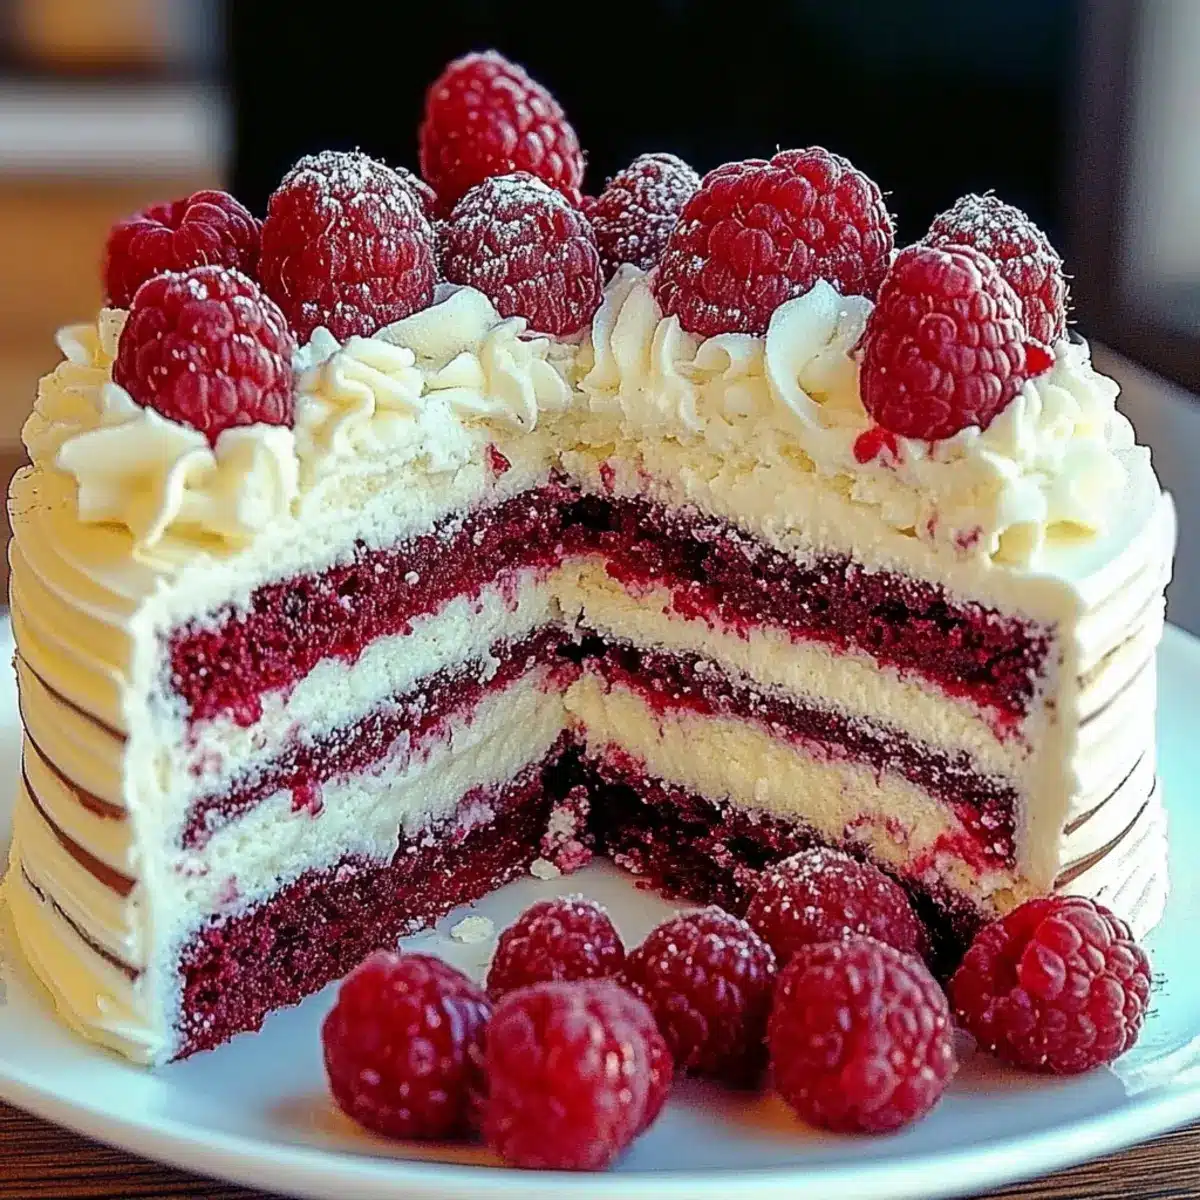
Once the cakes have completely cooled, place one layer on a serving plate. Spread a generous layer of whipped cream on top of this layer, allowing it to sit just slightly over the edges for a rustic look. Then, place the second layer on top, creating a beautiful two-tiered look.
Step 10: Frost and Garnish
Using the remaining whipped cream, frost the top and sides of the cake, ensuring it’s covered in a fluffy layer. For a gorgeous finish, garnish with additional raspberries and white chocolate shavings. This presentation adds an extra touch of elegance to your White Chocolate Raspberry Dream Cake, making it truly irresistible!
White Chocolate Raspberry Dream Cake Variations
Feel free to get creative and make this cake truly yours with these delightful variations!
-
Berry Swap: Replace raspberries with strawberries or blueberries for a new fruity twist.
-
Frozen Fruits: Use frozen raspberries—just be sure to thaw and drain them first to keep the cake’s texture perfect.
-
Puree Layer: Enhance flavor by spreading a tablespoon of raspberry puree between layers for extra berry goodness.
-
Nutty Crunch: Add chopped nuts like almonds or pistachios in the batter for delightful texture and an added crunch.
-
Zesty Lemon: Incorporate lemon zest into the batter for a refreshing brightness that pairs beautifully with the sweetness.
-
Chocolate Drizzle: Drizzle melted dark chocolate over the frosting for an indulgent finish that takes the dessert to the next level.
-
Coconut Cream: Swap the heavy cream for coconut cream for a tropical twist—perfect for those longing for an island escape.
-
Spicy Kick: Add a pinch of cayenne to the cake batter for unexpected heat that contrasts nicely with the sweet and creamy frosting.
With these variations, your White Chocolate Raspberry Dream Cake can become a canvas for your culinary creativity! You might also enjoy serving it alongside some fresh berries or a scoop of vanilla ice cream. For a different experience, check out my recipe for a delightful Chocolate Chip Peanut Butter Banana Roll-Ups for a snack that’s just as enjoyable!
How to Store and Freeze White Chocolate Raspberry Dream Cake
Fridge: Store the cake in an airtight container for up to 3 days to maintain its moistness and flavor. Ensure it’s completely cooled before sealing to prevent condensation.
Freezer: For longer storage, freeze the unfrosted cakes wrapped tightly in plastic wrap and then in aluminum foil for up to 3 months. Thaw in the refrigerator before frosting and serving.
Reheating: If desired, gently reheat individual slices in the microwave for 10-15 seconds. Enjoy the deliciousness of your White Chocolate Raspberry Dream Cake any time!
Make Ahead Options
These White Chocolate Raspberry Dream Cake preparations are perfect for busy home cooks looking to save time! You can bake the cake layers up to 3 days in advance, allowing them to cool completely before wrapping them tightly in plastic wrap and refrigerating. The frosting can also be prepared up to 24 hours ahead; simply store it in an airtight container in the fridge. To maintain quality, avoid assembling the cake until just before serving to prevent the whipped cream from softening. Once ready to enjoy, layer the cakes and add the frosting for a stunning presentation that tastes just as delicious as if it were made fresh!
What to Serve with White Chocolate Raspberry Dream Cake
There’s nothing quite like creating a meal that pairs perfectly with this delightful dessert, ensuring every moment feels special.
-
Fresh Berries: Adding a mixed berry medley on the side complements the cake’s fruity notes, enhancing its vibrant flavors. The tartness of the berries balances the sweetness perfectly.
-
Vanilla Ice Cream: A scoop of creamy vanilla ice cream serves as a rich contrast to the airy cake, making each bite a symphony of textures. This combination is a classic crowd-pleaser.
-
Chocolate Ganache Drizzle: A silky chocolate ganache brings a decadent touch to the cake, intensifying its indulgence. The deep chocolate flavor adds warmth, making it feel luxurious.
-
Sparkling Wine: A glass of bubbly complements the sweetness of the cake while introducing a refreshing element. The effervescence lifts the dessert experience to new heights.
-
Lemon Sorbet: For a zesty finish, lemon sorbet provides a light and refreshing palate cleanser, enhancing your meal with bright, citrusy notes that beautifully contrast the sweetness of the cake.
-
Coconut Whipped Cream: A luscious dollop of coconut whipped cream provides an exotic twist, adding a tropical flair that pairs deliciously with the white chocolate and raspberries.
With these pairings, you can create a memorable meal that enhances the gratification of your White Chocolate Raspberry Dream Cake!
Expert Tips for White Chocolate Raspberry Dream Cake
-
Perfectly Creamed: Cream butter and sugar until light and fluffy; this creates air bubbles that make your cake tender and airy.
-
Gentle Mixing: Avoid overmixing the batter when adding dry ingredients. Too much mixing can lead to a dense, tough cake instead of a light White Chocolate Raspberry Dream Cake.
-
Cool Completely: Ensure the cakes cool completely before frosting. Frosting on warm cake can cause the whipped cream to melt, ruining your beautiful layers.
-
Quality Ingredients: Use high-quality white chocolate for a rich flavor and smooth texture. Cheap options can compromise the indulgent taste of your cake.
-
Fruit Freshness: For the best flavor, use fresh raspberries. If using frozen, make sure they’re thawed and well-drained to avoid extra moisture in the batter.
White Chocolate Raspberry Dream Cake Recipe FAQs
How do I choose fresh raspberries for the cake?
Absolutely! When selecting fresh raspberries, look for plump, firm berries without any dark spots or signs of mold. The color should be vibrant, and they should have a sweet aroma. If you’re using frozen raspberries, make sure they are completely thawed and drained to avoid adding excess moisture to your batter.
What’s the best way to store leftovers?
I recommend storing any leftover slices of your White Chocolate Raspberry Dream Cake in an airtight container in the refrigerator for up to 3 days. Make sure the cake is completely cooled before sealing it to prevent condensation. This will help maintain its deliciously moist texture and flavor.
Can I freeze the White Chocolate Raspberry Dream Cake?
Very! For freezing, I suggest wrapping the unfrosted cake layers tightly in plastic wrap, then in aluminum foil. You can freeze them for up to 3 months. When you’re ready to enjoy, simply thaw the layers in the refrigerator overnight before frosting and serving. This ensures the cake remains fresh and delicious!
What should I do if my cake doesn’t rise properly?
If your cake doesn’t rise as expected, it might be due to expired baking powder. Always check the expiration date before using it! Also, ensure you didn’t overmix the batter when adding dry ingredients, as overmixing can lead to a dense cake. If you try again, be gentle and mix until just combined for the best results.
Are there any dietary considerations I should keep in mind?
Absolutely! If you’re catering to dietary restrictions, consider using a gluten-free flour blend in a 1:1 ratio to replace all-purpose flour for a gluten-free version of the cake. Additionally, always check for potential allergens in toppings like chocolate and cream if serving to guests with allergies.
Delight in this White Chocolate Raspberry Dream Cake Recipe
Ingredients
Equipment
Method
- Preheat your oven to 350°F (175°C) and grease and flour two 9-inch round cake pans.
- In a large mixing bowl, cream together the softened unsalted butter and granulated sugar using an electric mixer on medium speed for about 3-5 minutes.
- Add the large eggs one at a time, mixing well after each addition, then pour in the pure vanilla extract and mix for another minute.
- In a separate bowl, whisk together the all-purpose flour, baking powder, and salt. Gradually add this dry mixture to the wet ingredients, alternating with the milk.
- Gently fold in the white chocolate chips and fresh raspberries.
- Evenly divide the batter between the two prepared cake pans and bake for about 25-30 minutes until a toothpick inserted comes out clean.
- Allow the cakes to cool in the pans for 10 minutes, then transfer them to a wire rack to cool completely.
- In a large bowl, beat together the heavy whipping cream, powdered sugar, and a splash of vanilla extract until soft peaks form.
- Once the cakes have completely cooled, place one layer on a serving plate and spread a layer of whipped cream on top.
- Place the second layer on top and frost the top and sides of the cake with the remaining whipped cream.
- Garnish with additional raspberries and white chocolate shavings.
Leave a Reply