
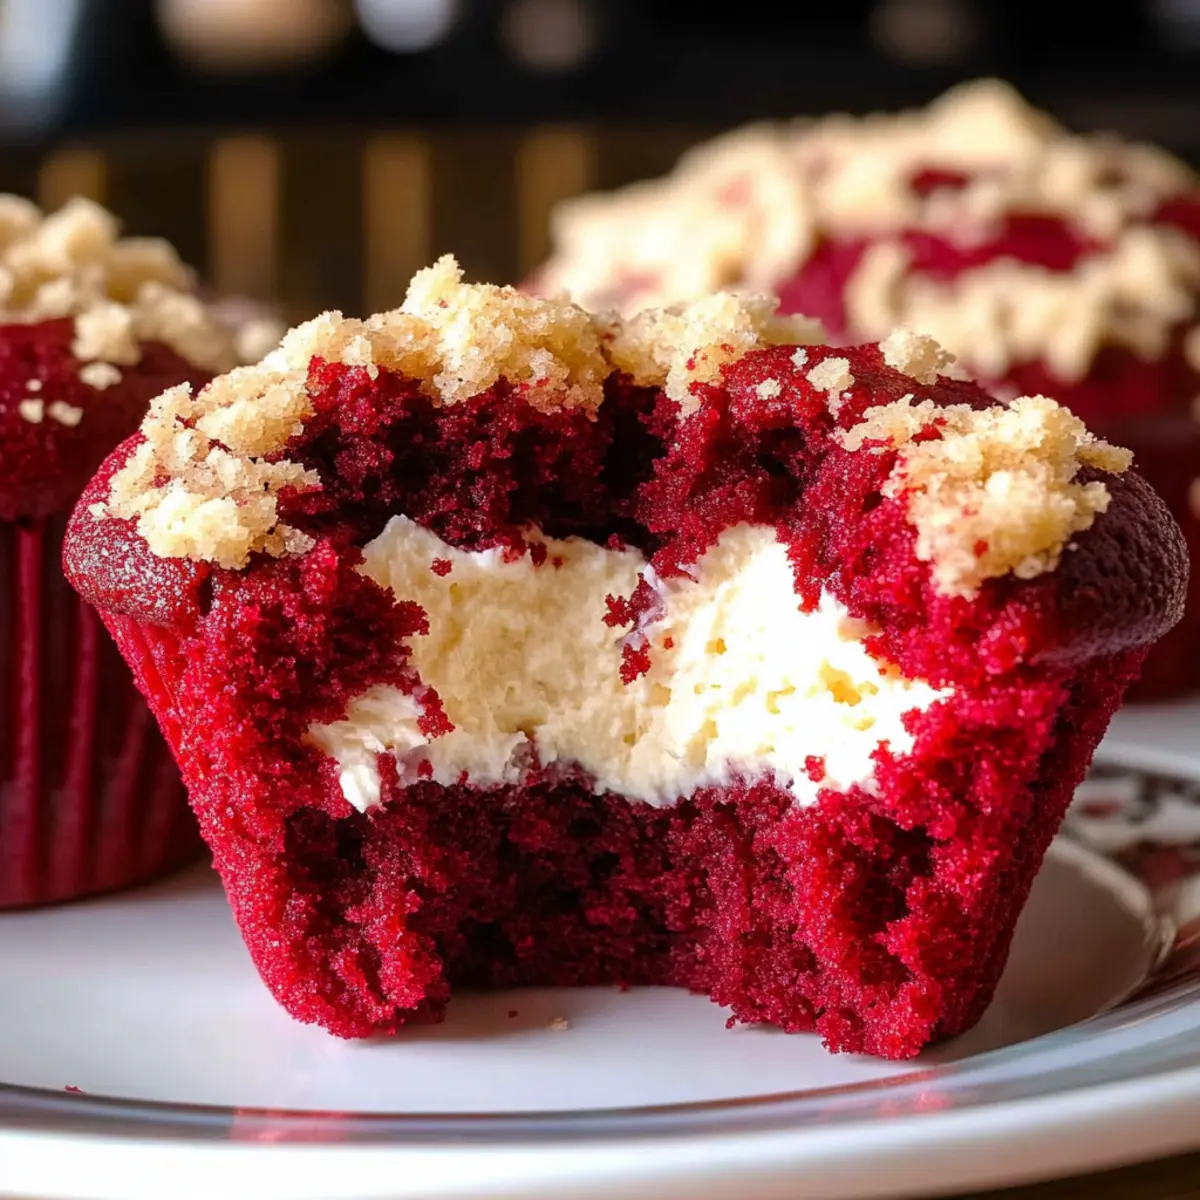
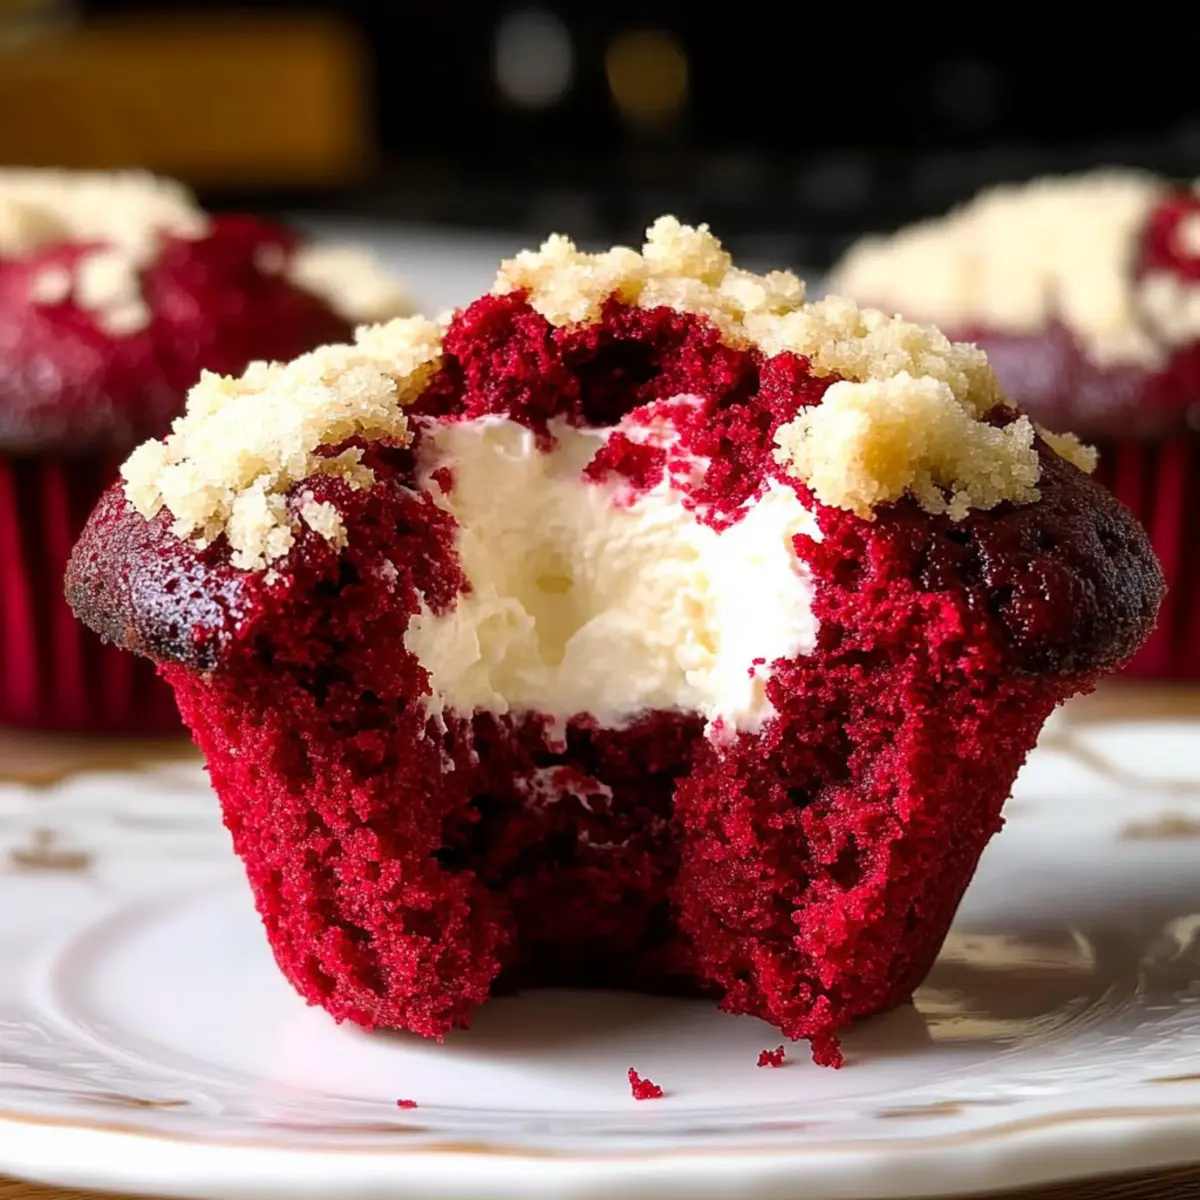
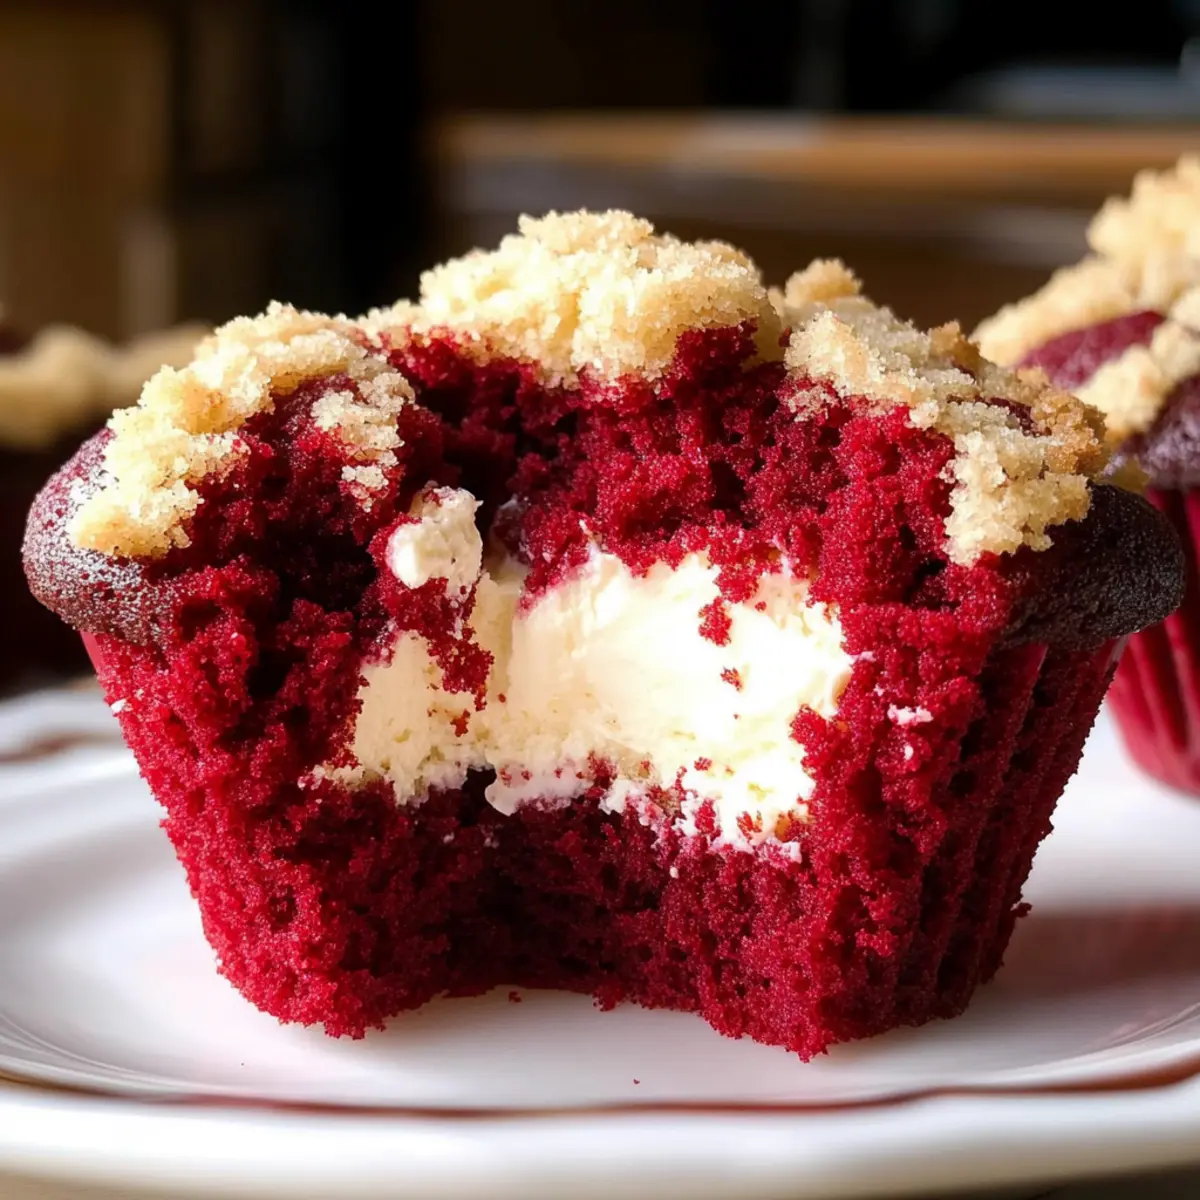
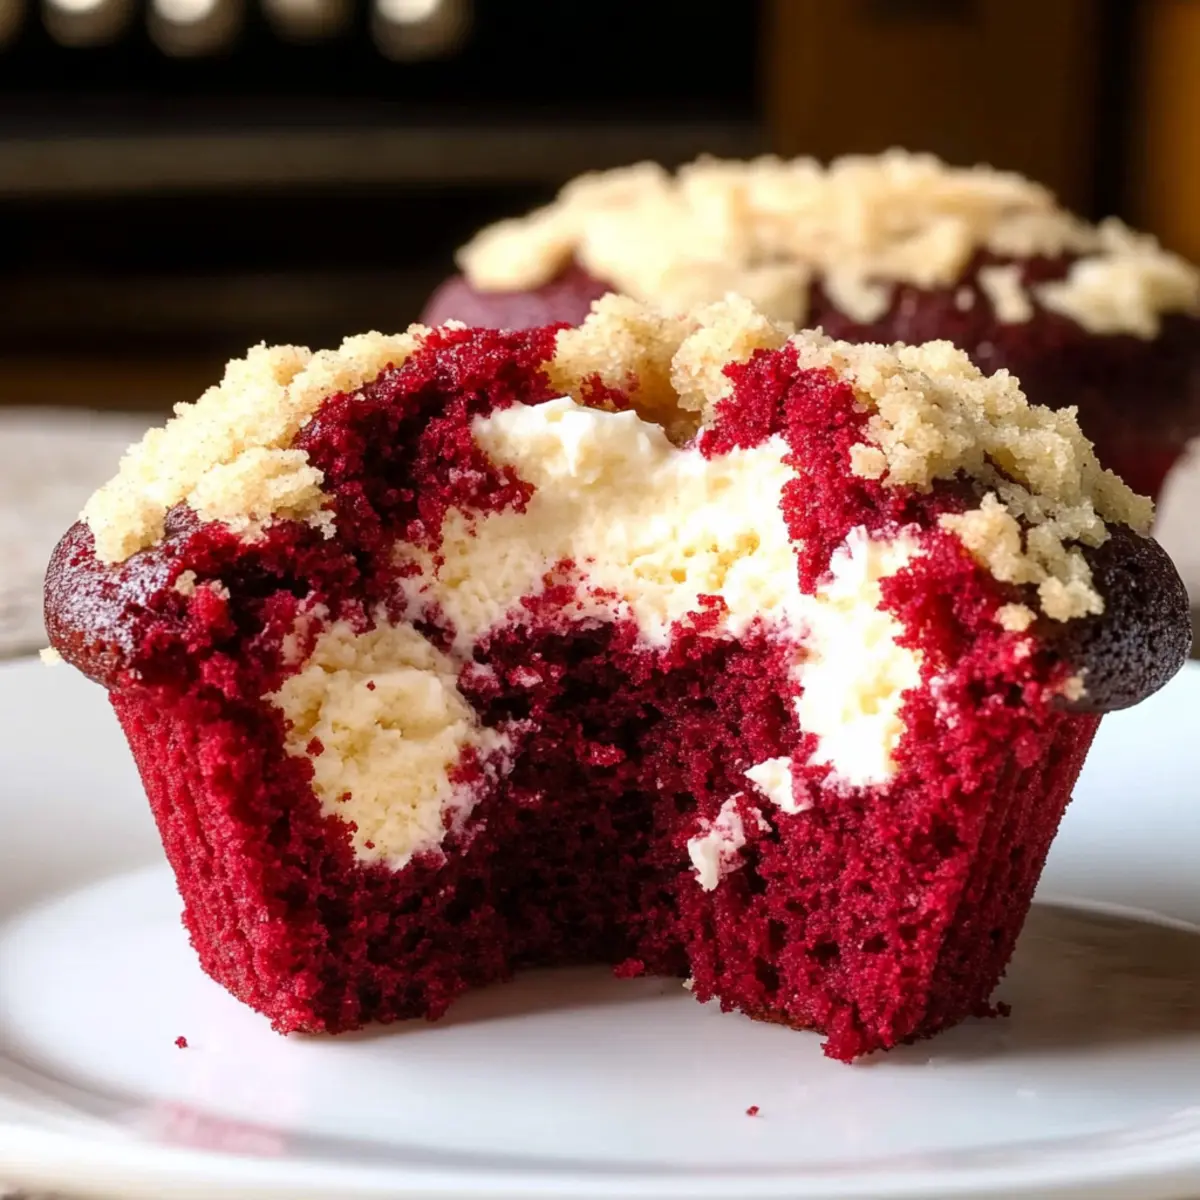
As I strolled through a local bakery, the enticing aroma of freshly baked goods filled the air, igniting my desire to recreate something special at home. That’s when I decided to whip up these Buttery Red Velvet Muffins with Cream Cheese Filling. With their impossibly soft texture and rich, velvety charisma, they are sure to charm anyone who takes a bite. Topped with a deliciously crunchy crumb topping, these muffins elevate your breakfast or snack time from mundane to extraordinary. They’re not just a pretty treat; they’re quick to prepare and perfect for sharing with friends and family (if you can resist that creamy center for yourself!). Curious to learn how to bring this delightful recipe to your kitchen? Let’s dive into making these little treasures!
Why are These Muffins So Special?
Uniquely Decadent: These Red Velvet Muffins are not your everyday treat; they boast a creamy cheese filling that mimics the beloved taste of a cheese danish.
Quick and Easy: With just a few simple steps, you can whip up these beauties in no time, perfect for those busy mornings or spontaneous gatherings.
Visual Appeal: The vibrant red hue, coupled with a buttery crumb topping, makes these muffins a stunning centerpiece, sure to impress family and friends.
Versatile Delight: Serve them as an indulgent breakfast, a delightful snack, or even a festive dessert, and watch them disappear!
Perfect Pairing: Enjoy them warm with a cup of coffee or tea, just like you would with our Lemon Cream Puffs for that cozy café vibe at home.
Dive into a world of flavor and texture—these muffins are bound to become your new favorite!
Red Velvet Muffin Ingredients
-
For the Muffins
• Cake Flour – Provides delicate structure and softness; substitute with a mix of all-purpose flour and cornstarch if needed.
• Cocoa Powder – Adds a subtle chocolate flavor and enhances the red velvet quality.
• Baking Powder & Baking Soda – Helps muffins rise and create a light texture.
• Salt – Enhances flavor balance beautifully.
• Brown Sugar – Contributes moisture and rich sweetness to your muffins.
• Vegetable Oil & Butter – Adds richness and moisture; partially substitute oil with melted butter for extra flavor.
• Egg Whites – Provides structure and leavening; skip the yolks to maintain a light texture.
• Vanilla Extract & Red Velvet Emulsion – Flavor enhancers; use food coloring as an alternative to emulsion for that iconic color.
• Buttermilk – Adds moisture and tanginess; substitute with a mix of milk and vinegar if you’re out.
• Heavy Cream – Whipped and folded into the batter for added lightness; replace with milk if necessary, but results might vary. -
For the Cream Cheese Filling
• Cream Cheese – Provides a rich and creamy center; no substitutions recommended for this ingredient.
• Egg Yolk – Helps bind the filling and adds richness; don’t skip it for the best results.
• Powdered Sugar – Sweetens the filling beautifully; ensures a smooth texture when mixed. -
For the Crumb Topping
• Cold Butter – Essential for creating that satisfying crunch; keep it chilled for best results.
• Flour – Combines with butter and sugar to create a delightful crumb; sift for a lighter texture.
• Sugar – Sweetens the crumb topping and enhances browning while baking.
These Red Velvet Muffins with Cream Cheese Filling are destined to bring joy, so gather your ingredients and get ready to indulge!
Step‑by‑Step Instructions for Red Velvet Muffins with Cream Cheese Filling
Step 1: Prepare the Cream Cheese Filling
In a mixing bowl, combine cream cheese, one egg yolk, and powdered sugar. Blend these ingredients together until perfectly smooth and creamy, ensuring there are no lumps. Once well-mixed, scoop dollops of the filling onto a parchment-lined plate and place them in the freezer while you prepare the muffin batter. This will help the filling maintain its shape during baking.
Step 2: Make the Crumb Topping
In a separate bowl, cut cold butter into small pieces, then mix in flour and sugar using your fingers or a pastry cutter until the mixture resembles coarse crumbs. The goal is to achieve a crumbly texture that will crisp up beautifully during baking. Set this mixture aside, allowing the flavors to meld while you move on to the muffin batter.
Step 3: Mix the Wet Ingredients
In a stand mixer, beat together butter and oil with brown sugar on medium speed until light and fluffy, about 2-3 minutes. Gradually add in the egg whites one at a time, ensuring each is fully incorporated before the next addition. This will create a rich and airy base for your Red Velvet Muffins with Cream Cheese Filling that helps achieve a fluffy texture.
Step 4: Combine the Dry Ingredients
In a separate bowl, whisk together the cake flour, cocoa powder, baking powder, baking soda, and salt. Gradually add this dry mixture to the wet ingredients in the mixer, alternating with buttermilk. Begin and end with the dry ingredients, mixing each addition just until combined. This way, you’ll prevent overmixing and keep the muffins light and moist.
Step 5: Fold in the Heavy Cream
In another bowl, whip the heavy cream until soft peaks form and it becomes fluffy. Carefully fold the whipped cream into the muffin batter using a spatula until the mixture is well combined and no white streaks remain. This step is key to achieving that irresistible lightness in your Red Velvet Muffins with Cream Cheese Filling.
Step 6: Fill the Muffin Pans
Preheat your oven to 425°F. Grease a muffin tin thoroughly to prevent sticking. Pour the muffin batter into each cup, filling them halfway. Using a spoon, gently push the frozen cream cheese dollops into the center of each muffin cavity, then cover them with the remaining batter. Finally, sprinkle the crumb topping generously over each filled muffin.
Step 7: Bake the Muffins
Place the filled muffin tin in the preheated oven and bake at 425°F for the first 6 minutes. Then, without opening the oven, reduce the temperature to 350°F and continue baking for 18 to 22 minutes. To check for doneness, insert a toothpick into a muffin; it should come out with a few moist crumbs but no wet batter.
Step 8: Cool and Serve
Once baked, remove the muffin tin from the oven and allow the Red Velvet Muffins with Cream Cheese Filling to cool in the tin for about 10 minutes. This will help them set and maintain their shape. Afterward, carefully transfer the muffins to a wire rack to cool completely before serving. Enjoy the soft, fluffy texture contrasted with the creamy center!
Expert Tips for Red Velvet Muffins
-
High Heat Start: Bake at 425°F initially for 6 minutes to encourage rising; it helps achieve that lovely dome shape before lowering the temperature.
-
Grease Well: Ensure that your muffin tin is thoroughly greased. This avoids any sticking since the batter rises above the liners during baking.
-
Cool in the Tin: Let the muffins cool in the pan for about 10 minutes before transferring them to a wire rack. This helps maintain their structural integrity, especially with the creamy filling.
-
Ingredient Temperature: Use room temperature ingredients, especially eggs and cream cheese. This ensures a smoother batter and better incorporation for your Red Velvet Muffins with Cream Cheese Filling.
-
Don’t Overmix: When combining the wet and dry ingredients, mix until just combined to keep the muffins light and fluffy. Overmixing can lead to dense muffins.
Red Velvet Muffins with Cream Cheese Filling Variations
Feel free to explore these delightful twists and customizations for your muffins that will inspire your creativity in the kitchen!
- Dye-Free Delight: Skip the red velvet emulsion and use natural food coloring to achieve your desired hue while embracing a more wholesome approach.
- Nutty Crumb Topping: Swap in chopped pecans or walnuts in the crumb topping for a delightful crunch and nutty flavor that enhances the muffins’ richness.
- Spicy Kick: Add a dash of cinnamon or a sprinkle of cardamom to the batter for a warm, aromatic note that pairs beautifully with the creamy center.
- Alternative Extracts: Play with different flavor profiles by substituting vanilla extract with almond or hazelnut for a unique twist on taste.
- Cream Cheese Frosting: After baking, top muffins with a dollop of whipped cream cheese frosting to elevate your treats to a whole new level of indulgence.
- Mini Muffins: For bite-sized joy, bake your mixture in mini muffin tins. They’re perfect for a brunch spread or a charming snack on the go.
- Vegan Version: Substitute the egg whites and heavy cream with aquafaba and coconut cream to create a delicious vegan-friendly muffin without losing any of that creamy goodness.
- Chocolate Lovers: Mix in some mini chocolate chips into the batter before baking to create a decadent chocolate chunk experience with every scrumptious bite.
It’s all about personalizing your experience and making these Red Velvet Muffins uniquely yours! For more tempting treats, consider trying our rich Lemon Cream Puffs or adventurous Bites Mac Cheese. Happy baking!
Make Ahead Options
These Red Velvet Muffins with Cream Cheese Filling are a fantastic option for meal prep, allowing you to enjoy rich flavors with minimal effort. You can prepare the cream cheese filling and freeze dollops up to 24 hours ahead, which helps maintain its shape during baking. Additionally, you can mix the dry ingredients and store them in an airtight container for up to 3 days. When you’re ready to bake, simply follow the instructions to combine the wet ingredients and proceed to fill the muffin tins, placing the frozen cream cheese in the center before baking. This way, you’ll have delicious muffins ready in no time, perfect for busy mornings!
How to Store and Freeze Red Velvet Muffins
-
Room Temperature: Keep your muffins in an airtight container at room temperature for up to 3 days to maintain their soft texture and flavor.
-
Fridge: If you want to extend their freshness, store the Red Velvet Muffins in the fridge for up to a week in an airtight container.
-
Freezer: For longer storage, wrap each muffin individually in plastic wrap and place them in a freezer-safe bag. They can be frozen for up to 3 months.
-
Reheating: To enjoy your muffins warm, simply reheat them in the microwave for about 20-30 seconds, or pop them in a preheated oven at 350°F for about 10 minutes.
What to Serve with Buttery Red Velvet Muffins with Cream Cheese Center
Indulge in a complete culinary experience that pairs perfectly with the inviting aroma and flavors of these muffins.
-
Fresh Berries: The tartness of blueberries or raspberries adds a refreshing contrast to the rich muffins, providing a burst of flavor in every bite.
-
Creamy Yogurt: A dollop of vanilla or Greek yogurt complements the sweetness of the muffins, while adding a creamy texture that makes each mouthful delightful.
-
Hot Coffee: A steaming cup of coffee brings out the cocoa notes in the muffins, creating a perfect morning ritual that fuels your day.
-
Decadent Whipped Cream: A swirl of whipped cream on top enhances the experience by adding a luscious layer of sweetness and elegance alongside the muffins.
-
Savory Bacon: The salty crunch of crispy bacon creates a wonderful balance with the muffins’ sweetness, making it an irresistible combination for brunch.
-
Cheesy Scrambled Eggs: Fluffy scrambled eggs with a sprinkle of cheese provide protein and a savory touch that pairs beautifully with the muffins’ sweet profile.
-
Iced Tea: For a refreshing drink, brew a lightly sweetened iced tea with lemon that perfectly complements the rich flavors without overpowering them.
-
Mini Fruit Salad: A vibrant fruit salad with seasonal fruits offers a refreshing palate cleanser between bites, enhancing the overall breakfast experience.
-
Chocolate Chip Cookies: If tempted by dessert, a small cookie serves as a playful side, offering another sweet layer to your meal while satisfying that sweet tooth!
Red Velvet Muffins with Cream Cheese Filling Recipe FAQs
How do I choose the right level of ripeness for ingredients?
For this recipe, the buttermilk should be fresh, and the cream cheese should be at room temperature for easy blending. Incorporating room temperature ingredients ensures a smoother batter and better mixing.
How long can I store Red Velvet Muffins?
Keep your muffins in an airtight container at room temperature for up to 3 days. They can also be stored in the fridge for up to a week. I recommend placing a slice of bread in the container to help maintain moisture!
Can I freeze these muffins for later?
Absolutely! Wrap each muffin individually in plastic wrap and place them in a freezer-safe bag. They can be frozen for up to 3 months. When you’re ready to enjoy, just thaw them in the fridge overnight and reheat in the microwave for a quick treat.
What should I do if my muffins overflow during baking?
If your muffins overflow, it’s likely they were overfilled. For best results, fill muffin cups no more than halfway. In case of overflow, let them cool slightly before using a spoon to gently clean the edges and maintain the fluffy shape.
Are these muffins safe for someone with allergies?
These muffins contain wheat, eggs, and dairy due to the cream cheese. If you’re preparing for someone with food allergies, consider substituting the egg whites with an egg replacer and using non-dairy cream cheese options; however, texture and taste may vary. Always check ingredient labels to ensure safety.
Irresistibly Soft Red Velvet Muffins with Cream Cheese Filling
Ingredients
Equipment
Method
- Step 1: Prepare the Cream Cheese Filling. In a mixing bowl, combine cream cheese, one egg yolk, and powdered sugar. Blend these ingredients together until perfectly smooth and creamy, ensuring there are no lumps. Once well-mixed, scoop dollops of the filling onto a parchment-lined plate and place them in the freezer while you prepare the muffin batter.
- Step 2: Make the Crumb Topping. In a separate bowl, cut cold butter into small pieces, then mix in flour and sugar using your fingers or a pastry cutter until the mixture resembles coarse crumbs. Set this mixture aside.
- Step 3: Mix the Wet Ingredients. In a stand mixer, beat together butter and oil with brown sugar on medium speed until light and fluffy, about 2-3 minutes. Gradually add in the egg whites one at a time, ensuring each is fully incorporated before the next addition.
- Step 4: Combine the Dry Ingredients. In a separate bowl, whisk together the cake flour, cocoa powder, baking powder, baking soda, and salt. Gradually add this dry mixture to the wet ingredients in the mixer, alternating with buttermilk.
- Step 5: Fold in the Heavy Cream. In another bowl, whip the heavy cream until soft peaks form. Carefully fold the whipped cream into the muffin batter using a spatula until well combined.
- Step 6: Fill the Muffin Pans. Preheat your oven to 425°F. Grease a muffin tin thoroughly. Pour the muffin batter into each cup, filling them halfway, then push the frozen cream cheese dollops into the center, covering them with the remaining batter and sprinkle crumb topping on top.
- Step 7: Bake the Muffins. Bake at 425°F for 6 minutes, then reduce to 350°F and bake for another 18 to 22 minutes until a toothpick comes out clean.
- Step 8: Cool and Serve. Allow muffins to cool in the tin for about 10 minutes before transferring to a wire rack to cool completely.
Leave a Reply