
The unexpected joy of creating a stunning dessert often begins with a simple craving. When I first set out to make a No-Bake Red Velvet Cheesecake, I was searching for something that felt special yet effortless—perfect for any celebration or just a sweet treat to brighten my day. This recipe does just that, blending rich cream cheese with dark chocolate and a vibrant red hue, all resting on a crunchy Oreo crust. Not only is it a showstopper, but it’s also incredibly easy to prepare, making it a great option for busy home chefs like us. Whether you’re after a classic indulgence or seeking a delightful vegan twist, this cheesecake can be adapted to suit your tastes. So, are you ready to impress your family and friends with this deliciously simple dessert?
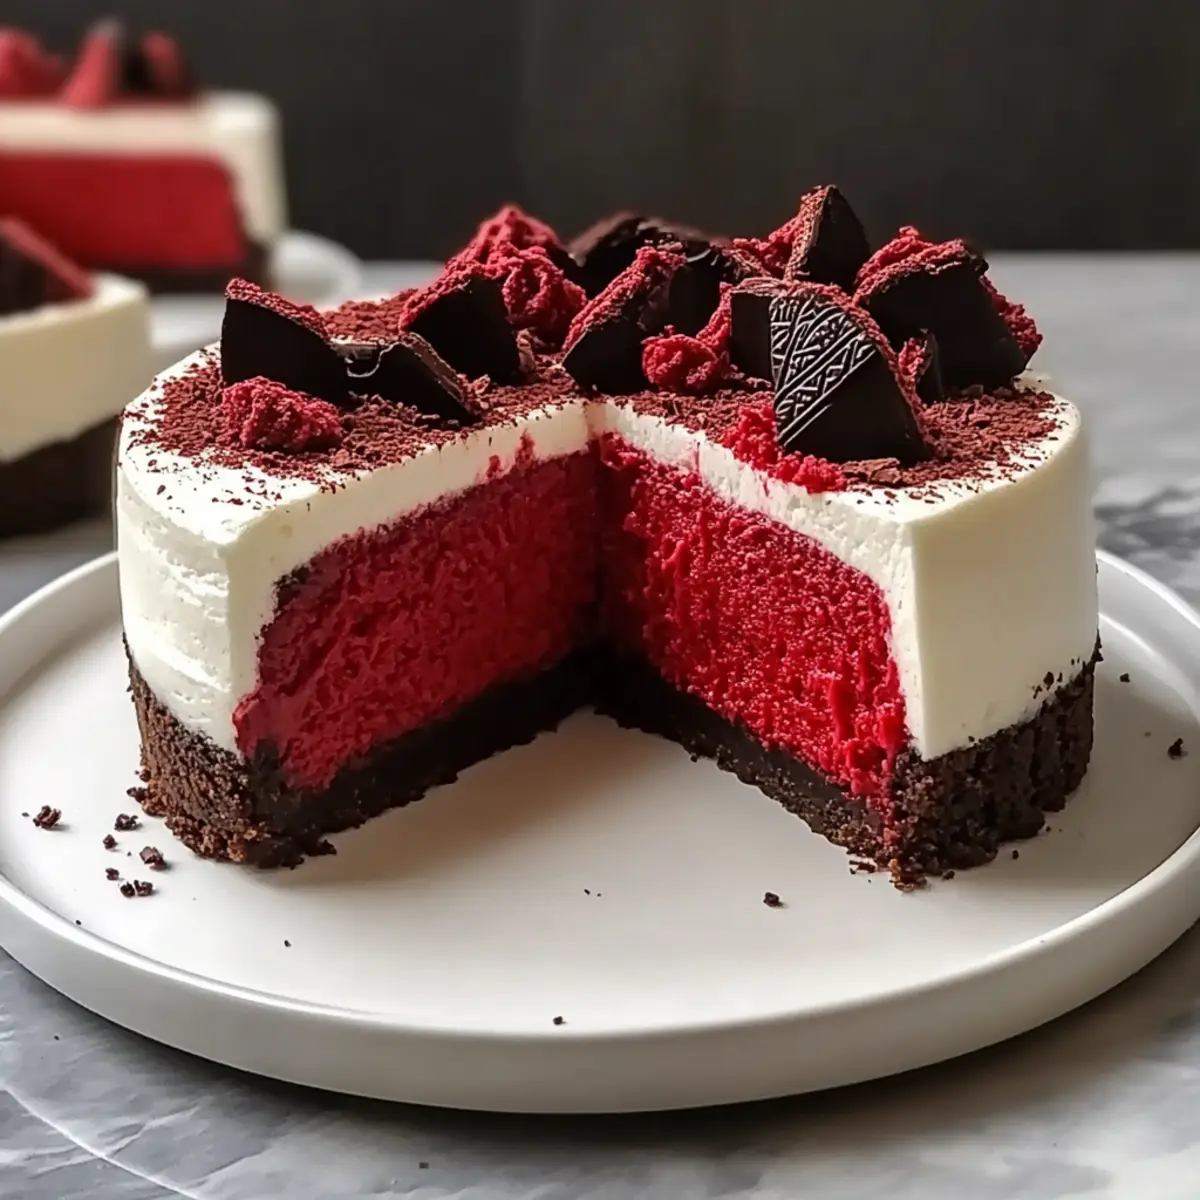
Why is Red Velvet Cheesecake a Must-Try?
Irresistible sweetness: You won’t be able to resist the rich and creamy flavor profile of this No-Bake Red Velvet Cheesecake, making it a perfect finale to any meal.
Effortless preparation: With minimal effort required, this dessert successfully marries elegance with simplicity, perfect for busy days or spontaneous get-togethers.
Versatile options: Adapt it to cater to dietary preferences—try a vegan version using plant-based ingredients or a gluten-free crust for loved ones with specific needs.
Eye-catching presentation: The striking red color and luscious layers make this cheesecake not just delicious, but a stunning centerpiece for any gathering. Check out options like Sugar Cookie Cheesecake for more delightful treats!
Chill and serve: It sets beautifully in the fridge, allowing you to prepare ahead and enjoy more time with guests. Your invitees will think you spent hours crafting this masterpiece!
Red Velvet Cheesecake Ingredients
For the Crust
• Oreo Cookies – Provides a crunchy chocolate base; substitute with plain chocolate biscuits if desired.
• Unsalted Butter (60g / 4 tbsp) – Binds the cookie crust together; you can use salted butter but adjust the sugar accordingly.
For the Filling
• Gelatine Powder (2 tsp) – Sets the cheesecake; remember to bloom it for the best texture.
• Water (2 tbsp) – Activates the gelatine; ensure it’s warm for effective blooming.
• Heavy Cream (1 cup, cold) – Adds lightness; for a dairy-free option, substitute with coconut cream.
• Cream Cheese (500g / 1 lb) – The star ingredient that delivers creaminess; make sure it’s softened for easier blending.
• Caster Sugar (3/4 cup + 3 tbsp) – Sweetens the cheesecake; superfine sugar dissolves effortlessly.
• Vanilla Extract (1 tsp) – A key flavor enhancer; wouldn’t recommend alternatives here.
• Dark Chocolate (150g / 5 oz, melted) – Contributes a deep, rich flavor; always choose high-quality chocolate for the best result.
• Red Food Coloring (6 tsp) – Gives the iconic red hue; adjust the amount for your desired intensity.
Optional Toppings
• Stabilized Whipped Cream – Perfect for a smooth finishing touch.
• Shaved Dark Chocolate – Adds a gourmet flair for garnishing.
This delightful Red Velvet Cheesecake will surely leave everyone asking for seconds!
Step‑by‑Step Instructions for Decadent No-Bake Red Velvet Cheesecake
Step 1: Prepare the Base
Crush the Oreo cookies finely using a food processor or rolling pin. Melt the unsalted butter in a small saucepan or microwave until fully liquid. Combine the crushed cookies with the melted butter and mix well until the crumbs resemble wet sand. Press this mixture firmly into the bottom of a springform pan, creating an even layer. Chill the crust in the refrigerator for at least 15 minutes to set.
Step 2: Bloom Gelatine
In a small bowl, combine the gelatine powder with warm water. Stir gently until the gelatine has completely dissolved and begins to thicken, which takes about 5 minutes. Ensure the water is warm but not boiling, as this will activate the gelatine effectively. Set aside this mixture while you prepare the filling for the Red Velvet Cheesecake.
Step 3: Make the Filling
In a large mixing bowl, beat the softened cream cheese with an electric mixer on medium speed until smooth and creamy, about 2 minutes. Gradually add the caster sugar and vanilla extract, mixing until fully incorporated. Melt the dark chocolate in a microwave or double boiler, then allow it to cool slightly before combining it with the cream cheese mixture. Blend until no streaks remain.
Step 4: Mix Gelatine
Now, gently stir the bloomed gelatine into the cream cheese mixture until well combined. Make sure to pour it in slowly while mixing to ensure an even distribution without clumps forming. This step is crucial for achieving the perfect texture in your No-Bake Red Velvet Cheesecake.
Step 5: Whip Cream
In a separate cold bowl, whip the heavy cream using an electric mixer until soft peaks form, usually within 2-3 minutes. Be careful not to over-whip, as you want to preserve the lightness. Once whipped, gently fold the whipped cream into the cream cheese mixture using a spatula to maintain its airy texture, ensuring it blends smoothly and consistently.
Step 6: Add Color
Gradually add the red food coloring to the filling, mixing thoroughly after each addition until you reach your desired shade of red. Visualize the vibrant hue of a classic red velvet cake as you fold in the coloring. Once satisfied with the color, pour the filling over the chilled cookie crust, smoothing the top with a spatula to create an even layer.
Step 7: Chill
Cover the springform pan with plastic wrap and refrigerate the cheesecake for at least 6 hours, or ideally overnight. This chilling time is essential for the cheesecake to set firmly and develop its rich flavors. Ensure your refrigerator is set to a consistent cold temperature, checking occasionally to maintain that chill.
Step 8: Serve
Once the cheesecake is fully set, carefully release it from the springform pan and transfer it to a serving platter. Garnish with stabilized whipped cream and shaved dark chocolate just before serving to create a beautiful presentation. Slice into pieces and enjoy the indulgent taste of your homemade No-Bake Red Velvet Cheesecake with family and friends!
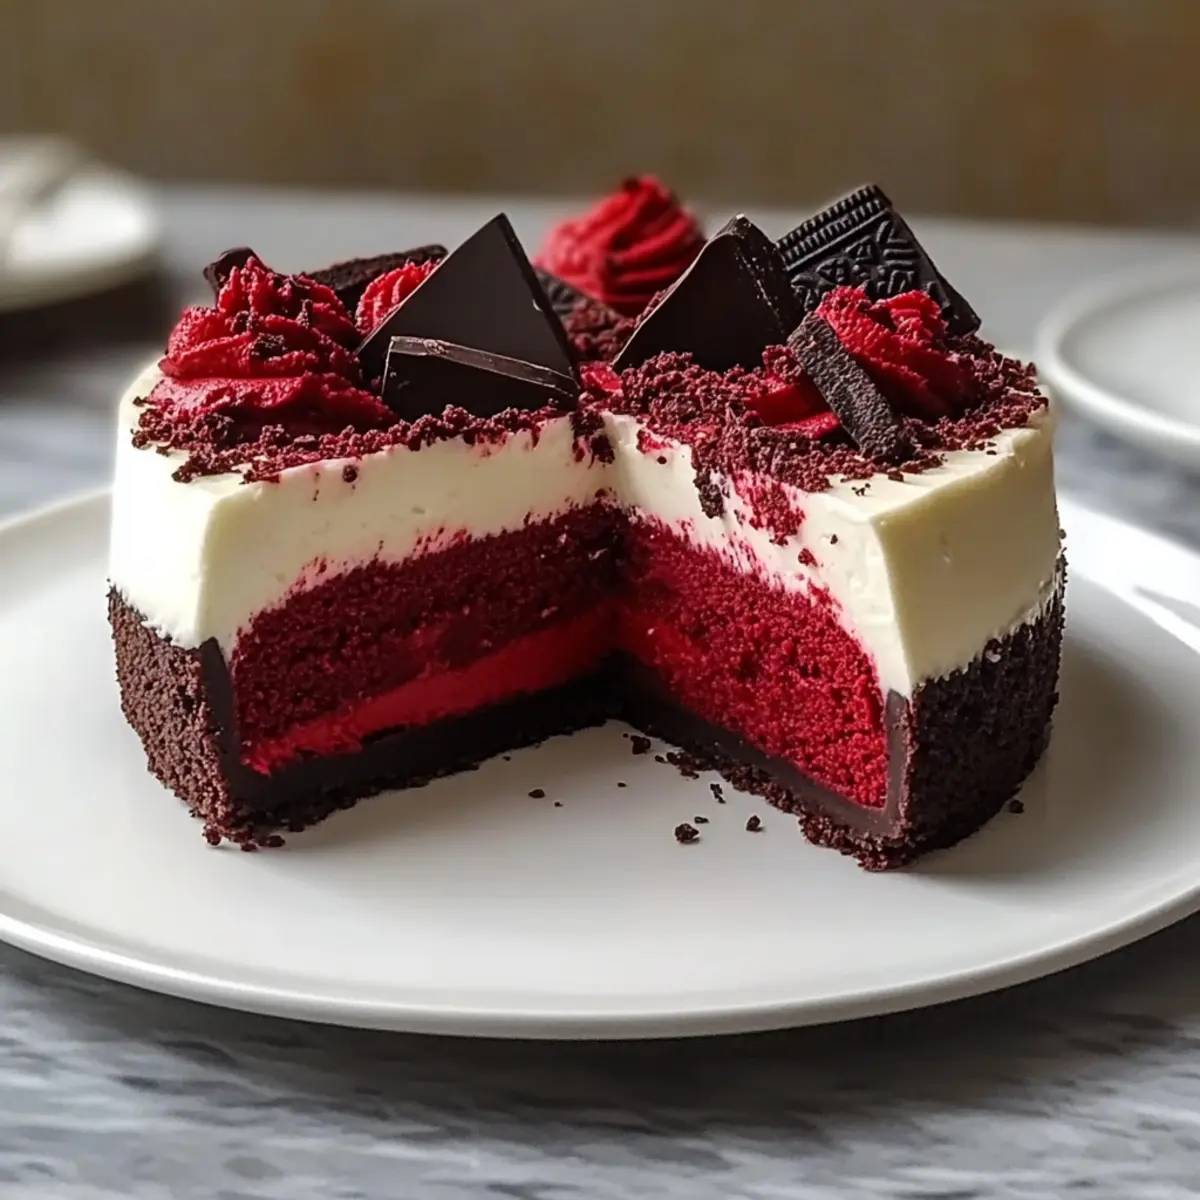
How to Store and Freeze Red Velvet Cheesecake
Fridge: Store covered in the refrigerator for up to 5 days. Make sure it’s airtight to keep the flavors fresh and avoid absorption of other odors.
Freezer: For longer storage, freeze slices wrapped tightly in plastic wrap and then foil. They can last up to 2 months; thaw in the fridge before serving for best results.
Serving Suggestion: When ready to enjoy, garnish with fresh whipped cream and dark chocolate shavings for an elegant touch.
Reheating: This No-Bake Red Velvet Cheesecake is best served chilled, no reheating necessary, preserving its creamy texture and delightful flavor.
Expert Tips for Red Velvet Cheesecake
Bloom Gelatine Correctly: Ensure you’re properly blooming the gelatine with warm water, as skipping this step can result in a runny cheesecake.
Chill Time is Crucial: Be patient and allow your No-Bake Red Velvet Cheesecake to chill for at least 6 hours, or overnight for the best texture and flavor development.
Use Quality Ingredients: Opt for high-quality cream cheese and dark chocolate to elevate the overall taste of your cheesecake. Lower quality can cause undesired flavors.
Whip Carefully: While whipping the cream, stop once soft peaks form—over-whipping can lead to a dense texture that won’t fold easily into the filling.
Adjust Coloring Gradually: Add red food coloring slowly, mixing thoroughly after each addition until you achieve the desired shade, enhancing the cheesecake’s festive appearance.
Make Ahead Options
These No-Bake Red Velvet Cheesecakes are perfect for busy home cooks looking to save time during the week! You can prepare the crust and filling up to 24 hours in advance, refrigerating them separately to maintain quality. Simply crush the Oreo cookies and mix them with melted butter to create the crust, then let it chill in the fridge. For the filling, mix the cream cheese, sugar, and chocolate, and store it in an airtight container. When you’re ready to serve, simply layer the filling over the crust, and refrigerate for a few more hours to set. This way, you’ll have an impressive dessert with minimal effort and maximum deliciousness!
What to Serve with No-Bake Red Velvet Cheesecake
The perfect accompaniment can elevate your No-Bake Red Velvet Cheesecake into a delightful feast that sings with flavor and texture.
- Fresh Berries: Juicy strawberries or raspberries provide a tart contrast that balances the sweetness of the cheesecake beautifully. Their vibrant color also adds to the visual appeal of your dessert spread.
- Chocolate Sauce: A drizzle of rich chocolate sauce enhances the chocolate notes in the cheesecake while adding an indulgent layer of sweetness for chocolate lovers.
- Vanilla Ice Cream: Creamy vanilla ice cream complements the cheesecake’s richness and adds a refreshing chill with each bite—a match made in dessert heaven!
- Hot Coffee: A warm cup of coffee enhances the chocolate and cream flavors, creating balance and setting a comforting tone for a lovely evening.
- Mint Tea: For a lighter finish, serve with a cup of soothing mint tea. Its fresh flavor cleanses the palate beautifully, making for a delightful contrast.
- Whipped Cream: A dollop of stabilized whipped cream on top not only looks stunning but provides a luscious texture that elevates every slice. Add a sprinkle of cocoa for a touch of flair!
- Fruit Salad: A light fruit salad melds sweet and tart flavors, creating a refreshing counterpoint that breaks up the richness of the cheesecake. Try mixing melons, grapes, and citrus for bright flavors.
- Sparkling Water: Serve with a glass of sparkling water or a fruit-infused mocktail for a bubbly touch that refreshes the palate, making each bite of cheesecake even more enjoyable.
- Lemon Sorbet: For something a bit tangy and refreshing, lemon sorbet can provide a palate-cleansing contrast to the cheesecake’s creamy luxury.
- Chocolate-Covered Strawberries: For a decadent twist, serve chocolate-covered strawberries alongside your cheesecake. They tie in beautifully with the dessert’s chocolate elements while adding a fun touch!
Red Velvet Cheesecake Variations
Feel free to customize this delightful recipe to suit your taste buds and dietary preferences!
-
Vegan Option: Use vegan cream cheese and coconut cream for a delicious plant-based twist. It’s just as creamy and rich!
-
Gluten-Free Crust: Substitute Oreo cookies with gluten-free chocolate cookies to keep it deliciously inclusive for everyone.
-
Nutty Flavor: Try adding crushed nuts like pecans to the crust for an extra crunch that adds delightful texture to every bite.
-
Mint Chocolate Twist: Incorporate a splash of peppermint extract into the filling for a refreshing flavor reminiscent of festive treats.
-
Coffee Infusion: Mix in a teaspoon of instant coffee granules to deepen the flavor profile, resulting in a pleasantly rich cheesecake experience.
-
Fruity Delight: Swirl in pureed berries, such as raspberries or strawberries, into the filling before pouring it over the crust for a fruity surprise.
Feeling inspired? If you love creative desserts, you might also enjoy making a Blueberry Cheesecake Cookie or a unique Red Potato Salad. Each recipe opens a door to delicious possibilities!
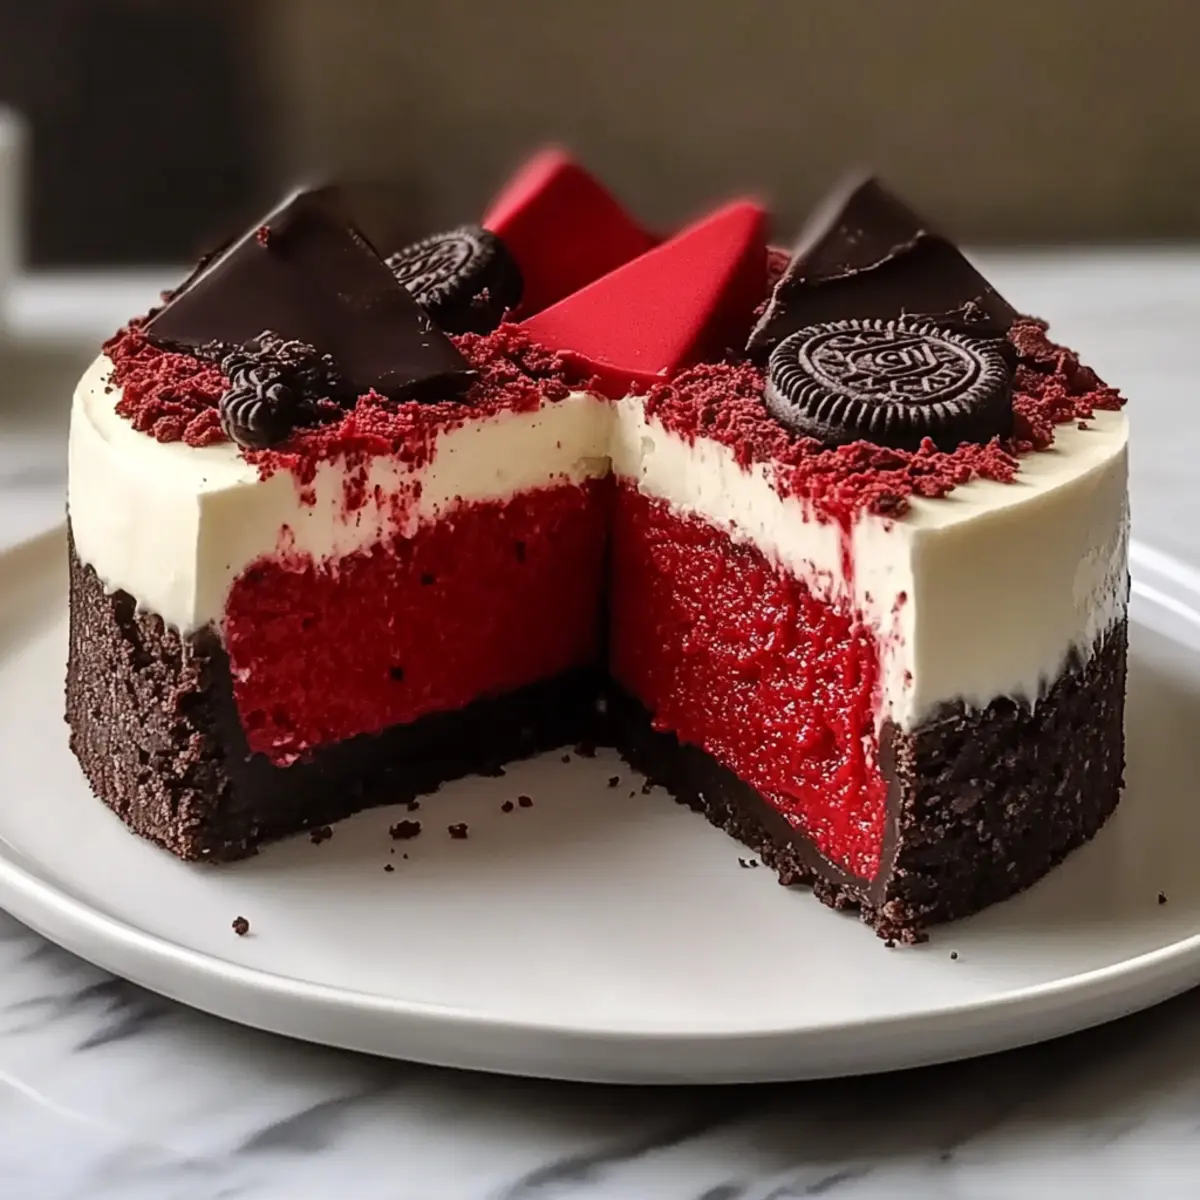
No-Bake Red Velvet Cheesecake Recipe FAQs
How do I select the best red food coloring?
When choosing red food coloring, opt for gel or paste versions, as they provide vibrant color without adding extra liquid to your cheesecake. Look for high-quality brands that are made from natural ingredients if possible. Avoid liquid food coloring, as it can dilute the mixture and affect the texture.
How should I store leftovers?
Store any leftover No-Bake Red Velvet Cheesecake in an airtight container in the refrigerator for up to 5 days. Be sure to cover it well to maintain its freshness and prevent it from absorbing any odors in your fridge. If it’s left unwrapped, you might notice the texture change or it could dry out.
Can I freeze this cheesecake?
Absolutely! To freeze your Red Velvet Cheesecake, wrap individual slices tightly in plastic wrap and then in aluminum foil. This double-wrapping method will help prevent freezer burn. It can be stored in the freezer for up to 2 months. When you’re ready to enjoy, just thaw the slices in the refrigerator overnight.
What should I do if my cheesecake doesn’t set properly?
If your cheesecake hasn’t set, it might be due to a few factors such as not blooming the gelatine properly or not chilling it long enough. To troubleshoot, make sure you dissolved the gelatine in warm water until thickened, and then give it plenty of time in the refrigerator—up to overnight if necessary. If it’s still too soft, you can try returning it to the pan, adding a bit more bloomed gelatine, and chilling again.
Is this Red Velvet Cheesecake suitable for my gluten-free friend?
Absolutely! To make this cheesecake gluten-free, simply replace the Oreo cookies with gluten-free chocolate cookies for the crust. All other ingredients listed are naturally gluten-free, so your friends with dietary restrictions can enjoy this delicious dessert without worry.
Can I make this a vegan Red Velvet Cheesecake?
Yes, you can! To create a vegan version of this cheesecake, substitute the cream cheese with vegan cream cheese and use coconut cream instead of heavy cream. Ensure the gelatine is replaced with agar-agar if you’re looking for a completely plant-based setting agent, as it provides a similar texture.
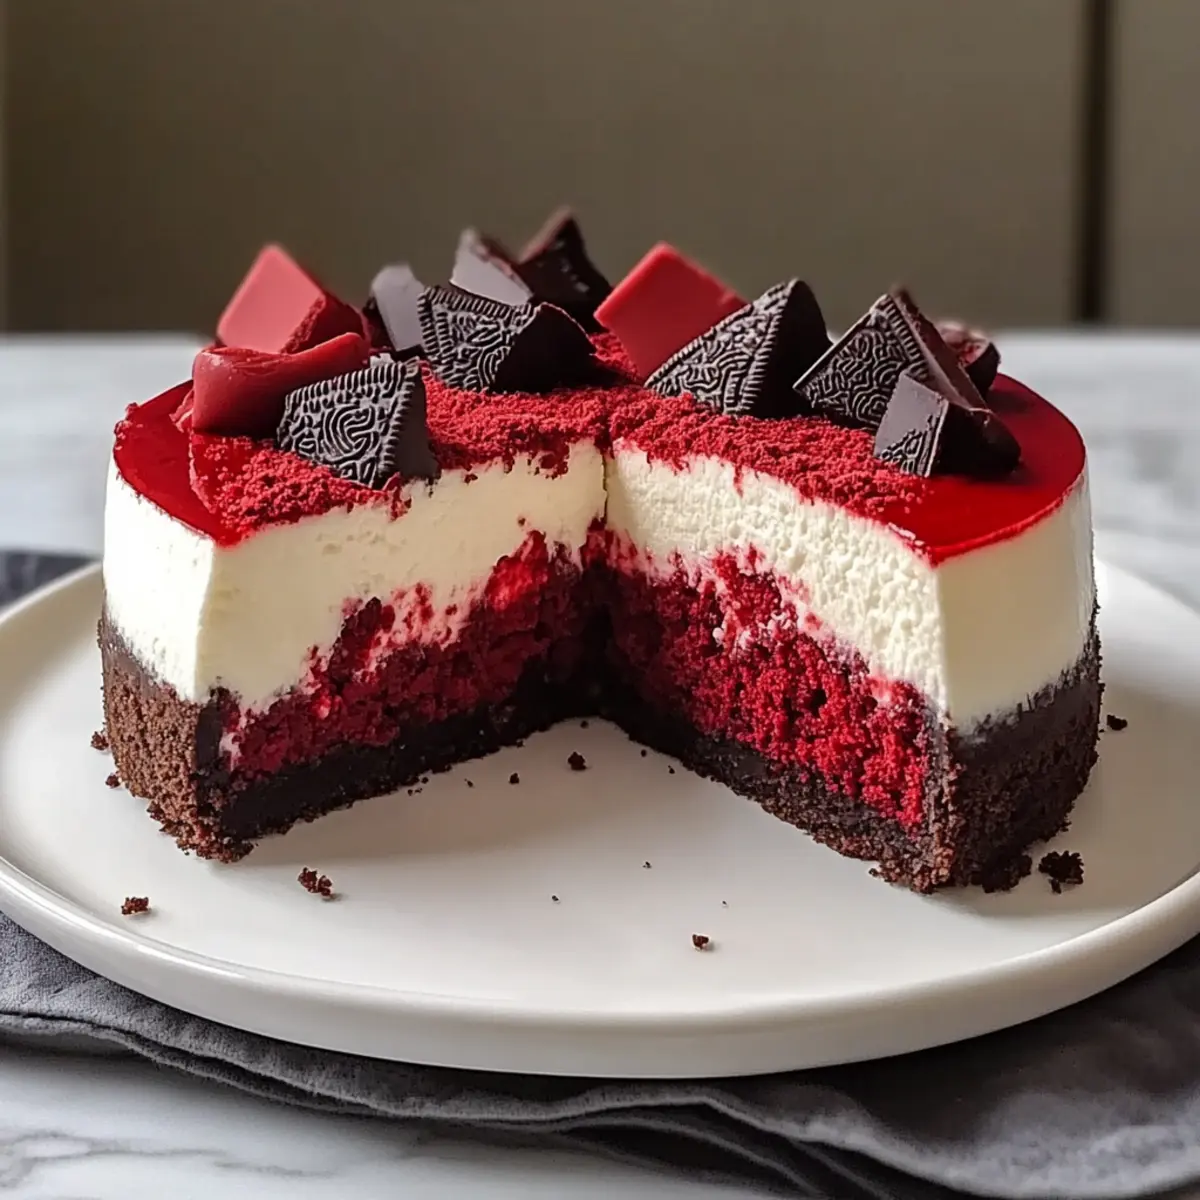
Irresistible Red Velvet Cheesecake You'll Want to Make Today
Ingredients
Equipment
Method
- Crush the Oreo cookies finely and melt the unsalted butter. Combine and press into a springform pan. Chill for at least 15 minutes.
- Combine the gelatine powder with warm water and stir until dissolved. Set aside.
- Beat softened cream cheese until smooth, then add caster sugar and vanilla extract. Melt dark chocolate and mix it in.
- Gently stir the bloomed gelatine into the cream cheese mixture until combined.
- Whip the heavy cream until soft peaks form, then fold it into the cream cheese mixture.
- Add red food coloring gradually, mixing until desired shade is reached. Pour over the crust.
- Cover with plastic wrap and refrigerate for at least 6 hours or overnight.
- Release from the pan, garnish with whipped cream and dark chocolate shavings, slice and serve.
Leave a Reply