
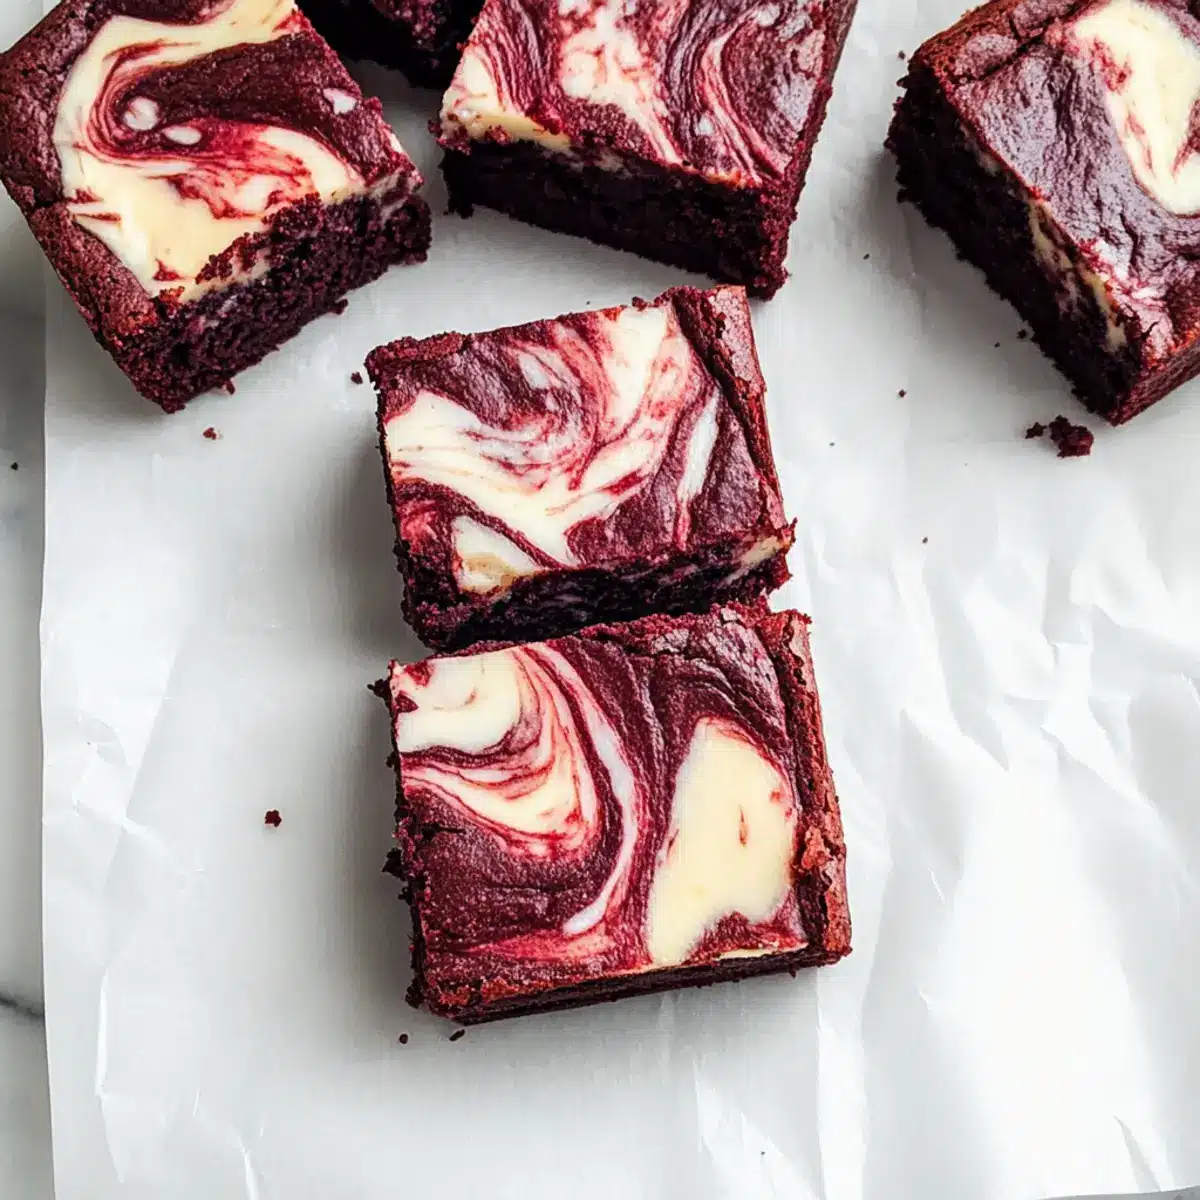
As I whisked together a vibrant mixture of melted butter and sugar, a wave of nostalgia washed over me—those cherished moments spent baking with family during the holidays. Today, I’m excited to share my beloved recipe for Ultimate Red Velvet Cheesecake Brownies, a delightful fusion of fudgy brownie goodness and a luscious cream cheese swirl. Perfect as a special treat for Valentine’s Day or any celebration, these brownies are not only easy to whip up but also deliver an impressive visual treat that will leave your guests in awe. Whether you’re a seasoned baker or just looking to create something sweet at home, this recipe is sure to satisfy your cravings. Curious about how to create this indulgence that balances rich flavors with a touch of romance? Let’s dive in!

Why Make Red Velvet Cheesecake Brownies?
Irresistible combination: Rich, fudgy brownies paired with a decadent cream cheese swirl create an unforgettable dessert experience.
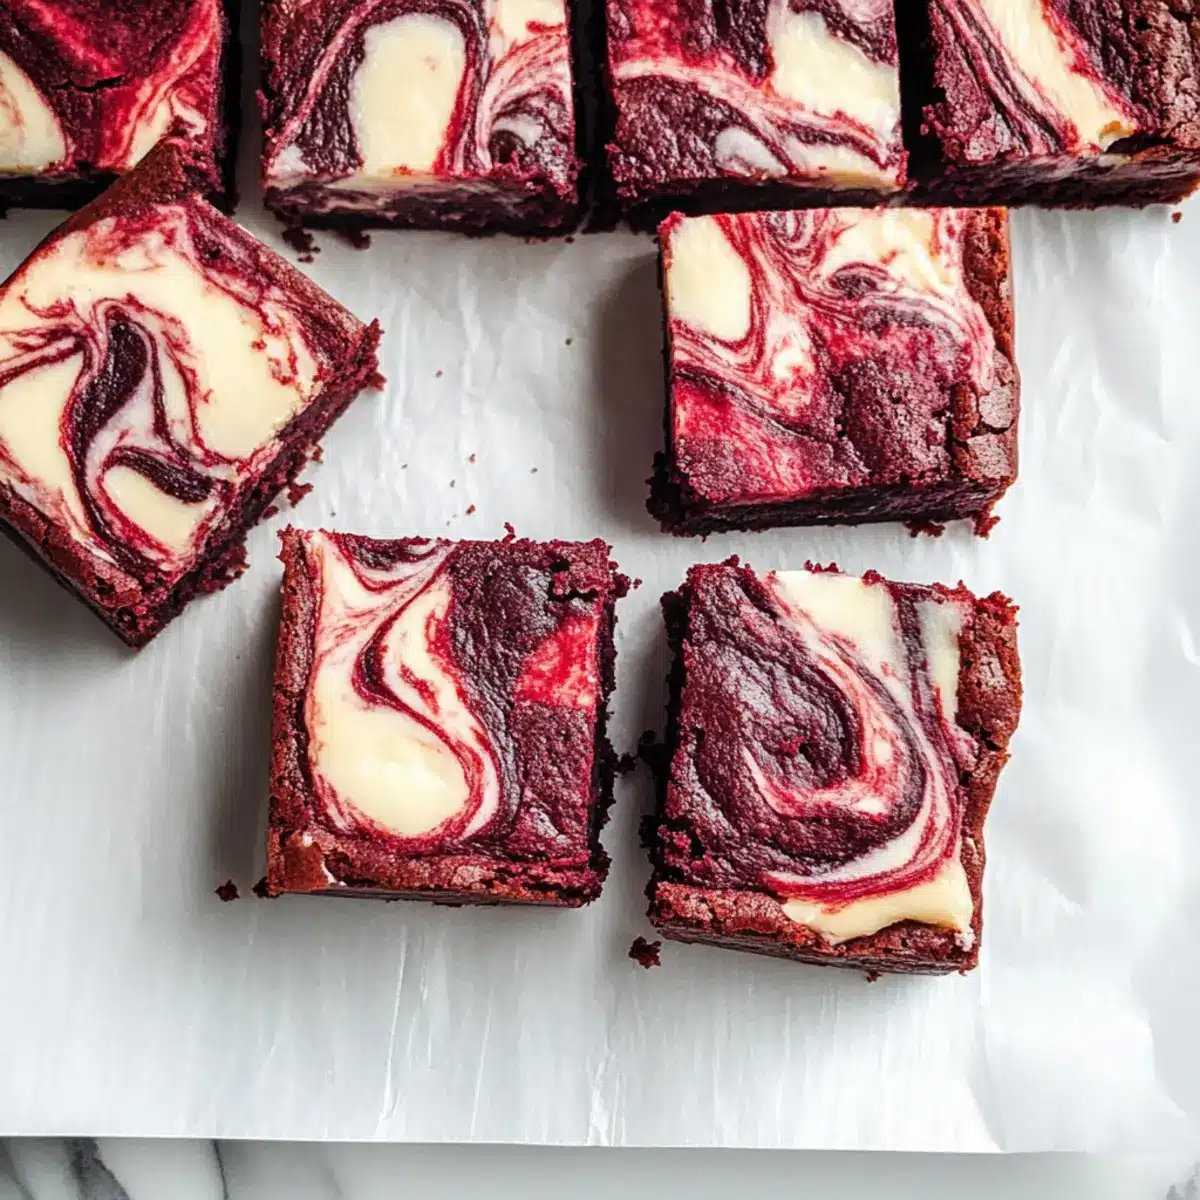
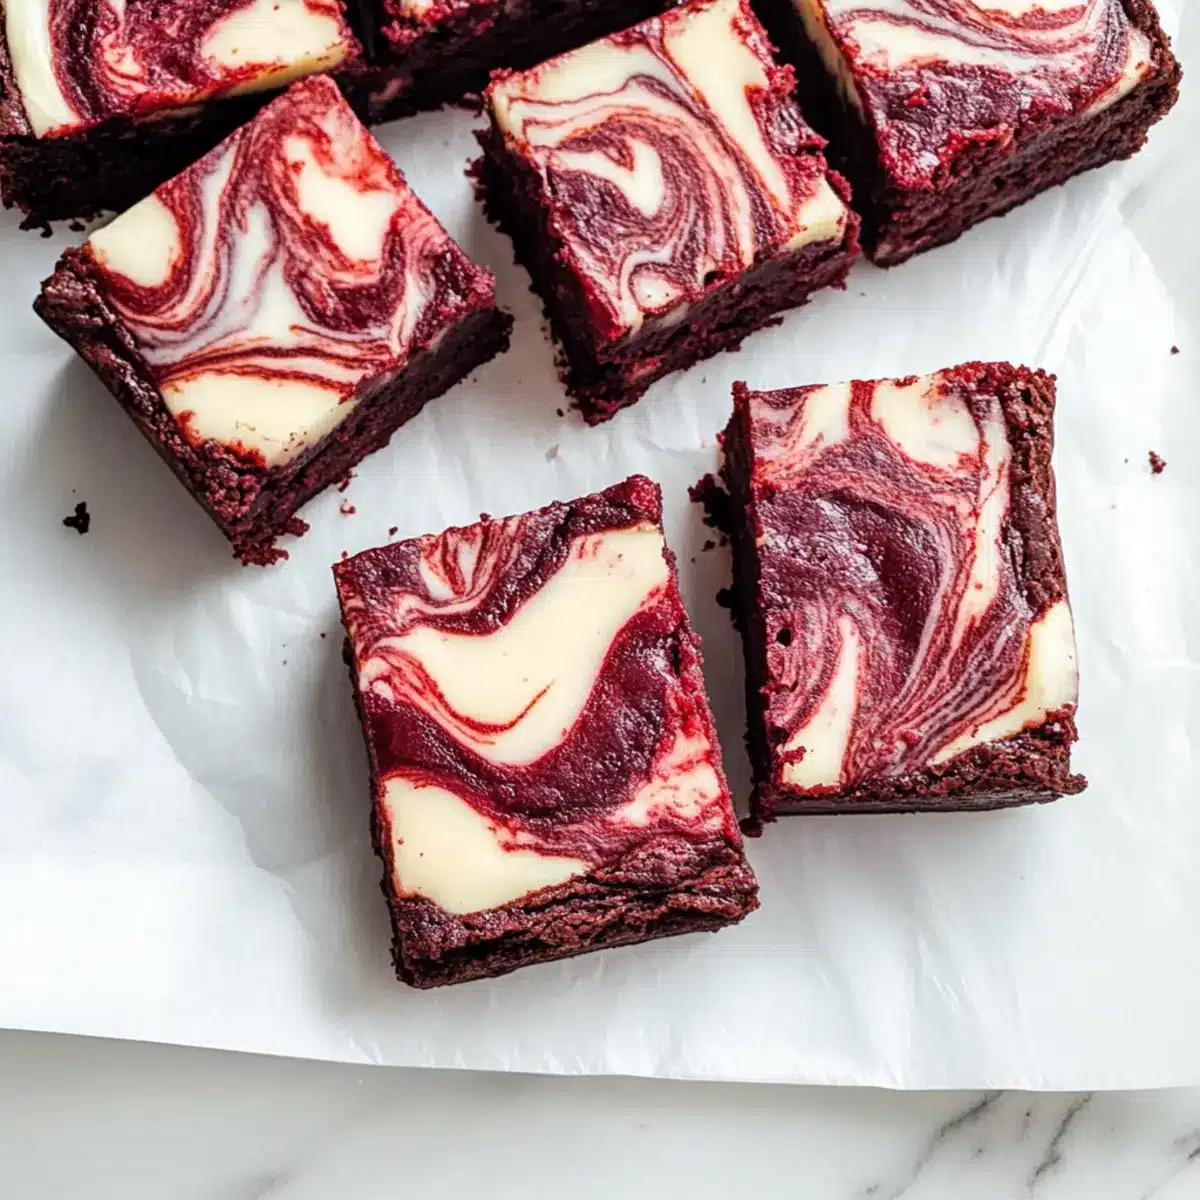
Visually stunning: The vibrant red color makes these brownies not only a treat for the taste buds but also a feast for the eyes, perfect for any occasion.
Quick and easy: With straightforward steps, you can whip up this delightful dessert in no time, making it ideal for both novice bakers and experienced chefs.
Versatile delight: Serve them warm with ice cream or at room temperature with whipped cream; either way, they’re guaranteed to impress your guests.
Perfect for love: Their romantic hue and rich flavor make them a fitting treat for Valentine’s Day or any celebration, just like my beloved Blueberry Cheesecake Cookie recipe.
Red Velvet Cheesecake Brownies Ingredients
For the Brownies
• Unsalted Butter – Adds moisture and richness; margarine can be used if desired.
• Granulated Sugar – Provides sweetness and helps achieve a glossy texture; brown sugar can deepen the flavor.
• Large Eggs – Binds ingredients and contributes to texture; ensure they are at room temperature for better emulsification.
• Red Food Coloring – Gives the signature vibrant red color; omit for a chocolate variation, adjusting cocoa powder slightly.
• Vanilla Extract – Enhances overall flavor; use pure vanilla for the best taste.
• Salt – Balances sweetness and enhances flavor; essential for overall taste.
• All-Purpose Flour – Provides structure; can substitute with a gluten-free blend if needed.
• Dutch Process Cocoa Powder – Offers a deeper chocolate flavor and darker color; regular cocoa powder works if that’s what you have.
For the Cream Cheese Swirl
• Cream Cheese – Provides the rich, creamy layer; make sure it’s at room temperature for smooth mixing.
• Egg for Cream Cheese Swirl – Binds the cream cheese mixture; same as above, ensure it’s at room temperature.
• Granulated Sugar for Cream Cheese Swirl – Sweetens the cream cheese mixture; powdered sugar can create a smoother texture.
Dive into the delightful world of Red Velvet Cheesecake Brownies with these thoughtfully selected ingredients that ensure your dessert is both a visual marvel and an edible masterpiece!
Step‑by‑Step Instructions for Red Velvet Cheesecake Brownies
Step 1: Preheat and Prepare
Start by preheating your oven to 350°F (175°C) and lining an 8×8-inch baking pan with parchment paper. This will prevent the brownies from sticking and allow for easy removal. Ensure the parchment paper hangs over the edges, which will make it easier for you to lift out the brownies once they are baked.
Step 2: Mix the Brownie Base
In a medium bowl, whisk together melted unsalted butter and granulated sugar until the mixture becomes glossy and smooth. This should take about 2-3 minutes. The mixture will look slightly thick but shiny. Next, set the bowl aside to cool for a moment, as you’ll want to avoid scrambling the eggs in the next step.
Step 3: Add Wet Ingredients
Once the butter mixture has cooled slightly, add in the large eggs, whisking vigorously for about 2 minutes until it becomes light and foamy. Then, gently fold in the vanilla extract and red food coloring, ensuring an even distribution of the vibrant hue throughout the mixture, which will give your Red Velvet Cheesecake Brownies that signature color.
Step 4: Combine Dry Ingredients
Sift your all-purpose flour, Dutch process cocoa powder, and salt into the wet ingredients. Using a spatula, gently fold the dry ingredients into the wet until just combined; the batter should be slightly thick but smooth. Be careful not to overmix, as this can lead to denser brownies and take away from the glorious fudgy texture.
Step 5: Spread the Brownie Batter
Carefully pour the brownie batter into the prepared pan, spreading it evenly to reach all corners. You can use an offset spatula or the back of a spoon to ensure a nice, level surface. This will create a perfect foundation for the creamy, luscious cheesecake swirl that you’ll add next, enhancing the brownie’s richness.
Step 6: Prepare the Cream Cheese Mixture
In a separate bowl, beat together the room temperature cream cheese, an egg, and granulated sugar until the mixture is smooth and creamy. It should appear fluffy and well combined—this is the luscious swirl that will sit atop your brownies. Make sure there are no lumps for a silky texture when baked.
Step 7: Create the Cream Cheese Swirl
Drop spoonfuls of the cream cheese mixture over the brownie batter in the pan. Using a knife or a skewer, gently swirl the cream cheese into the brownie batter, creating a marbled effect. Aim for big swirls without fully combining the two layers, which will give your Red Velvet Cheesecake Brownies an appealing, artistic look.
Step 8: Bake the Brownies
Place the pan in the preheated oven and bake for 30-35 minutes. The brownies are done when a knife inserted into the center comes out with a few moist crumbs, but not wet batter. Keep an eye on them during the last few minutes to prevent overbaking, which could sacrifice that delightful fudgy texture.
Step 9: Cool and Slice
Once baked, remove the pan from the oven and allow the brownies to cool at room temperature for at least 30 minutes. This cooling time is essential; it helps the brownies set properly and makes them easier to cut. Once cool, gently lift the brownies from the pan using the edges of the parchment paper, slice into squares, and prepare to wow your friends and family with your stunning treat!
Red Velvet Cheesecake Brownies Variations
Feel free to get creative and personalize these brownies with these delightful twists that will elevate your baking experience!
-
Gluten-Free: Swap all-purpose flour with a gluten-free blend for a version that everyone can enjoy.
-
Nutty Delight: Add chopped pecans or walnuts into the brownie batter for a crunchy texture that contrasts beautifully with the fudgy layers.
-
Cheesecake Twist: Elevate the cream cheese swirl with a hint of lemon zest for a refreshing citrusy flavor that brightens the dessert.
-
Extra Decadence: Mix in chocolate chips to the brownie batter for an extra burst of chocolatey goodness that will tease your taste buds.
-
Spicy Kick: Sprinkle in a dash of cayenne pepper for a surprising, delightful kick that pairs wonderfully with the sweetness of the brownies.
-
Almond Essence: Substitute vanilla extract with almond extract for a unique flavor twist, enhancing the overall richness.
-
Layered Luxury: Create two layers of brownie and cream cheese, alternating them in the pan for visual appeal and a luxurious indulgence.
-
S’mores Style: Top with mini marshmallows and crushed graham crackers before baking for a fun, s’mores-inspired brownie that everyone will love.
These variations offer endless possibilities, making it hard to resist trying out each one! And if you’re looking for more delicious twists, don’t forget to check out my Sugar Cookie Cheesecake recipe for a creamy delight!
Expert Tips for Red Velvet Cheesecake Brownies
-
Temperature Matters: Always ensure butter and cream cheese are at room temperature for smooth mixing. This helps create a creamy texture in your batter and swirl.
-
Watch the Swirling: When swirling the cream cheese, aim for larger swirls. Avoid overmixing to maintain that beautiful contrast between the brownie and cream cheese layers.
-
Perfect Timing: Bake until a knife comes out with a few moist crumbs but not wet batter. This guarantees the fudgy consistency that makes these Red Velvet Cheesecake Brownies irresistible.
-
Cooling is Key: Allow the brownies to cool completely before cutting. This prevents crumbling and helps maintain their beautifully defined layers.
-
Storage Smart: Keep your brownies in an airtight container in the refrigerator. They can stay fresh for up to 7 days, so you can enjoy this delightful treat longer!
How to Store and Freeze Red Velvet Cheesecake Brownies
Room Temperature: Store brownies covered at room temperature for up to 2 days; they’re best enjoyed fresh but can still be delicious if left out briefly.
Fridge: Keep the brownies in an airtight container in the refrigerator for up to 7 days. This helps maintain their fudgy texture while keeping them cool for a refreshing treat.
Freezer: For longer storage, freeze your Red Velvet Cheesecake Brownies wrapped tightly in plastic wrap and placed in an airtight container for up to 3 months.
Reheating: To enjoy your brownies after freezing, let them thaw in the fridge overnight, then warm briefly in the microwave for a delightful, gooey texture!
What to Serve with Red Velvet Cheesecake Brownies
Satisfy your sweet tooth and elevate your dessert table with delightful accompaniments that complement these luxurious brownies.
- Vanilla Ice Cream: The creamy vanilla provides a cool contrast to the rich brownies, making each bite an indulgent experience.
- Fresh Berries: Strawberries or raspberries add a tangy pop, cutting through the sweetness and adding fresh flavor to the decadent dessert.
- Whipped Cream: A dollop of light, fluffy whipped cream beautifully balances the fudgy texture, lending a touch of elegance to each serving.
- Chocolate Ganache: Drizzling warm chocolate ganache on top intensifies the chocolate flavor, creating a truly decadent dessert experience.
- Hot Chocolate or Coffee: A steaming cup of hot chocolate or coffee pairs perfectly, enhancing the brownie’s rich flavors while providing warmth.
- Chocolate-Covered Strawberries: The sweetness of chocolate-covered strawberries pairs well with the brownies’ creaminess and offers a romantic touch.
- Mint Leaves: Fresh mint adds a refreshing note, offering a delightful contrast that brightens up each rich bite.
- Caramel Sauce: Drizzling warm caramel sauce over the brownies introduces a buttery sweetness that takes their richness to another level.
- Cheesecake Ice Cream: For those who can’t get enough creaminess, cheesecake ice cream provides a delightful pairing that echoes the cheesecake swirl inside.
Make Ahead Options
These Red Velvet Cheesecake Brownies are a dream come true for busy home cooks looking to save time! You can prepare the brownie batter up to 24 hours in advance by covering it tightly and refrigerating it, which helps keep the flavors fresh while allowing the brownie base to set nicely. Additionally, the cream cheese mixture can also be made ahead and stored in the refrigerator for up to 3 days; just ensure it’s covered tightly to prevent drying out. When you’re ready to bake, simply combine the two mixtures, swirl, and bake as directed, and you’ll end up with delightful brownies just as delicious as if you made them fresh that day!
Red Velvet Cheesecake Brownies Recipe FAQs
What type of red food coloring should I use?
I recommend using a gel or liquid red food coloring designed for baking, as it’s vibrant and won’t alter the texture of your batter. For natural alternatives, you might think about beet juice, but it will change the flavor slightly, so be cautious if you’re looking for that classic taste!
How long will the Red Velvet Cheesecake Brownies stay fresh?
These brownies will hold up beautifully! Up to 7 days in an airtight container in the refrigerator is ideal for maintaining that fudgy texture. If you plan to keep them longer, freezing is your best bet; they can last up to 3 months when tightly wrapped.
Can I freeze the brownies for later?
Absolutely! To freeze your Red Velvet Cheesecake Brownies, first allow them to cool completely. Then, wrap them tightly in plastic wrap and place them in an airtight container or a freezer-safe bag. When you’re ready to enjoy them, simply thaw them overnight in the fridge and warm them in the microwave for ultimate deliciousness!
What if my brownies come out too cakey instead of fudgy?
If your brownies turn out cakey, it’s often due to overmixing the batter or baking them for too long. Make sure to mix just until the flour is incorporated and check for doneness a few minutes before the recommended baking time. Aim for that perfectly gooey texture by removing them from the oven when you see a few moist crumbs on the knife!
Is this recipe suitable for gluten-free eaters?
Yes, you can easily make these Red Velvet Cheesecake Brownies suitable for gluten-free diets! Substitute all-purpose flour with a reliable gluten-free flour blend, and ensure that your baking powder or any additional ingredients are certified gluten-free. Enjoy delighting everyone with this indulgent treat!
Decadent Red Velvet Cheesecake Brownies You Can't Resist
Ingredients
Equipment
Method
- Preheat your oven to 350°F (175°C) and line an 8x8-inch baking pan with parchment paper.
- In a medium bowl, whisk together melted unsalted butter and granulated sugar until glossy and smooth.
- Once cooled slightly, add the large eggs and whisk for 2 minutes until light and foamy. Fold in vanilla extract and red food coloring.
- Sift all-purpose flour, cocoa powder, and salt into the wet mixture. Gently fold until just combined.
- Pour the brownie batter into the prepared pan, spreading it evenly.
- In a separate bowl, beat cream cheese, an egg, and granulated sugar until smooth and creamy.
- Drop spoonfuls of the cream cheese mixture over the brownie batter and swirl using a knife or skewer.
- Bake for 30-35 minutes until a knife inserted in the center comes out with a few moist crumbs.
- Allow the brownies to cool in the pan for at least 30 minutes before lifting out, slicing, and serving.
Leave a Reply