
I’ll never forget the moment my friend brought a plate of vibrant green squares to our gathering, instantly brightening the dessert table. These Pistachio Dream Cookie Bars are not just a feast for the eyes; they offer an easy yet delightful way to jazz up your cookie game. With their chewy texture and a unique twist from pistachio pudding, these bars are sure to make you the star of any event. Plus, they’re a cinch to whip up—perfect for busy weekdays or last-minute parties. Imagine serving these luscious treats to family or friends, and watching their faces light up with surprise and delight! Are you ready to indulge in this irresistible dessert?
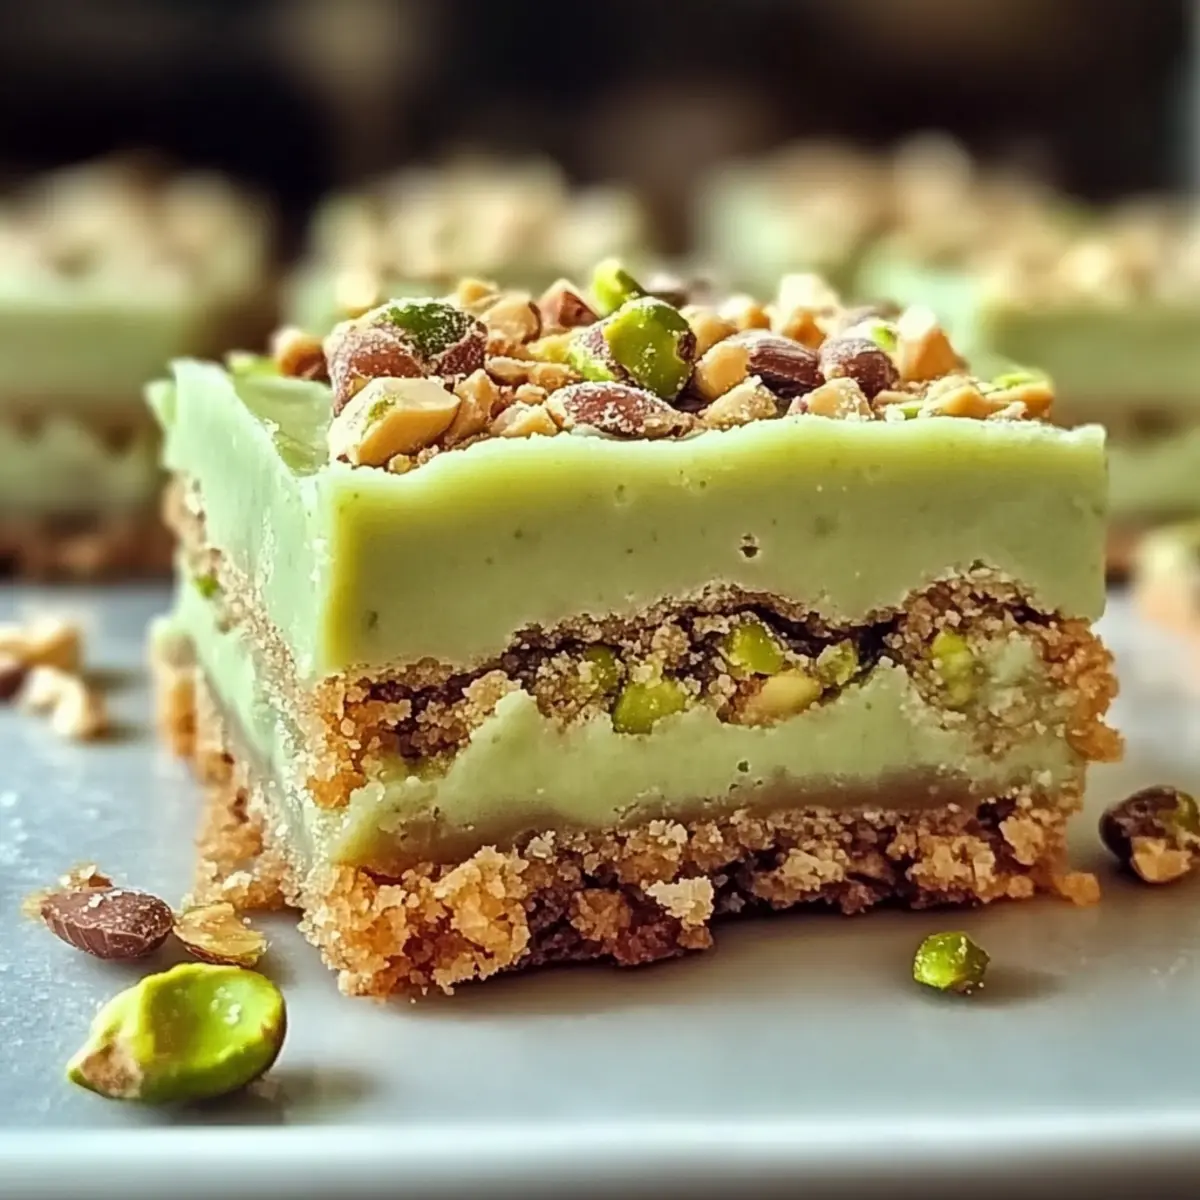
Why Are These Cookie Bars a Must-Try?
Irresistible Chewiness: These Pistachio Dream Cookie Bars deliver that perfect chewy texture, reminiscent of your favorite sugar cookie.
Easy to Create: With straightforward steps, you’ll whip these up in no time, making them ideal for those busy weeknights or spontaneous gatherings.
Visually Stunning: Their vibrant green hue from the pistachio pudding not only pleases the palate but also dazzles the eyes, ensuring they stand out on any dessert table.
Versatile Options: Customize them by adding white chocolate chips or chopped pistachios for an extra crunch. Check out options like Loaded Cookie Brittle for more fun combinations!
Crowd-Pleasers: These bars are perfect for sharing, sparking joy and excitement at parties. Everyone will be asking for the recipe!
Pistachio Dream Cookie Bars Ingredients
For the Batter
• Unsalted Butter – Provides a rich, creamy flavor to the bars; use dairy-free butter for a dairy-free version.
• Large Eggs – Offers moisture and binding for the cookie dough; no substitutes recommended unless vegan.
• Pistachio Instant Pudding Mix – Adds unique nutty flavor and color; ensure it’s fresh and vibrant.
• Sugar Cookie Mix – Simplifies the process while ensuring a deliciously sweet base; can be replaced with homemade sugar cookie dough for more control.
• Cooking Spray or Butter – Grease the baking sheet for easy removal.
Step‑by‑Step Instructions for Pistachio Dream Cookie Bars
Step 1: Preheat the Oven
Begin by preheating your oven to 375°F (190°C). This ensures that your Pistachio Dream Cookie Bars bake evenly and achieve that perfect chewy texture. While the oven warms up, gather your ingredients and get ready to create a delicious batter that will fill your kitchen with a delightful aroma.
Step 2: Cream the Ingredients
In a large mixing bowl, combine softened unsalted butter, large eggs, and pistachio instant pudding mix. Use an electric mixer at medium speed to cream the mixture until it’s smooth and well-blended—about 2-3 minutes. You want a light, fluffy consistency that will serve as the base for your cookie bars.
Step 3: Incorporate the Sugar Cookie Mix
Gradually add the sugar cookie mix to your creamy mixture, mixing on low speed just until you see a sticky dough come together. Be careful not to overmix; we want to maintain the tenderness of the dough that makes these Pistachio Dream Cookie Bars so enjoyable. This step should take about 1-2 minutes.
Step 4: Prepare the Baking Sheet
Using cooking spray or butter, generously grease a 10 x 15-inch baking sheet to prevent the bars from sticking. Once the pan is ready, spread the sticky dough evenly across the surface using a spatula or your hands. Aim for an even layer about ½ inch thick, ensuring it reaches all corners for uniform baking.
Step 5: Bake the Bars
Place the baking sheet into the preheated oven and bake for 18-22 minutes. Keep an eye on the edges; they should become lightly golden and the center will be just set. This is the perfect point to pull your Pistachio Dream Cookie Bars out, giving them that delightful chewy texture.
Step 6: Cool the Cookie Bars
After removing the bars from the oven, let them cool completely on a wire rack. Allowing them to cool in the pan ensures they hold their shape and makes slicing much easier. Patience is key here; letting them rest for about 30 minutes will yield perfect squares for serving.
Step 7: Slice and Serve
Once your Pistachio Dream Cookie Bars have cooled, use a sharp knife to cut them into squares. The bars should have a soft and chewy texture that will amaze anyone who takes a bite. Serve them on a platter, and watch as family and friends gather around this tempting treat!
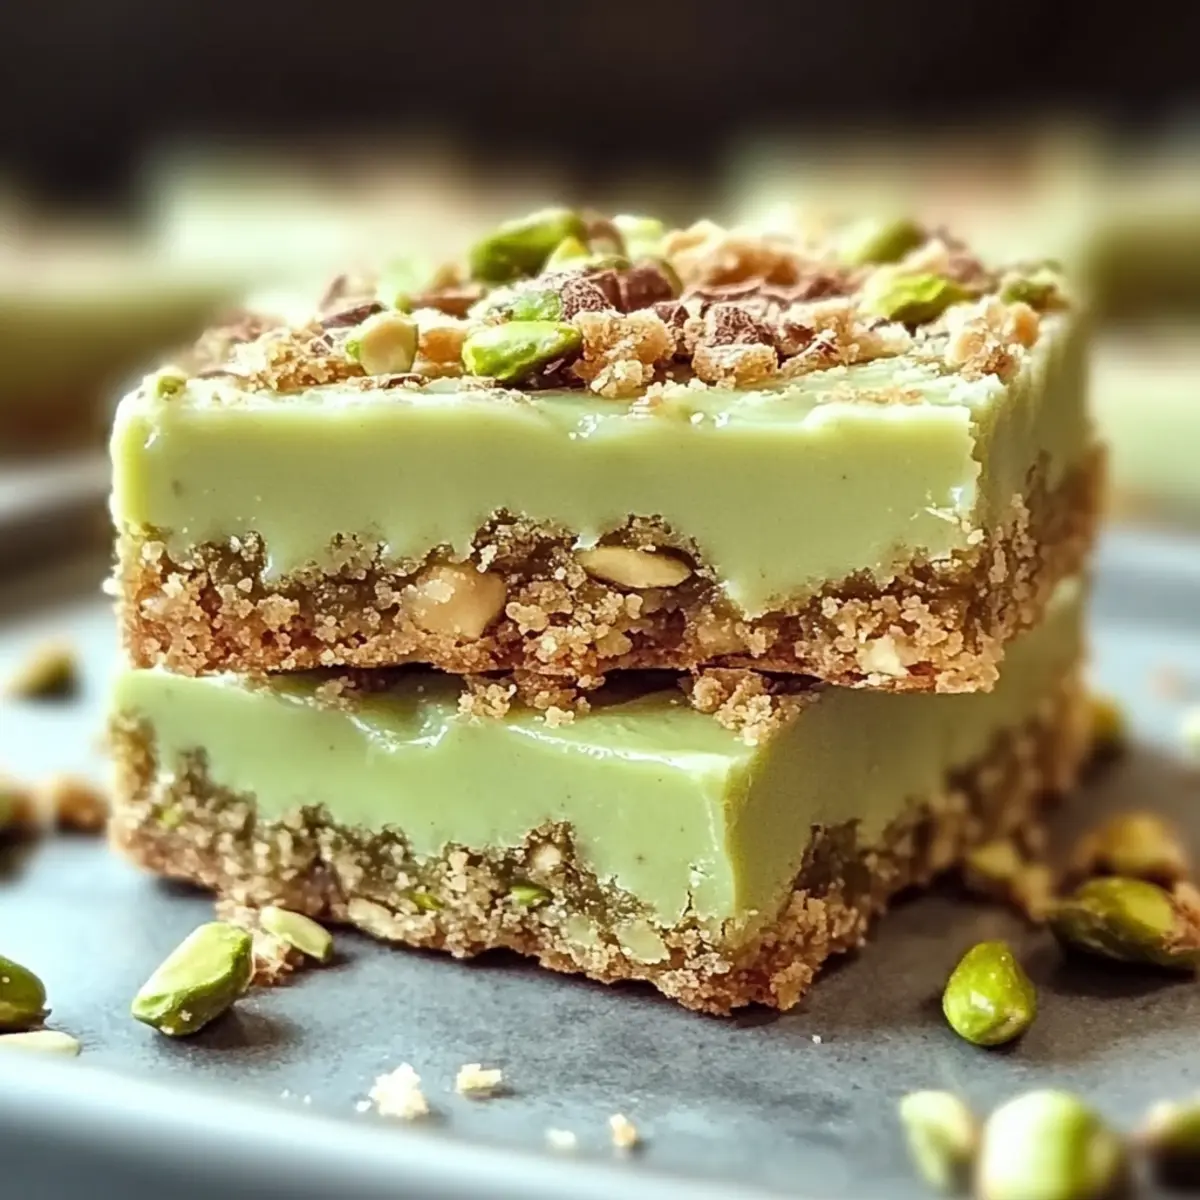
Expert Tips for Pistachio Dream Cookie Bars
Room Temperature Ingredients: Ensure butter and eggs are at room temperature before mixing for a smoother dough that results in perfect bars.
Don’t Overmix: Stop mixing as soon as the sugar cookie mix is incorporated. Overmixing can lead to tough chewy bars, which are less enjoyable.
Cooling is Crucial: Allow the bars to cool completely in the pan before slicing. This helps them hold their shape, avoiding crumbling or breaking apart.
Enhance with Add-Ins: For extra flavor and texture, consider folding in chopped nuts or white chocolate chips before spreading the dough in the pan.
Perfect Baking Time: Keep an eye on the edges while baking; pull them out when lightly golden for that ideal chewy finish in your Pistachio Dream Cookie Bars.
Pistachio Dream Cookie Bars Variations
Feel free to get creative with these delightful bars, as customizing them opens a world of tasty possibilities!
-
Dairy-Free: Use dairy-free butter and a non-dairy pudding mix for a completely dairy-free treat. Your friends will love it just as much!
-
Nutty Crunch: Fold in chopped pistachios for an added crunch, elevating both texture and flavor. Just a handful can create a delightful surprise in each bite.
-
Chocolate Lovers: Add white chocolate chips to the dough for a heavenly combination. The smooth sweetness complements the nutty flavors perfectly.
-
Coconut Twist: Introduce shredded coconut into the batter for a tropical flair. It blends beautifully with pistachio, transporting you to a sun-soaked beach.
-
Spicy Kick: Sprinkle in a dash of cayenne pepper to give your cookie bars an unexpected (but delicious) heat. It’s a bold twist that will spark conversation!
-
Homemade Sugar Cookie Base: Swap the sugar cookie mix with your homemade version for a more personal touch. It’s a great way to control the sweetness and texture!
-
Flavorful Toppings: Drizzle with melted chocolate or a sprinkle of sea salt for an extra layer of flavor. Each bite becomes a delectable journey of taste!
-
Personalized Sizes: Cut the bars into fun shapes using cookie cutters for parties. Everyone loves a little whimsy, especially when it’s sweet!
Explore these variations and make your Pistachio Dream Cookie Bars a beloved favorite in your kitchen! If you’re looking for other creative desserts, try your hand at Pistachio Chocolate Babka or Vegan Pistachio Coffee!
What to Serve with Pistachio Dream Cookie Bars
Picture a sweet gathering where creamy delights complement the dreamy flavors of your cookie bars, creating a feast for all senses.
-
Vanilla Ice Cream: The smooth, cold ice cream pairs beautifully with the chewy texture, offering a delightful contrast that enhances every bite.
-
Fresh Berries: Juicy strawberries or raspberries introduce a burst of freshness, cutting through the richness and adding a pop of color to your dessert plate.
-
Whipped Cream: Lightly sweetened whipped cream adds an airy dimension, balancing the nutty flavor of the cookie bars with a fluffy touch.
-
Chocolate Drizzle: A silky drizzle of melted chocolate over the bars raises their indulgence factor, taking your dessert experience to new, decadent heights.
-
Mint Tea: A warm cup of mint tea refreshes the palate, with its herbal notes wonderfully complementing the sweet and nutty flavors of the Pistachio Dream Cookie Bars.
-
Lemon Sorbet: This frozen dessert provides a tart counterpoint, cleansing the palate while adding a refreshing zing to your after-dinner experience.
-
Chilled Prosecco: This sparkling wine pairs delightfully with the rich flavors of the bars, offering a light and bubbly contrast that enhances your dessert celebration.
How to Store and Freeze Pistachio Dream Cookie Bars
Room Temperature: Store leftover bars in an airtight container at room temperature for up to 5 days. This keeps them soft and chewy, perfect for snacking!
Fridge: If you prefer them chilled, refrigerate the bars in an airtight container for up to 7 days. Let them come back to room temperature for optimal taste before serving.
Freezer: For longer storage, individually wrap cookie bars in plastic wrap and place them in a freezer-safe bag. They’ll keep well for up to 3 months. Thaw overnight in the fridge before enjoying.
Reheating: To refresh your Pistachio Dream Cookie Bars, heat individual squares in the microwave for about 10-15 seconds. They’ll be just like fresh out of the oven!
Make Ahead Options
These Pistachio Dream Cookie Bars are a fantastic choice for meal prep, making it easy to enjoy a sweet treat without the last-minute hassle. You can prepare the dough up to 24 hours in advance—just mix the ingredients as directed and cover the bowl tightly with plastic wrap, refrigerating until you’re ready to bake. This helps the flavors meld beautifully while ensuring a fresh taste. On baking day, simply spread the chilled dough in the greased baking sheet and follow the baking instructions. If you want to take it a step further, you can bake the bars, let them cool completely, then store them in an airtight container for up to 3 days. Just be sure to allow them to come to room temperature before serving for that soft, chewy goodness everyone loves!
Pistachio Dream Cookie Bars Recipe FAQs
How do I select ripe and fresh ingredients for this recipe?
Absolutely! For the best results, choose unsalted butter that is fresh and creamy, as it adds rich flavor to the bars. Ensure your pistachio instant pudding mix is vibrant with no clumps—fresh pudding mix ensures that nutty flavor comes through beautifully!
What’s the best way to store leftover Pistachio Dream Cookie Bars?
You can store leftover bars in an airtight container at room temperature for up to 5 days. If you prefer them chilled, refrigerate them for up to 7 days. Just make sure to let them return to room temperature for the best taste before serving.
Can I freeze these cookie bars, and if so, how?
Absolutely! To freeze your Pistachio Dream Cookie Bars, wrap each bar individually in plastic wrap and place them inside a freezer-safe bag. They’ll remain fresh for up to 3 months. When you’re ready to enjoy them, simply thaw overnight in the refrigerator or at room temperature.
What if my cookie bars turn out too crumbly?
The key to avoiding crumbly bars is patience during the cooling process. Be sure to let them cool completely in the pan before slicing; this ensures they hold their shape. Also, avoid overmixing the dough during preparation, as this can lead to tough bars, which might crumble more easily.
Are there any dietary considerations for Pistachio Dream Cookie Bars?
Yes! If you’re looking for a dairy-free option, simply substitute the unsalted butter for a high-quality dairy-free butter. Additionally, always check the sugar cookie mix ingredients for any potential allergens, especially if you’re serving these to guests with dietary restrictions.
Can I make adaptations to the recipe for extra texture?
Absolutely! Feel free to fold in some chopped nuts or white chocolate chips into the batter for added crunch and flavor. You can also substitute the sugar cookie mix with your own homemade dough for a personalized touch that will impress your guests!
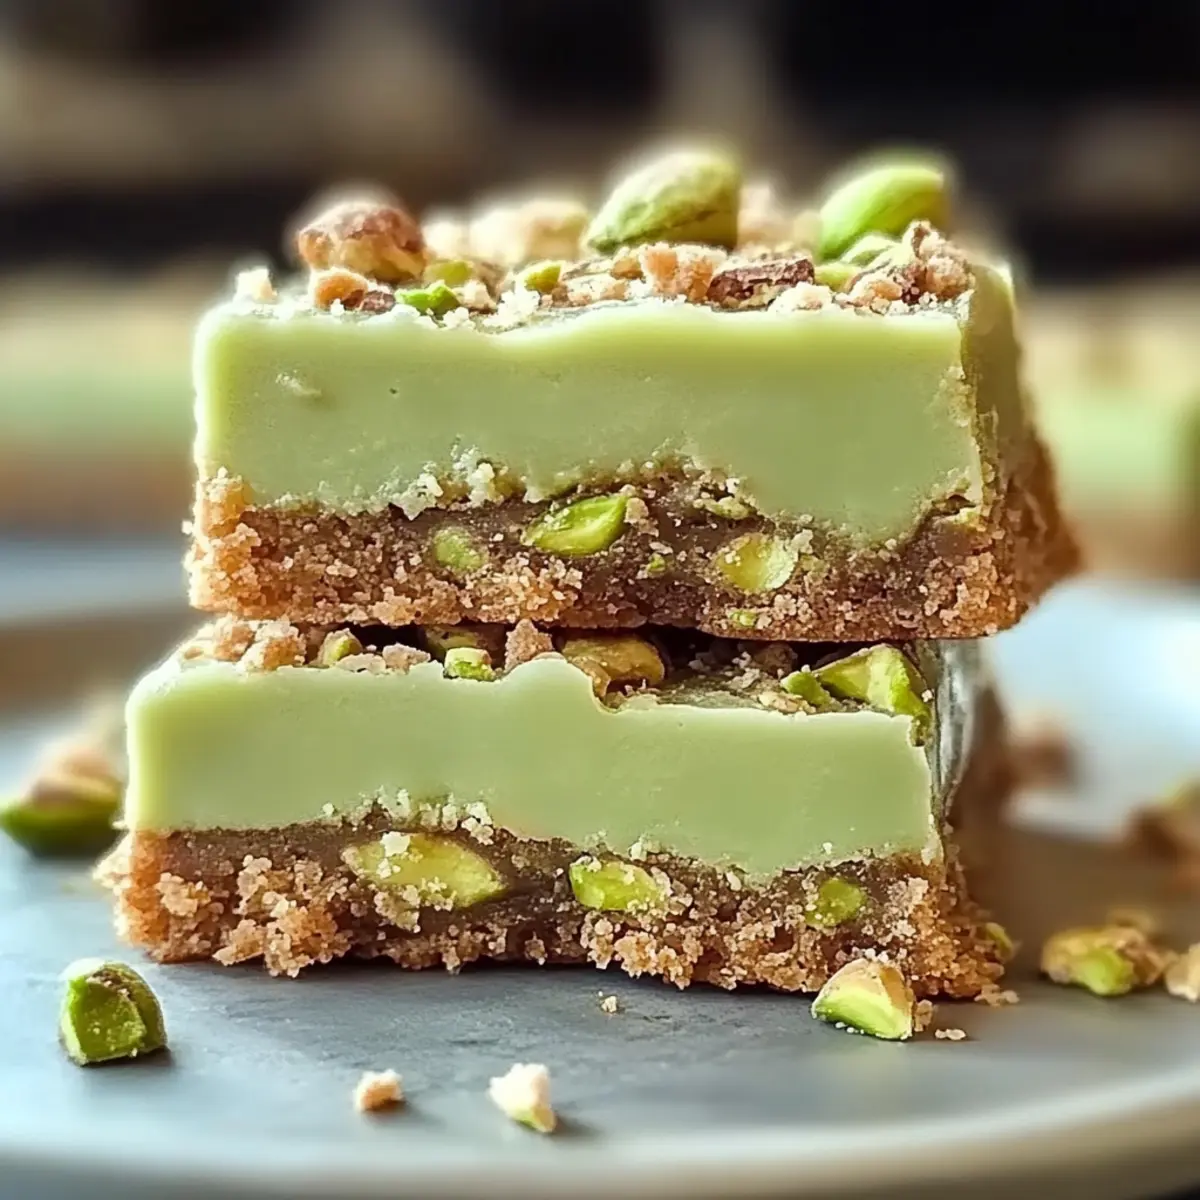
Pistachio Dream Cookie Bars: Your New Favorite Chewy Treat
Ingredients
Equipment
Method
- Preheat your oven to 375°F (190°C).
- In a large mixing bowl, combine softened unsalted butter, eggs, and pistachio pudding mix and cream until smooth.
- Gradually add sugar cookie mix, mixing until a sticky dough forms.
- Grease a 10 x 15-inch baking sheet and spread the sticky dough evenly across the surface.
- Bake for 18-22 minutes until edges are golden and center is set.
- Cool completely on a wire rack for about 30 minutes before slicing.
- Slice into squares and serve.
Leave a Reply