
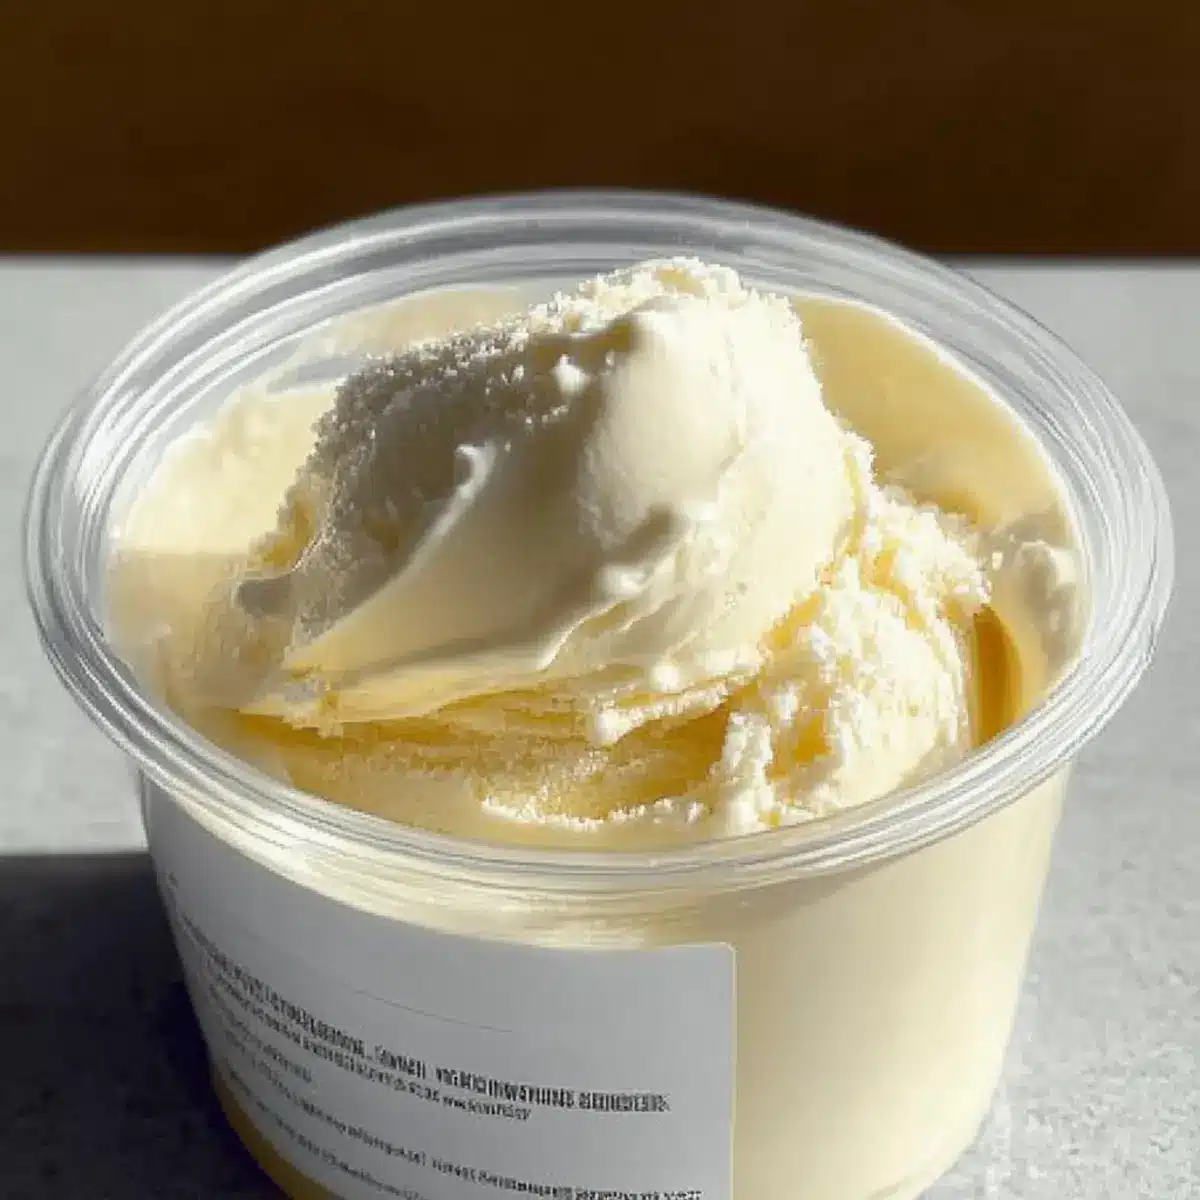
The first lick of creamy vanilla ice cream on a hot summer’s day always takes me back to simpler times—happiness condensed into a scoop. This Ninja Creami vanilla ice cream recipe captures that nostalgic joy, making it a breeze to whip up in your own kitchen. With just four basic ingredients and no cooking required, you can create a luscious homemade treat that’s free from artificial flavors. Not only is this recipe perfect for satisfying your sweet tooth, but it’s also easily adaptable to be lactose-free or vegan, making it a hit for everyone around your table. As you stir and freeze, anticipation builds for that first silky spoonful. Ready to dive into this deliciously dreamy indulgence? Let’s get started!
Why make Ninja Creami vanilla ice cream?
Easy, Effortless Delight: With just four accessible ingredients, you can create a creamy indulgence that rivals your favorite ice cream parlor.
Customizable for Everyone: Whether you’re looking for lactose-free options or a vegan delight, this recipe can be adapted to fit various dietary needs without sacrificing flavor.
Simplicity That Shines: No cooking required! Just mix, freeze, and enjoy a fabulous treat perfect for hot summer days or cozy nights.
Versatile Flavors Await: Why not add your favorite mix-ins, like crushed Oreos or crunchy nuts, to elevate this recipe? It’s a perfect base for your creativity!
Crowd-Pleasing Treat: Homemade ice cream is sure to impress family and friends at gatherings. Pair it with your go-to desserts, like Lemon Cream Puffs or a slice of Vegan Vanilla Cake, for an unforgettable feast.
Ninja Creami Vanilla Ice Cream Ingredients
For the Base
- Thickened Cream (Heavy Cream) – Provides a rich, creamy base with about 35% fat content; substitute with whipping cream if unavailable.
- Sweetened Condensed Milk – Acts as the primary sweetener, essential for achieving desired sweetness and creaminess; use 150-200g based on preferred sweetness—this is key for your Ninja Creami vanilla ice cream recipe.
- Full Fat Milk – Adds fluidity and helps create a smooth texture; can be substituted with lactose-free milk for a lactose-free option.
- Vanilla Bean Paste or Extract – Imparts classic vanilla flavor; while extract can be used, the paste offers a more robust taste that elevates the creaminess.
Step‑by‑Step Instructions for Ninja Creami Vanilla Ice Cream Recipe
Step 1: Combine Ingredients
In your Ninja Creami tub, weigh and carefully combine the thickened cream, sweetened condensed milk, full fat milk, and vanilla bean paste or extract. Use a silicone spatula to scrape down the sides, ensuring the sweetened condensed milk is evenly distributed throughout the mixture, which should have a thick and creamy look.
Step 2: Mix Thoroughly
Once combined, stir the mixture gently yet thoroughly with the spatula, ensuring a uniform consistency. You want to see small bubbles forming without any lumps left behind – a sign that your Ninja Creami vanilla ice cream base is ready. This step is crucial for achieving that luxurious, smooth texture we all crave.
Step 3: Freeze the Mixture
Next, place the tub in the freezer without the lid and allow the mixture to freeze for 15 to 24 hours. The longer you freeze, the firmer your ice cream will be. Keep an eye on the time, as the mixture should be fully solidified, presenting an icy, glossy surface once ready for processing.
Step 4: Process the Ice Cream
After freezing, securely attach the lid to the Ninja Creami tub and process the mixture on the ice cream setting. Watch as it transforms into a thick, silky-smooth texture. If the ice cream appears balled up, simply re-spin it to achieve that perfect creamy delight of your Ninja Creami vanilla ice cream.
Step 5: Serve or Store
Serve your delicious homemade Ninja Creami vanilla ice cream immediately in bowls or cones, enjoying the rich texture and flavor. Alternatively, if you have leftovers, store them in the freezer with the lid on, ensuring it’s airtight to prevent freezer burn. Before serving again, reprocess in the Ninja Creami for the best texture.
How to Store and Freeze Ninja Creami Vanilla Ice Cream
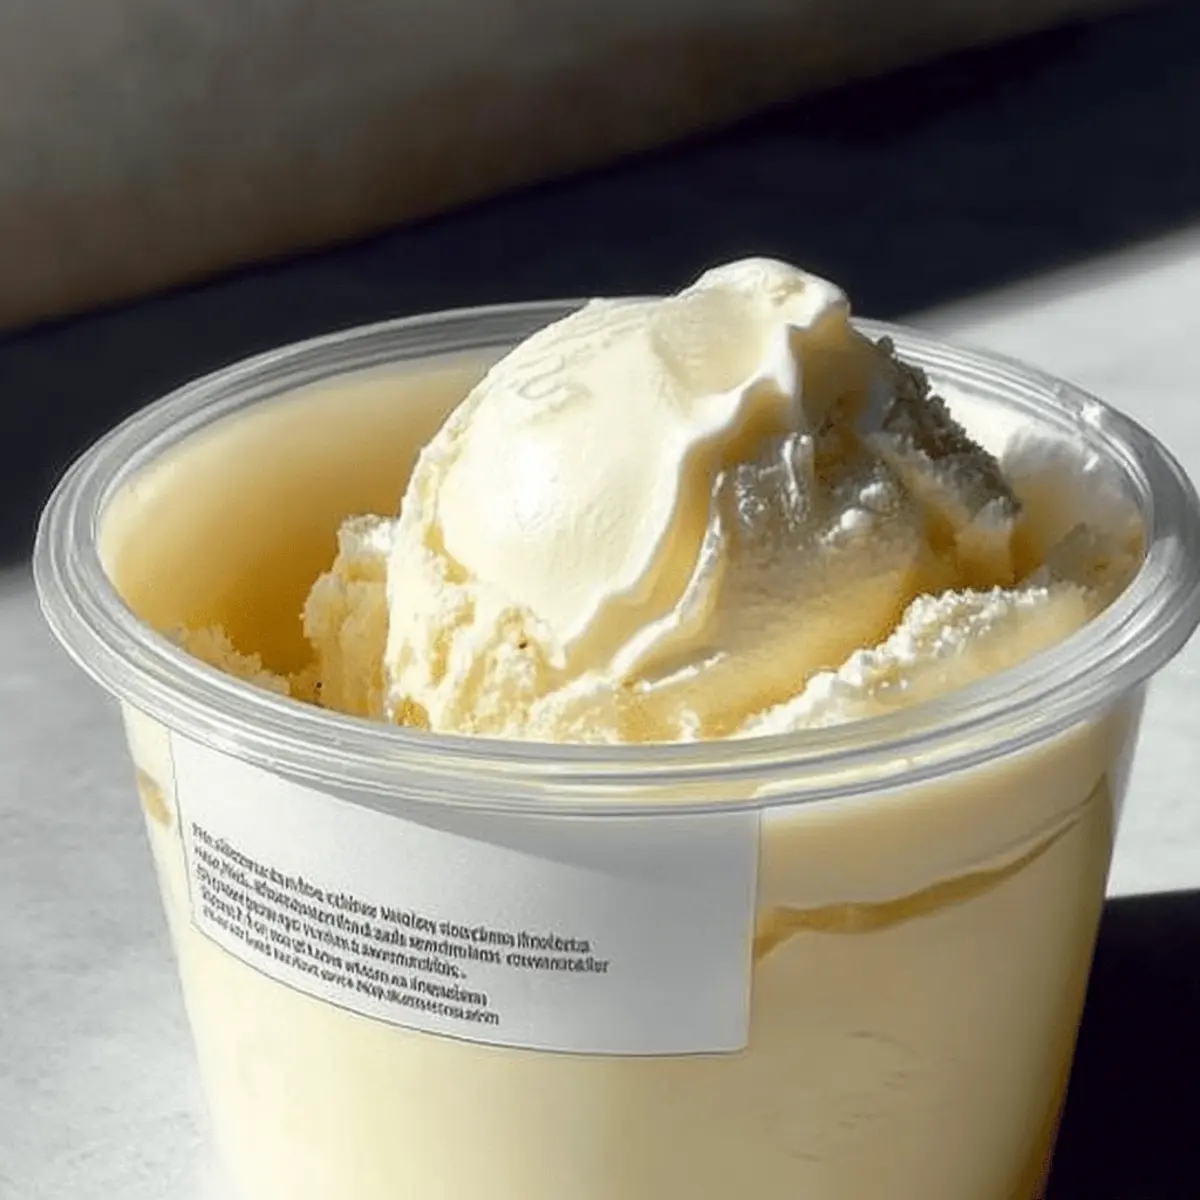
Sealing Leftovers: Store your leftover Ninja Creami vanilla ice cream in an airtight container with the lid on, ensuring it’s properly sealed to prevent freezer burn for up to 2 weeks.
Reprocessing Instructions: When ready to enjoy again, reprocess your ice cream in the Ninja Creami to restore its luscious, creamy texture before serving.
Avoiding Ice Crystals: For the best quality, avoid leaving it in the freezer for too long. If stored beyond 2 weeks, it may develop ice crystals which can affect the creaminess.
Room Temperature Tip: If your ice cream has been in the freezer for some time, let it soften at room temperature for about 5-10 minutes before reprocessing for a smoother result.
Expert Tips for the Best Ninja Creami Vanilla Ice Cream
-
Ingredient Quality Matters: Use high-quality thickened cream and vanilla bean paste for an intense flavor that elevates your Ninja Creami vanilla ice cream recipe.
-
Sweetness Control: Adjust the amount of sweetened condensed milk to your taste, as too much can make the texture overly soft; aim for the balance that works best for you.
-
Avoid Air Bubbles: Mix thoroughly to eliminate air bubbles before freezing; this ensures a smoother ice cream that feels luxurious on the palate.
-
Freezing Time: Be patient and freeze the mixture for at least 15 hours. Shorter time may result in a less creamy consistency post-processing.
-
Lactose-Free Tips: If going for a lactose-free version, ensure that all dairy ingredients are lactose-free, including the sweetened condensed milk, for best results.
Ninja Creami Vanilla Ice Cream Recipe Variations
Feel free to get creative and tailor this recipe to suit your taste buds!
-
Lactose-Free: Substitute all dairy ingredients with lactose-free options to keep it indulgent without the discomfort.
Enjoy the same creamy texture without sacrificing flavor. -
Vegan: Replace the thickened cream and milk with coconut cream and almond milk, using a plant-based sweetener for a delightful vegan treat.
It’s as creamy and delicious as the original! -
Lightened Up: Opt for light condensed milk and half-and-half instead of full fat dairy for a lower-calorie version.
Keep in mind that it may yield a softer texture—just freeze it a bit longer! -
Flavor Boost: Mix in a tablespoon of your favorite extract or add citrus zest for a unique twist on classic vanilla.
A hint of lemon or orange can elevate the flavor to a whole new level. -
Nutty Delight: Fold in crushed nuts such as pistachios or almonds after processing for a delightful crunch.
The texture contrasts beautifully with the smooth ice cream. -
Spicy Touch: Add a dash of cinnamon or a pinch of cayenne pepper for a surprising warmth and depth of flavor.
It’s a fun way to add a little kick to your dessert! -
Chocolate Lovers: Stir in mini chocolate chips or chunks before freezing for delightful chocolate bursts in every scoop.
Perfect for satisfying that chocolate craving! -
Fruit Swirl: Swirl in your favorite fruit puree, like strawberry or raspberry, after processing for a fresh fruity touch.
The vibrant color and tartness add a delightful contrast to the sweet ice cream.
For more delightful variations and recipes, try out our Cranberry Pecan Cream for a fun mix-in or indulge in a bowl of Vanilla Chia Pudding for a refreshing fruit side!
What to Serve with Ninja Creami Vanilla Ice Cream
Indulging in silky smooth ice cream is best enjoyed when complemented by delicious side dishes and drinks that heighten its exquisite flavors.
-
Warm Chocolate Brownies: The rich, fudgy texture of warm brownies is a classic pairing that creates a delightful contrast to the cool, creamy ice cream. Each bite is a celebration of dessert harmony!
-
Fresh Berry Medley: Juicy strawberries, blueberries, and raspberries add a refreshing tartness, enhancing the creamy sweetness of your Ninja Creami vanilla ice cream. They bring color and vibrant flavors to your dessert experience.
-
Homemade Waffle Cones: Making your own waffle cones introduces an extra layer of crunch and a hint of buttery warmth that beautifully complements the rich ice cream. It’s a fun, hands-on way to enjoy your treat!
-
Toasty Almonds: Lightly toasted almonds provide a delightful crunch and nutty flavor that contrasts perfectly with the smoothness of the ice cream. A sprinkle elevates your scoop to a gourmet delight!
-
Rich Coffee: A cup of freshly brewed coffee offers a warming balance to the sweet indulgence of your Ninja Creami vanilla ice cream, creating a delightful dessert experience that coffee lovers will cherish.
-
Coconut Macaroons: These chewy, sweet coconut bites are a perfect textural partner to creamy ice cream, transporting you to a tropical state of mind with each delicious pairing.
-
Mint Chocolate Chip Cookies: The refreshing flavor of mint combined with chocolate is a tasty contrast to the vanilla ice cream. Enjoy these cookies alongside a scoop for a delightful twist!
-
Chocolate Sauce Drizzle: Warm, gooey chocolate sauce poured over your ice cream adds a decadent richness that makes every bite utterly heavenly. It’s an irresistible touch that will satisfy any sweet tooth.
-
Caramel Popcorn: Sweet and salty popcorn introduces an unexpected crunch, enhancing the overall flavor while providing a fun, casual twist to your ice cream experience. Perfect for movie nights!
Make Ahead Options
These Ninja Creami vanilla ice cream preparations are perfect for busy home cooks looking to save time! You can prep the mixture up to 24 hours in advance by combining the thickened cream, sweetened condensed milk, full fat milk, and vanilla bean paste in the Ninja Creami tub. Simply mix it thoroughly, cover it, and refrigerate the mixture overnight for the best flavor infusion. When you’re ready to indulge, freeze the mixture (without the lid) for 15 to 24 hours. This prep means you can enjoy a delightful homemade treat at a moment’s notice, just as delicious and creamy as if made fresh that day!
Ninja Creami Vanilla Ice Cream Recipe FAQs
What type of cream should I use for the Ninja Creami vanilla ice cream?
Absolutely! Using thickened cream (heavy cream) with about 35% fat content is ideal for creating a rich and creamy texture. If you don’t have thickened cream available, you can substitute it with whipping cream, but be mindful that the richness might vary slightly.
How should I store leftovers of my Ninja Creami vanilla ice cream?
To keep your homemade ice cream fresh and delicious, store it in an airtight container with the lid securely closed. This will help prevent freezer burn for up to 2 weeks. For the best texture upon serving, be sure to reprocess it in the Ninja Creami before diving in!
Can I freeze Ninja Creami vanilla ice cream, and how long does it last?
Yes, you can absolutely freeze it! In fact, your Ninja Creami vanilla ice cream can be stored in the freezer for up to 2 weeks. Just remember to keep it in an airtight container to avoid ice crystals forming and compromising the creaminess. After an extended freeze, let it sit at room temperature for about 5-10 minutes before reprocessing to restore that silky texture.
What adjustments can I make for dietary preferences?
Very! To make a lactose-free version, simply use lactose-free milk and sweetened condensed milk for all dairy ingredients. If you’re looking for a vegan option, consider using coconut cream and a plant-based sweetened condensed milk alternative. This way, you can enjoy delicious ice cream without any dairy worry!
My ice cream turned out too soft; what went wrong?
The texture can be influenced by the amount of sweetened condensed milk. If your Ninja Creami vanilla ice cream is too soft, try reducing the condensed milk in your next batch, as too much can lead to a texture that doesn’t firm adequately. Also, ensure that mixture is thoroughly frozen before processing, which should be done for at least 15-24 hours. Mixing in small bubbles can also impact your end result—so mix carefully!
How can I avoid ice crystals in my ice cream?
To avoid those pesky ice crystals, make sure your ice cream goes back in a tightly sealed container and stays there for no longer than 2 weeks. If it does sit out too long, reprocessing in the Ninja Creami should help smooth it out again. For best results, keep an eye on the storage time and ensure proper sealing to maintain the delightful creaminess you crave.
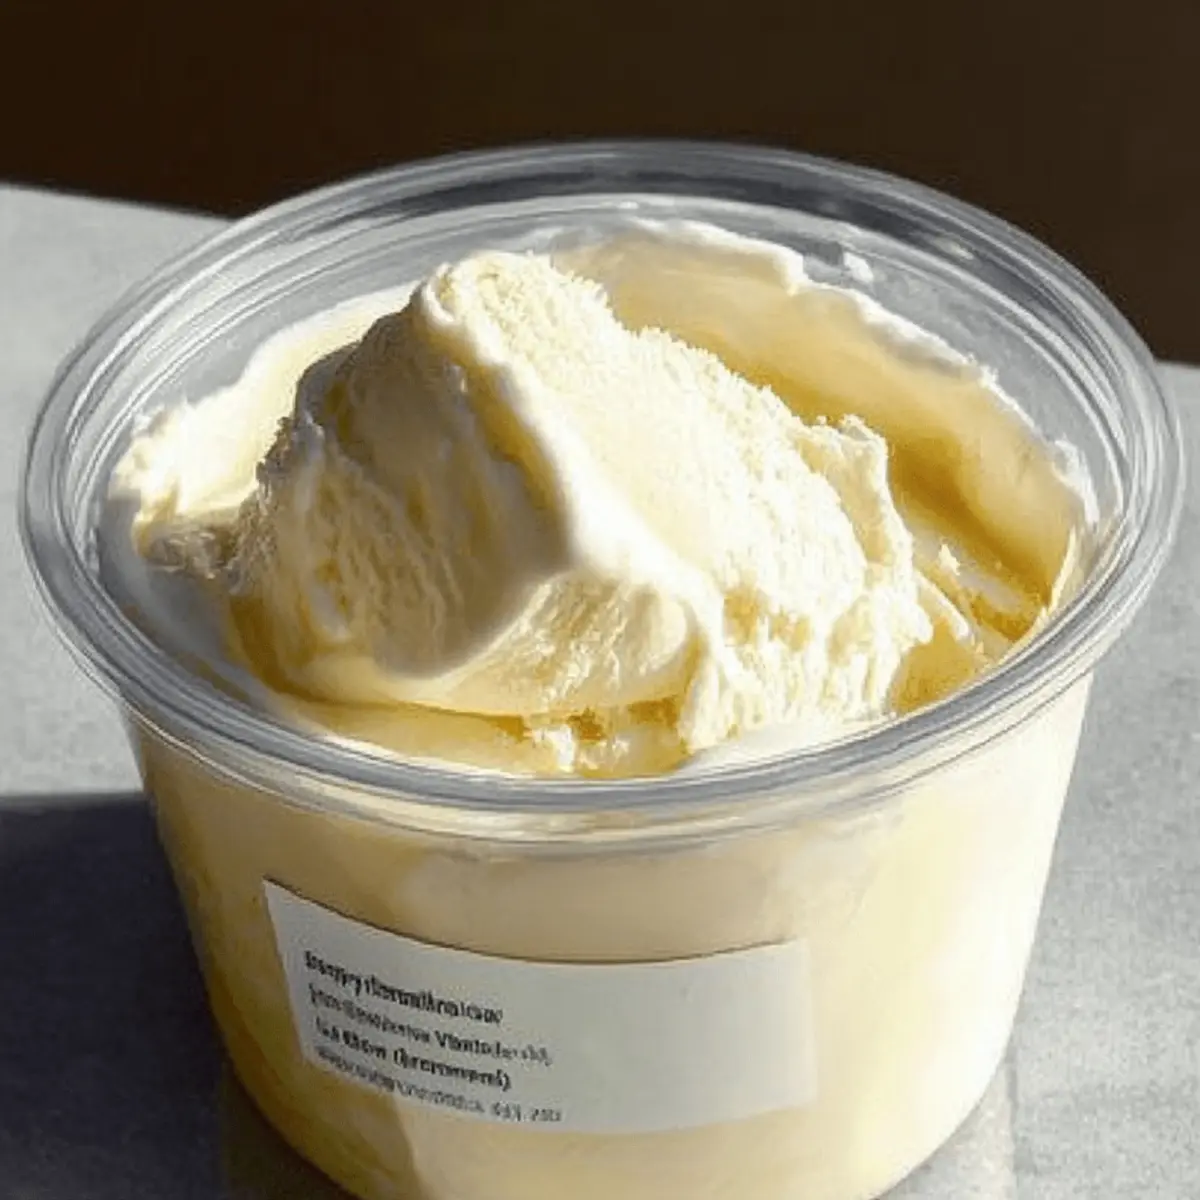
Decadent Ninja Creami Vanilla Ice Cream Recipe for Home Chefs
Ingredients
Equipment
Method
- In your Ninja Creami tub, weigh and combine the thickened cream, sweetened condensed milk, full fat milk, and vanilla bean paste or extract.
- Stir the mixture gently yet thoroughly, ensuring a uniform consistency without lumps.
- Place the tub in the freezer without the lid for 15 to 24 hours.
- Securely attach the lid and process the mixture on the ice cream setting.
- Serve immediately or store in an airtight container in the freezer.
Leave a Reply