
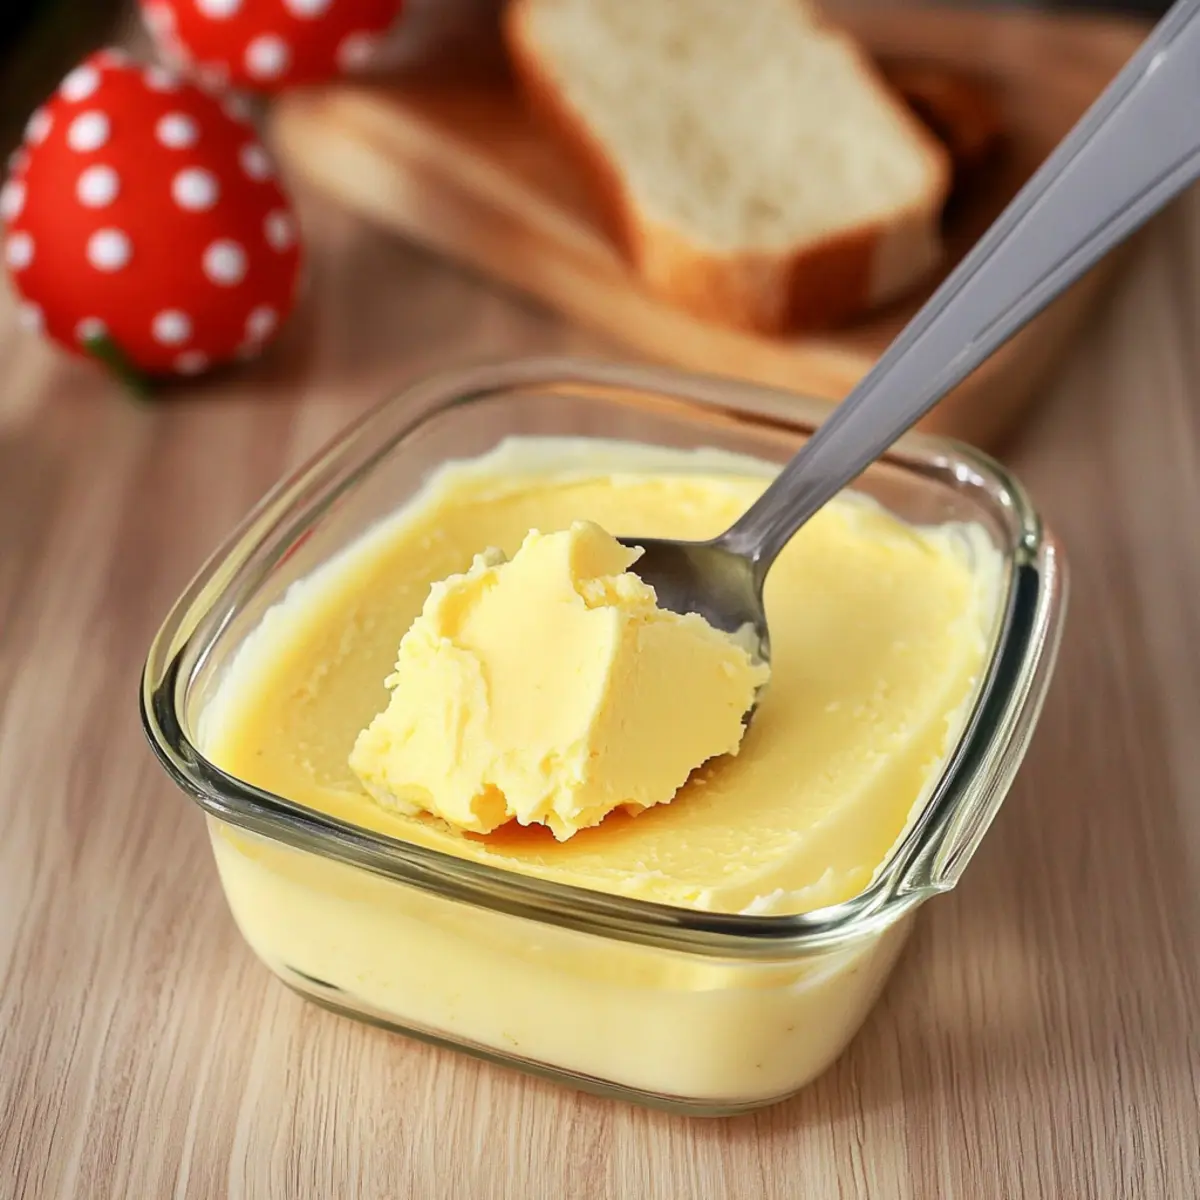
I once found myself at a quaint café, savoring a warm slice of bread slathered in a rich and creamy spread. The moment was so delightful that I knew I had to recreate that bliss in my own kitchen. That’s how I discovered the magic of homemade vegan butter! With just seven simple ingredients and a quick five-minute prep time, this Homemade Vegan Butter recipe easily elevates your morning toast or any cooking venture. Not only is it completely plant-based and dairy-free, but it also allows for fun variations using oils like avocado or olive oil, making it customizable to your taste. Whether you’re gliding it onto fresh bread or using it to enhance your favorite dishes, this vegan butter offers satisfying creaminess without the guilt. Curious how to whip up this delightful spread in no time? Let’s dive in!
Why is Homemade Vegan Butter a Game Changer?
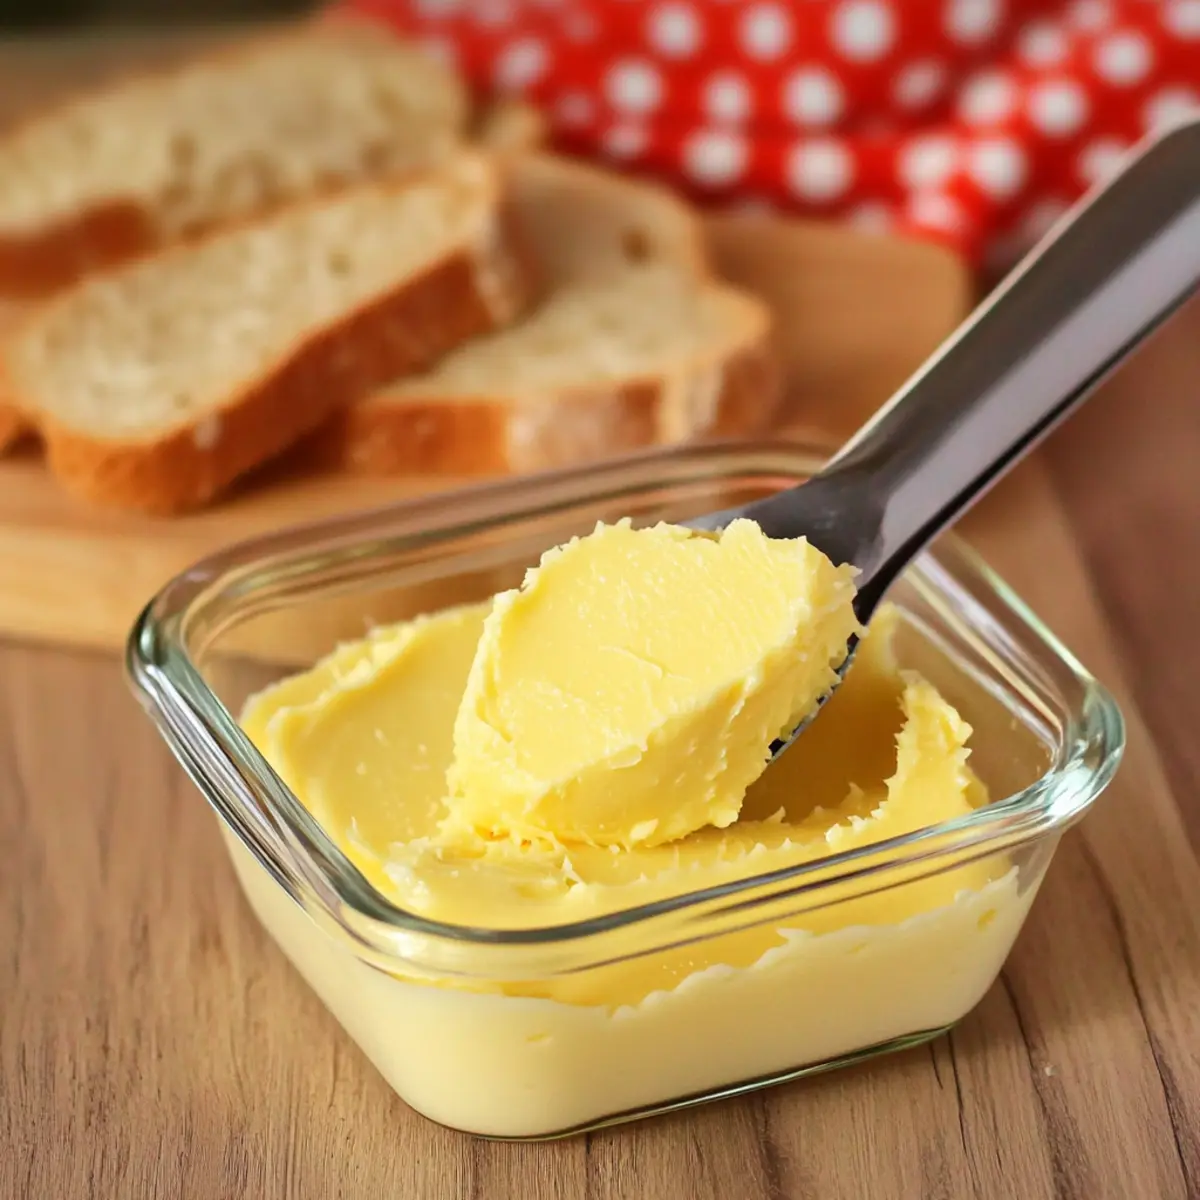
Rich, Creamy Texture: This vegan butter mimics traditional butter so well, you’ll forget it’s plant-based!
Quick Prep Time: With just 5 minutes of prep, you can create your own creamy spread, perfect for toast or cooking.
Customizable Flavors: Choose between avocado and olive oil for unique taste profiles, or omit ingredients like nutritional yeast to suit your dietary preferences.
Versatile Use: Great for baking, sautéing, or simply spreading on warm bread, this butter adds deliciousness to any meal.
Crowd-Pleasing: Share this delightful homemade vegan butter with family and friends; they’re sure to be impressed with your culinary skills!
This recipe stands alongside other fantastic options, such as the Vegan Lemon Poppy and Vegan Pistachio Coffee, making it a must-try for your plant-based kitchen!
Homemade Vegan Butter Ingredients
For the Butter Base
- Refined Coconut Oil – This primary base gives your vegan butter a creamy texture when melted; feel free to substitute with a refined oil for a neutral flavor.
- Canola Oil – Adds that luscious creaminess; you can swap it for avocado oil or olive oil, but add it last to prevent bitterness.
For the Liquid Mixture
- Unsweetened Soy Milk or Almond Milk – Provides the moisture necessary for the butter; pick based on your taste preference or what’s available in your pantry.
- Apple Cider Vinegar – A key ingredient that transforms non-dairy milk into a vegan buttermilk, enhancing the butter’s flavor.
For Flavor Enhancement
- Nutritional Yeast – Infuses a delightful buttery taste; omit it if you prefer a more neutral flavor, but note that it will reduce the overall richness.
- Turmeric – A pinch goes a long way for color; skip it if you’d like a more subtle appearance.
- Salt – Essential for bringing the flavors together; adjust to your taste preferences.
Now that you have your Homemade Vegan Butter ingredients ready, let’s get blending! This delightful spread will elevate your meals and give a satisfying plant-based option on your table.
Step‑by‑Step Instructions for Homemade Vegan Butter
Step 1: Blend Oils
Start by adding 1 cup of melted refined coconut oil and 1/2 cup of canola oil into your high-speed blender. Blend these oils together on medium speed for about 30 seconds until fully combined, creating a smooth base. This step is crucial as it establishes the rich texture of your Homemade Vegan Butter.
Step 2: Prepare Buttermilk
In a separate bowl, mix 2 tablespoons of apple cider vinegar with 1/2 cup of unsweetened soy milk or almond milk. Set it aside for 5-10 minutes to curdle, which transforms the mixture into a vegan buttermilk that enhances the overall flavor. Once it has thickened slightly, you’ll know it’s ready to join the blender.
Step 3: Combine Ingredients
With the blender running, pour in the curdled buttermilk along with 3 tablespoons of nutritional yeast, a pinch of turmeric, and 1/2 teaspoon of salt. Blend on medium-high speed for another 30 seconds until all ingredients are fully incorporated and the mixture reaches a creamy and homogenous texture, characteristic of this delightful Homemade Vegan Butter.
Step 4: Blend Smooth
Continue blending the mixture for an additional 15-20 seconds to ensure it is silky smooth. The mixture should have a creamy consistency that looks and feels like traditional butter. If you notice any lumps, give it a few more seconds of blending until you achieve that perfect texture.
Step 5: Chill
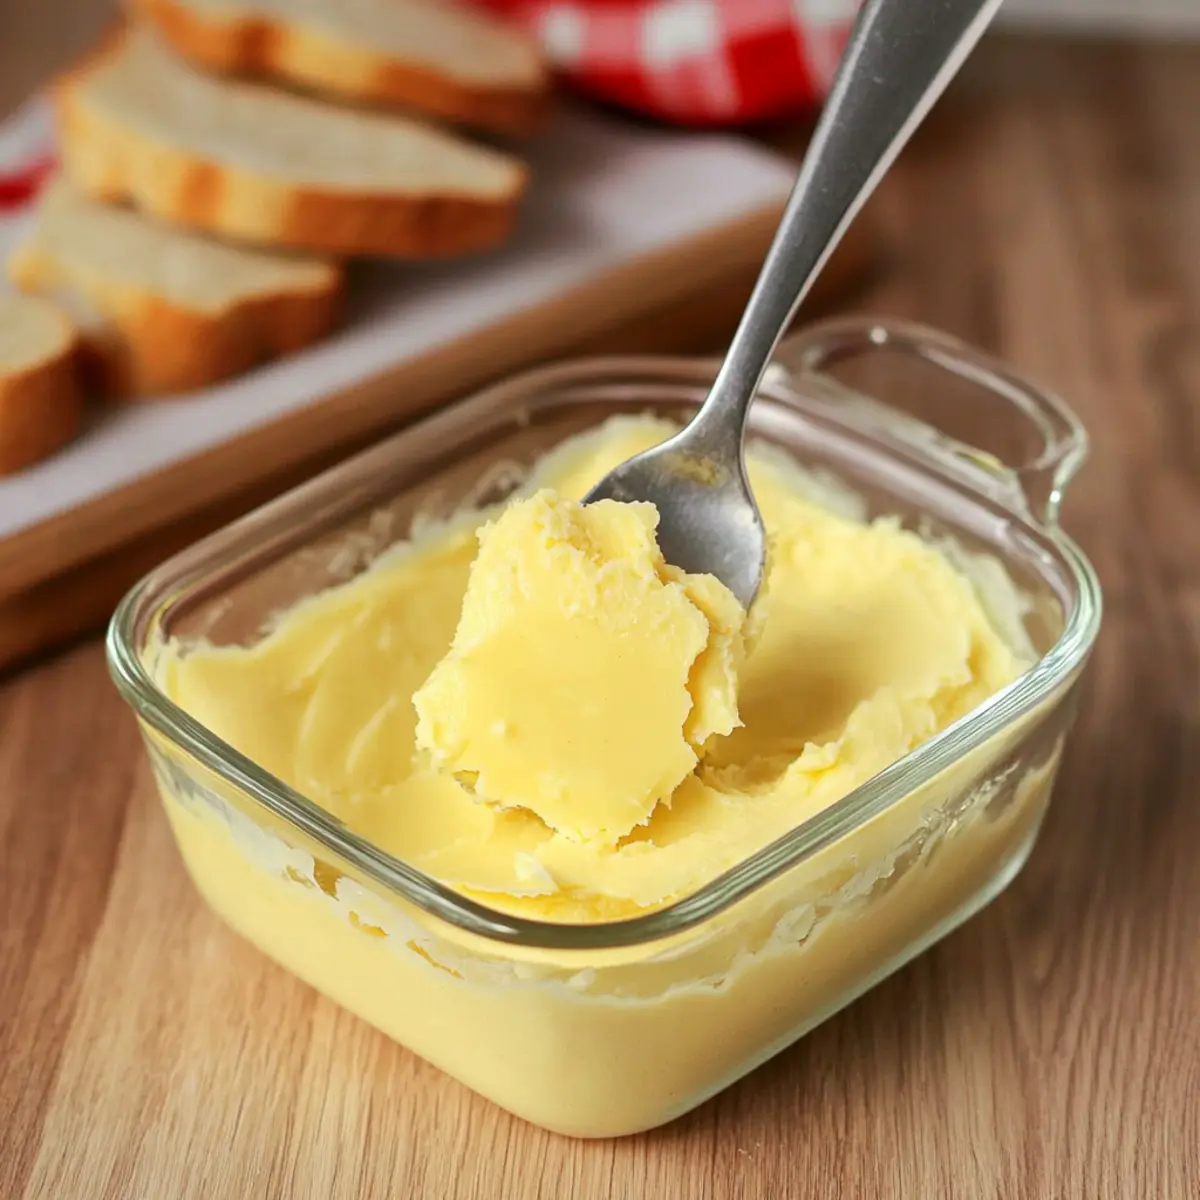
Pour the blended vegan butter mixture into a butter dish or a glass container. Cover it with a lid or plastic wrap, then place it in the refrigerator to set, which will take approximately 30 minutes. During this time, the vegan butter will firm up, allowing it to be easily spreadable once cooled.
Step 6: Serve Softened
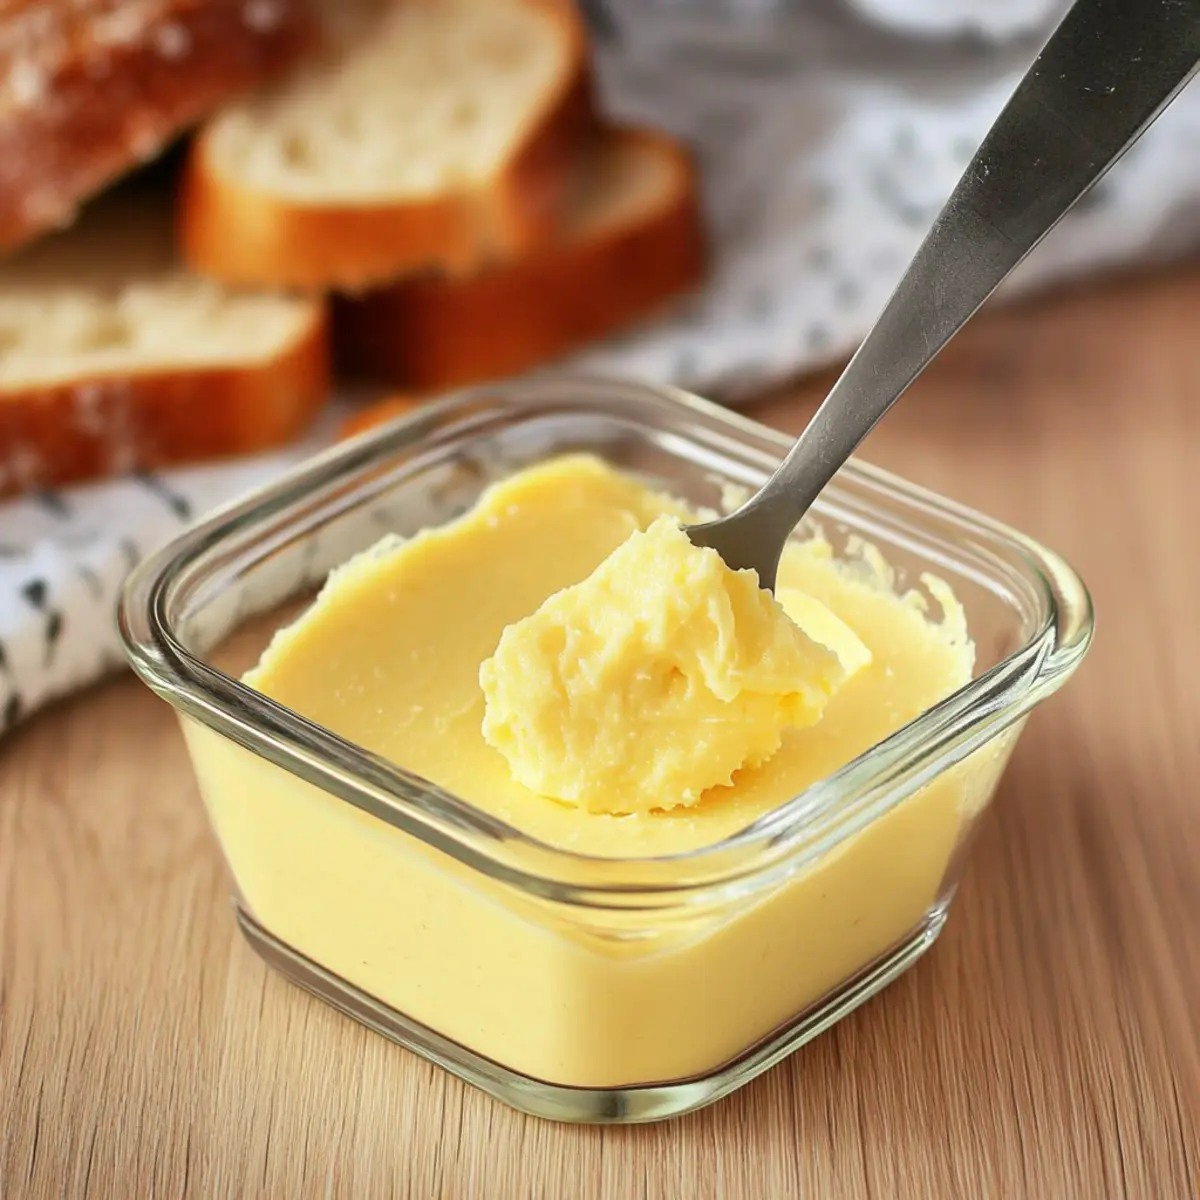
Once chilled, take the Homemade Vegan Butter out of the refrigerator and let it sit at room temperature for about 5-10 minutes before using. This brief softening period helps it to spread easily without tearing your bread, allowing you to enjoy its creamy goodness effortlessly!
Storage Tips for Homemade Vegan Butter
-
Fridge: Store your homemade vegan butter in a covered glass container for up to 2 weeks. This helps maintain its creamy texture and delicious flavor while keeping it fresh.
-
Freezer: For longer storage, freeze portions of the vegan butter in an airtight container or silicone mold. It can last up to 3 months, making it a convenient option for future uses.
-
Thawing: When ready to use, simply transfer the frozen vegan butter to the fridge to thaw overnight, or let it sit at room temperature for about 30 minutes before you spread it on toast.
-
Reheating: If your homemade vegan butter becomes too firm after refrigeration, allow it to soften slightly at room temperature for easier spreading. Enjoy it on various dishes!
What to Serve with Homemade Vegan Butter
Create a delightful dining experience with the creamy, rich taste of this plant-based spread that adds a touch of love to every bite.
-
Warm Artisan Bread: The perfect canvas for your vegan butter, fresh-baked bread absorbs its rich creaminess, making each slice a heavenly delight.
-
Fluffy Pancakes: Slathering vegan butter atop fluffy pancakes brings warmth and a velvety texture that enhances your breakfast.
-
Grilled Vegetables: Use this homemade vegan butter to toss veggies before grilling. It adds depth of flavor and richness, transforming simple veggies into a tasty side.
-
Savory Scones: Serve with sweet or savory scones for a luxurious touch; the buttery blend enhances the flaky texture, inviting everyone to indulge.
-
Sweet Corn on the Cob: Spread a generous dollop on hot corn, allowing the butter to melt, blending with the sweet, juicy kernels for an irresistible side.
-
Rich Pasta Dishes: Toss fresh noodles with a spoonful of this spread for a simple and creamy sauce that elevates your favorite pasta meals.
-
Homemade Biscuits: Nothing beats homemade biscuits fresh from the oven, especially with a generous spread of creamy vegan butter for that melt-in-your-mouth moment.
-
Decadent Desserts: Use to enhance cakes or cookies; the buttery richness elevates baked goods, making them utterly irresistible.
-
Herbal Tea: Pair with a warm cup of tea; the soothing flavor complements the creaminess, making for a cozy afternoon delight.
Make Ahead Options
These Homemade Vegan Butter options are perfect for busy home cooks looking to save time during the week! You can prepare the blended mixture up to 24 hours in advance and store it in the refrigerator. Simply follow the blending steps, then pour the mixture into a butter dish and refrigerate it until set. To maintain the creamy texture, ensure it is covered tightly to prevent absorption of any odors from the fridge. When you’re ready to use it, let the butter sit at room temperature for about 5-10 minutes before spreading. This way, you’ll enjoy the same rich, buttery flavor with minimal effort, making your meal prep so much easier!
Helpful Tricks for Homemade Vegan Butter
- Perfect Texture: For a creamy consistency, ensure your coconut oil is fully melted before blending. Partial solidification can lead to lumps in your homemade vegan butter.
- Avoid Bitter Flavors: If using olive oil, add it after blending to prevent bitterness from over-processing. A smooth blend ensures your butter retains its delightful taste.
- Customize Creaminess: Adjust the oil ratio based on preference; more canola oil results in a softer spread, while less can yield a firmer texture.
- Test for Richness: If you’re uncertain about nutritional yeast, start with a small amount and adjust to taste. This will help you find the buttery flavor you love without overwhelming your palate.
- Chill Wisely: Allow your homemade vegan butter to rest at room temperature for a few minutes before serving. This makes spreading much easier!
Homemade Vegan Butter Variations
Feel free to unleash your creativity with these delightful twists that will elevate your homemade vegan butter!
- Avocado Oil: Substitute refined coconut oil with avocado oil for a lighter, more delicate flavor. Enjoy the added authenticity in your spreads.
- Dairy-Free Delight: Omit nutritional yeast for a simpler flavor profile; your butter will still bring a satisfying creaminess to your meals. Perfect for those avoiding yeast!
- Herbed Butter: Add fresh or dried herbs like rosemary or basil for a gourmet touch. This makes your vegan butter a flavorful spread that’s perfect for special occasions.
- Nutty Boost: Incorporate a tablespoon of almond or cashew butter for a creamier texture and a hint of nutty goodness. This variation is a game-changer for toast lovers!
- Zesty Twist: Mix in lemon zest for a refreshing kick that brightens any dish. It pairs beautifully with sautéed veggies or on warm, toasted bread.
- Miso Magic: Add a teaspoon of miso paste for depth and umami richness. This will give your butter a unique flavor that’s perfect for savory dishes.
- Spicy Kick: Stir in a pinch of cayenne pepper or smoked paprika for an exciting heat element. This will elevate your toast to a whole new level of flavor!
- Sweet Version: For a sweeter take, incorporate a tablespoon of maple syrup or agave for a delightful addition to your breakfast routine. Perfect on pancakes or waffles!
This homemade vegan butter is incredibly versatile and pairs beautifully with other plant-based recipes like the Vegan Vanilla Cake or Matcha Butter Cookies. Enjoy experimenting with these variations!
Homemade Vegan Butter Recipe FAQs
How do I choose ripe ingredients for Homemade Vegan Butter?
Absolutely! When selecting your ingredients, ensure that your refined coconut oil is fully melted but not overheated, as it should maintain a neutral flavor. For the non-dairy milk, opt for brands with minimal additives for the best texture and taste. Always check for the freshness of your apple cider vinegar and nutritional yeast—these should have a pleasant smell.
How should I store leftover Homemade Vegan Butter?
To keep your homemade vegan butter fresh, store it in a covered glass container in the refrigerator for up to 2 weeks. This will maintain its creamy texture and flavor. Just remember to cover it tightly to prevent any absorption of odors from your refrigerator.
Can I freeze Homemade Vegan Butter?
Very! For longer storage, you can freeze your vegan butter. Simply pour it into an airtight container or use silicone molds for easy portioning. It will last up to 3 months in the freezer. When you’re ready to use it, allow the frozen butter to thaw overnight in the fridge or for about 30 minutes at room temperature before spreading.
What should I do if my Homemade Vegan Butter is too hard after refrigeration?
If your vegan butter is too firm after chilling, that’s no problem! Simply let it sit at room temperature for about 5-10 minutes before serving. Alternatively, you can use a microwave to soften it slightly—just a few seconds will do the trick, but keep an eye on it to prevent melting.
Can I make Homemade Vegan Butter allergy-friendly?
Yes! If you or someone in your household has allergies, you can substitute certain ingredients to make the recipe safe for everyone. Use sunflower oil instead of canola or avocado oil to eliminate nut-related concerns. Furthermore, if anyone is sensitive to nutritional yeast, it can be omitted; the flavor profile will change slightly but it will still be delicious!
What if my oil mixture separates after blending?
If your mixture separates after blending, this can happen for a couple of reasons. Make sure your coconut oil is fully melted before blending. If separation occurs, simply re-blend the mixture on medium speed for an additional 15-20 seconds. If it continues to separate, consider adding a bit of liquid, like non-dairy milk, a teaspoon at a time, until it reaches a cohesive, smooth texture.
Creamy Homemade Vegan Butter You'll Love to Spread
Ingredients
Equipment
Method
- Start by blending melted coconut oil and canola oil in a high-speed blender for about 30 seconds until fully combined.
- Mix apple cider vinegar with soy or almond milk in a separate bowl and let it sit for 5-10 minutes to curdle.
- Pour the curdled mixture into the blender with nutritional yeast, turmeric, and salt; blend for another 30 seconds until creamy.
- Blend for an additional 15-20 seconds to achieve a silky smooth texture.
- Transfer the mixture into a butter dish and refrigerate for about 30 minutes to set.
- Once set, let it sit at room temperature for 5-10 minutes before serving for easier spreading.
Leave a Reply