
As the sizzling sound of cheese hitting hot oil fills the kitchen, I can’t help but feel a rush of excitement—Greek Fried Cheese, or Saganaki, is officially in the works! This iconic appetizer combines the warm, gooey goodness of cheese with a wonderfully crispy, golden-brown exterior that’s sure to impress. With just a few simple ingredients and minimal prep time, this dish is perfect for those evenings when you crave something indulgent without the stress of complicated cooking. Not only does it make for an irresistible crowd-pleaser, but it’s also a delightful way to elevate any gathering or cozy night in. Are you ready to dive into the world of fried cheese magic? Let’s get started!
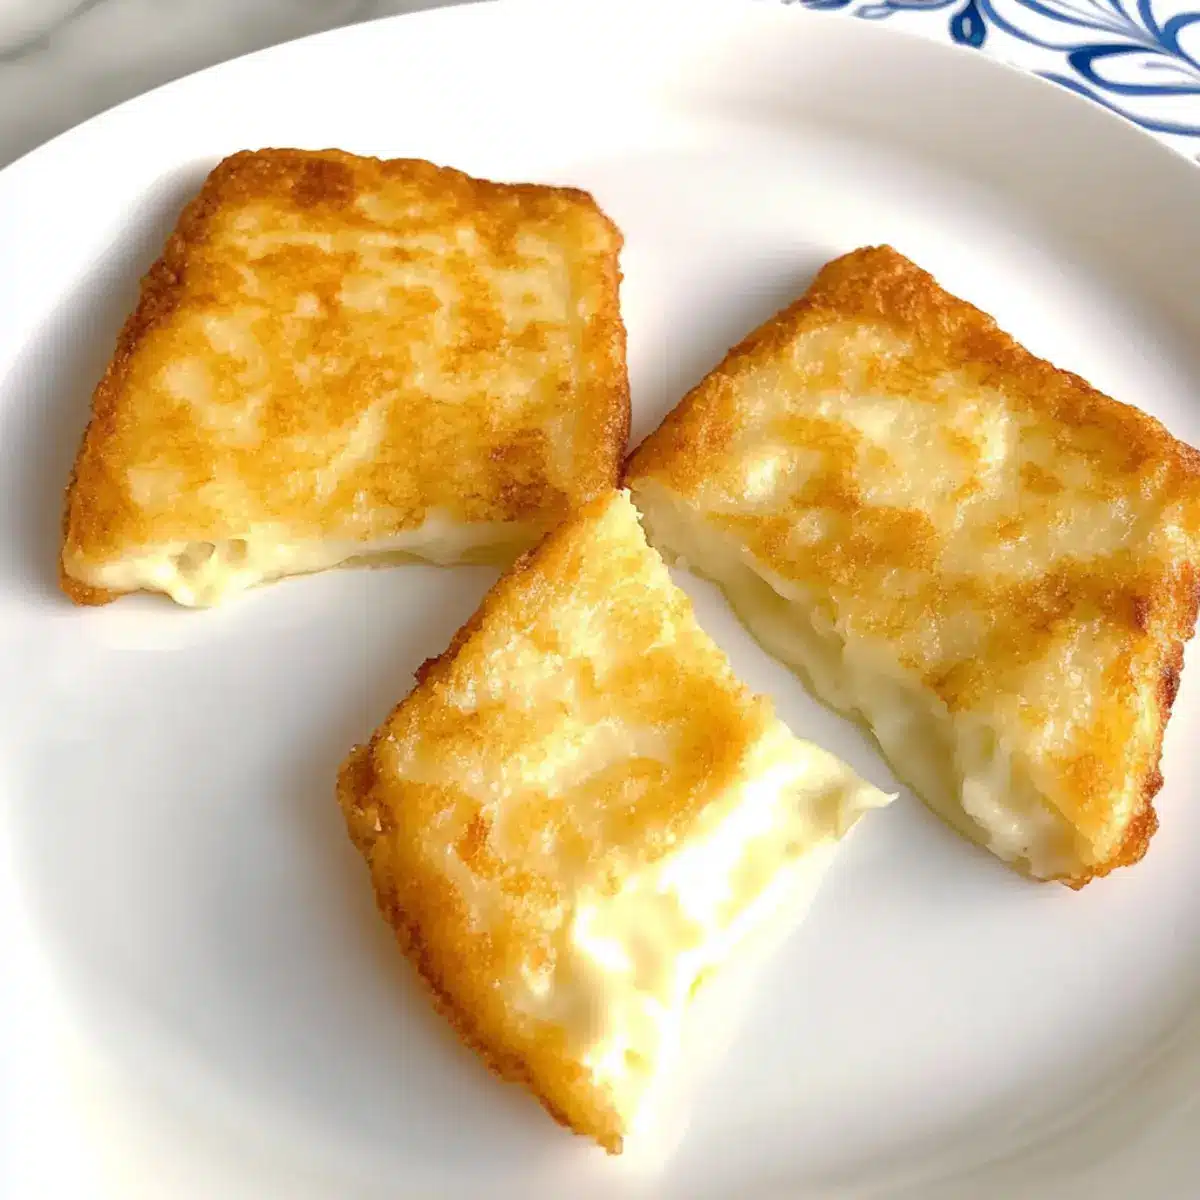
Why is Saganaki the Ultimate Treat?
Irresistible flavors: The combination of melty cheese and a crispy golden crust creates a taste sensation that’s hard to resist.
Quick & Easy: With just a handful of ingredients and minimal prep time, you can whip up this delicious appetizer in no time—ideal for spontaneous gatherings!
Perfect for Sharing: This dish is a showstopper at parties, enticing everyone to gather around. Pair it with crusty bread or olives for a complete experience!
Customizable delight: Feel free to experiment with different Greek cheeses or add a sprinkle of herbs to the flour for an exciting twist. Consider trying it alongside my Cheese Onion Potato for a delightful snack combo!
Healthy Fats: Made with high-quality olive oil, you can indulge without guilt, enjoying those good fats in moderation.
Embrace the joy of fried food with this fantastic recipe, and make your next meal truly special!
Greek Fried Cheese Ingredients
For the Cheese
- Kefalograviera Cheese – This rich cheese is the star of any Greek Fried Cheese dish, delivering that irresistible creaminess. Substitute with Kefalotyri or Graviera if you can’t find it.
- Lemon Juice – A splash of fresh lemon juice elevates the flavor and brings out the richness of the cheese.
For the Coating
- All-Purpose Flour – This creates a crispy shell that holds everything together; remember to season it with salt for an extra flavor boost.
For Frying
- Olive Oil – Using good-quality extra virgin olive oil for frying enhances the flavor, ensuring a golden-brown, crispy exterior.
For Topping
- Flaky Salt – A sprinkle of flaky salt adds a delightful crunch and enhances the overall taste of the Greek Fried Cheese.
Now that you have your ingredients sorted, let’s jump into whipping up this mouthwatering appetizer that will have everyone asking for seconds!
Step‑by‑Step Instructions for Greek Fried Cheese
Step 1: Prepare Cheese
Start by cutting the Kefalograviera cheese into uniform blocks, each about ½ inch thick. This ensures even cooking while frying, preventing any pieces from crumbling. Keep the blocks on a plate as you prep the next steps, ready to transform them into your crispy Greek Fried Cheese.
Step 2: Coat the Cheese
Next, take a shallow dish and add all-purpose flour seasoned with a pinch of salt. Dredge each cheese block in the flour, making sure they are fully coated. This flour will create a delightful crunch during frying, so take your time and ensure each piece is well covered before moving on.
Step 3: Heat Oil
In a large frying pan, pour in about ½ cup of high-quality extra virgin olive oil and place it over medium heat. Allow the oil to heat until it shimmers but is not yet smoking, about 2-3 minutes. You’ll know it’s ready when you see small ripples on the surface—perfect for achieving that golden-crisp texture in your Greek Fried Cheese.
Step 4: Fry the Cheese
Carefully add the coated cheese blocks to the hot oil, ensuring they are spaced apart. Fry them for about 3 minutes or until the underside is a beautiful golden brown. Gently flip each block and continue cooking for an additional 2 minutes until both sides have that perfect, crispy exterior.
Step 5: Serve
Once your Greek Fried Cheese is golden and crispy, use a slotted spoon to remove it from the oil. Place the cheese on a paper towel-lined plate to drain excess oil. Just before serving, squeeze fresh lemon juice generously over the hot cheese and sprinkle with flaky salt for that mouthwatering finish.
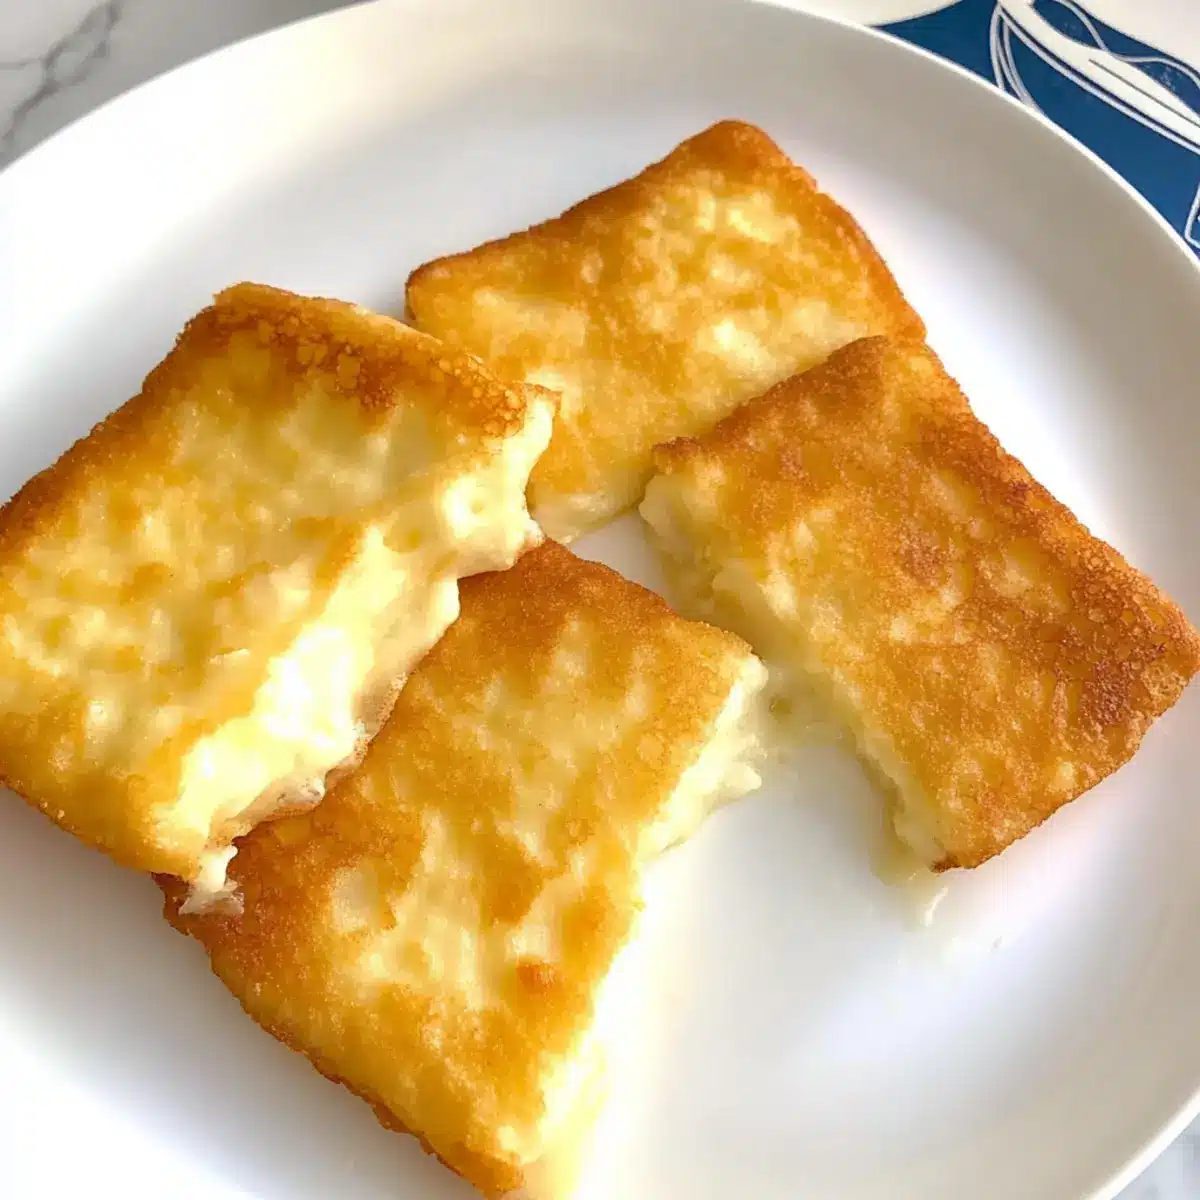
What to Serve with Irresistibly Crispy Greek Fried Cheese?
Elevate your appetizer experience with delicious side dishes that perfectly complement this golden treat.
-
Crusty Bread: A warm, rustic bread is perfect for scooping up the gooey, melty cheese, adding a chewy contrast to each crispy bite.
-
Fresh Greek Salad: A bright mix of tomatoes, cucumbers, and feta not only adds freshness but balances the richness of the fried cheese beautifully.
-
Olives and Pickles: A platter of assorted olives or marinated pickles brings a tangy, briny element that enhances the savory flavors of the Saganaki.
-
Herbed Yogurt Dip: A creamy yogurt dip infused with herbs and lemon zest offers a cooling contrast to the hot, crispy cheese, making each bite irresistible.
-
Roasted Vegetables: Roasted seasonal vegetables add earthy flavors and a satisfying crunch, creating a hearty complement to the dish while introducing a healthy element.
-
Sparkling Wine or Ouzo: Pair with bubbles or a traditional Greek spirit like Ouzo to elevate the dining experience and cleanse the palate between bites.
-
Dessert Option: Honey and Nuts: Drizzle warm Saganaki with honey and sprinkle with nuts like pistachios for a sweet finish, blending decadent flavors with a traditional touch.
Make Ahead Options
These crispy Greek Fried Cheese (Saganaki) are perfect for busy weeknights or spontaneous gatherings! You can prepare the cheese blocks and coat them in all-purpose flour up to 24 hours in advance. To do this, cut the cheese into ½ inch thick pieces, dredge in seasoned flour, and lay them on a tray. Cover and refrigerate. When you’re ready to serve, simply heat the olive oil and fry the cheese for about 3-5 minutes until golden brown. This method ensures that you save time while enjoying delicious, restaurant-quality results that will keep your guests coming back for more!
Storage Tips for Greek Fried Cheese
Fridge: Store any leftover Greek Fried Cheese in an airtight container for up to 3 days. Keep it in the middle of the fridge to maintain a stable temperature.
Freezer: Greek Fried Cheese can be frozen for up to 2 months. Place cooled pieces on a baking sheet, freeze until solid, then transfer to a zip-top bag for longer storage.
Reheating: For the best results, reheat in a hot skillet over medium heat for 3-5 minutes to regain that crispy texture. Alternatively, you can use an oven at 350°F (175°C) for about 10-12 minutes.
Avoid sogginess: If reheating from frozen, do not thaw before reheating to prevent the cheese from becoming watery.
Expert Tips for Greek Fried Cheese
-
Choose the Right Cheese: Using firm sheep’s milk cheese, like Kefalograviera, prevents crumbling during frying, ensuring a better texture for your Greek Fried Cheese.
-
Maintain Uniform Thickness: For even cooking, cut cheese blocks to the same thickness of about ½ inch. This helps all pieces cook perfectly!
-
Optimal Frying Temperature: Heat oil until it shimmers but isn’t smoking. Too hot can burn the oil, while too cool will lead to soggy cheese.
-
Don’t Overcrowd the Pan: Fry in batches if necessary, giving each piece space. This ensures proper frying and keeps the oil temperature consistent.
-
Garnish for Flavor: Enhance the dish with fresh lemon juice and flaky salt just before serving. This adds brightness and brings out the delightful cheese flavors.
-
Serve Fresh: While rewarding, fried cheese is best when served hot. Quickly reheat any leftovers in a skillet for the best taste experience!
Greek Fried Cheese Variations
Feel free to get creative with your fried cheese experience and discover flavors that excite your palate!
- Herb-Infused: Mix fresh herbs like oregano or thyme with the flour for a fragrant twist that elevates the dish. This adds a beautiful aroma that will fill your kitchen with warmth.
- Spicy Kick: Drizzle chili oil over your finished cheese or mix in red pepper flakes to the flour for a fiery flavor boost that will tantalize your taste buds.
- Nutty Crunch: Add ground nuts like almonds or walnuts to the flour for an added texture that brings a delightful crunch. The nutty flavor pairs wonderfully with the creamy cheese.
- Mediterranean Medley: Incorporate minced sun-dried tomatoes or olives into the flour mix for a burst of umami that truly embraces Mediterranean flavors.
- Dairy-Free Alternative: For a dairy-free version, substitute the cheese with firm vegan cheese alternatives and follow the same frying method. You’ll achieve a similar crunchy delight for everyone to enjoy!
- Crispy Coating: Double-dip the cheese in egg before frying for a thicker, crunchier coating that’s irresistibly satisfying.
- Zesty Lime Option: Swap out lemon juice for fresh lime juice for a tangy twist that adds a zesty brightness to each bite.
- Stuffed Cheese: Consider stuffing each piece with herbed goat cheese before frying for a magnificent surprise within each crispy morsel!
Experiment with these variations and discover your favorite combination! Meanwhile, consider serving your fried cheese with a fresh salad or alongside my flavorful Greek Lemon Potatoes for a complete Greek-inspired feast.
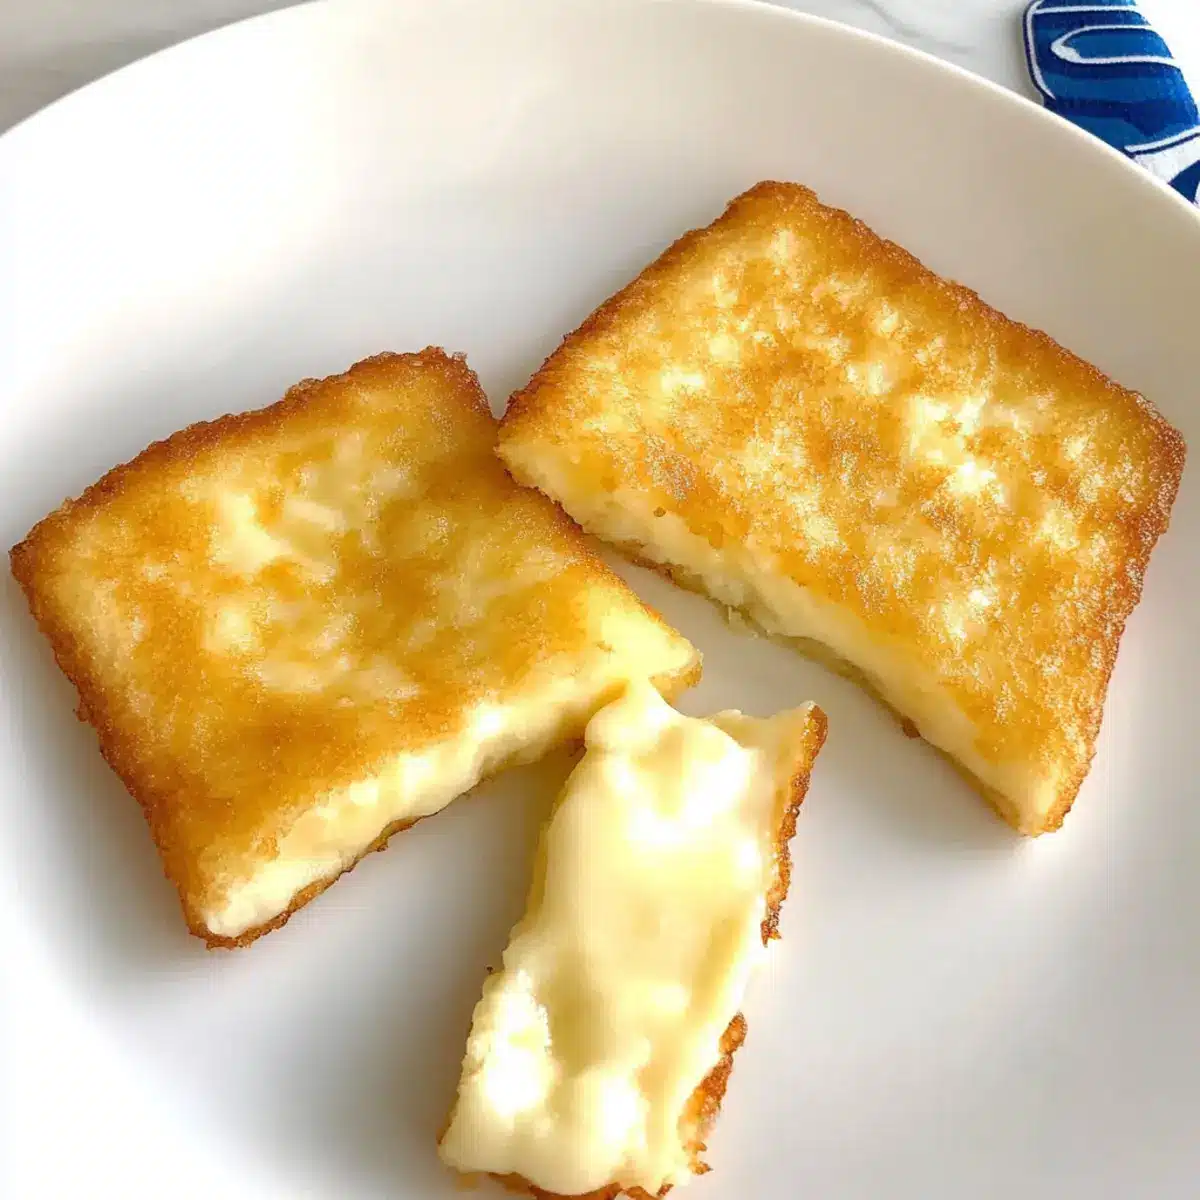
Greek Fried Cheese (Saganaki) Recipe FAQs
What type of cheese should I use for Greek Fried Cheese?
Absolutely! The best choice for Saganaki is Kefalograviera cheese, which delivers a rich, creamy texture. If you can’t find it, you can substitute with Kefalotyri or Graviera cheese. Look for varieties that are firm and can hold their shape when fried.
How should I store leftover Greek Fried Cheese?
For sure! Any leftovers should be placed in an airtight container and stored in the refrigerator for up to 3 days. It’s best to keep them in the middle of the fridge to maintain a stable temperature, as this helps preserve their texture and flavor.
Can I freeze Greek Fried Cheese?
Very! To freeze, first allow the cooked cheese to cool completely. Arrange it in a single layer on a baking sheet and place it in the freezer until solid—this usually takes about 1-2 hours. Once frozen, transfer the pieces into a zip-top bag and store in the freezer for up to 2 months. When ready to enjoy, reheat directly from frozen without thawing to avoid sogginess.
What should I do if my cheese is crumbling while frying?
I often recommend ensuring that you are using a firm sheep’s milk cheese and cutting it into uniform blocks about ½ inch thick. This will help prevent crumbling. Additionally, ensure the oil is hot enough before frying—if it’s too cool, the cheese may not hold up well. Fry in small batches for an even cooking experience.
Is Greek Fried Cheese suitable for people with allergies?
Yes, but with caution! This recipe contains dairy and gluten due to the cheese and flour, so it’s important to consider allergies or dietary restrictions. If you’re looking for a gluten-free option, you can use gluten-free flour for the coating. Always check the labels on your ingredients for allergens.
How can I reheat leftover Greek Fried Cheese to keep it crispy?
To maintain that glorious crunch, the best method is to reheat your Greek Fried Cheese in a hot skillet over medium heat for about 3-5 minutes. This method revives the crispiness wonderfully. Alternatively, you can pop them in an oven preheated to 350°F (175°C) for about 10-12 minutes, ensuring they heat through without becoming soggy.
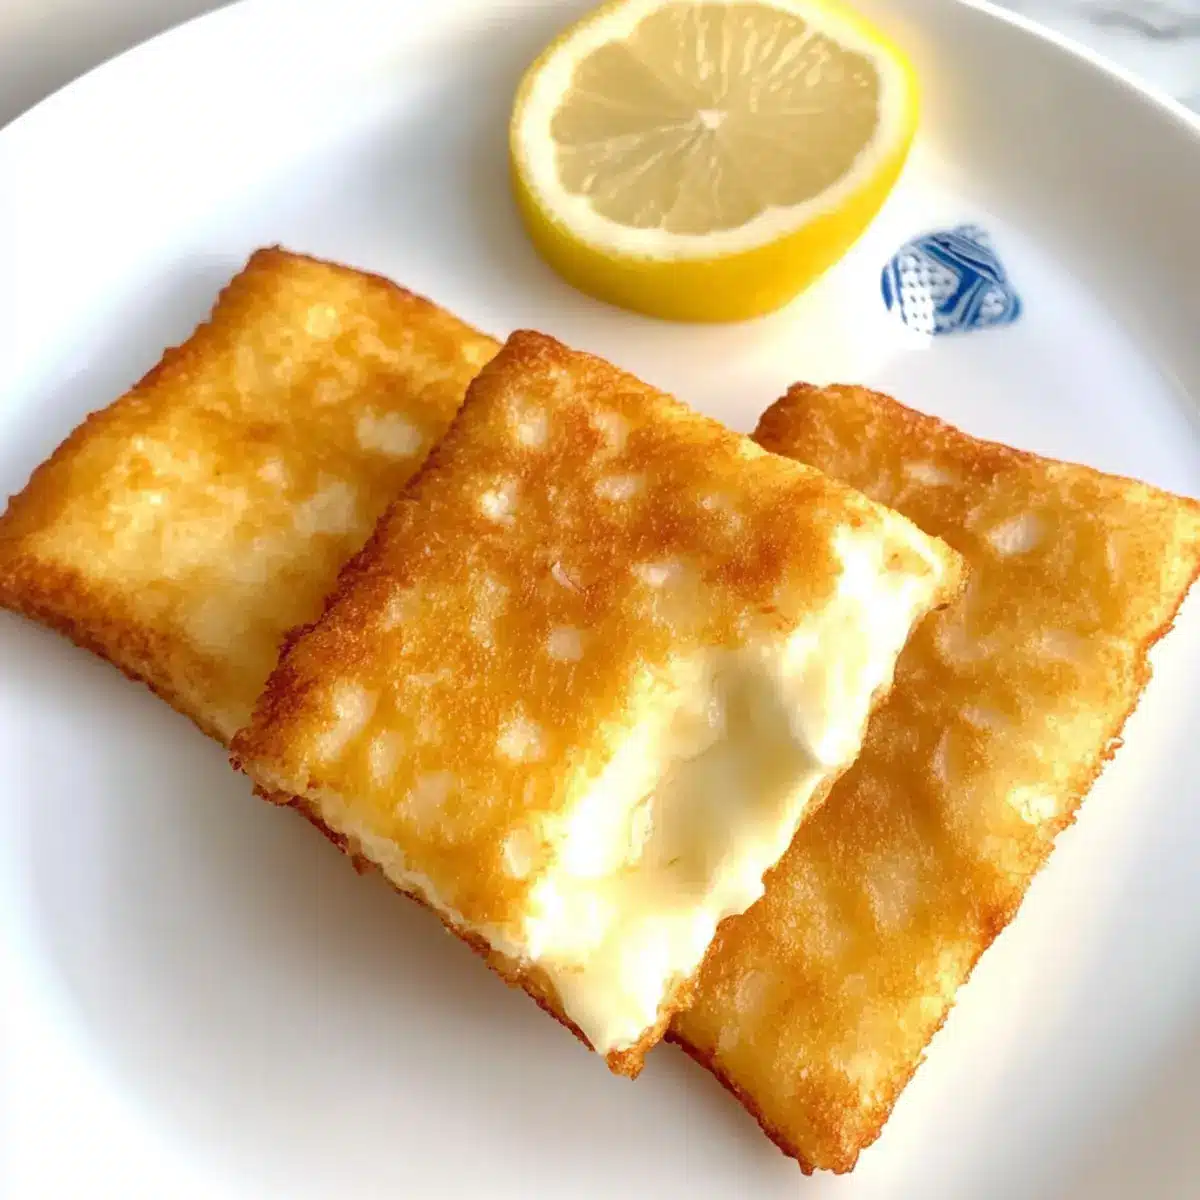
Crispy Greek Fried Cheese That Melts in Your Mouth
Ingredients
Equipment
Method
- Start by cutting the Kefalograviera cheese into uniform blocks, each about ½ inch thick.
- Dredge each cheese block in the seasoned all-purpose flour, making sure they are fully coated.
- In a frying pan, heat the olive oil over medium heat until it shimmers.
- Carefully add the coated cheese blocks to the hot oil and fry for about 3 minutes until golden brown, then flip and cook for another 2 minutes.
- Remove from oil and place on paper towel-lined plate. Squeeze fresh lemon juice and sprinkle with flaky salt before serving.
Leave a Reply