
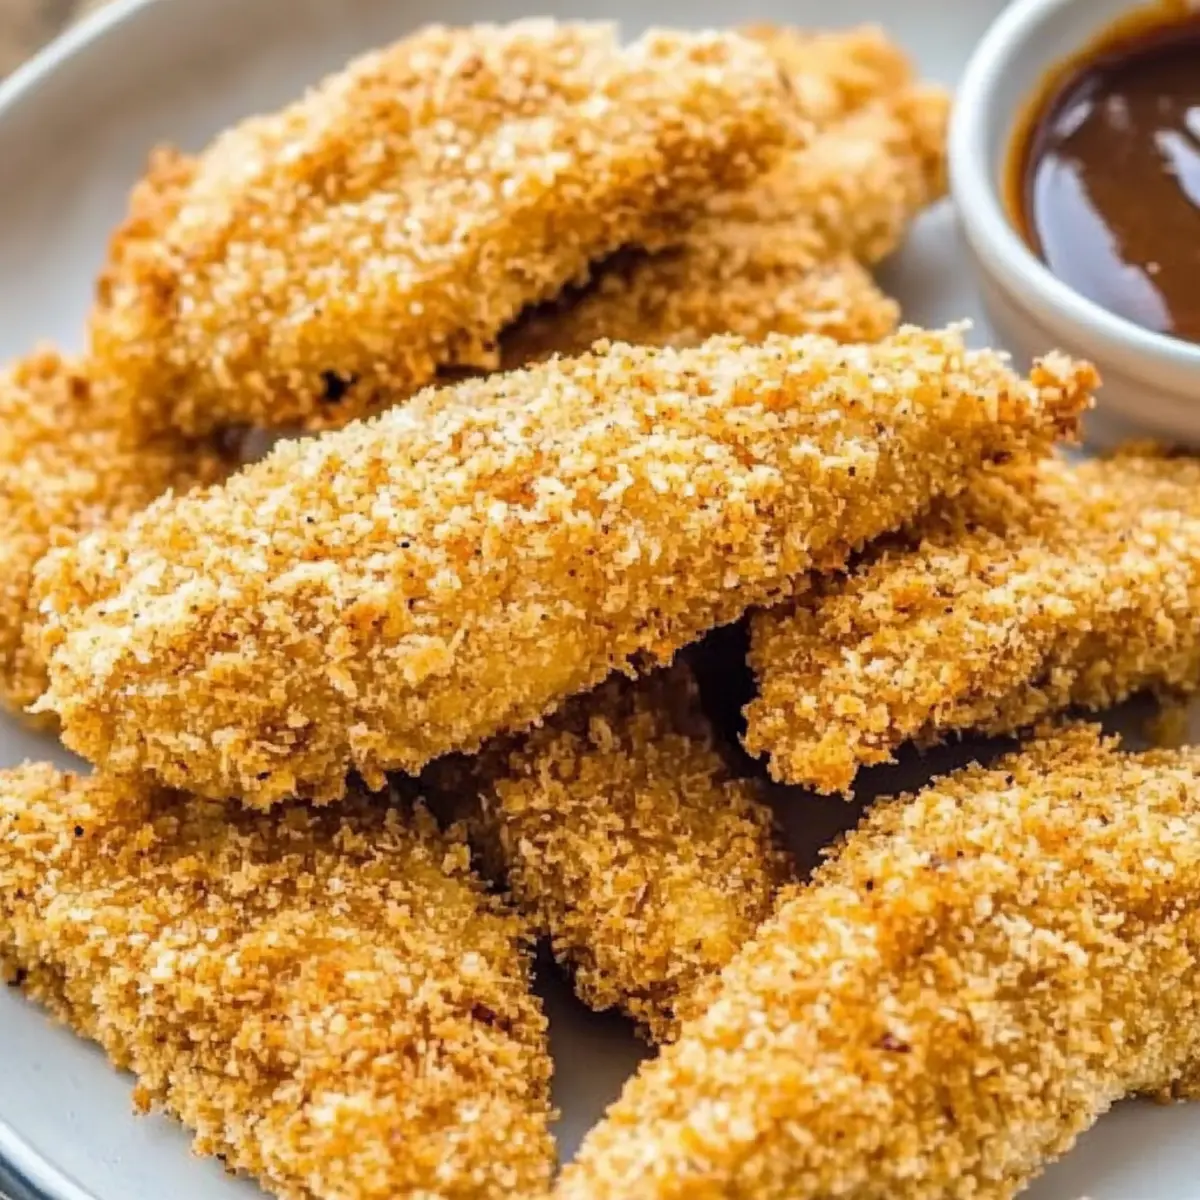
As I stood in my kitchen with the aroma of baked chicken delicately wafting through the air, the memories of family dinners flooded back. These Crunchy Chicken Tenders are my go-to recipe when I want a crowd-pleaser that’s both simple and satisfying. No frying required, these oven-baked wonders are coated in a luscious panko breadcrumb crust that you can customize to your liking. Plus, they’re a healthier twist on a classic favorite—perfect for anyone tired of takeout! Not only are they quick to prepare, but they’re also ideal for dipping into your favorite sauces, making them a versatile choice for parties or family nights. Why settle for anything less when you can whip up restaurant-style crispy chicken right at home? Ready to get started on this delicious journey? Let’s dive in!
Why are these Chicken Tenders a Must-Try?
Ultimate Crunch: Each bite of these Crunchy Chicken Tenders offers a satisfying crunch without the guilt of frying, making them a perfect healthier alternative.
Quick & Easy: With straightforward steps and simple ingredients, you can whip these up in no time, great for busy weeknights.
Customizable Dips: Pair them with your favorite sauces like ranch or sweet chili for endless flavor possibilities; check out my Crunchy Chicken Tenders for ideas!
Family Favorite: Kids and adults alike will love these, ensuring they’re a hit at dinner or a fun appetizer at gatherings.
Meal Prep Friendly: Stash unbaked tenders in the freezer for future meals, providing a quick solution when you’re short on time.
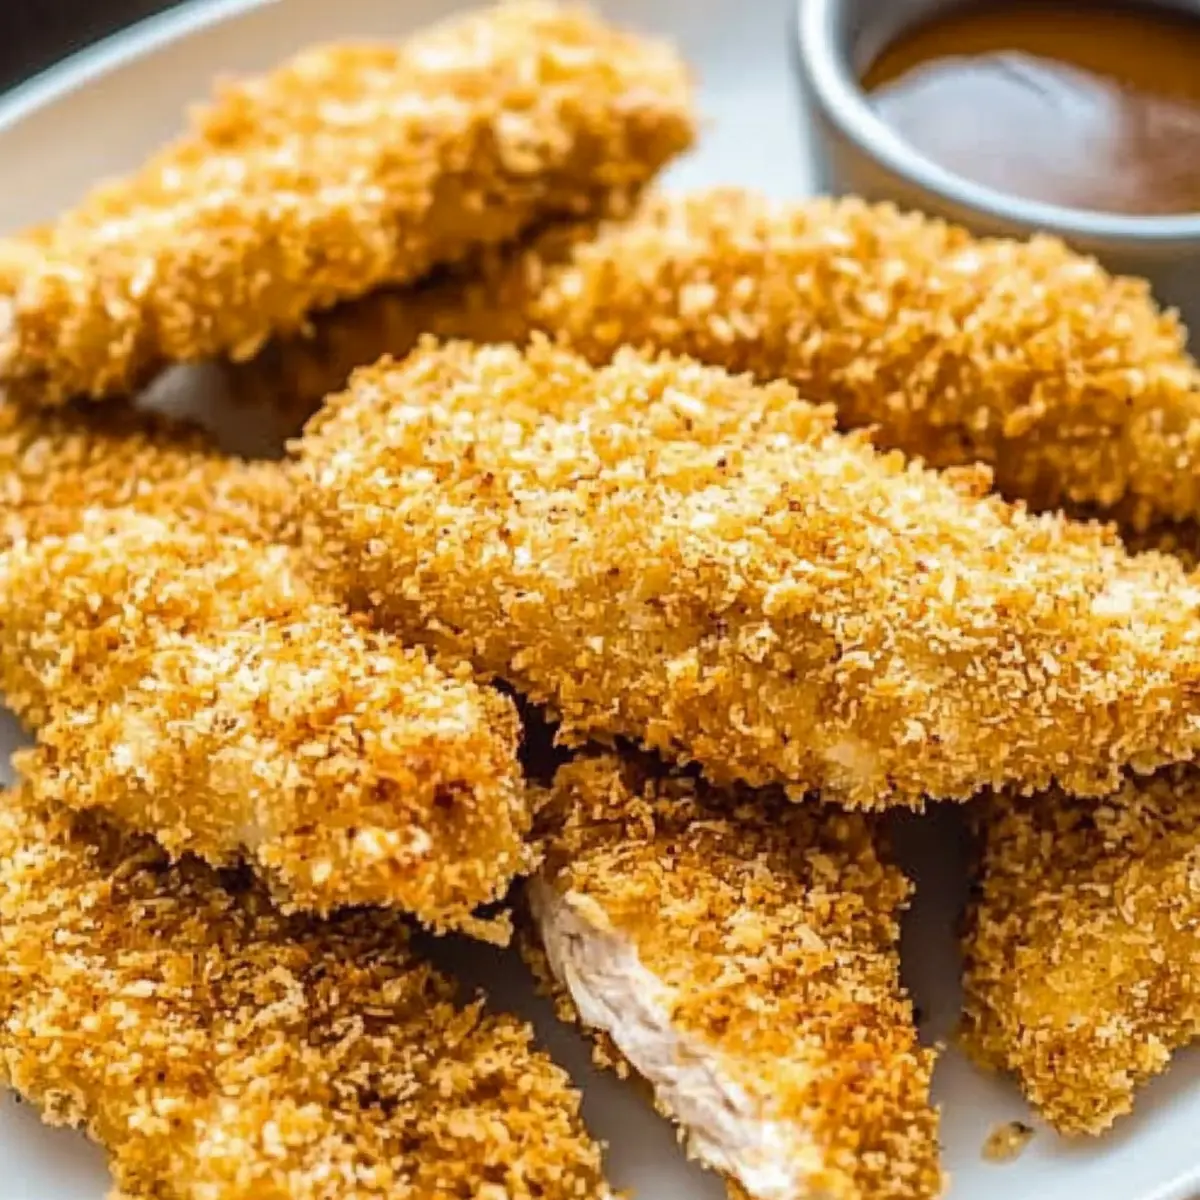
Experience the perfect crunch at home—these tenders are a delicious way to satisfy those fast food cravings!
Crunchy Chicken Tenders Ingredients
For the Chicken
• Chicken Tenderloins – Main protein source; can substitute with boneless, skinless chicken breasts cut into strips for versatility.
For the Coating
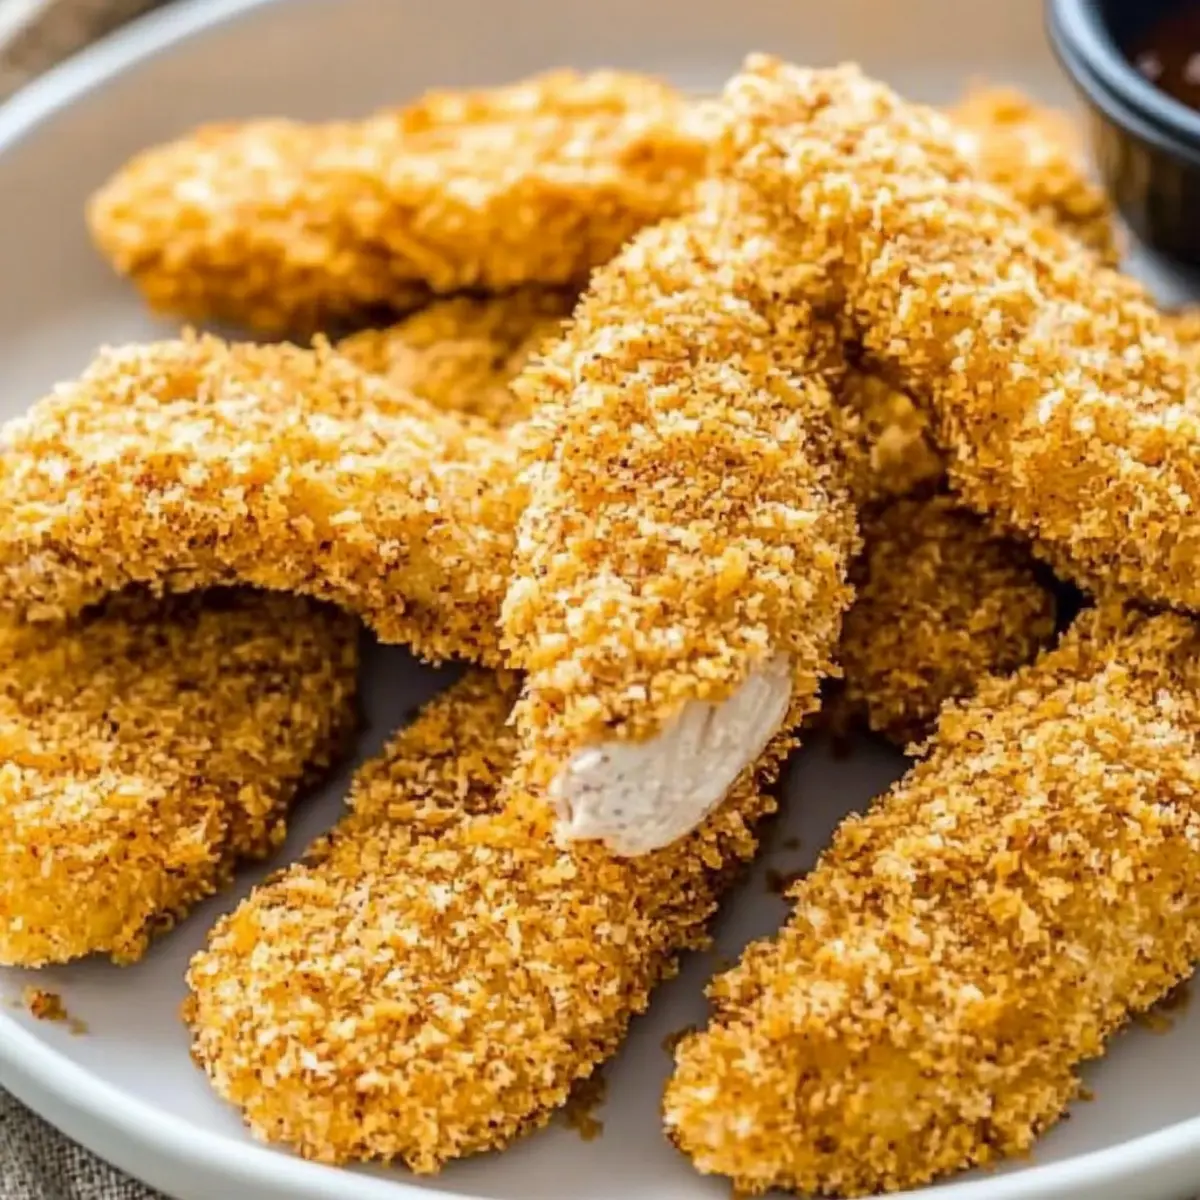
• Panko Breadcrumbs – Creates the perfect crunchy coating; toasting enhances flavor and color significantly.
• Plain Flour (All-Purpose) – Helps create a batter consistency that adheres well to the chicken.
For the Batter
• Eggs – Binds the crumbs to the chicken, adding moisture and richness to each tender.
• Water – Thin out the batter for better adhesion of breadcrumbs; a little goes a long way!
Seasoning Essentials
• Salt – Enhances flavor; consider dry brining for juicier chicken tenders.
• Onion Powder – Adds savory depth to the coating that pairs beautifully with the chicken.
• Garlic Powder – Infuses the chicken with a warm, aromatic flavor that elevates the dish.
• Ground Black Pepper – Offers mild heat and enhances overall flavor harmony.
For Baking
• Oil – Aids in browning and crisping the crumb coating; choose vegetable oil or melted butter for optimal crispiness.
Embark on this crunchy journey with these simple ingredients and transform your kitchen into a delightful culinary haven!
Step‑by‑Step Instructions for Crunchy Chicken Tenders
Step 1: Brine Chicken (Optional)
Start by enhancing the juiciness of your chicken tenderloins. In a bowl, mix the tenderloins with a layer of salt, making sure they are evenly coated. Allow them to sit in the fridge for 30-40 minutes. Once this time is up, rinse the chicken thoroughly under cold water, and pat dry with paper towels to remove excess moisture.
Step 2: Toast Breadcrumbs
To achieve that irresistible crunch, let’s toast our panko breadcrumbs. Preheat your oven to 170°C (340°F). In a mixing bowl, toss the panko with a splash of vegetable oil until coated. Spread the breadcrumbs evenly on a baking sheet and toast them in the oven for 8-10 minutes. Keep an eye on them, stirring halfway through, until they turn a delightful golden brown.
Step 3: Prepare Batter
Now it’s time to whip up the batter for our Crunchy Chicken Tenders. In a mixing bowl, whisk together the eggs, a splash of water, plain flour, and the onion and garlic powders until smooth. The consistency should be thick enough to coat the chicken but still pourable. Adjust the salt based on whether you’ve brined the chicken, ensuring the seasoning is just right.
Step 4: Coat Chicken
Dredge each chicken tenderloin thoroughly in the prepared batter, letting any excess drip off. Next, transfer the chicken into the toasted panko breadcrumbs. Press the breadcrumbs onto the chicken firmly to ensure an even coating, creating that sought-after crunch. Place the coated tenders onto a separate baking sheet, ready for baking.
Step 5: Bake
Preheat your oven to 200°C (400°F) if you haven’t already. Arrange the coated chicken tenders on a parchment-lined baking sheet, ensuring they have space in between for even cooking. Bake for 10-12 minutes or until they are golden brown and cooked through, checking that there’s no pink inside and ensuring they remain juicy.
Step 6: Optionally Air Fry
For an extra crunchy finish, consider air frying your Crunchy Chicken Tenders! Preheat the air fryer to 200°C (400°F). Place the tenders in a single layer, ensuring they’re spaced out to allow air circulation. Cook for about 8-10 minutes, or until they reach a deep golden color and are perfectly crispy.
Crunchy Chicken Tenders Variations
Feel free to unleash your creativity in the kitchen with these delicious twists on my beloved Crunchy Chicken Tenders!
-
Dairy-Free: Substitute eggs with a mixture of ground flaxseed and water for a vegan-friendly batter that still packs flavor.
-
Spicy Touch: Add cayenne pepper to the breadcrumbs for a delightful kick. You might discover your new favorites—these tender morsels crave a bit of heat!
-
Herb-Infused: Blend in dried herbs, such as oregano or thyme, with the breadcrumbs for a fragrant twist that’s sure to impress guests.
-
Flavorful Marinade: Marinate the chicken in buttermilk or yogurt before coating to enhance tenderness and infuse delicious flavors, mirroring the texture of southern-style fried chicken.
-
Crispy Parmesan: Mix grated Parmesan cheese into the breadcrumbs for a cheesy, gourmet touch that elevates your tenders to the next level.
-
Sweet and Savory: Try coating them in crushed cornflakes mixed with a hint of brown sugar for a crispy, sweet alternative that will surprise your taste buds!
-
Asian-Inspired: Use toasted sesame seeds mixed with panko for an Asian-inspired coating; serve with soy sauce or teriyaki for dipping, similar to chicken katsu.
-
Fun Shapes: Cut the chicken into fun shapes using cookie cutters for an entertaining twist that kids will adore.
For even more inspiration, dive into ideas like serving them with your favorite dips, such as ranch or honey mustard—but don’t forget to explore my delightful Crunchy Chicken Tenders and Firecracker Chicken Bliss for tasty dipping options! Let your culinary imagination soar!
Expert Tips for Crunchy Chicken Tenders
-
Even Coating: Ensure each chicken tender is fully coated in the batter before dipping in breadcrumbs to achieve a crunchy finish; excess batter can lead to sogginess.
-
Breadcrumb Choice: While panko is ideal for crunch, you can use traditional breadcrumbs if that’s what you have. Just be mindful of slightly altering the baking time for optimal texture.
-
Perfectly Baked: Check the chicken tenders around the 10-minute mark to prevent overcooking. They should be golden brown with an internal temperature of 74°C (165°F).
-
Meal Prep Magic: Consider preparing a double batch of unbaked tenders. Layer them with parchment and freeze; they can be cooked from frozen, making weeknight dinners a breeze!
-
Dipping Delight: Experiment with various dips like honey mustard or tangy BBQ sauce; serve a platter for fun family gatherings or movie nights!
-
Avoid Sticking: For easy clean-up, line your baking sheet with parchment paper. This will help prevent the tenders from sticking and ensure easy removal.
Storage Tips for Crunchy Chicken Tenders
Fridge: Store baked Crunchy Chicken Tenders in an airtight container for up to 3-4 days. Reheat in the oven or air fryer to maintain their crunch.
Freezer: Unbaked tenders can be frozen for up to 3 months. Layer them with parchment paper in an airtight container for easy meal prep.
Reheating: To reheat baked tenders, pop them in a preheated oven at 180°C (350°F) for about 10-15 minutes, or air fry at 200°C (400°F) for 5-7 minutes for maximum crunch.
Room Temperature: Avoid leaving tender chicken out for more than 2 hours to maintain freshness and safety.
Make Ahead Options
These Crunchy Chicken Tenders are perfect for meal prep enthusiasts! You can brine the chicken and coat it up to 24 hours in advance, making dinner a breeze on busy weeknights. Simply prepare the batter and coat the tenderloins, then arrange them on a parchment-lined baking sheet (this prevents sticking). Cover tightly with plastic wrap and refrigerate until you’re ready to bake. To maintain that delicious crunch, it’s best to bake or air fry the tenders right before serving for optimal texture. If you want to store them longer, you can freeze the unbaked tenders for up to 3 months—just remember to thaw in the fridge overnight before cooking. Enjoy the ease of quick, homemade meals without compromising on flavor!
What to Serve with Crunchy Chicken Tenders
Elevate your meal with delightful accompaniments that complement the vibrant flavors of your crispy creation.
-
Creamy Mashed Potatoes: These fluffy potatoes provide a smooth contrast to the crispy tenders, making each bite heavenly.
-
Zesty Coleslaw: A refreshing crunch with a tangy twist; the acidity cuts through the richness of the chicken while adding color to your plate.
-
Honey Mustard Dipping Sauce: A perfect partner for the tenders, this saucy blend of sweetness and tartness enhances each crispy bite.
-
Seasoned French Fries: Golden and crispy, these classic potatoes echo the crunchiness of the tenders, creating a timeless flavor duo. A sprinkle of sea salt elevates their taste.
-
Garden Salad: Fresh greens add a bright, crisp element that balances the savory flavors of the chicken. Toss in cherry tomatoes and cucumbers for extra color and texture.
-
Roasted Vegetables: A medley of seasonal vegetables roasted to perfection provides warmth and earthiness, rounding out the meal beautifully.
-
Sweet Chili Sauce: This vibrant sauce adds a spicy-sweet punch that pairs wonderfully with the tenders, perfect for those who crave a kick.
Enjoy your Crunchy Chicken Tenders alongside these sides for a complete, satisfying meal that brings the family together!
Crunchy Chicken Tenders Recipe FAQs
How do I choose the right chicken tenderloins?
Absolutely! When selecting chicken tenderloins, look for those that are plump and pink with minimal dark spots or discoloration. The fresher, the better—opt for pieces that feel firm to the touch and are free from any noticeable odor. If you can’t find tenderloins, feel free to substitute them with boneless, skinless chicken breasts cut into strips.
How should I store leftover baked chicken tenders?
Store any baked Crunchy Chicken Tenders in an airtight container in the refrigerator for 3-4 days. To keep them crispy during reheating, place them in the oven or air fryer instead of the microwave. Heat at 180°C (350°F) for about 10-15 minutes, or air fry at 200°C (400°F) for around 5-7 minutes until warm and crunchy again.
Can I freeze unbaked chicken tenders?
Definitely! You can freeze unbaked Crunchy Chicken Tenders for up to 3 months. Layer them with parchment paper in an airtight container or freezer bag, allowing for easy removal of individual tenders when you’re ready to cook. To cook from frozen, bake them straight in the oven at 200°C (400°F) for about 12-15 minutes or until fully cooked and crispy.
What should I do if my breadcrumbs aren’t sticking?
If you find that the breadcrumbs aren’t adhering well, ensure that you’re applying a thick, even layer of batter on the chicken. Press the tenders into the breadcrumbs firmly so that they adhere better. If they still slide off, consider adding a bit more flour to your batter to help it thicken and create a better coating.
Are there any dietary considerations for pets or allergies?
Yes, it’s important to be mindful! This recipe contains common allergens such as chicken, eggs, and flour. Always ensure to keep the cooked chicken tenders away from your pets, as some human foods can be harmful to them. If you have specific allergies, feel free to replace the ingredients with suitable alternatives, for example, using a gluten-free flour for those avoiding gluten.
What is the best way to ensure these tenders stay crispy?
To ensure your Crunchy Chicken Tenders remain crispy, try to follow a few key steps: make sure to toast the panko breadcrumbs until golden before coating, layer them out on a parchment-lined baking sheet for even cooking, and avoid overcrowding the tenders in the oven. These steps will help achieve that sought-after crispy texture while keeping the chicken juicy inside.

Crispy Crunchy Chicken Tenders You Can Bake at Home
Ingredients
Equipment
Method
- Brine Chicken (Optional): Mix tenderloins with a layer of salt, coat evenly, and refrigerate for 30-40 minutes. Rinse and pat dry.
- Toast Breadcrumbs: Preheat oven to 170°C (340°F). Toss panko with oil, spread on baking sheet, and toast for 8-10 minutes.
- Prepare Batter: Whisk together eggs, water, flour, onion, and garlic powders until smooth. Adjust salt if chicken was brined.
- Coat Chicken: Dredge each tenderloin in batter, allow excess to drip, then coat with toasted breadcrumbs firmly.
- Bake: Preheat oven to 200°C (400°F). Bake coated tenders for 10-12 minutes until golden brown and cooked through.
- Optionally Air Fry: Preheat air fryer to 200°C (400°F). Cook tenders for 8-10 minutes until crispy.
Leave a Reply