
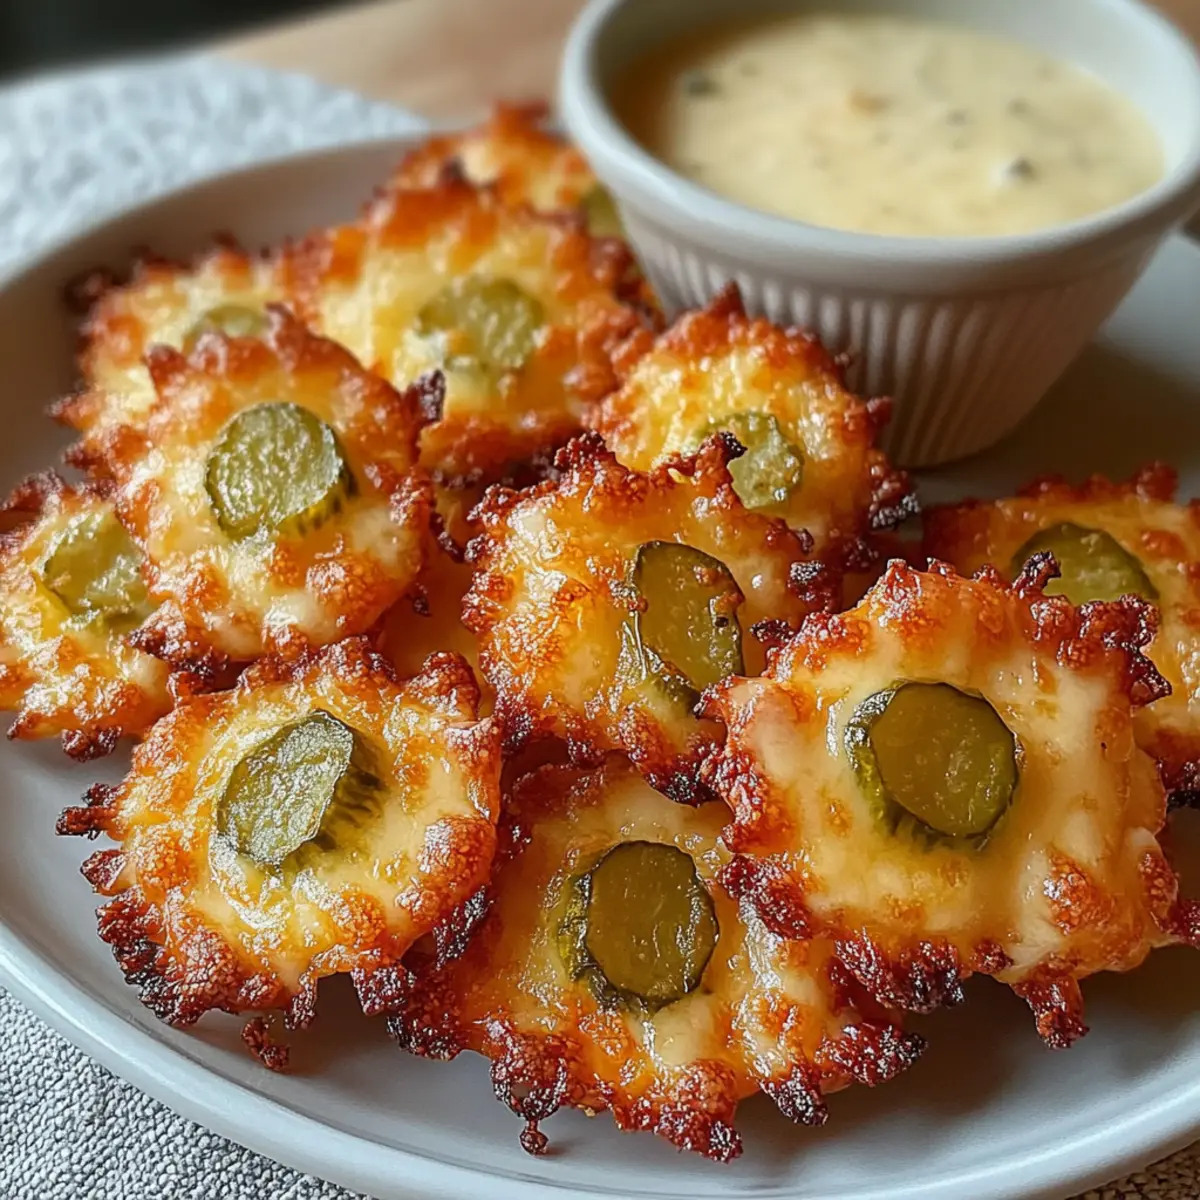
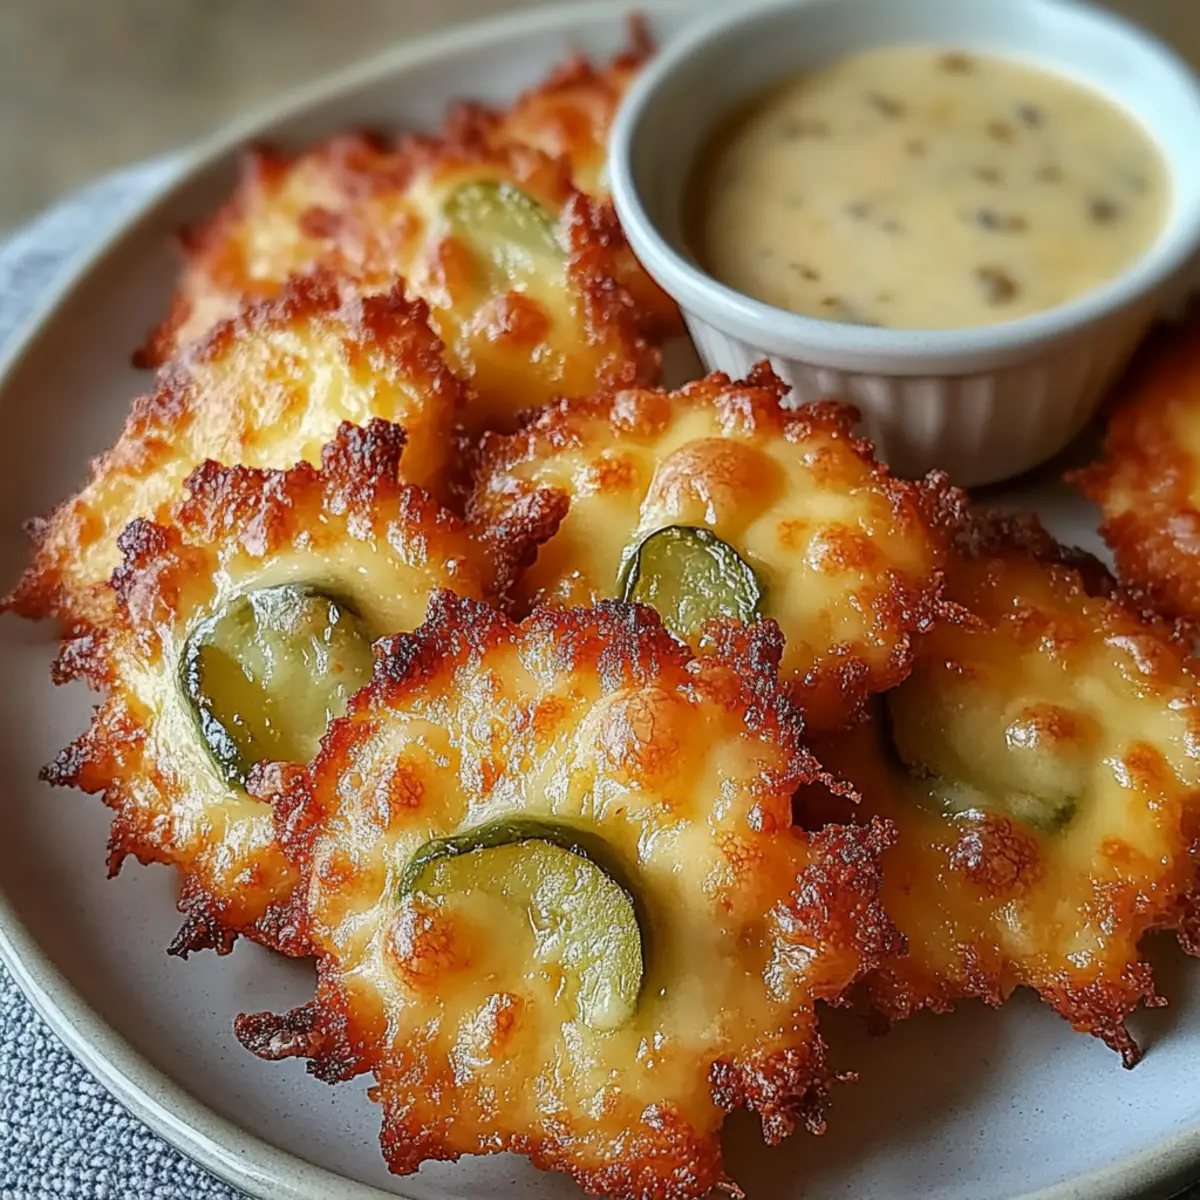
As I rummaged through my pantry looking for inspiration, I stumbled upon a jar of dill pickles just begging to be used. That’s when the idea for Crispy Pickle Cheese Bites hit me—an unexpected yet delightful snack that combines tangy pickles and gooey cheese into a mouthwatering appetizer. These little gems whip up in just 10-12 minutes, making them an ideal solution for busy weeknights or entertaining friends. Plus, they’re gluten-friendly, ensuring everyone can join the fun without any worries. Whether you’re a seasoned home chef or just starting out, these crunchy bites are a sure way to elevate your snacking game. Curious to learn how to make these addictive treats? Let’s dive in!
Why Are Crispy Pickle Cheese Bites a Must-Try?
Quick and Easy: These bites come together in just 10-12 minutes, making snack time effortless. Perfect for Sharing: Serve them at gatherings, and watch them disappear! Gluten-Friendly: Great for those avoiding gluten, ensuring everyone can indulge. Flavor Explosion: The combination of sharp cheddar and tangy dill pickles is unbeatable. Versatile: Experiment with different cheeses or spices to keep things exciting, just like Sweet Little Bites or Dill Pickle Tuna! You’ll crave these bite-sized delights every time!
Crispy Pickle Cheese Bites Ingredients
For the Cheese Mixture
- ½ cup shredded cheddar cheese – Provides sharpness and flavor; Substitution: Use pepper jack for added spice.
- ½ cup shredded mozzarella cheese – Adds creaminess and stretch for that melty texture; Substitution: Use provolone for a different flavor profile.
For the Pickles
- ¼ cup finely chopped dill pickles – Delivers tangy crunch; Note: Pat dry to reduce moisture for crispiness.
For Flavoring
- ½ teaspoon garlic powder – Enhances savory flavor; Note: Fresh garlic can be used for a stronger taste.
Optional Texture Enhancer
- 1 tablespoon breadcrumbs (optional) – Adds texture; not necessary for a gluten-free version; Note: Can be omitted to keep the recipe gluten-free.
For Cooking
- Nonstick spray or parchment paper – Prevents sticking during baking.
Get ready to whip up these delightful Crispy Pickle Cheese Bites that will leave your taste buds dancing!
Step‑by‑Step Instructions for Crispy Pickle Cheese Bites
Step 1: Preheat Your Oven/Air Fryer
Begin by preheating your oven or air fryer to 400°F (200°C). This is the perfect temperature to achieve that ideal crispiness while ensuring the cheesy insides melt delectably. As your appliance warms up, gather your ingredients, including shredded cheeses, chopped dill pickles, and spices, to save time during prep.
Step 2: Mix the Cheese and Pickles
In a mixing bowl, combine ½ cup each of shredded cheddar and mozzarella cheeses, along with ¼ cup of finely chopped dill pickles. Add ½ teaspoon of garlic powder to infuse a burst of flavor. Mix these ingredients thoroughly until everything is evenly blended, creating a cheesy mix packed with the tangy crunch of pickles that defines your Crispy Pickle Cheese Bites.
Step 3: Form the Cheese Mixture
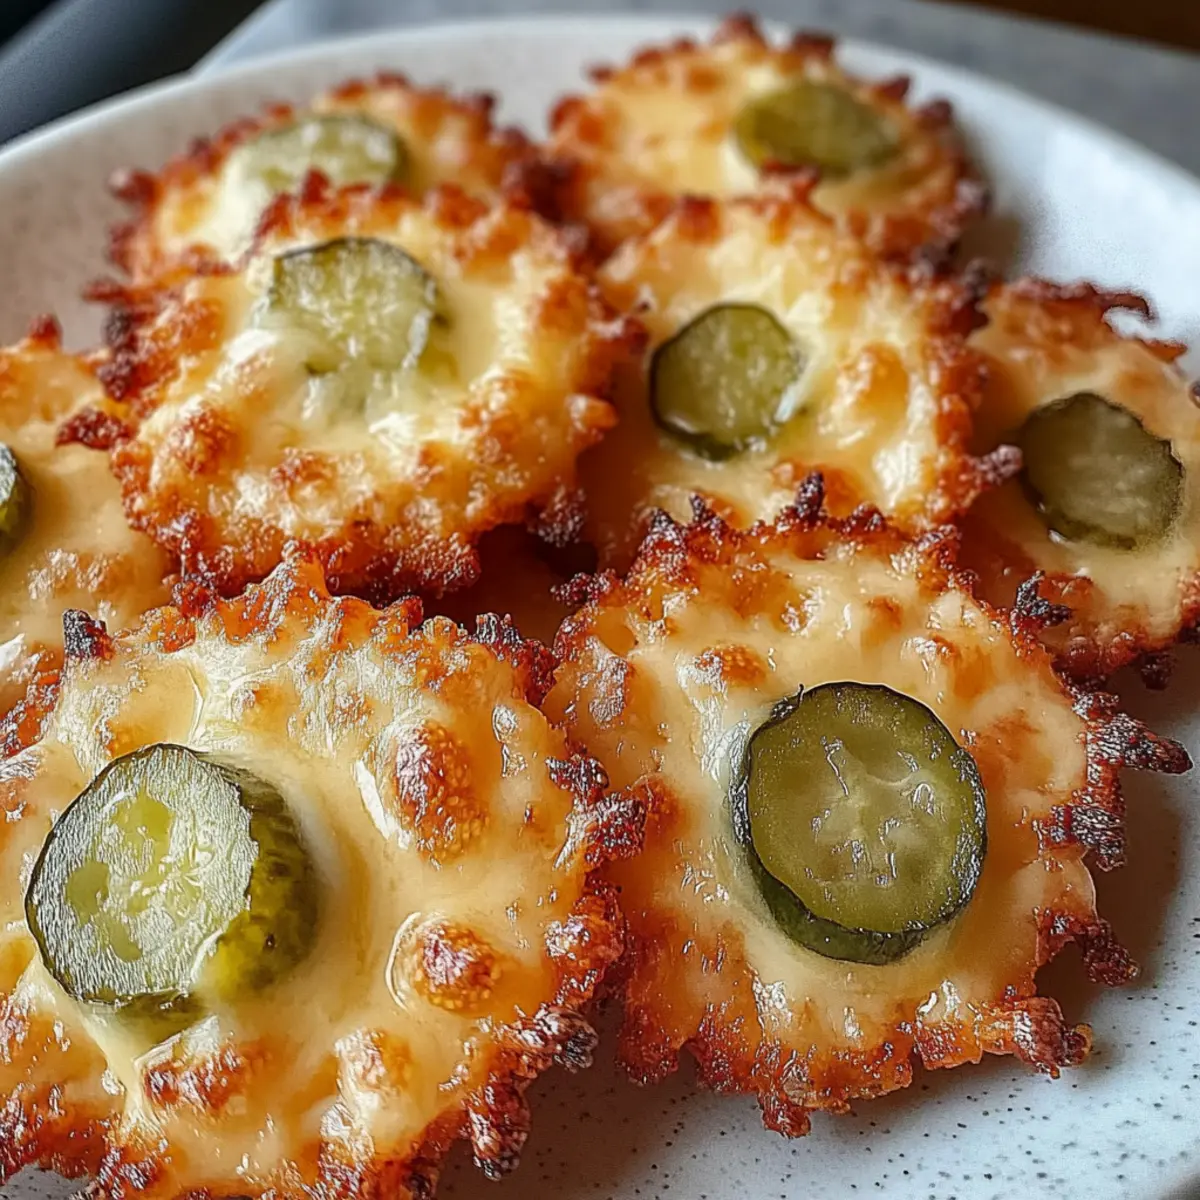
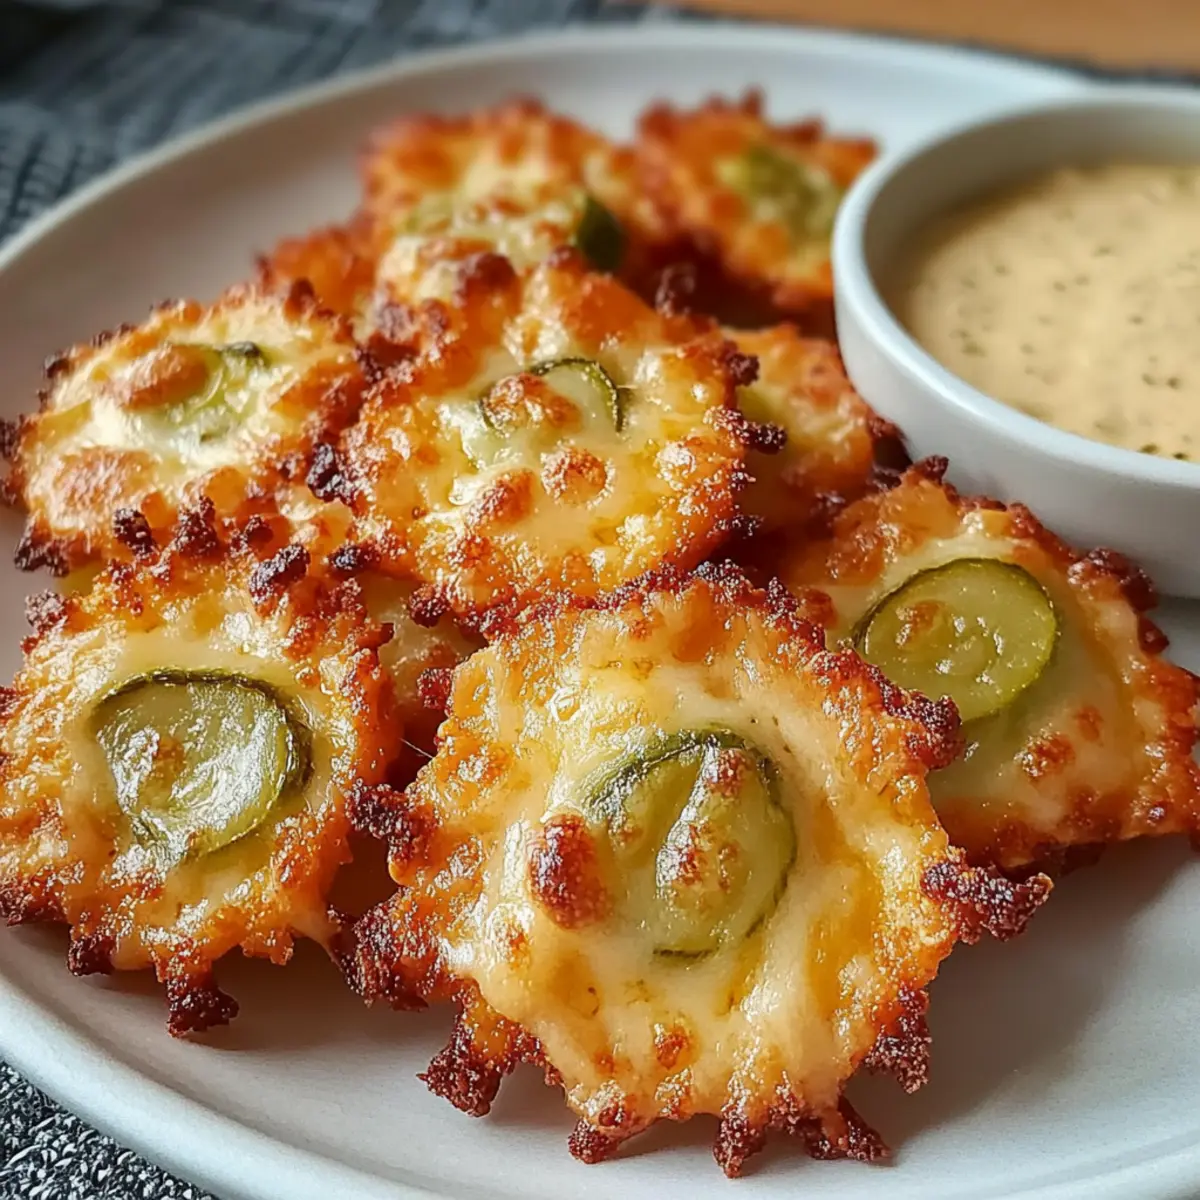
With your cheese and pickle mixture ready, scoop out tablespoon-sized mounds and place them on a baking sheet lined with parchment paper. Press each mound down slightly to ensure it holds its shape during cooking. This step helps to create the perfect balance between crispness and gooeyness, encapsulating the cheese-filled goodness inside.
Step 4: Bake the Bites
Place the baking sheet in your preheated oven or air fryer. Bake for 6-8 minutes, keeping a close eye on them as they cook. You’ll know they’re ready when the edges turn a lovely golden brown and the tops start bubbling with cheesy delight. Avoid opening the oven too often to maintain the heat for those perfectly crispy bites.
Step 5: Cool Before Serving
Once they are baked to perfection, carefully remove the Crispy Pickle Cheese Bites from the oven and let them cool for 2-3 minutes on the baking sheet. This brief pause allows the bites to firm up slightly, enhancing their crispiness and making them easier to handle when serving.
Step 6: Serve and Enjoy
Get ready to dig in! These Crispy Pickle Cheese Bites are best served warm. Pair them with your favorite dipping sauces like ranch dressing or spicy mayo for an extra kick. Gather around, and share these irresistible snacks with friends and family, as they will surely disappear in no time!
Make Ahead Options
These Crispy Pickle Cheese Bites are ideal for meal prep, allowing busy cooks to save time during the week! You can prepare the cheese and pickle mixture up to 24 hours in advance; simply combine the cheddar, mozzarella, chopped dill pickles, and garlic powder, then store it in an airtight container in the fridge. To maintain maximum freshness and prevent sogginess, pat the pickles dry before mixing. When you’re ready to enjoy them, scoop the mixture onto a parchment-lined baking sheet and bake as directed for fresh, crunchy, cheesy bites that taste just as delicious as if they were made on the spot!
How to Store and Freeze Crispy Pickle Cheese Bites
Fridge: Store your completely cooled Crispy Pickle Cheese Bites in a shallow airtight container lined with parchment paper for up to 3 days.
Freezer: For longer storage, freeze the bites in a single layer on a baking sheet before transferring to a freezer-safe bag. They can be stored for up to 2 months.
Reheating: To enjoy leftover bites, reheat in the oven at 375°F (190°C) for about 10 minutes until heated through and crispy again.
Meal Prep: Consider making a double batch to keep on hand as a quick snack option for busy days; they’re sure to be a crowd-pleaser!
What to Serve with Crispy Pickle Cheese Bites
Get ready to elevate your snack experience with delightful pairings that complement the cheesy, tangy goodness of these bites!
-
Creamy Ranch Dressing: The coolness and herbaceous notes of ranch provide the perfect contrast, making each bite even more addictive.
-
Spicy Mayo: A drizzle of spicy mayo adds a nice kick, enhancing the savory flavor of the cheesy bites with the right amount of heat.
-
Tangy Cucumber Salad: Fresh, crisp cucumbers tossed with a light vinaigrette offer a refreshing counterbalance to the richness of the cheese.
-
Sweet Potato Fries: The natural sweetness and crunch of sweet potato fries make for a satisfying textural contrast alongside the crispy bites.
-
Beer or Hard Cider: A chilled beer or refreshing hard cider complements the flavors wonderfully, balancing the richness of the cheese with a crisp finish.
-
Fruit Chutney: A sweet and tangy fruit chutney, like mango or apple, brings a surprising depth of flavor that pairs beautifully with every crunchy bite.
-
Coleslaw: The crunchiness and tangy notes of coleslaw can brighten your plate, adding a delightful bite that enhances the overall enjoyment of the meal.
-
Pickled Vegetables: If you love pickles, add some pickled vegetables on the side for an additional burst of flavor that closely mirrors the theme of your crispy snacks!
Variations & Substitutions for Crispy Pickle Cheese Bites
Feel free to mix things up and customize these delightful bites to suit your taste buds!
-
Spicy Kick: Add crushed red pepper flakes or diced jalapeños to the mixture for a fiery twist. This little addition transforms the flavor, making it thrillingly exciting!
-
Cheese Blend: Swap in parmesan or gouda for a different flavor profile. Blending these cheeses creates an intriguing taste adventure, keeping your palate on its toes!
-
Herb Infusion: Mix in fresh dill or chives to enhance that dill flavor. Fresh herbs add a delightful brightness, creating an aromatic experience with every bite.
-
Nutty Texture: Consider using almond flour instead of breadcrumbs for a gluten-free crunch. A nutty note will also complement the tangy pickles beautifully, leading to an unexpected harmony!
-
Smoky Flavor: Incorporate smoked paprika for a depth of smokiness. This twist adds a unique character that complements the cheese and pickles wonderfully!
-
Vegetable Twist: Add finely chopped red bell peppers or green onions to the mix for a pop of color and refreshing crunch. This variation elevates the bites while providing a colorful appeal!
-
Cheesy Dip: Serve your bites with a gooey cheese sauce instead of ranch! Melty cheese for dipping offers an indulgent experience that will leave everyone wanting more.
-
Zesty Flavor: Toss in lemon zest for a bright and fresh flavor uplift. The citrus notes will cut through the richness, balancing your Crispy Pickle Cheese Bites perfectly.
Feel free to explore these variations and find the combination that works best for you! If you’re looking for more inspiration, check out these mouthwatering recipes for Sweet Little Bites or Dill Pickle Tuna.
Expert Tips for Crispy Pickle Cheese Bites
-
Choose Fresh Cheese: Use freshly shredded cheddar and mozzarella for the best melting texture. Pre-shredded cheese often contains fillers that can affect crispiness.
-
Pat the Pickles: Always pat your chopped dill pickles dry with paper towels before mixing. This removes excess moisture, ensuring your Crispy Pickle Cheese Bites come out perfectly crunchy.
-
Avoid Crowding: When placing the cheese mounds on the baking sheet, ensure they are spaced apart. This prevents them from merging during cooking and allows for even airflow, enhancing crispiness.
-
Check Early: If using an air fryer, start checking your Crispy Pickle Cheese Bites around the 6-minute mark. This precaution helps avoid overcooking and keeps the insides perfectly gooey.
-
Experiment with Flavors: Feel free to mix in spices like crushed red pepper or swap cheeses to create unique flavor profiles. Your bites can be customized to match your taste preferences!
-
Don’t Skip Cooling Time: Let the bites cool for a few minutes after baking. This step is crucial for increasing their sturdiness and achieving that delightful crunch!
Crispy Pickle Cheese Bites Recipe FAQs
What type of pickles should I use for Crispy Pickle Cheese Bites?
Absolutely, the best choice is dill pickles for that tangy crunch. Look for crisp, fresh pickles without excessive dark spots or blemishes. If you prefer a milder flavor, bread-and-butter pickles can work, but the sweetness will alter the taste.
How should I store leftover Crispy Pickle Cheese Bites?
To store your Crispy Pickle Cheese Bites, let them cool completely and then place them in a shallow airtight container lined with parchment paper. They can be kept in the fridge for up to 3 days. Make sure they are well-separated to avoid them sticking together!
Can I freeze Crispy Pickle Cheese Bites?
Yes, you can! To freeze, lay the bites in a single layer on a baking sheet and place them in the freezer until solid. Then, transfer them to a freezer-safe bag or container. They can be stored for up to 2 months. When you’re ready to enjoy, reheat in the oven at 375°F (190°C) for about 10 minutes until crispy.
Why did my Crispy Pickle Cheese Bites turn out soggy?
Very likely, excess moisture from the pickles is to blame! Before mixing, pat the chopped dill pickles dry with paper towels to remove any liquid. Also, ensure you’re not overcrowding the baking sheet, as this can cause them to steam rather than crisp up.
Are Crispy Pickle Cheese Bites suitable for gluten-free diets?
Yes! These bites can easily be made gluten-friendly by omitting the breadcrumbs or using gluten-free options. Just ensure that all your ingredients, especially cheese and pickles, are certified gluten-free to avoid cross-contamination. Enjoy worry-free!
Can I customize the cheeses used in the recipe?
Absolutely! The more the merrier when it comes to flavor experimentation! You can mix in other cheeses like pepper jack for some heat or gouda for a richer flavor profile. Just keep the ratios similar to maintain the right texture. Happy experimenting!
Crispy Pickle Cheese Bites: A Cheesy Snack You'll Crave
Ingredients
Equipment
Method
- Preheat your oven or air fryer to 400°F (200°C). Gather your ingredients to save time during prep.
- In a mixing bowl, combine shredded cheddar and mozzarella cheeses, chopped dill pickles, and garlic powder. Mix thoroughly.
- Scoop out tablespoon-sized mounds and place them on a baking sheet lined with parchment paper. Press each mound down slightly.
- Place the baking sheet in your preheated oven or air fryer. Bake for 6-8 minutes until golden brown and bubbling.
- Remove from the oven and let them cool for 2-3 minutes on the baking sheet.
- Serve warm with your favorite dipping sauces like ranch dressing or spicy mayo.
Leave a Reply