
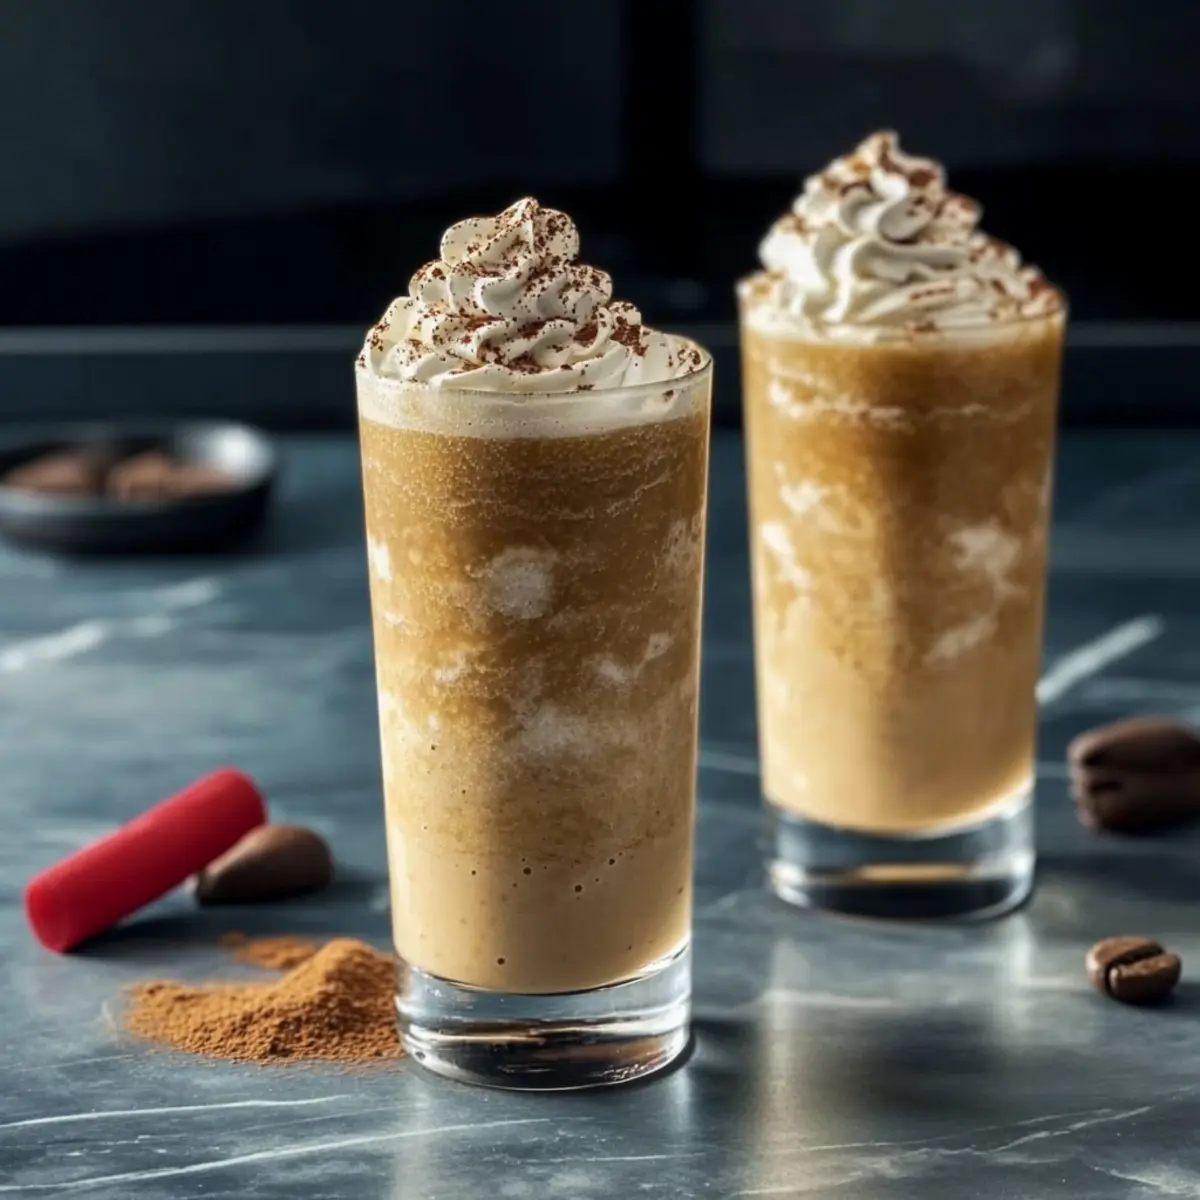
As I blended the strong coffee with the cool cream, I was taken back to summer evenings spent on the patio, savoring each sip of my favorite Frozen Coffee Slushie. This easy recipe captures the essence of those laid-back days where laughter and good company flow as freely as the delicious drinks. Not only is this slush a crowd favorite, but its simple preparation means you’ll be serving up smiles in no time! The invigorating combination of bold coffee and a touch of sweetness creates a refreshing treat that’s perfect for roasting afternoons or casual gatherings with friends. Are you ready to chill out with a delightful homemade twist on your usual caffeine fix?
Why is this Coffee Slush a must-try?
Crowd-Pleasing Delight: This Frozen Coffee Slush is guaranteed to impress your friends and family, turning any gathering into a memorable event.
Quick & Easy: With just a few simple ingredients, you’ll whip up this slushy treat without any fuss, making it the perfect last-minute refreshment for a hot day.
Irresistibly Refreshing: The combination of bold coffee and creamy texture is both invigorating and indulgent, making it a welcome alternative to typical summer beverages.
Versatile Enjoyment: Feel free to customize your slush—switch up the sweeteners or try non-dairy options to cater to varied taste buds.
Perfect for Any Occasion: Whether it’s a quiet morning at home or a lively summer barbecue, this slushie fits right in, bringing smiles to everyone.
So, why settle for fast food when you can create joyful sips at home? If you’re interested in more easy recipes, check out our delightful Vegan Pistachio Coffee for a twist on your coffee cravings!
Coffee Slush Ingredients
• To create your delightful Coffee Slush, gather these simple ingredients!
For the Slush
- Strong Coffee – Provides the rich flavor base and caffeine kick you’ll love.
- Sugar – Adds a touch of sweetness; feel free to adjust based on your preference!
- 1/2 & 1/2 (or cream) – Contributes a creamy consistency; non-dairy alternatives can work wonders!
- Milk – Enhances the texture, making it wonderfully smooth; any milk type can be a substitute.
- Vanilla – Infuses a warm sweetness; opt for vanilla extract for an extra flavor boost.
For the Garnish
- Whipped Topping – While optional, it adds a rich finishing touch and a beautiful presentation.
Gather these ingredients, and you’ll be on your way to enjoying a refreshing Coffee Slush that’s sure to be a new favorite!
Step‑by‑Step Instructions for Coffee Slush
Step 1: Dissolve Sugar
Begin by brewing a pot of strong coffee to get that rich flavor base for your Coffee Slush. Pour hot coffee into a heatproof bowl, then add sugar, stirring continuously until fully dissolved. This should take about 2 to 3 minutes. Make sure the sugar is completely integrated to ensure a smooth texture for the slush.
Step 2: Mix in Creamy Ingredients
Once the sugar has dissolved, add in 1/2 & 1/2 (or cream), milk, and vanilla extract to the coffee mixture. Use a whisk and blend everything together until it’s well combined and creamy, about 1 to 2 minutes. This step is crucial for creating that velvety consistency in your delicious Coffee Slush.
Step 3: Prepare for Freezing
Carefully pour the combined mixture into freezable containers, leaving a little space at the top for expansion. Cover the containers securely with lids or plastic wrap to prevent ice crystals from forming. Place them in the freezer for at least 4 hours or until the mixture is firm and slushy in texture.
Step 4: Soften Before Serving
When you’re ready to serve your Coffee Slush, take the containers out of the freezer. Allow them to sit at room temperature for about 5 to 10 minutes until they soften slightly; this helps make scooping easier. Watch for a slight sheen on the surface as you prepare to serve.
Step 5: Serve with Flair
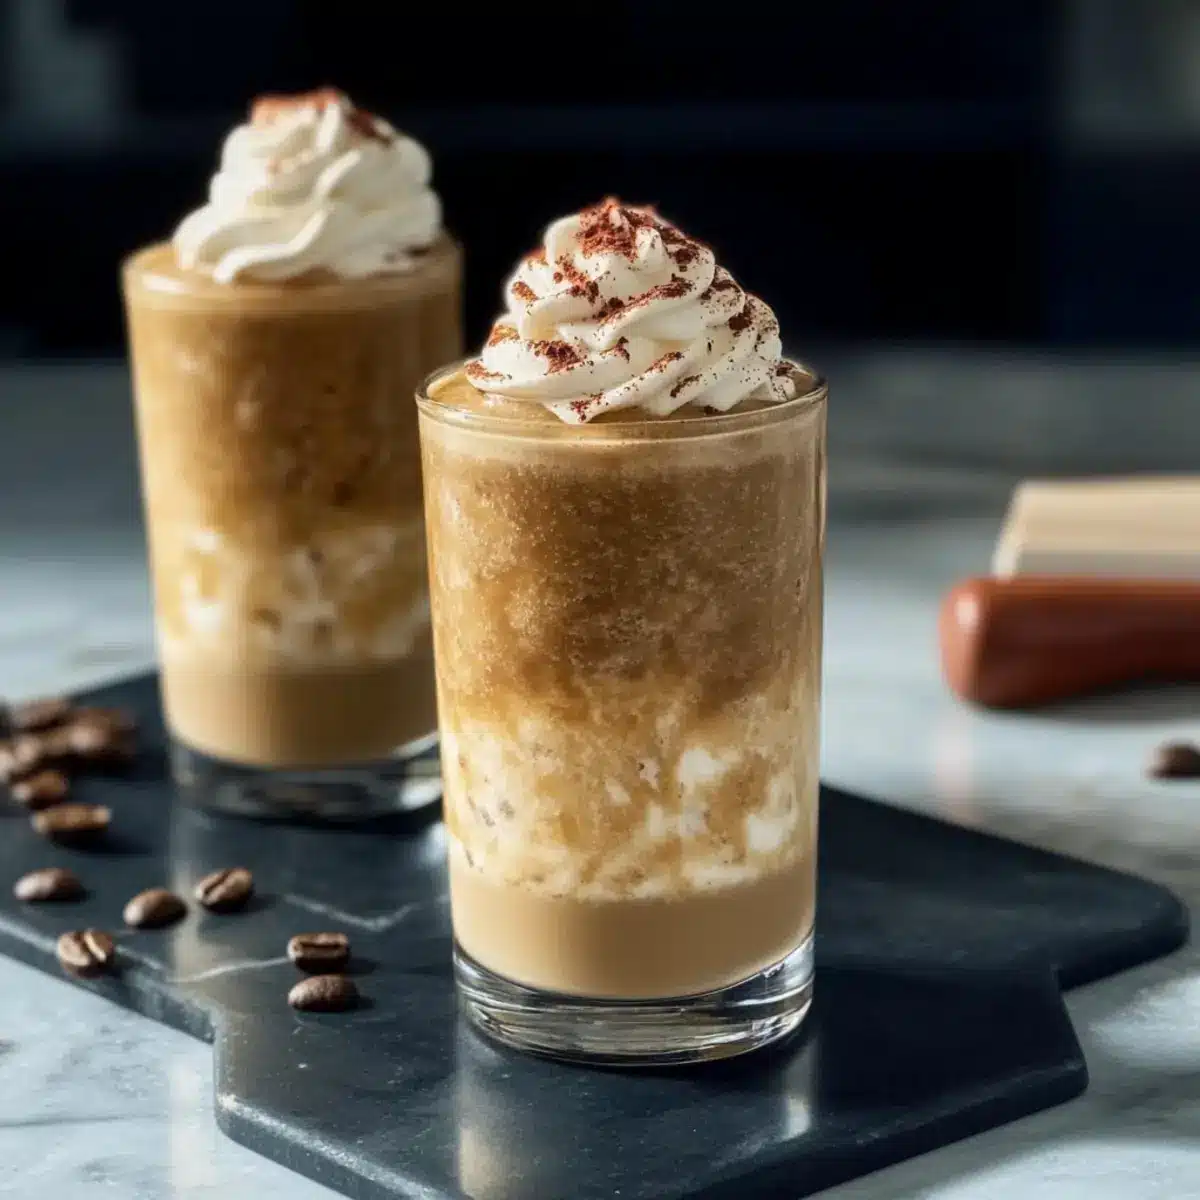
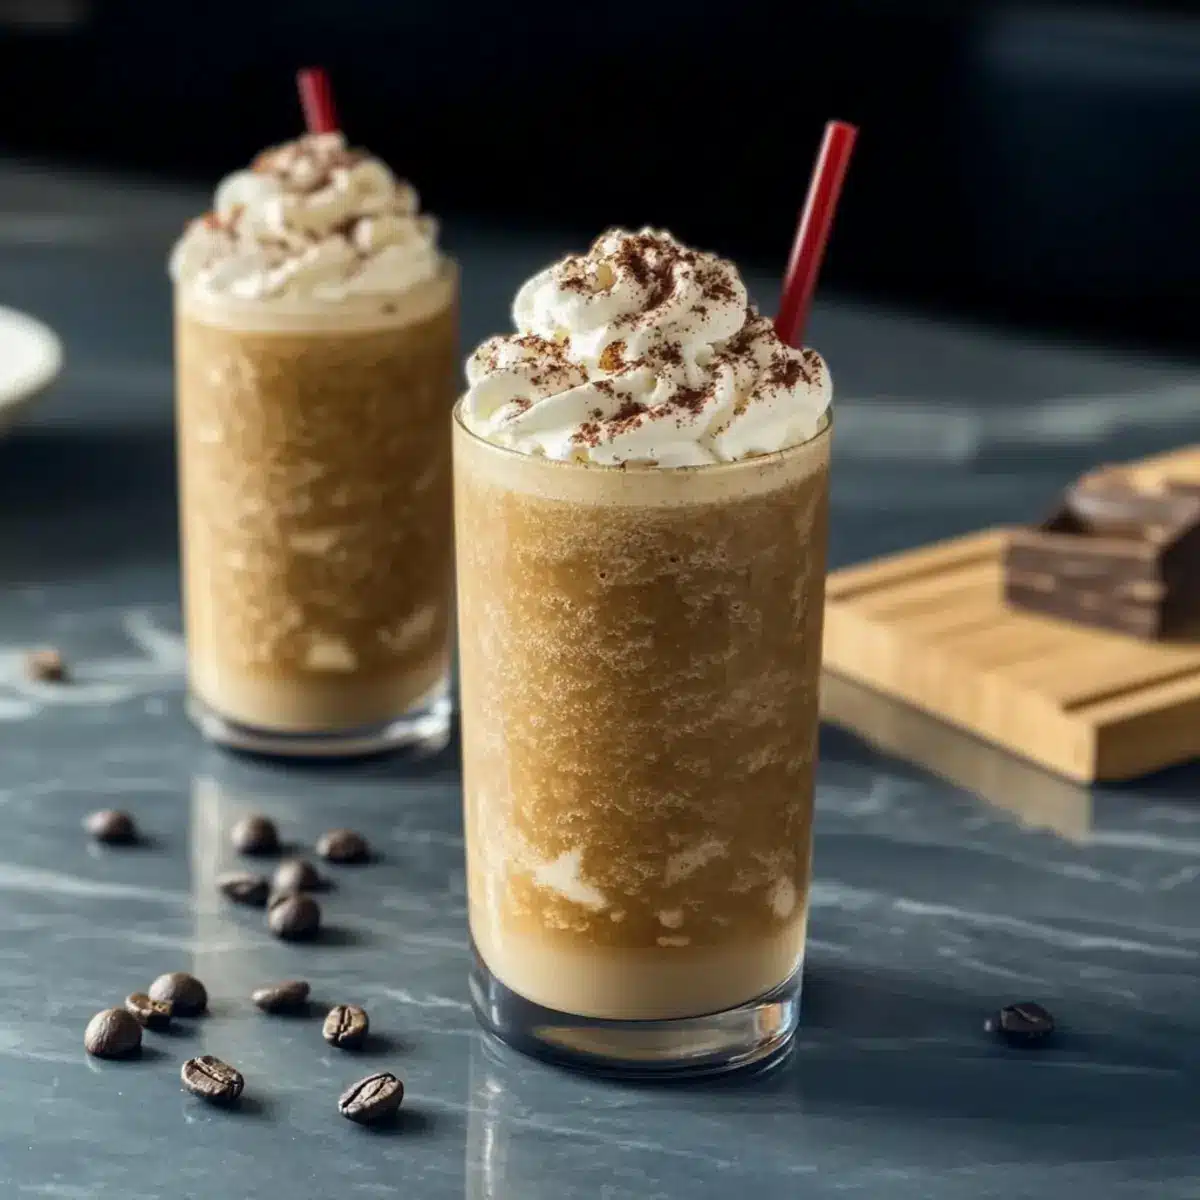
Using a spoon or an ice cream scoop, serve the slushy mixture into bowls or cups, creating a delightful mountain of coffee goodness. For an added touch of indulgence, top each serving with whipped topping, making your Coffee Slush not only refreshing but also visually appealing.
Coffee Slush Variations to Try
Feel free to customize your refreshing Coffee Slush with these delectable twists that will excite your taste buds!
-
Lower-Calorie: Substitute sugar with your favorite natural sweetener for a lighter version that still satisfies your sweet tooth.
-
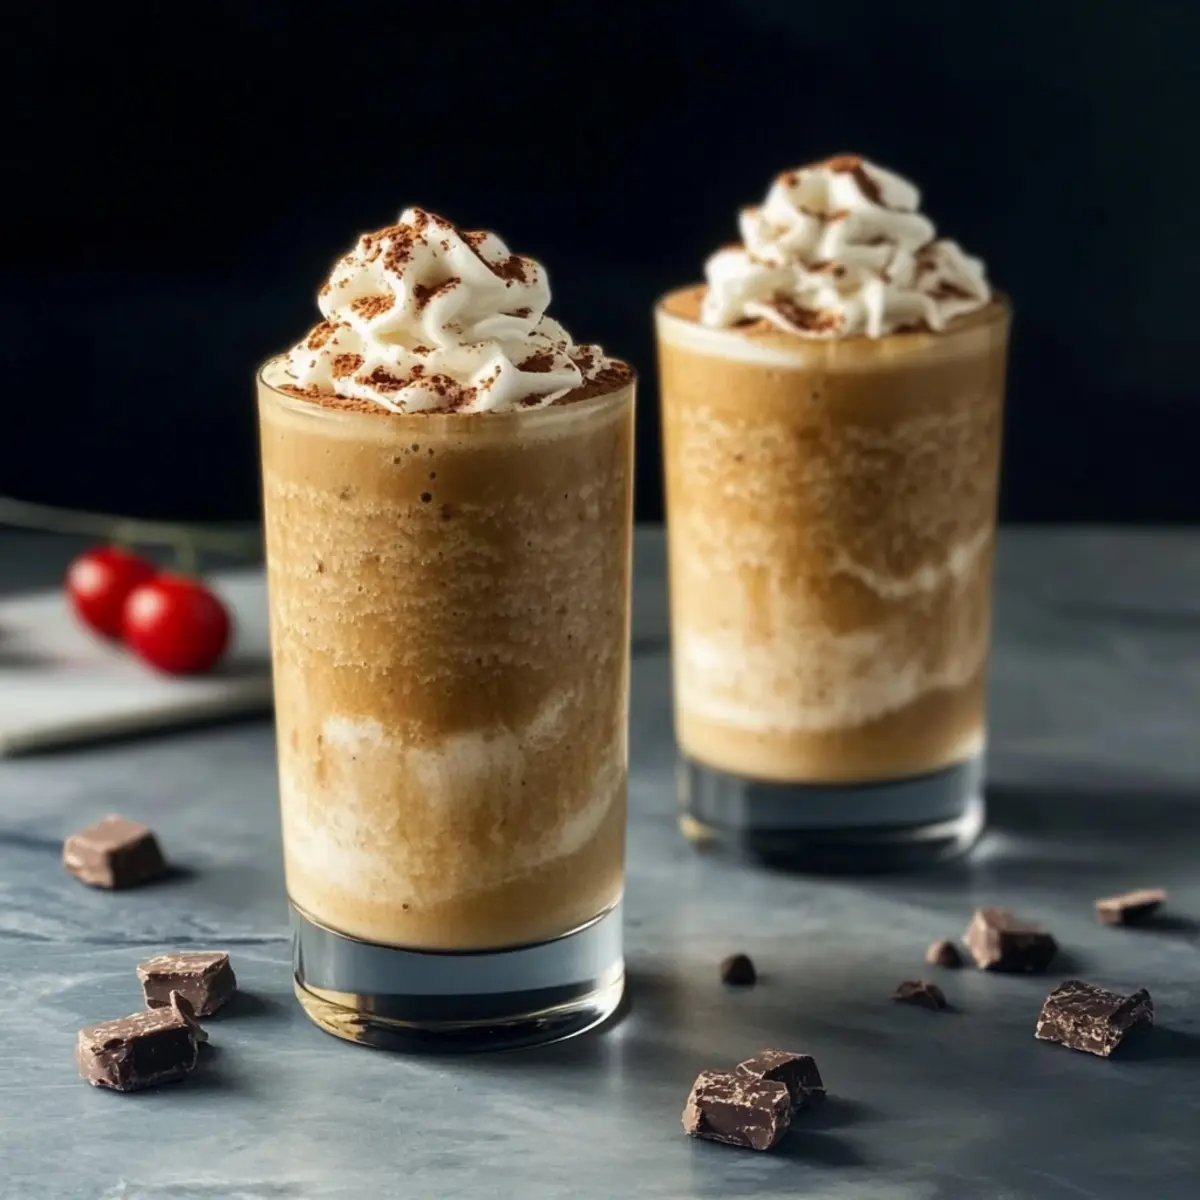
Mocha Magic: Sprinkle in cocoa powder or use chocolate syrup to create a decadent mocha twist that coffee lovers will adore. Imagine sipping on a chocolatey delight that marries two of your favorite flavors!
-
Nutty Addition: Stir in a splash of hazelnut or almond syrup for a nutty flavor boost. This adds a delightful richness that elevates your slush to gourmet status.
-
Dairy-Free Delight: Replace regular milk and cream with coconut, almond, or oat milk for a lactose-free slushie that’s equally creamy and delicious. This option is perfect for those who want to enjoy a slush without dairy.
-
Chilly Vanilla: Enhance the vanilla flavor by using vanilla bean paste instead of extract. This twist not only packs more flavor but also adds beautiful flecks of vanilla.
-
Spicy Kick: Add a pinch of cayenne pepper or cinnamon for a warm, spicy contrast to the cold coffee slush. This unexpected burst of flavor can take your refreshing treat to a whole new level!
-
Fruity Fusion: Pour in a splash of your favorite fruit juice, such as orange or berry, for a fruity slush that’s bursting with freshness. This refreshing variation is fantastic for summer days!
If you’re intrigued by more scrumptious coffee recipes, try our delightful Vegan Pistachio Coffee for a unique twist on your coffee cravings. Embrace the creativity and enjoy serving delicious homemade coffee slush variations!
Expert Tips for Coffee Slush
-
Dissolve Thoroughly: Ensure sugar is completely dissolved in hot coffee for the smoothest Coffee Slush texture; undissolved sugar can create a grainy finish.
-
Chill the Coffee First: For best results, let the brewed coffee cool before mixing, which helps achieve a perfectly blended and refreshing slush.
-
Freezing Time: Keep an eye on freezing time; if too solid, allow the slush to thaw for a few minutes before serving to ensure easy scooping.
-
Experiment with Flavors: Don’t hesitate to mix it up! Try adding flavored syrups or spices for a unique twist on your classic Coffee Slush.
-
Blend Before Freezing: For an even creamier texture, consider blending the mixture briefly before pouring it into containers to break up any milk clumps.
-
Garnish Creatively: Use fun garnishes like chocolate shavings or crushed nuts to elevate your Coffee Slush presentation, making it as delightful to the eyes as it is to the palate.
How to Store and Freeze Coffee Slush
Fridge: Store any leftover Coffee Slush in an airtight container for up to 3 days. This keeps it fresh, although the texture may change slightly.
Freezer: For longer storage, freeze the slush in a tightly covered container. It can last up to one week; remember to stir occasionally while freezing for a uniform texture.
Reheating: When ready to enjoy again, let the frozen slush sit at room temperature for about 5-10 minutes to soften, making it easier to scoop and serve.
Serving Advice: If you find it too hard after freezing, give it a quick mix with a spoon or fork to break it up before serving.
What to Serve with Easy Frozen Coffee Slushie
Enhance your summer gatherings with delightful combinations that elevate the refreshing experience of this slushy treat!
-
Crispy Bacon-Wrapped Dates: The sweet, savory flavors beautifully contrast the rich coffee slush, creating a perfect bite.
-
Classic Club Sandwich: A hearty sandwich provides a satisfying counterpart to the icy refreshment of your slushie, making it a complete meal.
-
Zesty Citrus Salad: The bright flavors and crunchiness of a citrus salad lighten the palate, balancing the creamy texture of the Coffee Slush perfectly.
-
Chocolate Chip Cookies: Soft, chewy cookies pair wonderfully with the slush—think of the nostalgia of enjoying a sweet treat together!
-
Creamy Coleslaw: The crispness and creaminess of coleslaw harmonizes with the slush’s smoothness, adding a refreshing touch to any barbecue or picnic.
-
Sparking Lemonade: A bubbly drink alongside the slushie presents an attractive refreshment duo, making your summertime gatherings extra vibrant and fun.
-
Fruity Sorbet: Pairing your Coffee Slush with a light, fruity sorbet creates a layered dessert experience, providing flavor contrasts that are simply irresistible!
-
Vanilla Ice Cream: A scoop of ice cream enhances the creamy nature of the slush while adding a touch of indulgence to your evening.
Take these suggestions and craft a delightful summer spread that your friends and family will rave about long after the last sip!
Make Ahead Options
This Frozen Coffee Slush is ideal for meal prep, making your busy days a little sweeter! You can prepare the entire slush mixture up to 24 hours in advance. Simply follow the steps to dissolve the sugar in hot coffee, mix in the cream, milk, and vanilla, then transfer to freezable containers. To maintain the texture, ensure the mixture is properly sealed to avoid ice crystals. When you’re ready to serve, just remove it from the freezer and let it sit for about 5-10 minutes to soften. Scoop into bowls or cups, and top with whipped cream for a delicious, refreshing treat that saves you time while impressing your guests!
Coffee Slush Recipe FAQs
What type of coffee should I use for my Coffee Slush?
Absolutely! For the best flavor, use strong brewed coffee. A robust dark roast will give your slush a rich base. You can also experiment with flavored coffees for a unique twist!
How long can I store the Coffee Slush in the freezer?
You can freeze your Coffee Slush for up to one week. Make sure it’s in a tightly covered container to prevent ice crystals from forming. If you want to keep it even longer, consider stirring it occasionally while freezing to maintain its delightful texture.
Can I make this Coffee Slush ahead of time?
Very much so! This slush can be prepared in advance and stored in the freezer. Just allow it to chill in the freezer for about 4 hours or until firm, so it’s ready to serve when you need a refreshing drink.
What can I do if my Coffee Slush is too hard after freezing?
If your slush turns out too solid to scoop, no worries! Just let it sit at room temperature for about 5 to 10 minutes before you attempt to serve it. You can also give it a quick mix with a spoon to break it up and get that perfect slushy consistency.
Are there any dietary considerations for the Coffee Slush?
Yes indeed! If you’re catering to dietary restrictions, feel free to substitute sugar with your preferred sugar alternative. Additionally, you can use non-dairy creamers or milk to make it lactose-free. Just remember to adjust any other ingredients to keep the flavors balanced.
Can I add any extras to my Coffee Slush?
Certainly! Experimenting with flavors is a fun part of making your own slush. You can add vanilla syrup, spices like cinnamon, or even a scoop of chocolate for a mocha flavor. The more, the merrier! Just mix in your chosen extras during the creamy ingredient stage.
Refreshing Coffee Slush: Your New Favorite Summer Treat
Ingredients
Equipment
Method
- Dissolve Sugar: Begin by brewing a pot of strong coffee. Pour hot coffee into a heatproof bowl, then add sugar, stirring continuously until fully dissolved (2-3 minutes).
- Mix in Creamy Ingredients: Add in 1/2 & 1/2, milk, and vanilla extract to the coffee mixture. Blend everything together until well combined and creamy (1-2 minutes).
- Prepare for Freezing: Pour the combined mixture into freezable containers, leaving space for expansion. Cover securely and freeze for at least 4 hours.
- Soften Before Serving: Allow the containers to sit at room temperature for 5-10 minutes before serving, making scooping easier.
- Serve with Flair: Scoop the slushy mixture into bowls or cups and top with whipped topping.
Leave a Reply