
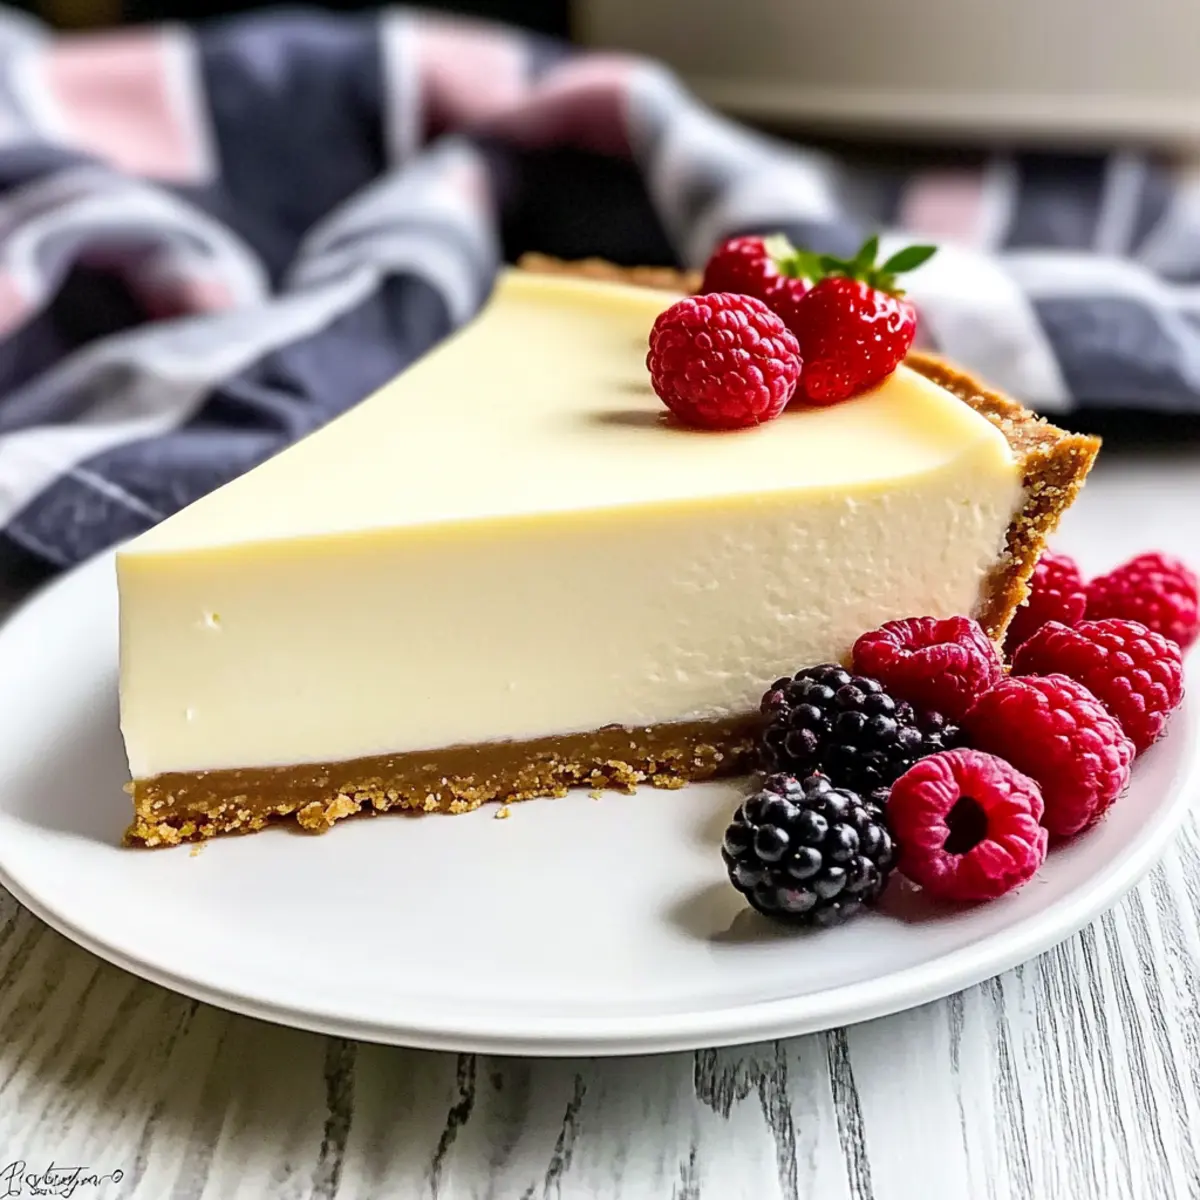
“Did you hear the one about the cheesecake that brought everyone together?” Imagine the aroma of a freshly baked Classic Cheesecake wafting through your kitchen, drawing family and friends to the table. This Best Easy Cheesecake Recipe is not just about indulgence; it’s a heartfelt creation that transforms simple moments into delightful memories. With just six ingredients and no complicated water bath required, this cheesecake is a true crowd-pleaser that fits effortlessly into your busy life. Whether you’re hosting a festive gathering or yearning for a cozy dessert night, this creamy, smooth cake promises to satisfy! So, are you ready to whip up a slice of happiness? Let’s embark on this sweet adventure together!
Why is Classic Cheesecake So Irresistible?
Simplicity at Its Best: With only six ingredients, this recipe is perfect for anyone—from novice bakers to seasoned chefs—looking for an easy yet delicious dessert.
Creamy, Rich Flavor: The luscious cream cheese filling is perfectly balanced, creating a smooth, mouthwatering experience in every bite.
No-Crack Guarantee: Forget tedious water baths; the method promises a perfect, crack-free finish that will impress your guests.
Customizable Options: Personalize your cheesecake with different toppings or crust variations—try crushed Oreos or a drizzle of caramel for a twist! Consider serving it alongside a refreshing Sugar Cookie Cheesecake to add variety to your dessert table.
Crowd-Pleasing Delight: Whether it’s a family dinner or a festive gathering, this cheesecake will become the star of any occasion! Each slice invites joyful conversations and satisfied smiles.
Classic Cheesecake Ingredients
• Here’s what you need for a delightful classic cheesecake!
For the Crust
- Graham Cracker Crumbs – Essential for a crunchy base; you can substitute with crushed Oreos or vanilla wafers for a twist.
- Granulated Sugar – Adds sweetness to the crust; adjust to your taste for that perfect balance.
- Unsalted Butter – Binds the crust ingredients together for richness; using salted butter is fine if you prefer.
For the Filling
- Cream Cheese – The star of the filling, creating a rich texture; ensure it’s at room temperature for easy mixing.
- Granulated Sugar – Sweetens the creamy filling; feel free to adjust based on personal preference for a true classic cheesecake experience.
- Eggs – Provide necessary structure and creaminess; make sure they are at room temperature for the best incorporation.
- Vanilla Extract – Elevates the flavor profile; use pure vanilla extract for an extra indulgent taste.
This ingredient list sets the stage for your homemade classic cheesecake adventure—simple, delicious, and ready to impress!
Step‑by‑Step Instructions for Classic Cheesecake
Step 1: Preheat the Oven
Begin your cheesecake adventure by preheating your oven to 350°F (175°C). This ensures an even bake throughout your Classic Cheesecake, resulting in a perfectly set filling. While the oven warms, gather your ingredients and equipment, including a springform pan, mixing bowl, and electric mixer for a seamless baking process.
Step 2: Prepare the Crust
In a mixing bowl, combine graham cracker crumbs, sugar, and melted unsalted butter until well blended. The mixture should resemble wet sand. Next, press this crust mixture firmly into the bottom of the springform pan, creating an even layer. Bake the crust in the preheated oven for about 8-10 minutes, until lightly golden and fragrant. This step will lay a solid foundation for your delicious cheesecake.
Step 3: Mix the Filling
While the crust cools, grab your softened cream cheese and place it in a large mixing bowl. Beat it with an electric mixer on medium speed until smooth and creamy, about 2-3 minutes. Gradually add granulated sugar and vanilla extract, mixing until fully incorporated. The texture should be velvety without lumps, preparing your filling for the perfect Classic Cheesecake.
Step 4: Incorporate the Eggs
Now, it’s time to add the eggs. With the mixer set to low speed, add one room-temperature egg at a time, mixing just until each one is fully combined. Avoid overmixing, as this can introduce air bubbles that lead to cracks. The filling will be smooth and rich—ideal for your Classic Cheesecake.
Step 5: Bake the Cheesecake
Pour the creamy filling over the cooled crust, smoothing the top with a spatula. Place the cheesecake in the oven and bake for 22-25 minutes. You’ll know it’s ready when the edges are set, yet the center remains slightly jiggly. This is the magic of the Classic Cheesecake, ensuring a lovely creamy texture once cooled.
Step 6: Cool Gradually
After baking, turn off the oven and crack the door open slightly. Allow your Classic Cheesecake to cool in the oven for about 45-60 minutes. This gentle cooling method helps avoid sudden temperature changes that can cause unsightly cracks. You’ll see the cheesecake deflate slightly as it cools, which is perfectly normal.
Step 7: Chill
Once cooled, transfer your cheesecake to the refrigerator and chill for a minimum of 4 hours, preferably overnight. Chilling allows the flavors to meld beautifully. When it’s finally time to slice into this Classic Cheesecake, the result will be a smooth, creamy delight that’s utterly irresistible.
Tips for the Best Classic Cheesecake
-
Quality Ingredients: Use full-fat cream cheese and pure vanilla extract. This elevates flavor and ensures a creamy texture in your classic cheesecake.
-
Room Temperature: Always allow cream cheese and eggs to reach room temperature before mixing. This prevents lumps and helps them blend smoothly into your filling.
-
Avoid Overmixing: Mix just until combined after adding eggs. Overmixing can introduce air bubbles that lead to cracks in your cheesecake.
-
Gradual Cooling: Cool your cheesecake slowly in the oven after baking by cracking the door open. This helps prevent sudden temperature changes that can crack the surface.
-
Make Ahead: For the best flavor, consider making your classic cheesecake a day in advance. This allows the flavors to develop and enhances the overall taste.
Make Ahead Options
These Classic Cheesecake delights are perfect for busy home cooks looking to save time! You can prepare the crust and the filling up to 24 hours in advance, ensuring each component is ready for a stress-free assembly. Simply mix the graham cracker crust, press it into the springform pan, and refrigerate. Next, prepare the filling and store it in an airtight container in the refrigerator. When you’re ready to bake, pour the filling over the chilled crust and proceed with the baking steps. To maintain quality, ensure the filling remains covered until it’s time to bake. This way, you’ll have a delectable dessert ready to wow your guests with minimal last-minute effort!
Classic Cheesecake Variations & Substitutions
Customize your cheesecake adventure with these delicious twists that promise to excite your palate and impress your guests!
-
Crust Alternatives: Swap graham cracker crumbs for crushed Oreos or vanilla wafers for a unique flavor profile that adds a fun twist to your base.
-
Natural Sweetener: Replace granulated sugar with honey or maple syrup for a naturally sweet option that brings a unique flavor dimension to the cheesecake.
-
Zesty Flavor Infusion: Incorporate zesty orange or lemon peel into the filling for a refreshing burst of citrus that beautifully balances the richness.
-
Dairy-Free Delight: Use vegan cream cheese as a substitute for a dairy-free version, allowing everyone to indulge in this creamy dessert joyfully.
-
Fruit-Fusion: Fold in fresh pureed strawberries, blueberries, or bananas into the filling for a delightful fruity touch that’ll brighten your cheesecake.
-
Chocolate Lovers’ Escape: Swirl melted chocolate into the batter before baking for a rich, decadent chocolate cheesecake that’s perfect for chocolate enthusiasts.
-
Nutty Crunch: Add crushed nuts like almonds or pecans into the crust for added texture and a crunchy contrast to the smooth filling.
-
Gourmet Ganache: After chilling, top your cheesecake with a silky chocolate ganache or caramel drizzle for an elegant finishing touch that delights every sweet tooth.
Feel free to explore these variations, and don’t forget to enjoy them with some delightful sides like a Sugar Cookie Cheesecake for added fun! Whether you’re whipping up this classic recipe for a family dinner or a gathering with friends, your customizable touches are sure to shine through every slice.
How to Store and Freeze Classic Cheesecake
-
Fridge: Store your Classic Cheesecake in an airtight container for up to 7 days. This helps maintain its creamy texture and flavor while keeping it fresh for snacking or sharing.
-
Freezer: For longer storage, carefully wrap your cheesecake in plastic wrap and aluminum foil, then freeze for up to one month. Thaw it in the refrigerator overnight before serving for the best taste and texture.
-
Reheating: If desired, allow slices to come to room temperature before enjoying. This enhances the smooth, creamy experience and showcases the delicious flavors of your homemade cheesecake.
-
Serving After Storage: For a delightful twist, consider serving chilled cheesecake slices with fresh berries or a drizzle of chocolate for extra indulgence after it’s been stored.
What to Serve with The Best Easy Cheesecake?
Imagine the perfect finale to your gathering—a luscious cheesecake complemented by delightful sides that harmonize in flavor and texture.
-
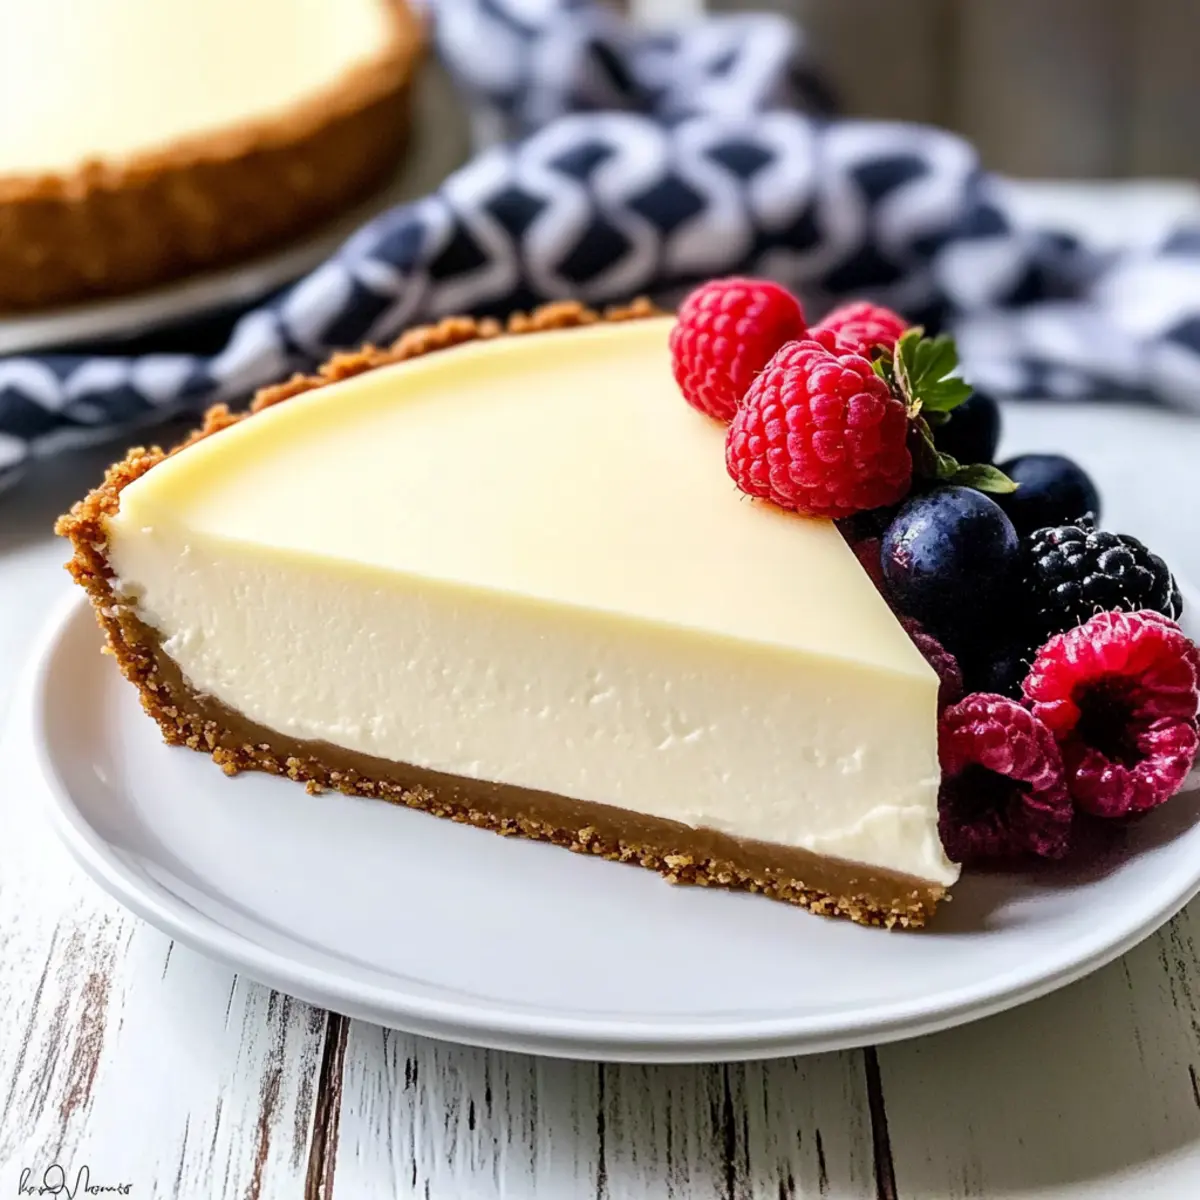
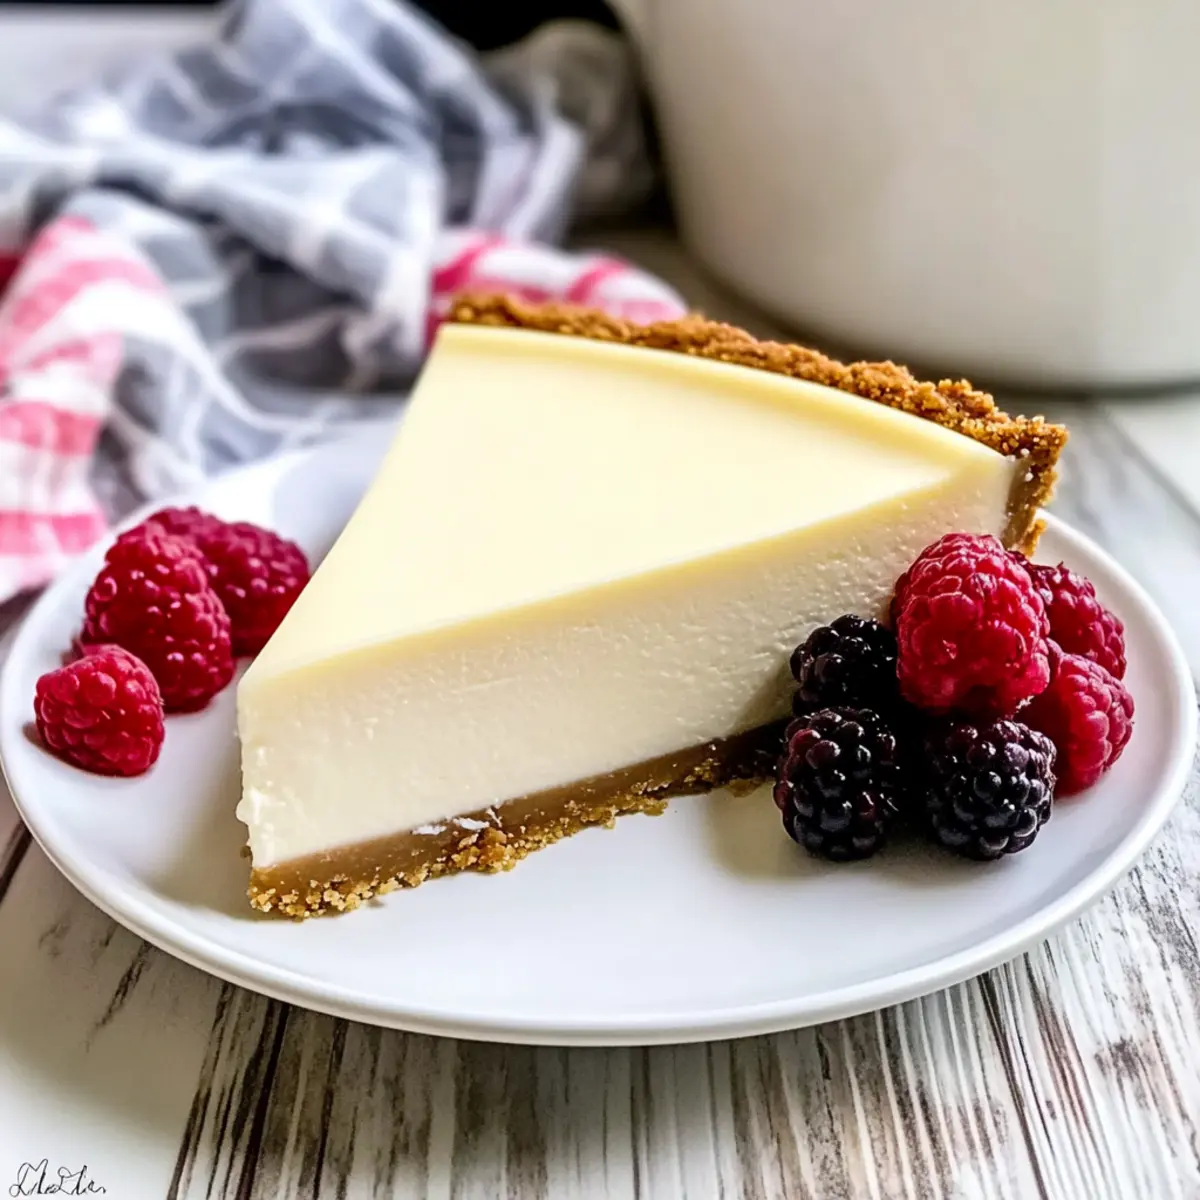
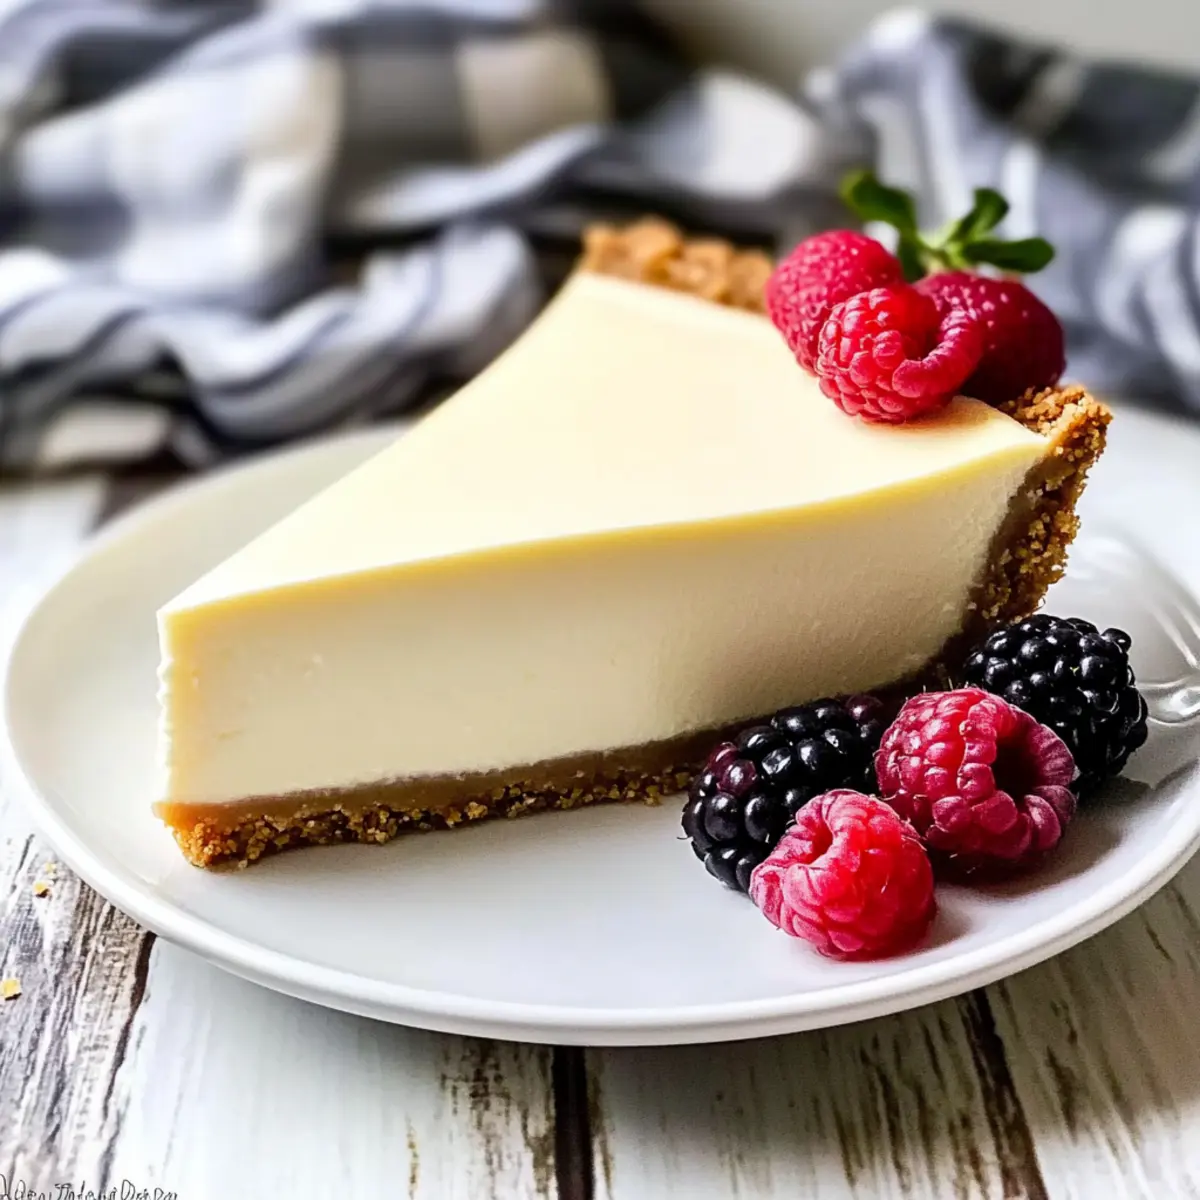
Fresh Berries: A mix of strawberries, raspberries, and blueberries offers a burst of freshness, cutting through the creamy richness of the cheesecake. Their vibrant colors also add a beautiful touch to the presentation.
-
Whipped Cream: Light and airy, a dollop of homemade whipped cream enhances your cheesecake, creating a decadent pairing that feels indulgently luxurious.
-
Chocolate Sauce: Drizzling warm chocolate sauce over each slice brings a rich, sweet contrast to the tangy cheesecake, making every bite an irresistible treat.
-
Coffee or Espresso: The deep, bold flavors of coffee complement the sweet creaminess of cheesecakes beautifully, creating a satisfying pairing that transcends dessert.
-
Brandy-Infused Fruit Compote: A warm fruit compote adds a touch of sophistication, with its sweet and slightly boozy finish melding perfectly with the cheesecake’s velvety texture.
-
Zesty Lemonade: A refreshing glass of zesty lemonade cleanses the palate, ensuring each bite of cheesecake remains as delightful as the first, bridging flavors smoothly.
-
Caramel Drizzle: Surrender to the allure of caramel sauce, drizzling it over cheesecake pieces for a sweet indulgence that adds richness and enhances flavor depth.
-
Pistachio Crumble: A sprinkle of crushed pistachios introduces a delightful crunch and a touch of nuttiness, providing texture that beautifully contrasts the smoothness of cheesecake.
These pairings will elevate your cheesecake experience, making for a memorable dessert that your loved ones will appreciate!
Classic Cheesecake Recipe FAQs
How do I choose the right cream cheese for my cheesecake?
Absolutely! Selecting the right cream cheese is key to achieving that luxurious texture. I recommend using full-fat cream cheese for the best flavor and creaminess. Aim for a block form rather than spreadable kinds, as they tend to have more moisture that can affect your cheesecake’s consistency. Let it sit at room temperature for about 30 minutes before mixing to ensure it’s easy to blend smoothly.
What are the best practices for storing Classic Cheesecake?
Very! When storing your Classic Cheesecake, place it in an airtight container in the refrigerator, where it will stay fresh for up to 7 days. For longer storage, wrap it tightly in plastic wrap then aluminum foil and freeze for up to one month. When you’re ready to enjoy, simply transfer it to the refrigerator for overnight thawing. This helps maintain its creamy texture and keeps it delicious.
Can I freeze Classic Cheesecake? How should I do that?
Absolutely! To freeze your Classic Cheesecake, first, ensure it has completely cooled and set. Wrap it snugly in plastic wrap followed by aluminum foil to prevent freezer burn. Label it with the date and freeze for up to one month. When you’re ready to enjoy, remove it from the freezer and place it in the fridge overnight to thaw slowly. This gradual thawing preserves its creamy texture and flavor beautifully.
What if my cheesecake cracks during baking?
No worries! If you find yourself with cracks in your cheesecake, it’s often due to overmixing the batter or sudden temperature changes. To avoid this next time, mix your filling gently and only until combined. Additionally, cracking can happen if you don’t let it cool gradually in the oven. When your cheesecake is finished baking, turn off the oven and crack the door open for 45-60 minutes—it works wonders for preventing cracks.
Can I make this cheesecake dairy-free?
Very! For a delicious dairy-free version of this Classic Cheesecake, substitute regular cream cheese with a dairy-free cream cheese alternative that’s easily available at most grocery stores. Make sure to check the packaging for similar textures and flavors. Using coconut cream can also add a rich, creamy texture if that appeals to you!
Classic Cheesecake: Smooth, Creamy, and Completely Irresistible
Ingredients
Equipment
Method
- Preheat your oven to 350°F (175°C). Gather your ingredients and equipment.
- In a mixing bowl, combine graham cracker crumbs, sugar, and melted butter. Press into the bottom of the springform pan.
- Bake the crust for 8-10 minutes until lightly golden.
- Beat softened cream cheese until smooth. Gradually add sugar and vanilla, mixing well.
- Add the eggs one at a time on low speed until just combined.
- Pour the filling over the cooled crust and smooth the top. Bake for 22-25 minutes until edges are set.
- Turn off the oven and crack the door. Let the cheesecake cool in the oven for 45-60 minutes.
- Refrigerate for at least 4 hours, preferably overnight, before slicing.
Leave a Reply