
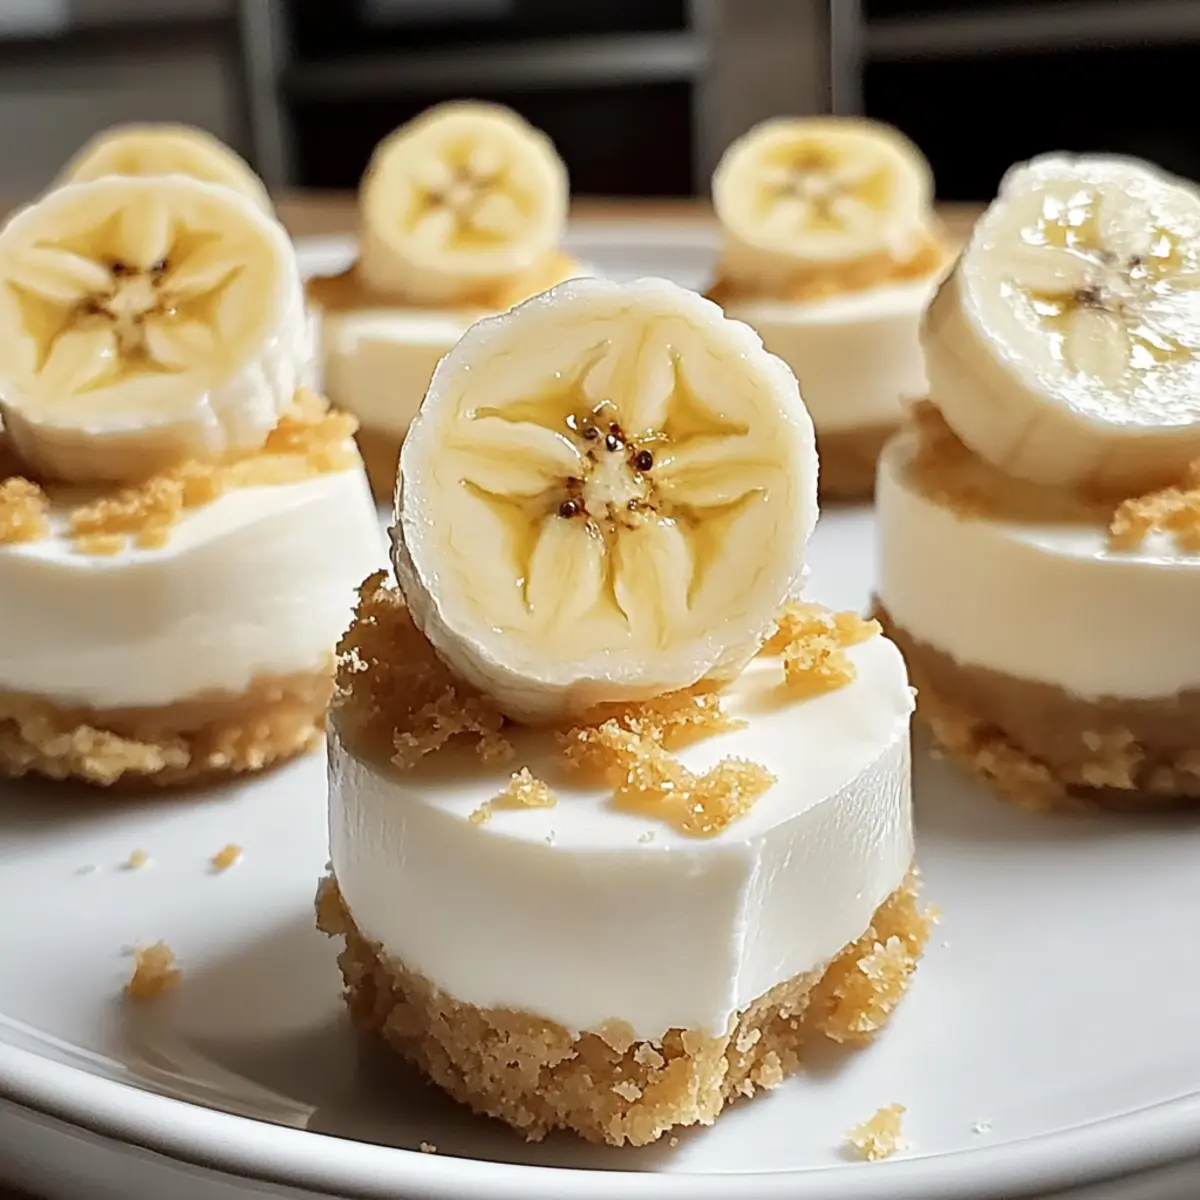
The delightful sound of whipped cream and laughter filled the kitchen as I stood over a mixing bowl, ready to create a dessert that would evoke sweet memories. Enter the No-Bake Mini Banana Pudding Cheesecakes—a heavenly blend of creamy cheesecake and nostalgia that brings a smile to anyone’s face. You’ll relish how quick they come together, making them perfect for both last-minute gatherings and elegant dinner parties. Plus, with customizable options for varying dietary needs, everyone can indulge without guilt. Ready to whip up a dessert that’s sure to be your new favorite? Let’s dive in!
Why are these cheesecakes a must-try?
No-Bake Convenience: These No-Bake Mini Banana Pudding Cheesecakes come together effortlessly, allowing you to focus on fun rather than fuss!
Customizable for All: With options for gluten-free and sugar-free diets, everyone can enjoy this delicious dessert without worry.
Heavenly Creaminess: The combination of silky cream cheese and ripe bananas creates a wonderfully rich and smooth texture that melts in your mouth.
Banana Nostalgia: Each cheesecake embodies a classic banana pudding flavor, transporting you back to warm summer days filled with sweet memories.
Crowd-Pleasing Delight: Perfectly portioned, these mini treats are an excellent option for parties or family gatherings, satisfying every sweet tooth.
For an indulgent alternative, try our Chocolate Chip Peanut recipes!
No-Bake Mini Banana Pudding Cheesecakes Ingredients
• Dive into a sweet, creamy treat with these No-Bake Mini Banana Pudding Cheesecakes!
For the Crust
- Crushed Vanilla Wafers – Creates a buttery and sweet crust; try graham crackers for a fun twist.
- Melted Butter – Binds the crust, ensuring it holds together perfectly; essential component with no substitutes.
For the Cheesecake Filling
- Cream Cheese (8 oz) – The creamy base for the filling; full-fat cream cheese gives the best texture.
- Sweetened Condensed Milk (1/2 cup) – Adds a luscious creaminess; use sugar-free for a healthier option!
- Mashed Ripe Banana (1/2 cup) – Infuses natural flavor; stick with ripe bananas for optimal sweetness.
- Vanilla Extract (1 tsp) – Enhances the cheesecake’s flavor; always opt for pure vanilla for the best taste.
- Whipped Topping (1 cup) – Provides a light, fluffy texture; substitute with unsweetened heavy cream to cut sugar.
For Garnishing
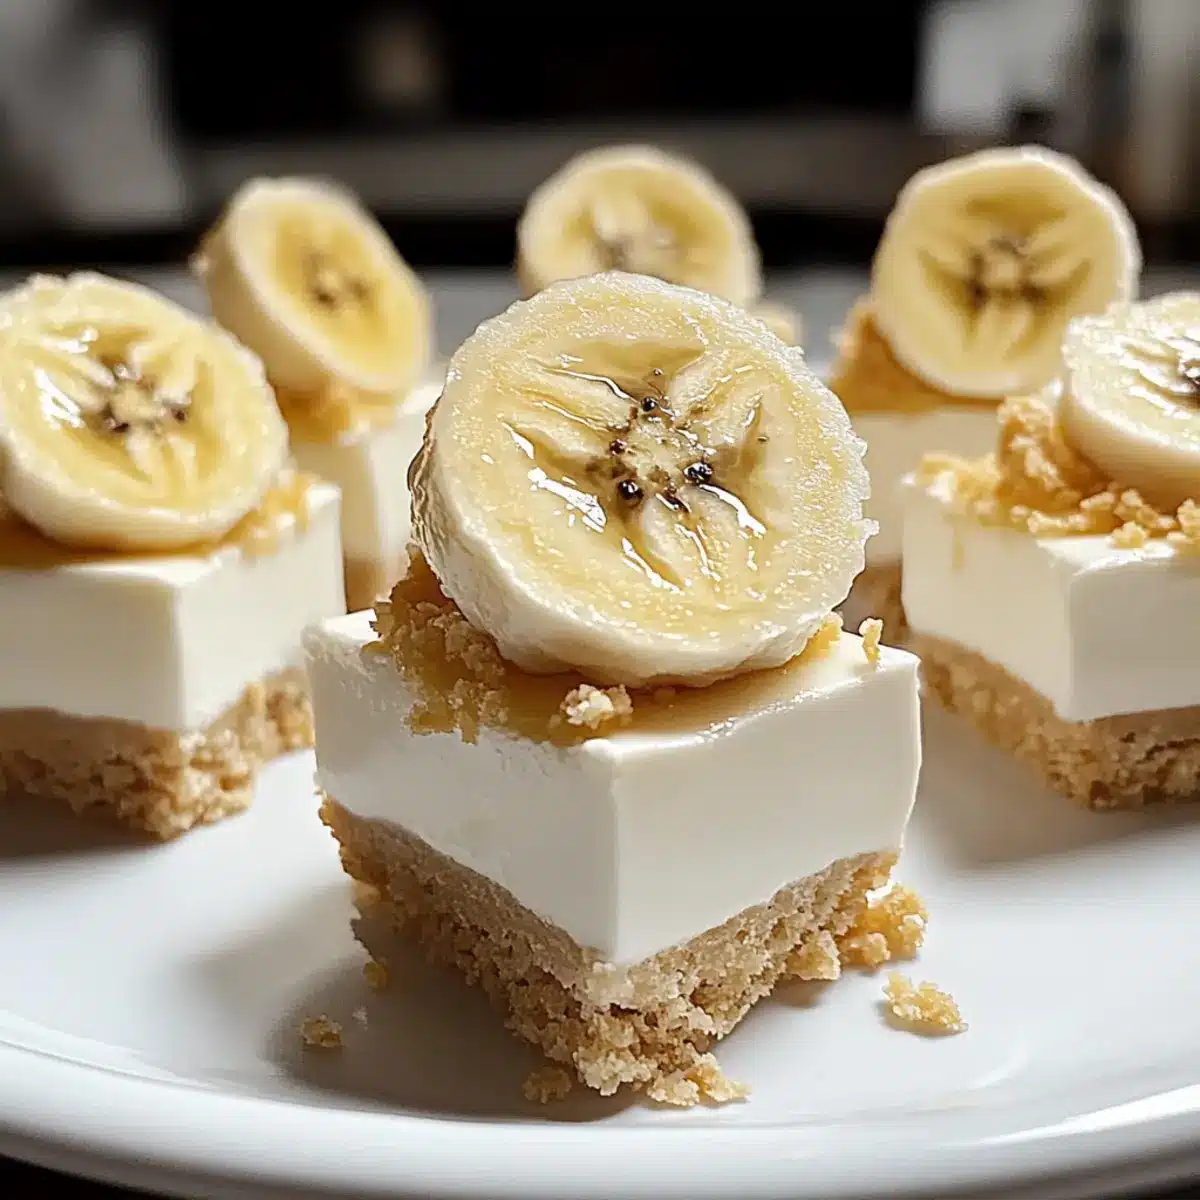
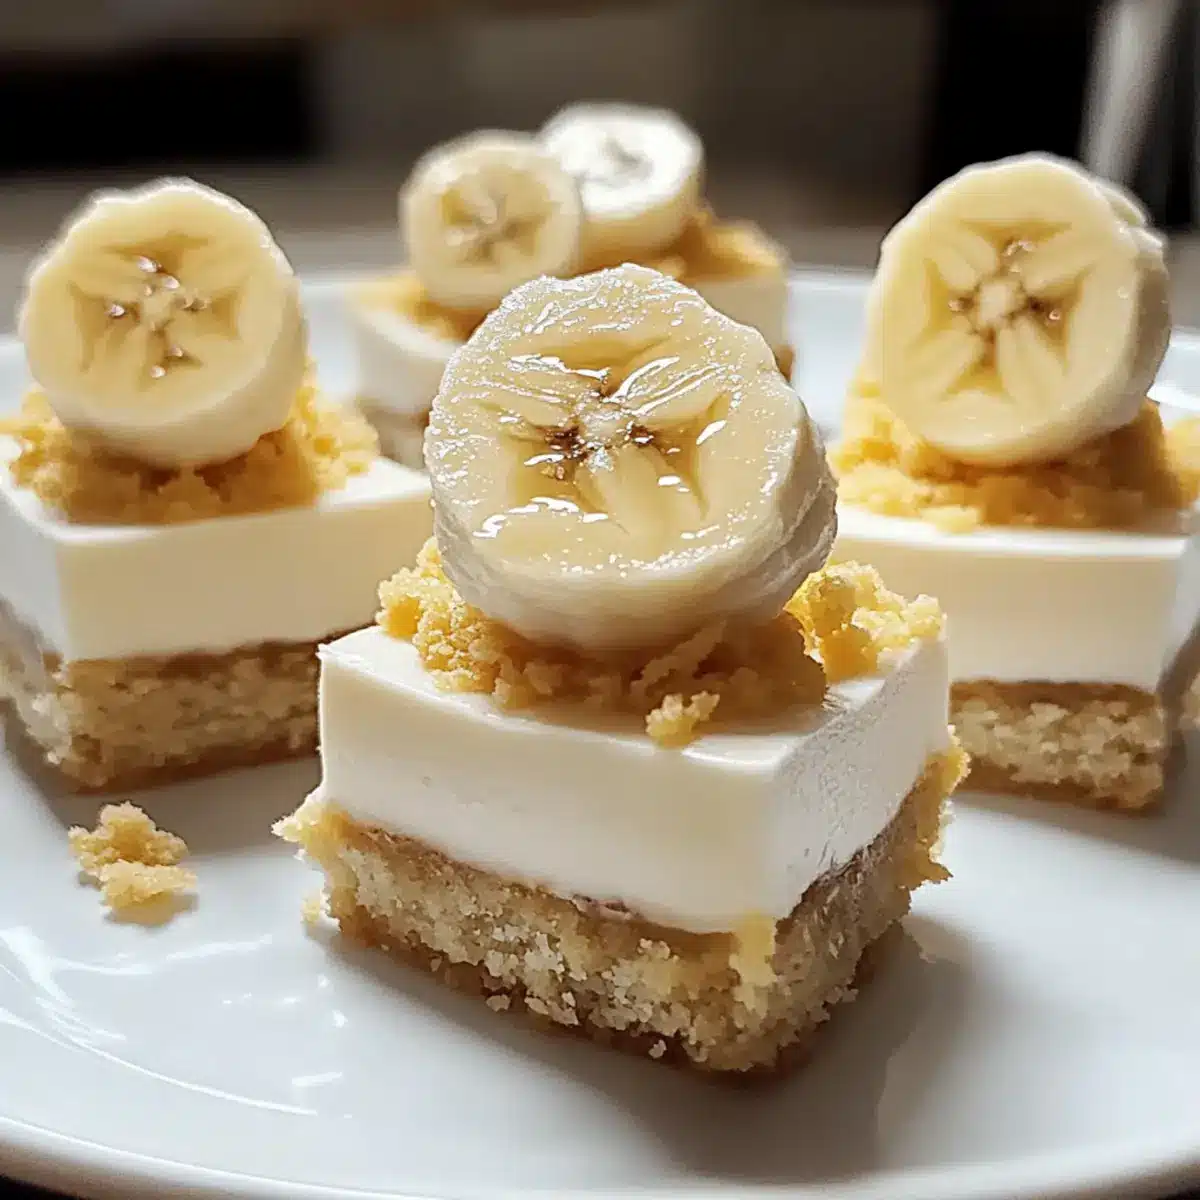
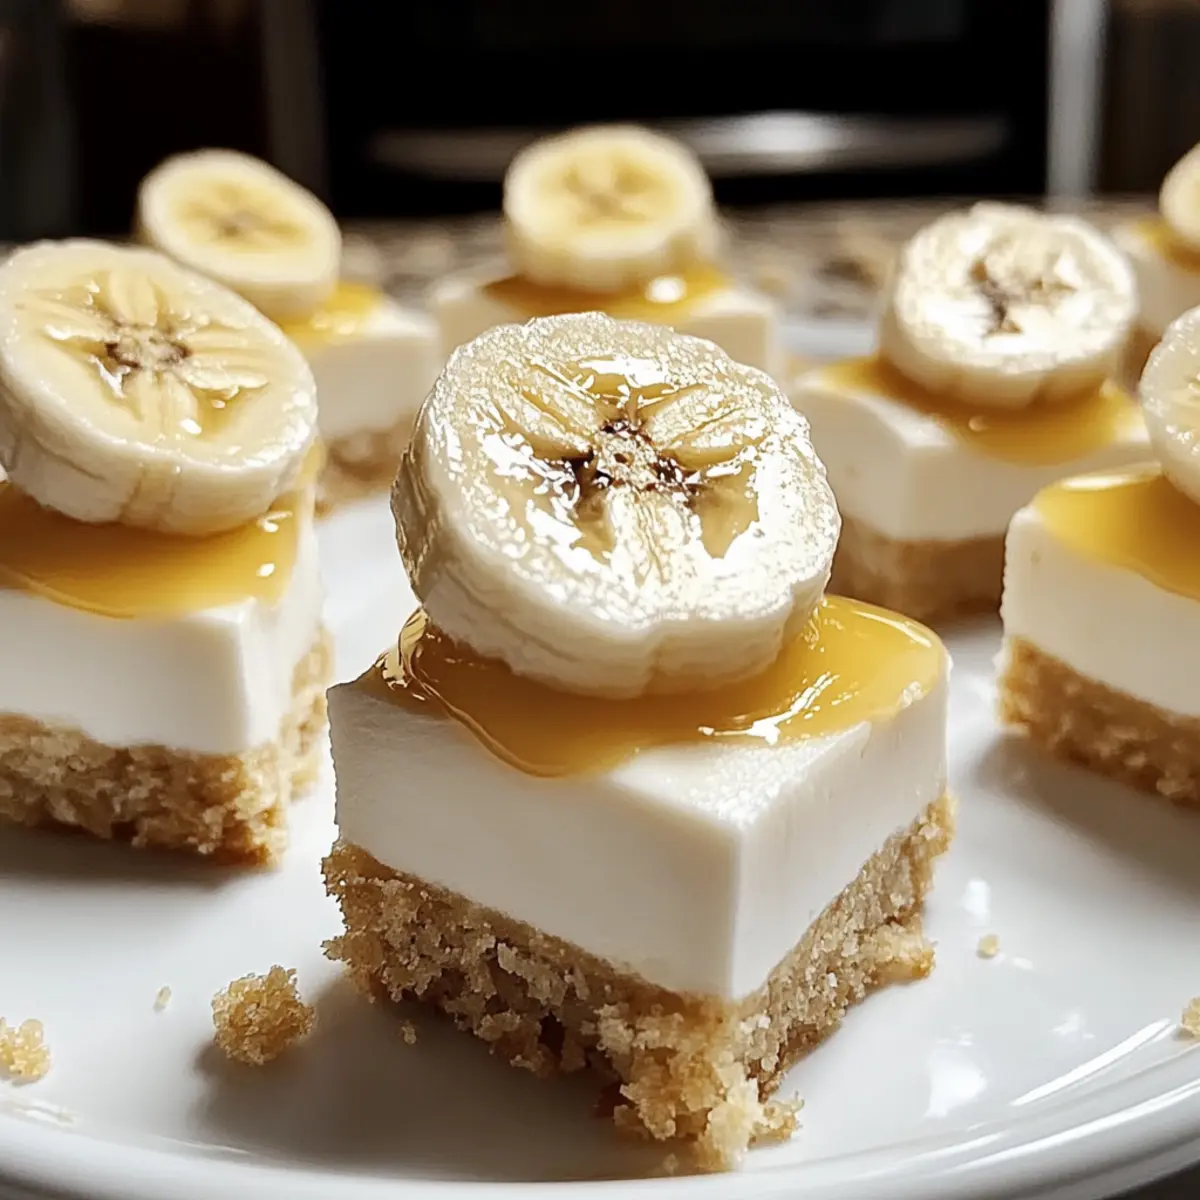
- Banana (1, thinly sliced) – Adds fresh flavor and decor; keep slices on until serving to prevent browning.
- Extra Whipped Topping & Mini Vanilla Wafers – Perfect finishing touches for both flavor and presentation!
Step‑by‑Step Instructions for No-Bake Mini Banana Pudding Cheesecakes
Step 1: Prepare the Crust
In a mixing bowl, combine crushed vanilla wafers with melted butter until evenly moistened. Using a muffin tin lined with paper liners, press the mixture firmly into the bottom of each compartment to create an even base. Aim for a compact and sturdy crust, then place the muffin tin in the refrigerator to chill for about 15 minutes while you prepare the filling.
Step 2: Make the Cheesecake Filling
In another bowl, beat the cream cheese using a hand mixer on medium speed until smooth and creamy, about 2 minutes. Gradually add in the sweetened condensed milk, mashed banana, and vanilla extract; mix until fully combined and smooth, ensuring no lumps remain. Gently fold in the whipped topping until incorporated, taking care not to deflate the mixture, creating a light and airy cheesecake filling.
Step 3: Assemble the Cheesecakes
Once the crust has chilled, remove the muffin tin from the refrigerator. Place one thinly sliced banana piece atop each crust, then spoon the creamy cheesecake filling over the banana slices, smoothing out the tops with a spatula. Make sure each mini cheesecake is generously filled to create that delightful layered effect, then gently tap the tin on the counter to eliminate any air bubbles.
Step 4: Chill
Cover the muffin tin with plastic wrap and refrigerate the mini cheesecakes for at least 1 to 2 hours. For a quicker set, you can also freeze them for about 30 minutes. Proper chilling allows the flavors to meld beautifully and ensures the cheesecakes firm up, resulting in a delicious treat with the perfect texture.
Step 5: Garnish and Serve
Before serving, add a dollop of extra whipped topping atop each mini cheesecake for an inviting presentation. Garnish with additional banana slices and mini vanilla wafers to amplify the visual appeal. Make sure to add the banana slices just before serving to prevent browning, and prepare to share the joy of these delightful No-Bake Mini Banana Pudding Cheesecakes!
Make Ahead Options
These delightful No-Bake Mini Banana Pudding Cheesecakes are perfect for meal prep, making your busy weeknights a breeze! You can prepare the crust and filling up to 24 hours in advance. Simply store the crust in the refrigerator while you mix the cheesecake filling, which can be kept in an airtight container to maintain its creamy texture. When you’re ready to serve, assemble the cheesecakes by layering the banana slices and spooning the filling over them. Just remember to add the banana slices shortly before serving to prevent browning, and your mini cheesecakes will taste just as delicious as if they were freshly made!
Storage Tips for No-Bake Mini Banana Pudding Cheesecakes
Fridge: Store covered in the refrigerator for up to 5 days. This keeps your No-Bake Mini Banana Pudding Cheesecakes fresh and creamy while allowing flavors to meld.
Freezer: For longer storage, freeze the cheesecakes for up to 3 months. Ensure they are wrapped tightly in plastic wrap or stored in an airtight container to avoid freezer burn.
Thawing: To enjoy frozen cheesecakes, transfer them to the fridge the night before serving. This gradual thawing will maintain their delightful texture.
Garnishing: Add banana slices and whipped topping just before serving to keep them looking fresh and prevent browning.
Expert Tips for No-Bake Mini Banana Pudding Cheesecakes
-
Room Temperature Cream Cheese: Ensure cream cheese is at room temperature to avoid lumps in your filling for the smoothest texture possible.
-
Firmly Pack the Crust: Press the crust mixture tightly into the muffin tin. A firm base prevents sogginess, ensuring stability in each cheesecake.
-
Cool to Perfection: Allow adequate chilling time—1-2 hours is ideal. For the best flavor, consider chilling overnight to enhance the banana pudding experience.
-
Fresh Garnish: Add banana slices right before serving to keep them from browning. This ensures a fresh look and taste in your No-Bake Mini Banana Pudding Cheesecakes.
-
Don’t Overmix: When folding in the whipped topping, mix gently! Overmixing can deflate the filling, making it less airy and creamy.
No-Bake Mini Banana Pudding Cheesecakes Variations
Feel free to customize these delightful cheesecakes to suit your taste buds and dietary needs!
-
Peanut Butter Twist: Add a swirl of creamy peanut butter into the cheesecake filling for a nutty flavor that pairs beautifully with banana.
-
Berry Blast: Substitute fresh strawberries or blueberries for banana slices to create a refreshing, fruity alternative that’s just as satisfying.
-
Gluten-Free Option: Replace vanilla wafers with gluten-free cookie alternatives like almond flour cookies or gluten-free graham crackers, ensuring everyone can enjoy them.
-
Sugar-Free Delight: Use sugar-free sweetened condensed milk in the filling to make your cheesecakes suitable for sugar-restricted diets without sacrificing flavor.
-
Chocolate Lovers: Swirl in some cocoa powder or chocolate syrup into the filling for a rich, chocolatey twist that complements the banana wonderfully.
-
Nutty Crunch: Sprinkle crushed nuts like walnuts or pecans on top for an added crunch that contrasts delightfully with the creamy texture.
-
Coconut Creaminess: Substitute some of the whipped topping with coconut cream for a tropical flair that will transport your taste buds to paradise.
-
Spiced Variation: Add a dash of cinnamon or nutmeg into the filling for a warm, inviting aroma and flavor that complements the banana perfectly.
For more creative twists on sweet desserts, consider trying our Banana Rice Pudding or indulge in a leisurely bite of Vanilla Chia Pudding with Cinnamon. Happy baking!
What to Serve with No-Bake Mini Banana Pudding Cheesecakes
The perfect meal experience beckons as you complement these light, creamy delights with well-chosen pairings that dance on your palate.
-
Fresh Berries: A medley of strawberries, blueberries, and raspberries adds a refreshing tartness that balances the sweetness of the cheesecakes. The colorful fruits also bring a burst of summer to your table.
-
Whipped Cream: A dollop of whipped cream on top provides an elegant finishing touch that enhances the lightness of each bite. Consider adding a sprinkle of crushed vanilla wafers for added texture.
-
Sweet Iced Tea: A chilled glass of sweet iced tea brings a Southern charm, making every bite of cheesecake feel like a sunny picnic. The slight sweetness of the tea harmonizes beautifully with the banana flavors.
-
Homemade Lemonade: The bright citrus notes of lemonade cut through the richness of the cheesecakes, adding a tangy refreshment that’s both thirst-quenching and invigorating.
-
Chocolate Drizzle: Elevate your cheesecakes with a drizzle of chocolate sauce. It adds a layer of rich flavor that creates a delightful contrast to the creamy banana filling.
-
Mini Fruit Tarts: A selection of mini fruit tarts complements the cheesecakes with their flaky crusts and vibrant fillings. These two desserts together create a colorful dessert spread that’s sure to impress guests.
-
Nutty Crust Cookies: Pair these cheesecakes with nutty cookies, such as pecan sandies or almond butter cookies. The crunchiness and nuttiness echo the textures of the cheesecake crust while bringing an extra element of flavor.
These pairings not only elevate the experience of your No-Bake Mini Banana Pudding Cheesecakes but also create a warm, inviting atmosphere for your family and friends.
No-Bake Mini Banana Pudding Cheesecakes Recipe FAQs
What type of bananas should I use for the recipe?
Absolutely! For the best flavor, you should opt for ripe bananas. Look for bananas that are slightly yellow with minimal brown spots. If the bananas are too overripe, they may develop dark spots all over, affecting the taste and texture of your cheesecakes.
How long can I store the cheesecakes in the fridge?
You can store your No-Bake Mini Banana Pudding Cheesecakes in the refrigerator for up to 5 days. Cover them tightly to keep them fresh and prevent them from absorbing any odors from other foods.
Can I freeze these cheesecakes?
Very! You can freeze your mini cheesecakes for up to 3 months. Just wrap each cheesecake individually in plastic wrap or place them in an airtight container. When you’re ready to enjoy them, transfer them to the fridge to thaw overnight. Remember to add garnishes right before serving for the best presentation.
What if my cheesecake filling isn’t smooth?
If you encounter lumps in your filling, it’s likely that your cream cheese was too cold. To avoid this, always let your cream cheese sit at room temperature for about 30 minutes before mixing. If you do end up with lumps, try to beat the filling a bit longer; avoid over-mixing. Just remember, patience is key!
Are these cheesecakes safe for kids to have?
Absolutely! These mini cheesecakes are great for kids since they are made with fresh ingredients without any raw eggs. However, if your little ones have allergies to dairy or gluten, consider using dairy-free cream cheese and gluten-free wafers, respectively. Always check ingredient labels to ensure everyone’s dietary needs are met.
How can I make these cheesecakes sugar-free?
To make your No-Bake Mini Banana Pudding Cheesecakes sugar-free, simply substitute the sweetened condensed milk with sugar-free sweetened condensed milk. Additionally, you can sweeten the cheesecake filling with your favorite sugar substitute, adjusting to your desired level of sweetness. This way, everyone can enjoy this delightful dessert!
No-Bake Mini Banana Pudding Cheesecakes for Sweet Memories
Ingredients
Equipment
Method
- In a mixing bowl, combine crushed vanilla wafers with melted butter until evenly moistened. Using a muffin tin lined with paper liners, press the mixture firmly into the bottom of each compartment to create an even base. Chill for about 15 minutes.
- Beat the cream cheese using a hand mixer on medium speed until smooth and creamy, about 2 minutes. Gradually add in the sweetened condensed milk, mashed banana, and vanilla extract; mix until fully combined and smooth. Gently fold in the whipped topping.
- Remove the muffin tin from the refrigerator. Place one banana slice atop each crust, then spoon the cheesecake filling over the banana slices. Smooth out the tops and tap the tin on the counter to eliminate air bubbles.
- Cover the muffin tin with plastic wrap and refrigerate for at least 1 to 2 hours. For a quicker set, freeze for about 30 minutes.
- Before serving, add a dollop of extra whipped topping atop each cheesecake and garnish with additional banana slices and mini vanilla wafers.
Leave a Reply