
“Spring is in the air, and with it comes a world of colorful, festive treats! As the flowers bloom and Easter approaches, nothing sparks joy quite like making these delightful 5-Ingredient No-Bake Rice Krispie Nests. Vividly reminiscent of childhood, these nests are a fantastic way to engage the kids in the kitchen while whipping up a perfectly charming dessert. The beauty of this recipe lies in its simplicity—the crunchy Rice Krispie cereal paired with sweet, gooey marshmallows creates an irresistible combination that’s both fun to make and eat. Plus, with a quick prep time and minimal ingredients, you can create these crowd-pleasers without any fuss. Ready to hop into some Easter fun? Let’s dive into making these adorable nests together!”
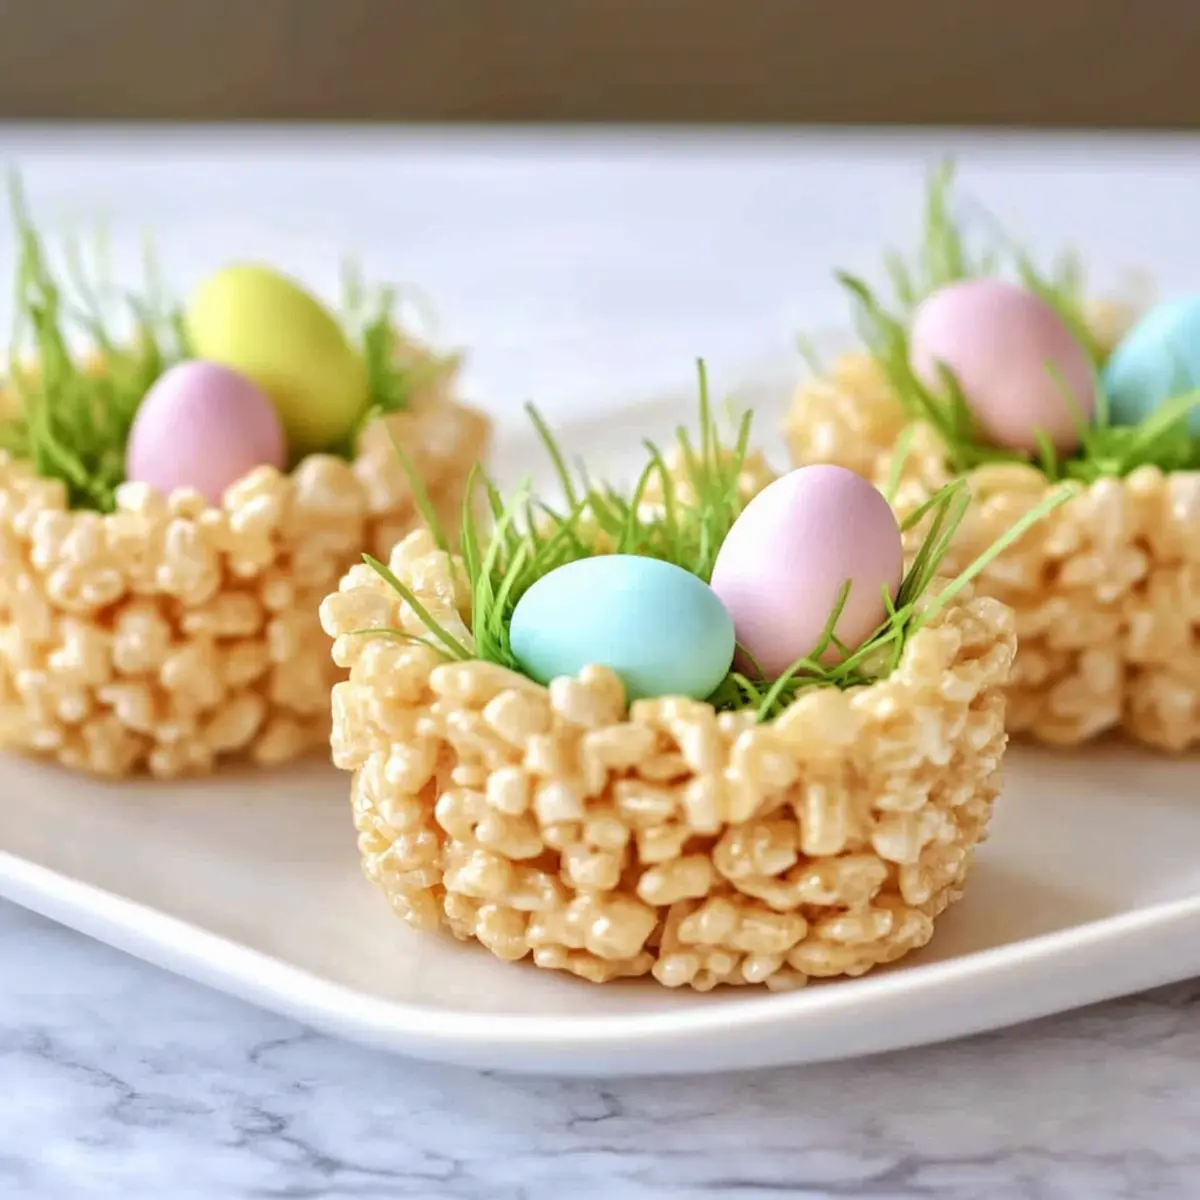
Why Are Rice Krispie Nests a Must-Try?
Adorable and festive, these Rice Krispie Nests make for a delightful addition to any Easter celebration. No-Bake convenience means you can whip them up quickly, engaging your kids in a fun kitchen project! Five Ingredients are all you need, making it an easy recipe to follow without any fuss. Customizable with your choice of toppings, these nests can be personalized for any occasion. Plus, they’re a fantastic alternative to store-bought treats, offering a fresh, homemade flavor your family will love. Make them alongside other treats like Tofu Fried Rice for a wholesome meal!
Rice Krispie Nests Ingredients
For the Nests
• Butter – Adds richness and helps to bind the ingredients; may substitute with margarine for a dairy-free option.
• Miniature Marshmallows – Provide that signature sweetness and sticky texture; use fresh for the best melting results.
• Rice Krispie Cereal – Gives structure and crunch, creating the perfect base for your nests; can substitute with any crispy rice cereal.
For the Toppings
• Edible Easter Grass – Perfect for decoration, mimicking the appearance of a nest; shredded coconut dyed green works as an excellent substitute.
• Mini Eggs – These delightful candies serve as decorative and tasty toppings; feel free to use any small candy or chocolate for a twist.
These delicious Rice Krispie Nests are a joy to create, making your Easter dessert table even more delightful!
Step‑by‑Step Instructions for Rice Krispie Nests
Step 1: Prepare Muffin Tins
Start by preheating your kitchen for lovely baking magic. Spray two muffin tins with non-stick cooking spray, ensuring each cup is well-coated to prevent sticking. This will help your Rice Krispie Nests pop out effortlessly after they set. Set the tins aside so they’re ready for the gooey mixture.
Step 2: Melt Mixture
In a large pot over medium heat, add 3 tablespoons of butter and let it melt completely. Once melted, stir in 5 cups of miniature marshmallows. Keep mixing until the marshmallows become smooth and fully melted, which typically takes about 5 minutes. The mixture should be glossy and easily flowable.
Step 3: Combine Cereal
Remove the pot from the heat and gently fold in 6 cups of Rice Krispie cereal using a spatula. Make sure every piece is coated with the marshmallow mixture for maximum flavor and crunch. This step should only take a couple of minutes to ensure a good even coverage.
Step 4: Shape Nests
Carefully scoop the sticky Rice Krispie mixture into the prepared muffin tins, filling each cup generously. Use your fingers (greased with butter for ease) to press the mixture firmly down and create an indentation in the center, mimicking the shape of a nest. Aim for all nests to be roughly even in size.
Step 5: Set and Decorate
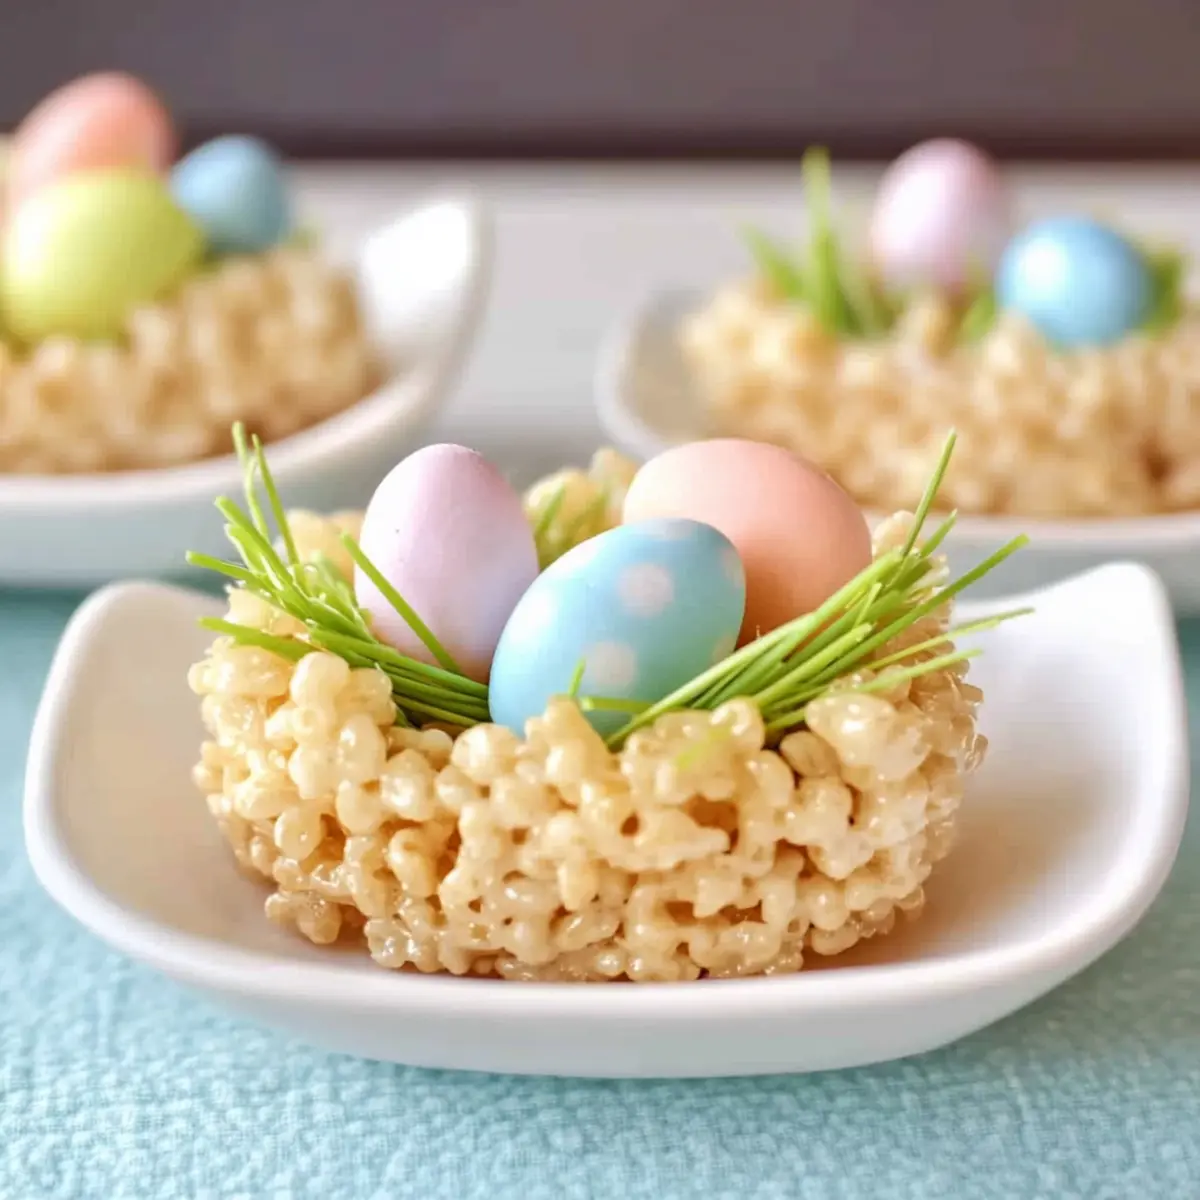
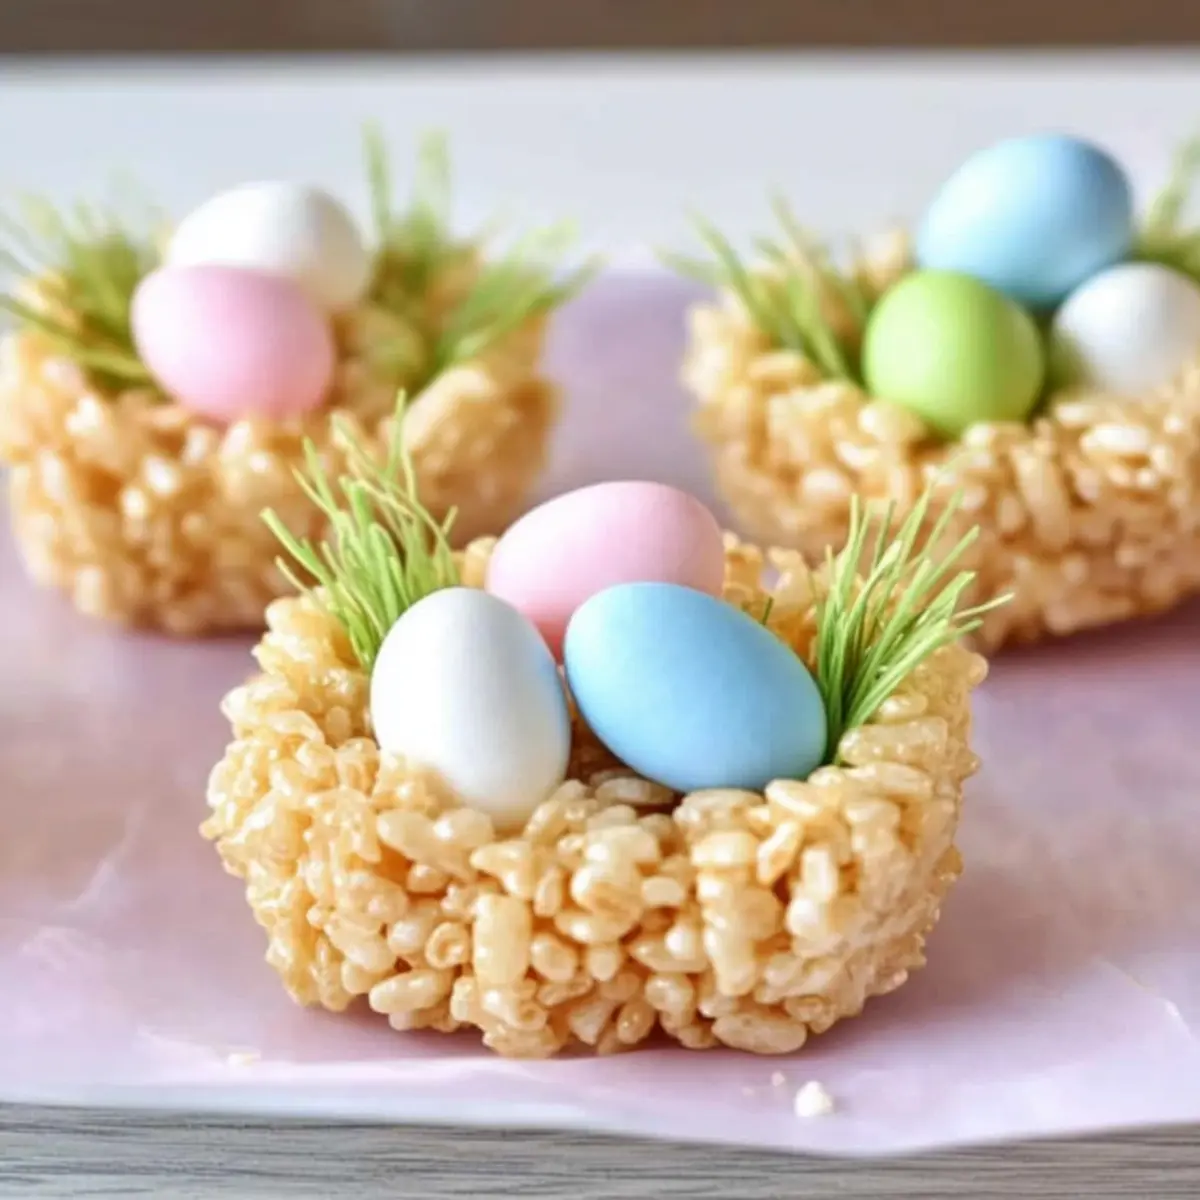
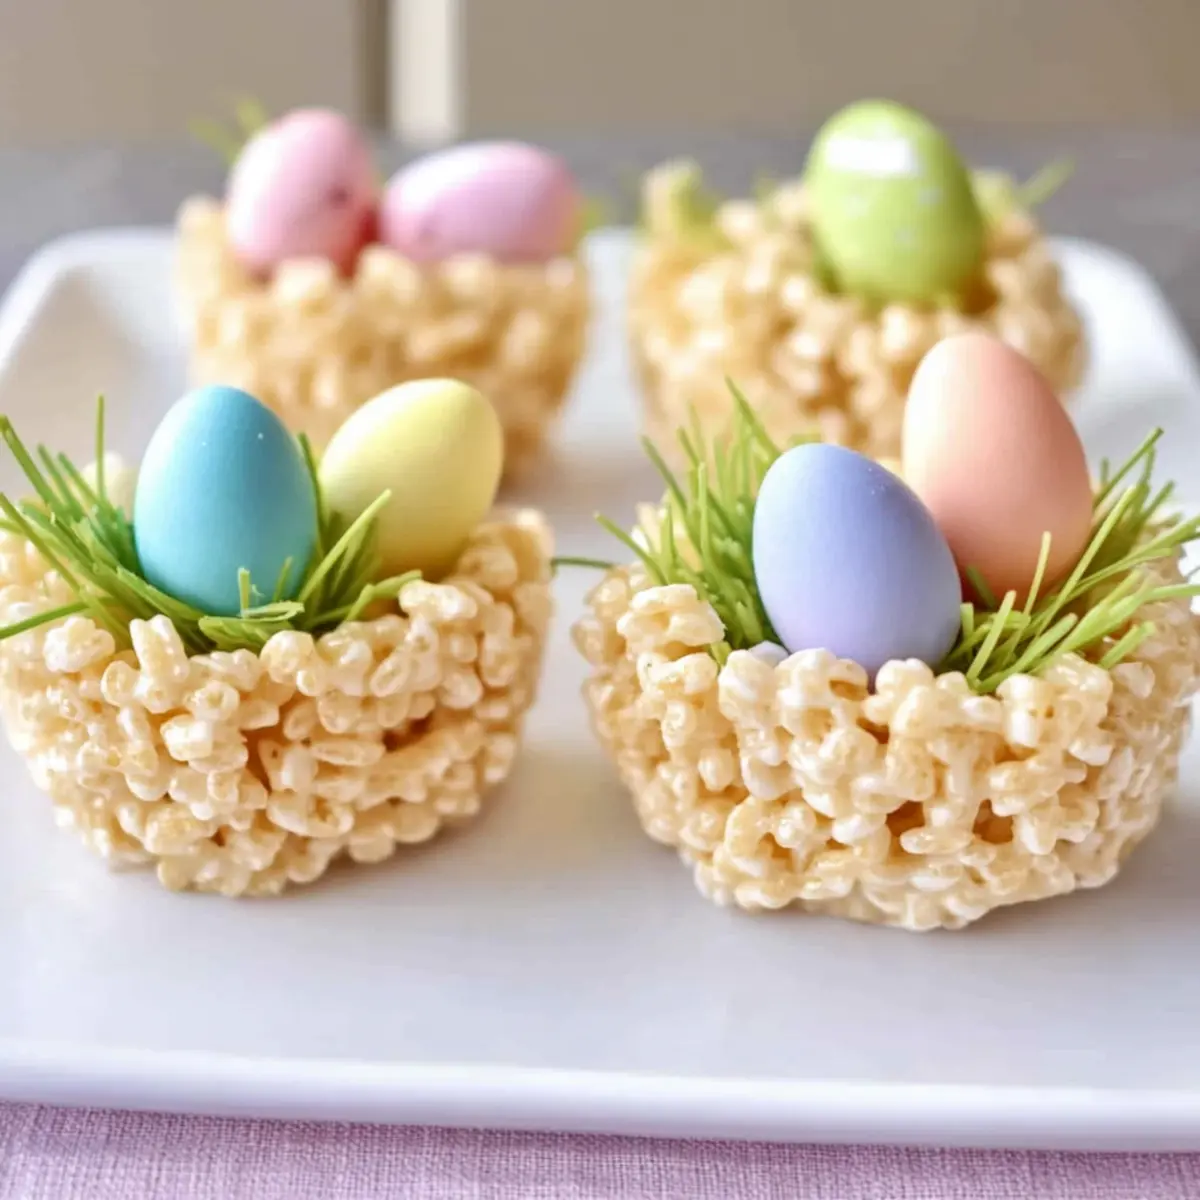
Let the nests set at room temperature for about 20 minutes or until they are firm. Once they have cooled and hardened, gently remove each nest from the muffin tin. Fill each nest with edible Easter grass and carefully place three mini eggs on top. The vibrant colors will make your Rice Krispie Nests charming and festive!
Make Ahead Options
These Rice Krispie Nests are perfect for meal prep, allowing you to enjoy quality time before the Easter festivities! You can prepare the mixture and shape the nests up to 24 hours in advance; simply store them in an airtight container at room temperature to keep them fresh and chewy. When you’re ready to serve, fill each nest with edible grass and three mini eggs just before presenting them to ensure they maintain their delightful crunch and vibrancy. This delicious make-ahead option saves you time and stress on the day of your celebration, making it easy to create sweet memories without the rush!
What to Serve with Rice Krispie Nests?
Spring is in the air, and there’s something delightful about pairing treats with the cheerful flavors of the season.
-
Fruit Salad: A mix of fresh, seasonal fruits adds a refreshing contrast to the sweetness of the nests. Opt for strawberries, blueberries, and kiwi for a colorful, vibrant presentation.
-
Chocolate Milk: This classic pairing brings a nostalgic touch. Creamy chocolate milk complements the sweetness of the nests, making it an irresistible treat for kids.
-
Carrot Sticks with Hummus: For a healthy crunch, these pair beautifully with the sugary nests. The light, earthy flavors of the carrots balance the sweetness perfectly.
-
Lemonade: Refreshing and zesty, a glass of lemonade adds a cheerful flair. Its tangy flavor cuts through the sweetness, creating a delightful contrast.
-
Vanilla Ice Cream: Serving the nests alongside a scoop of vanilla ice cream creates a deliciously creamy experience. The cold ice cream melts slightly over the nests, enhancing the flavors.
-
Bunny-Shaped Sandwiches: Serve some playful sandwiches—perhaps with cheese or nut butter—cut into cute bunny shapes. They’re fun and align beautifully with the Easter theme.
Whichever pairings you choose, these Rice Krispie Nests will shine as star of your dessert table!
Expert Tips for Rice Krispie Nests
-
Grease Your Hands: When shaping the nests, coat your hands in butter to easily manage the sticky mixture without getting it all over.
-
Work Quickly: The marshmallow mixture hardens fast. Make sure to shape and fill the nests promptly after mixing to avoid difficulty.
-
Use Fresh Ingredients: For the best texture and flavor, always use fresh miniature marshmallows and rice cereal; stale ingredients can ruin the final result.
-
Customize Toppings: Get creative! Although mini eggs are traditional, try different candies or sprinkles to match the occasion or preferences of your loved ones.
-
Storage Tips: Store your Rice Krispie Nests in an airtight container at room temperature. They stay fresh for up to four days—perfect for enjoying throughout the holiday!
How to Store and Freeze Rice Krispie Nests
Room Temperature: Keep your Rice Krispie Nests in an airtight container at room temperature for up to four days. They’ll maintain their delightful crunch and sweetness.
Fridge: If you prefer a cooler treat, store the nests in the fridge—this will keep them fresh but may slightly alter the texture.
Freezer: It’s not recommended to freeze Rice Krispie Nests, as freezing can affect the marshmallow’s texture and cause them to become hard.
Reheating: If they become a bit stiff, let your Rice Krispie Nests sit at room temperature for a few minutes to soften before enjoying the festive treat!
Rice Krispie Nests: Fun Twists to Try!
Unlock your creativity with these delightful variations to personalize your Rice Krispie Nests!
- Dairy-Free: Swap butter with margarine and use dairy-free chocolate eggs for a deliciously inclusive treat.
- Chocolate Delight: Melt in some chocolate chips or white chocolate for extra sweetness; it adds a lovely touch to your nests. The kids will love that little twist!
- Fruity Flavor: Mix in some chopped dried fruit like apricots or cranberries for a chewy surprise in every bite. This adds a burst of color and flavor that enhances the experience.
- Nutty Crunch: Incorporate chopped nuts, like almonds or pecans, for an added crunch and nutty flavor that complements the sweetness.
- Rainbow Sprinkles: Top your nests with colorful sprinkles or edible glitter for a festive look that’ll excite children and adults alike. Perfect for birthdays or just a fun family treat!
- S’mores Nests: Add crushed graham crackers and mini marshmallows to mimic s’mores flavors; top with a chocolate drizzle for extra indulgence.
- Spicy Twist: For a kick, sprinkle some cinnamon or nutmeg into the melted marshmallow mixture; these warm spices pair beautifully with the sweet flavors.
- Matcha Magic: Use matcha powder in the mixture or as a topping for a unique color and earthy flavor that’s sure to spark interest. Pair them with other treats like Japanese Banana Rice for an unusual twist!
Feel free to explore and combine these ideas—there’s no limit to the delicious creations you can make with these Rice Krispie Nests!
Rice Krispie Nests Recipe FAQs
What’s the best way to select marshmallows for this recipe?
Absolutely! For the best results, always choose fresh miniature marshmallows. Stale marshmallows may not melt properly, resulting in a less gooey and sticky mixture, which is crucial for binding the Rice Krispie Nests together.
How should I store the Rice Krispie Nests?
I recommend keeping your Rice Krispie Nests in an airtight container at room temperature. They will stay fresh for about four days, retaining their delightful crunch. If you prefer a cooler treat, you can also store them in the fridge, but be aware that this may slightly alter the texture.
Can I freeze Rice Krispie Nests?
Unfortunately, freezing Rice Krispie Nests is not recommended. The texture enhances the delightful chewiness of the marshmallows, and freezing can harden them, resulting in a less enjoyable treat. It’s best to enjoy them fresh!
What if my mixture is too sticky to handle?
Very! If you find that the mixture is too sticky, grease your hands with a bit of butter to make it easier to shape the nests. This little trick helps to manage the gooeyness without making a mess—making the process much more enjoyable!
Are there any common ingredient substitutions?
Of course! If you’re looking for alternatives, you can substitute butter with margarine for a dairy-free option. For the decorations, edible Easter grass can be swapped with shredded coconut dyed green for a lovely nest-like look. Additionally, feel free to use any small candy or chocolate instead of mini eggs to personalize your nests.
Can I adjust the recipe for dietary restrictions?
Yes, absolutely! You can make these Rice Krispie Nests to suit various dietary needs. Use margarine instead of butter for a dairy-free version, and choose gluten-free Rice Krispie cereal if needed. This way, everyone can enjoy this festive treat, making them perfect for inclusive Easter celebrations.
Rice Krispie Nests: Sweet No-Bake Easter Treats to Make Together
Ingredients
Equipment
Method
- Prepare Muffin Tins: Spray two muffin tins with non-stick cooking spray and set aside.
- Melt Mixture: In a large pot, melt 3 tablespoons of butter, then stir in 5 cups of miniature marshmallows until smooth and glossy.
- Combine Cereal: Remove pot from heat, gently fold in 6 cups of Rice Krispie cereal until coated.
- Shape Nests: Scoop the mixture into muffin tins, press down to create an indentation for the nests.
- Set and Decorate: Let nests set for 20 minutes, then fill with edible grass and top with mini eggs.
Leave a Reply