
As I stood in my kitchen, the aroma of baking cookies wafted through the air, inviting me to reminisce about sweet moments shared with loved ones. Today, I’m thrilled to share my Pink Velvet Cookie recipe—a delightful and visually stunning addition perfect for Valentine’s Day or any celebration. These cookies are an absolute crowd-pleaser, showcasing a cheerful pink hue combined with a soft, chewy texture that simply melts in your mouth. Not only are they beautiful to look at, but they’re also surprisingly easy to whip up, turning any ordinary day into a festive occasion. Your family and friends will be enchanted by every vibrant bite. Are you ready to turn your kitchen into a little haven of sweetness? Let’s dive into this fun and delicious adventure!
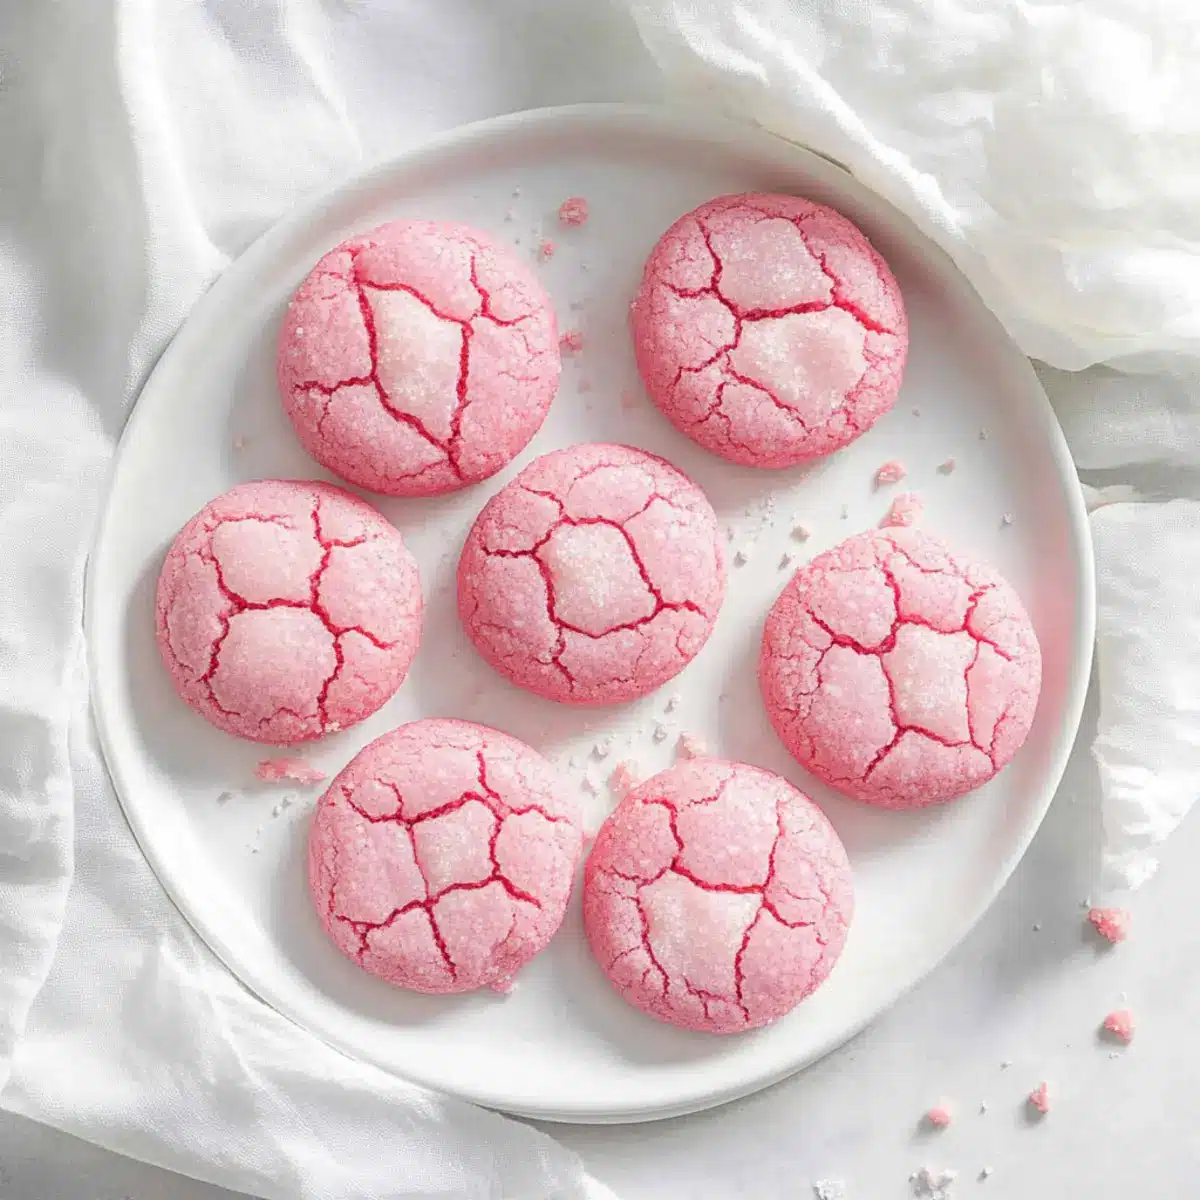
Why Are Pink Velvet Cookies So Special?
Visually Stunning: The beautiful pink hue of these cookies creates an eye-catching dessert that’s perfect for Valentine’s Day celebrations or any festive gathering.
Delightfully Chewy: Each bite offers a tender, melt-in-your-mouth experience that will leave your taste buds asking for more.
Simple to Make: With easy-to-follow steps, even novice bakers can impress friends and family with these delicious treats, reminiscent of classic sugar cookies.
Versatile Flavor: Feel free to add a personal touch by mixing in white chocolate chips or applying a rich cream cheese frosting for an even more decadent indulgence.
Perfect for Any Occasion: Whether it’s a baby shower or a sweet surprise for your loved ones, these cookies fit any celebration beautifully. Check out my favorite Blueberry Cheesecake Cookie and Loaded Cookie Brittle for more delightful dessert ideas!
Pink Velvet Cookie Ingredients
For the Cookie Dough
• Flour – A key structural ingredient; can be substituted with gluten-free flour for a delightful gluten-free version.
• Sugar – This brings sweetness; feel free to swap with brown sugar for deeper flavor notes.
• Butter – The heart of the cookie, adding richness; opt for unsalted butter for the best outcome.
• Eggs – Essential binding agent; ensure they are at room temperature for easier mixing.
• Baking powder – Your leavening star; check the expiration date to guarantee the best rise.
• Vanilla extract – A flavor booster; using pure vanilla extract amplifies the cookie’s deliciousness.
• Red food coloring – This brings that signature pink hue; adjust the quantity for your desired color intensity.
Step‑by‑Step Instructions for Pink Velvet Cookie
Step 1: Preheat the Oven
Begin by preheating your oven to 350°F (175°C). This important first step ensures your Pink Velvet Cookies will bake evenly and efficiently. While the oven warms up, gather your baking sheets and line them with parchment paper for easy removal and cleanup later.
Step 2: Cream the Butter and Sugar
In a large mixing bowl, combine softened unsalted butter and granulated sugar. Using an electric mixer, cream them together on medium speed for about 3-5 minutes until the mixture is light in color and fluffy. This step creates a lovely texture for your cookies, so don’t rush—watch for a pale, airy consistency.
Step 3: Incorporate the Eggs and Vanilla
Carefully add in your room temperature eggs, one at a time, mixing well after each addition to ensure they are fully incorporated. Next, pour in the pure vanilla extract and continue to blend on low speed, just until everything is nicely combined. The mixture should be smooth and creamy, building the foundation for your delicious Pink Velvet Cookies.
Step 4: Combine the Dry Ingredients
In a separate bowl, whisk together the all-purpose flour and baking powder until well mixed. Gradually add this dry blend into the wet mixture, using a spatula to fold the ingredients together gently. Be mindful not to overmix, as this can lead to tougher cookies; you’re looking for a soft dough just coming together.
Step 5: Add the Food Coloring
Once your dough is combined, it’s time to give it that signature pink hue. Add red food coloring one drop at a time, mixing thoroughly until you achieve your desired shade. The dough should be vibrant and visually appealing, reminiscent of the delightful Pink Velvet Cookies everyone will adore.
Step 6: Scoop the Dough
Using a cookie scoop or a tablespoon, portion out the dough onto your prepared baking sheets, leaving enough space (about 2 inches apart) between each scoop. This spacing allows the Pink Velvet Cookies to spread beautifully while baking, creating that lovely soft texture you’re aiming for.
Step 7: Bake the Cookies
Carefully place the baking sheets in your preheated oven and bake for 10-12 minutes. You’ll know the cookies are done when the edges are set and the centers appear slightly soft. This is key to achieving the chewy interior that makes Pink Velvet Cookies so irresistible.
Step 8: Cool the Cookies
Once baked, remove the trays from the oven and allow the cookies to cool on the baking sheets for about 5 minutes. This resting time helps them firm up slightly, ensuring they maintain their delightful chewiness. After a brief wait, transfer the cookies to a wire rack to cool completely, ready for enjoyment!
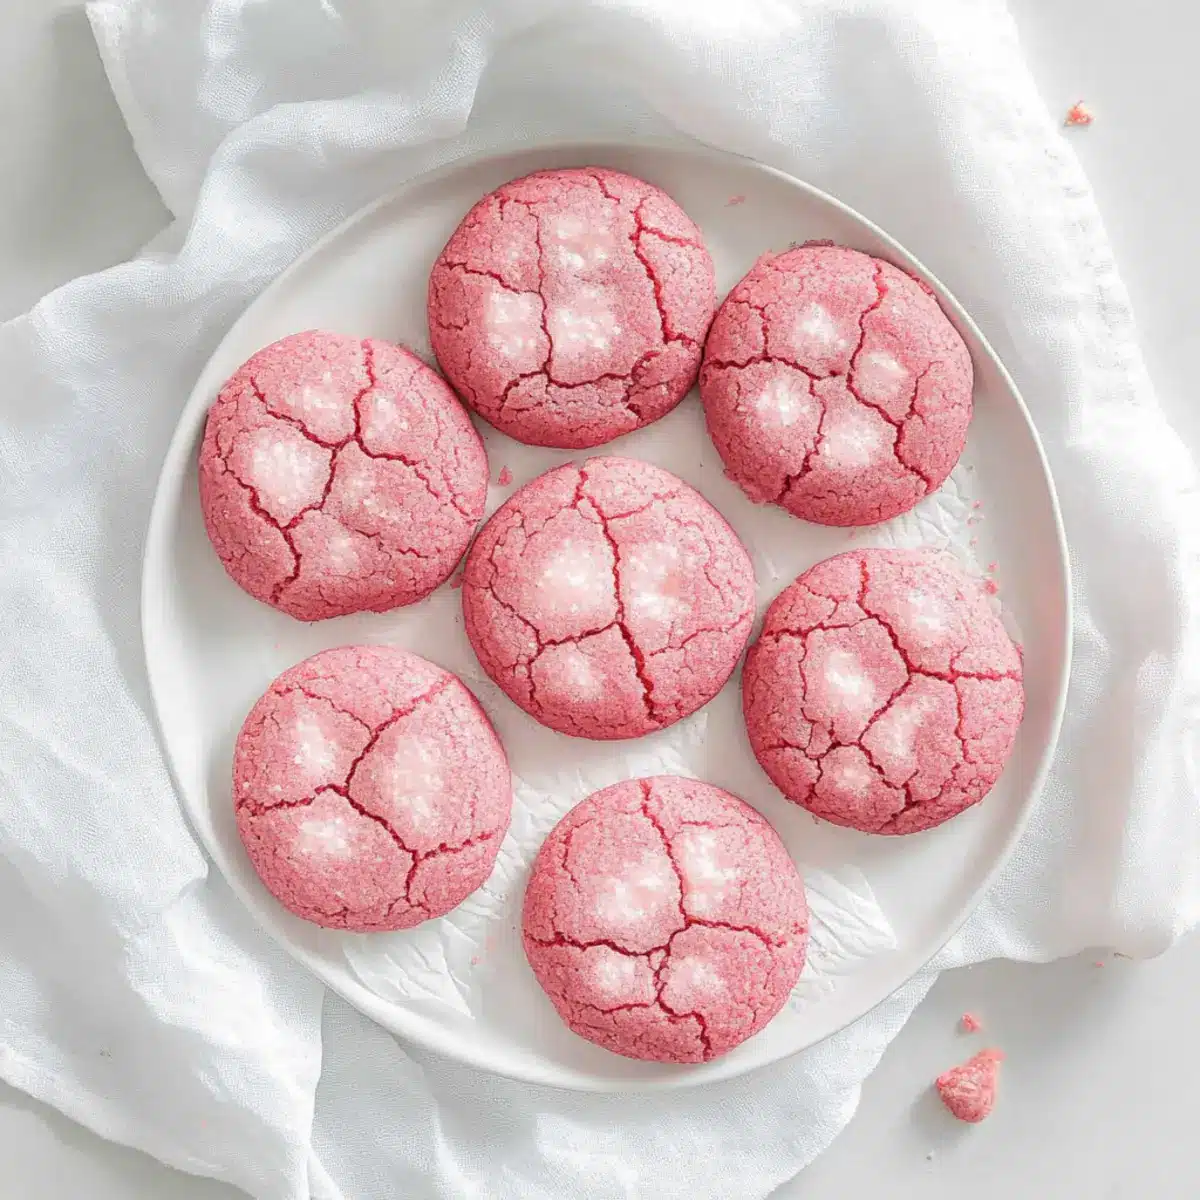
How to Store and Freeze Pink Velvet Cookies
Airtight Container: Store cooled cookies in an airtight container at room temperature for up to 1 week. This keeps them fresh and chewy, ready for indulgence!
Freezer: For longer storage, freeze your Pink Velvet Cookies in a single layer on a baking sheet. Once frozen solid, transfer to a zip-top bag or airtight container for up to 3 months.
Thawing: To enjoy frozen cookies, simply thaw them at room temperature for about 30 minutes before serving. You’ll have soft, delicious cookies ready to delight friends and family!
Reheating: If desired, microwave individual cookies for about 10-15 seconds to bring back that fresh-out-of-the-oven warmth and softness.
Expert Tips for Pink Velvet Cookies
-
Room Temperature Butter: Make sure your butter is softened at room temperature. This helps create a light, fluffy texture in your cookies when creamed with sugar.
-
Avoid Overmixing: Once you add the dry ingredients, mix gently. Overmixing can lead to a tougher texture, stealing the soft chewiness from your Pink Velvet Cookies.
-
Perfect Baking Time: Keep an eye on your cookies in the oven. They should be slightly soft in the center after baking; this ensures the perfect chewy consistency when cooled.
-
Food Coloring Precision: Add red food coloring gradually, checking the shade as you go. This allows you to control the intensity and achieve that stunning pink hue effortlessly.
-
Cooling is Key: Let your cookies rest on the baking sheet for a few minutes before transferring them to a wire rack. This step helps maintain their chewy interiors while firming up slightly.
Pink Velvet Cookie Variations
Explore the world of customization with these delightful twists that will elevate your Pink Velvet Cookies!
-
Gluten-Free: Substitute all-purpose flour with a gluten-free blend to ensure everyone can enjoy these sweet treats without compromising on flavor.
-
Brown Sugar Bliss: Swap granulated sugar for brown sugar to add a rich depth of flavor that enhances the overall taste and moisture of your cookies.
-
Cream Cheese Frosting: Elevate your pink cookies by topping them with a tangy cream cheese frosting. This adds a decadent finish perfect for any celebration.
-
Chocolate Chip Twist: Mix in white chocolate chips for a delightful contrast that adds sweet bursts within each chewy bite.
-
Citrus Zing: Add a teaspoon of lemon zest to the dough for a bright, refreshing note that balances the sweetness beautifully.
-
Berry Delight: Incorporate dried or freeze-dried raspberries instead of food coloring to impart a natural pink hue and a fruity flavor.
-
Nutty Crunch: Sprinkle in chopped nuts, such as pecans or almonds, for an added layer of texture that beautifully complements the soft cookies.
-
Spicy Kick: Add a pinch of cinnamon or nutmeg for a hint of warmth that takes your cookies to a cozy new level.
Whether it’s for Valentine’s Day or just because, these variations allow you to tailor your Pink Velvet Cookies to suit any occasion. For more unique cookie ideas, don’t miss checking out my mouthwatering Sugar Cookie Cheesecake or the delightful Matcha Butter Cookies for additional inspiration!
What to Serve with Pink Velvet Cookies
Delight in creating a beautiful dessert spread that elevates your pink velvet cookies to star status at any gathering.
-
Glass of Milk: The classic pairing that enhances the sweetness of the cookies, creating a nostalgic experience with every bite.
-
Fruity Yogurt Parfait: Layer creamy yogurt with fresh berries—this light, tangy contrast beautifully balances the sugary cookies and adds a refreshing element to your dessert table.
-
Chocolate-Covered Strawberries: A romantic touch, these bite-sized treats work remarkably well with the pink hue of the cookies, creating a delightful combination of flavors that’ll woo your guests.
-
Whipped Cream and Berries: Serve your cookies alongside a dollop of whipped cream topped with mixed berries, adding a luscious creaminess to every delightful bite.
-
Cream Cheese Frosting: Elevate your cookies with a swirl of cream cheese frosting for an irresistible indulgence that enhances the flavor while offering a contrasting texture.
-
Sparkling Lemonade: This refreshing, bubbly drink brightens up your dessert spread, bringing a zesty sweetness that complements the tender richness of pink velvet cookies.
-
Mini Fruit Tarts: The vibrant fruits nestled in crisp tart shells add color, flavor, and a fun bite-sized element that works wonderfully alongside your sugary delights.
-
Chocolate Mousse: Rich, velvety chocolate mousse pairs aesthetically and flavor-wise, creating a luxurious experience that guests will love digging into after their cookies.
-
Rose-Flavored Tea: Complement the sweet aroma of pink velvet cookies with a warm cup of aromatic rose tea, perfect for a cozy gathering that feels both elegant and heartwarming.
Make Ahead Options
These Pink Velvet Cookies are perfect for busy schedules and meal prepping! You can prepare the dough up to 24 hours in advance—just cover it tightly in plastic wrap and refrigerate. When you’re ready to bake, simply scoop the chilled dough onto a baking sheet and let it sit at room temperature for about 10 minutes before baking to ensure even cooking. Additionally, you can bake the cookies and store them in an airtight container for up to 3 days at room temperature or freeze for up to 3 months. Just remind yourself to thaw them at room temperature before serving; they’ll taste just as delightful and fresh as if they were baked that day!
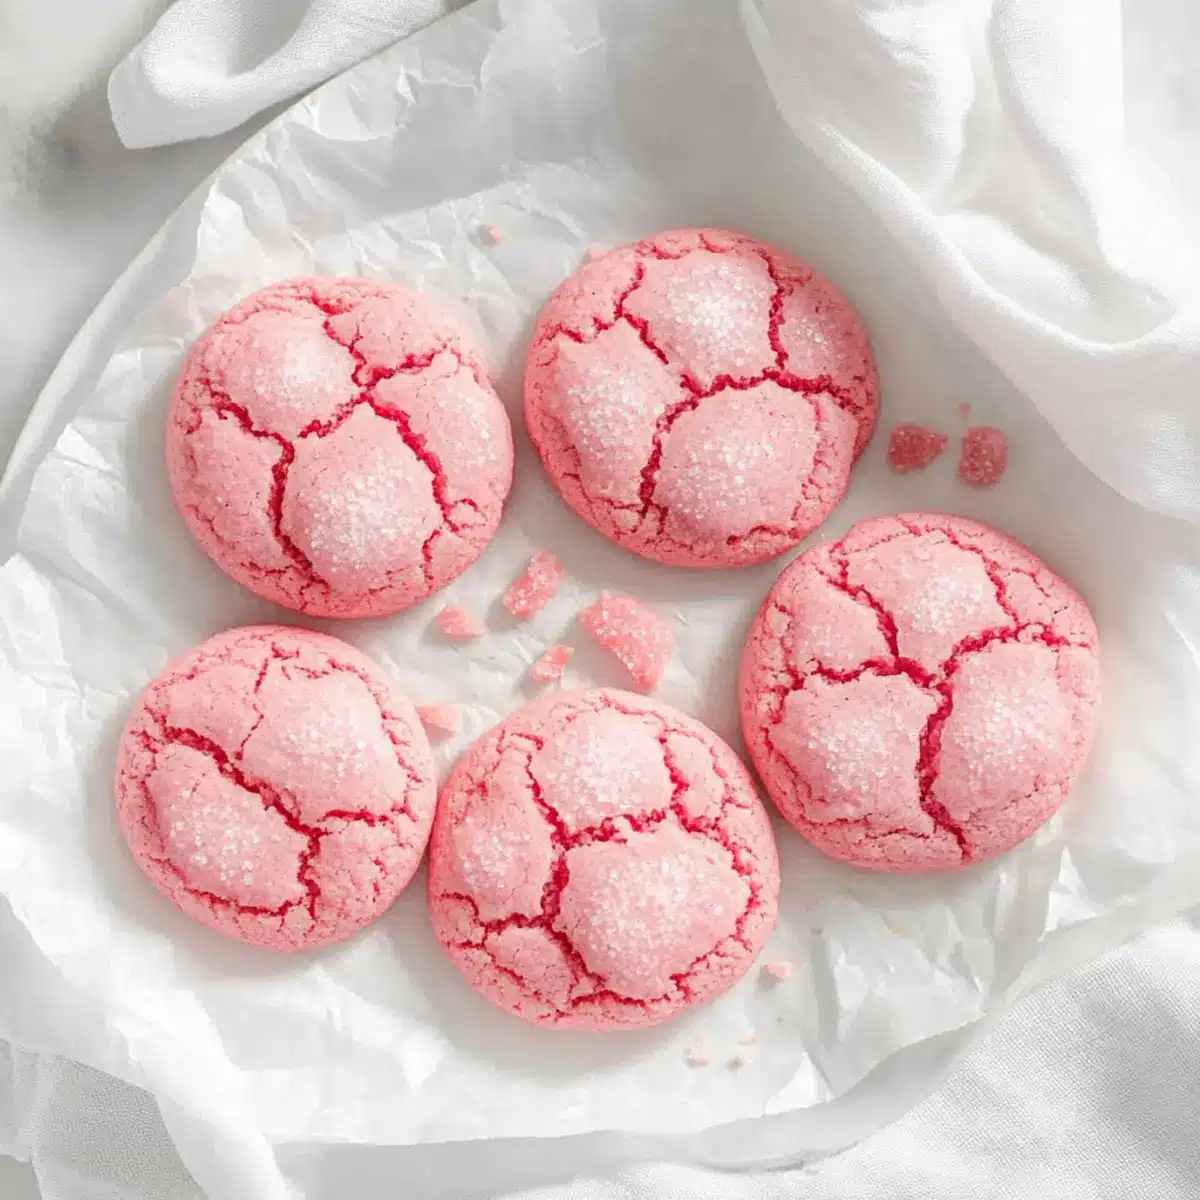
Pink Velvet Cookie Recipe FAQs
What should I look for in selecting ripe or fresh ingredients?
Absolutely! When selecting your ingredients, particularly for the Pink Velvet Cookies, always choose fresh, unblemished items. For the flour, make sure it’s free from clumps and any off-odors. The butter should be soft but not melted—check for a creamy, pale color. Eggs are best when they’re at room temperature, so let them sit out for about 30 minutes before using. Finally, for the red food coloring, opt for gel-based colors, which provide a richer hue without adding too much liquid to your dough.
How should I store these cookies and how long do they last?
You can keep your delightful Pink Velvet Cookies in an airtight container at room temperature for up to 1 week. Make sure they are completely cooled before storage to prevent moisture build-up, which could make them soft. If you’d like to keep them for longer, freezing is a fantastic option! Just place them in a single layer on a baking sheet until solid, then transfer to a zip-top bag or airtight container, where they’ll stay fresh for up to 3 months.
Can I freeze Pink Velvet Cookies, and if so, how?
Yes, you can absolutely freeze your Pink Velvet Cookies! Simply let them cool completely, then arrange them in a single layer on a baking sheet and place them in the freezer until they’re solid. Once frozen, transfer the cookies into a zip-top bag or airtight container, separating layers with parchment paper to prevent sticking. When you’re ready to enjoy, thaw them at room temperature for about 30 minutes. If you like them warm, pop them in the microwave for about 10-15 seconds for that fresh-out-of-the-oven taste!
What if my cookie dough is too sticky?
If you find your Pink Velvet Cookie dough is too sticky to scoop, don’t worry! This can happen sometimes, especially if the butter wasn’t soft enough or it’s particularly humid in your kitchen. A quick fix is to chill the dough in the refrigerator for about 30 minutes. This will help it firm up and make it easier to handle. Remember, you can also dust your hands or the scooping tool with a little flour to help prevent sticking while you shape your cookies.
Are there any dietary restrictions I should be aware of?
Very! When preparing these cookies, keep in mind that they contain common allergens like gluten (from the flour) and dairy (from the butter). To accommodate gluten-free diets, you can easily substitute regular flour with a gluten-free blend, ensuring it’s suitable for baking. Additionally, if eggs are a concern, you can experiment with flax eggs (1 tablespoon of ground flaxseed mixed with 2.5 tablespoons of water) as a substitute for each egg. Always check labels on your colorings and extracts to ensure they meet any specific dietary needs.
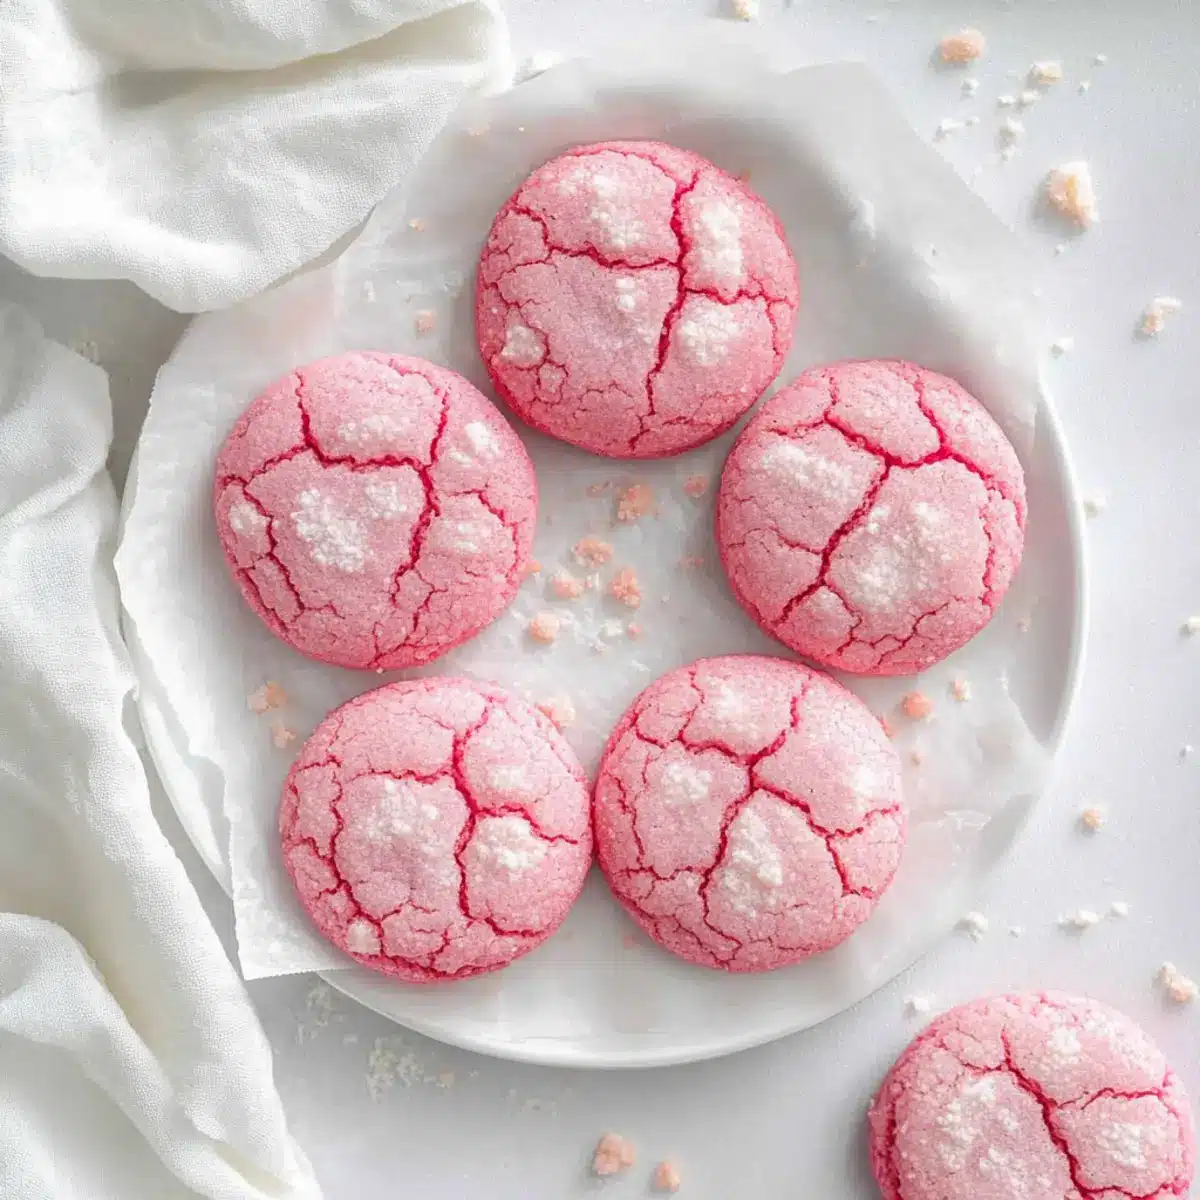
Deliciously Soft Pink Velvet Cookie Recipe for Sweet Occasions
Ingredients
Equipment
Method
- Preheat your oven to 350°F (175°C) and line baking sheets with parchment paper.
- In a large mixing bowl, cream together softened unsalted butter and granulated sugar for 3-5 minutes until fluffy.
- Add room temperature eggs one at a time, mixing well after each addition, and then add pure vanilla extract.
- Whisk together the all-purpose flour and baking powder in a separate bowl, then gradually add to the wet mixture.
- Add red food coloring, one drop at a time, until you achieve your desired pink hue.
- Scoop out dough onto prepared baking sheets, leaving enough space between each cookie.
- Bake for 10-12 minutes until edges are set and centers are slightly soft.
- Cool on baking sheets for 5 minutes before transferring to a wire rack.
Leave a Reply