
As I stood in my kitchen, the aroma of vanilla sponge wafting through the air, I couldn’t help but feel transported back to childhood afternoons spent in my grandmother’s embrace. One indulgence that lingered in my memory was the delightful Old-Fashioned Pink Jelly Cakes. This classic Australian treat features a fluffy vanilla cake enveloped in sweet strawberry jelly and coated with desiccated coconut, all while being blissfully filled with rich whipped cream. Not only are these gems easy to whip up, making them perfect for spontaneous gatherings, but they also pack a nostalgic punch that warms the heart. Whether you’re planning a cozy afternoon tea or a cheerful celebration, these charming little cakes are sure to impress your loved ones. So, are you ready to recreate this cherished piece of Australian baking? Let’s dive into the recipe!
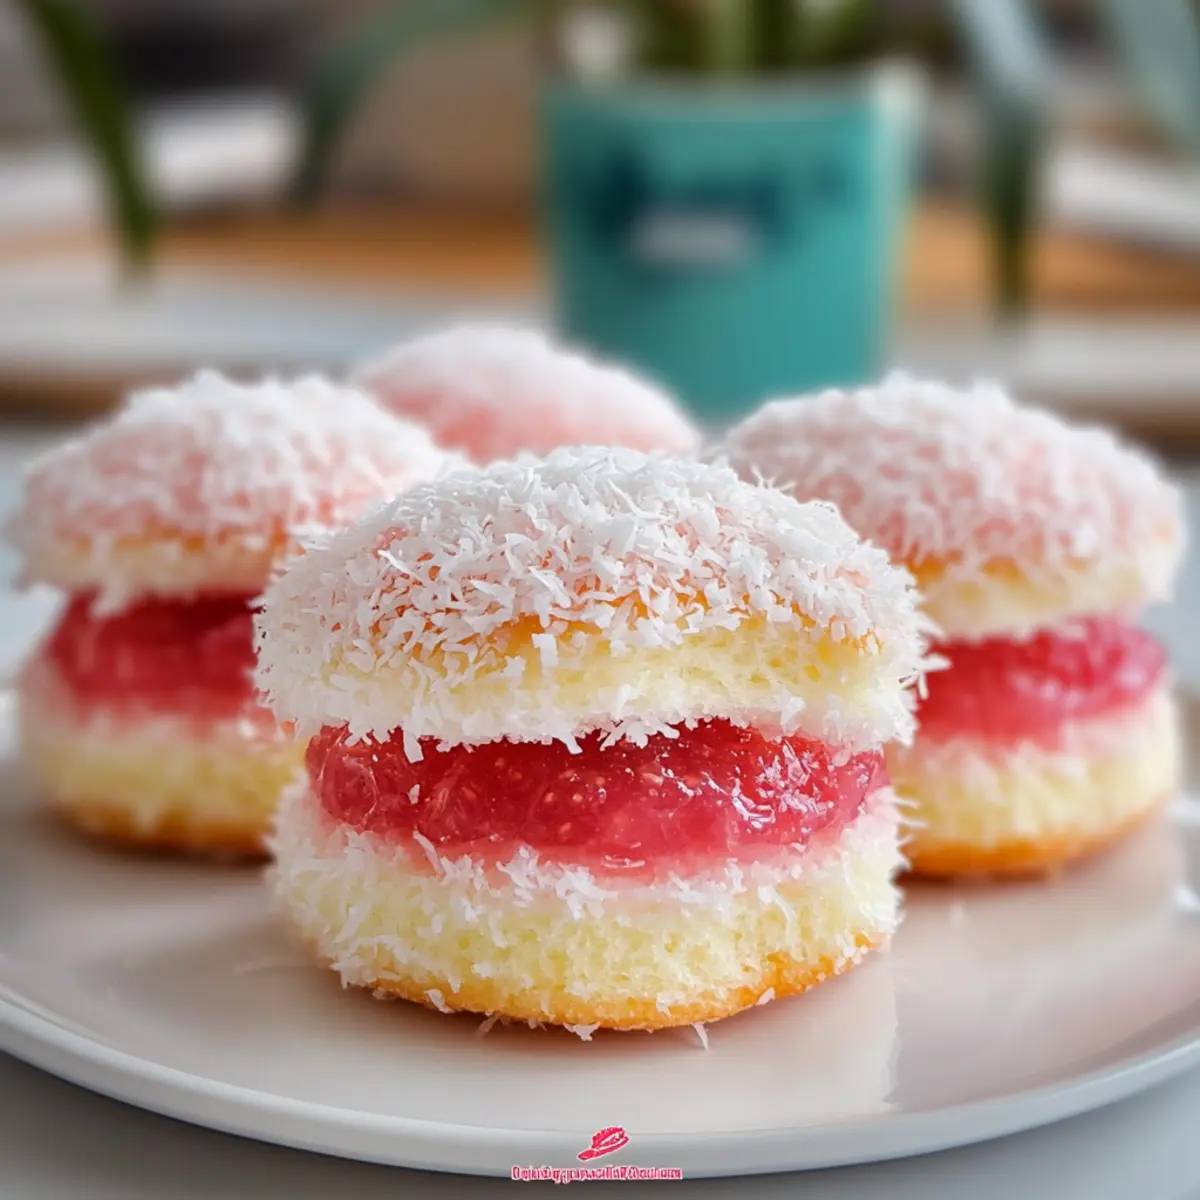
Why are Old-Fashioned Pink Jelly Cakes special?
Nostalgic Delight: These cakes remind us of simpler times and cherished family gatherings.
Easy to Make: With just a few ingredients, you can master this delightful recipe.
Versatile Flavors: Feel free to swap the strawberry jelly for raspberry, orange, or passionfruit for a unique twist.
Perfect for Sharing: Ideal for parties, they’ll impress guests and bring smiles to everyone.
Light and Luscious: They’re not just sweet but also light in texture, perfect for satisfying your cravings without being overly indulgent.
Transport yourself back to your childhood with each bite of these Old-Fashioned Pink Jelly Cakes, and if you’re in the mood to explore more classic treats, check out these Sherlock Holmes Cakes and Ginger Honey Cakes.
Old-Fashioned Pink Jelly Cakes Ingredients
Get ready to create this delightful treat!
For the Sponge Cake
- Vanilla Sponge Cake – Provides the structure and base for the cakes; use a light hand when mixing to ensure fluffiness.
For the Jelly Coating
- Strawberry Jelly – Adds sweetness and a fruity flavor that complements the sponge; alternatives include raspberry, orange, or passionfruit jelly.
For the Coating
- Desiccated Coconut – Coats the cakes, adding texture and a subtle flavor; unsweetened coconut can be used for less sweetness.
For the Filling
- Whipped Cream – Filling that adds moisture and richness; for a lighter version, you may skip this or use whipped coconut cream.
Step‑by‑Step Instructions for Old-Fashioned Pink Jelly Cakes
Step 1: Prepare the Sponge
Preheat your oven to 180°C (350°F) and grease a square baking tin. In a large mixing bowl, combine the ingredients for the vanilla sponge, using a gentle hand to mix until just combined. Pour the batter into your prepared tin and bake for around 18 minutes, or until the top is golden and a toothpick comes out clean.
Step 2: Cool the Cakes
Once baked, remove the sponge from the oven and allow it to cool in the tin for about 10 minutes. Gently transfer the sponge onto a wire rack to cool completely. This will ensure that the texture remains light and fluffy for the Old-Fashioned Pink Jelly Cakes as you start assembling.
Step 3: Cut the Sponge
When the sponge has cooled, using a sharp knife, slice it into even squares, about 5cm x 5cm each. This uniformity will make it easier to assemble your cakes. Take a moment to admire the fluffy layers before you move on to the jelly coating; it’s the foundation of these charming treats.
Step 4: Dip in Jelly
Prepare your strawberry jelly according to the package instructions, allowing it to cool until it reaches a syrupy consistency. Dip each sponge square into the jelly, making sure every side is well coated. This step is crucial for that classic look and flavor of Old-Fashioned Pink Jelly Cakes.
Step 5: Coat in Coconut
Let the excess jelly drip off, then roll each jelly-coated sponge square in desiccated coconut until they are completely covered. The coconut adds a delightful texture and flavor, enhancing the sweetness of the jelly. Place the coated cakes on a plate and get ready for the filling.
Step 6: Assemble the Cakes
Take two jelly-coated sponge squares and spread a generous layer of whipped cream between them, creating a sandwich. Press down lightly to allow the filling to adhere to the sponge. This step is where the richness of the whipped cream complements the sweetness of the jelly in the Old-Fashioned Pink Jelly Cakes.
Step 7: Chill
Refrigerate the assembled cakes for at least 30 minutes to allow the jelly to set properly. This chilling time not only makes for easier handling but also helps the flavors meld together beautifully. As you wait, you can relish the lovely aroma wafting from your kitchen, a sweet anticipation indeed!
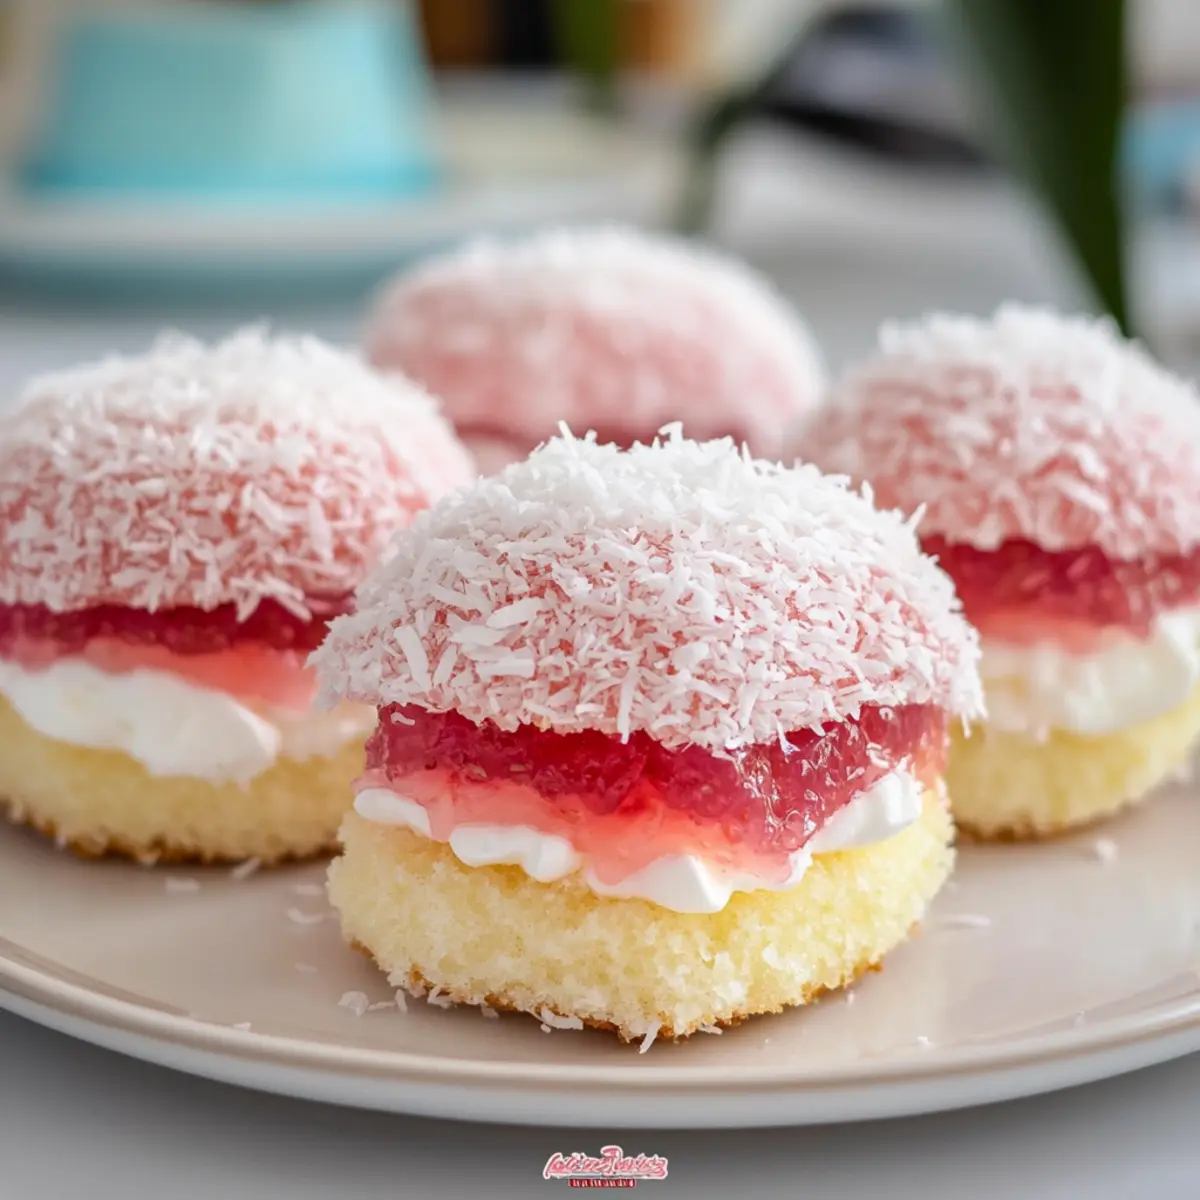
Make Ahead Options
These Old-Fashioned Pink Jelly Cakes are a fantastic option for meal prep! You can prepare the vanilla sponge cake up to 24 hours in advance by wrapping it tightly in plastic wrap and storing it in the refrigerator to maintain its fluffiness. The sponge can be sliced, dipped in jelly, and coated in coconut up to 3 days ahead; just keep them in an airtight container to ensure freshness. Assemble the cakes only a few hours before serving to prevent the sponge from becoming soggy. When you’re ready to enjoy, simply layer whipped cream between the jelly-coated pieces and refrigerate for at least 30 minutes for optimal flavor melding—providing you with delightful, homemade treats with minimal last-minute effort!
What to Serve with Old-Fashioned Pink Jelly Cakes
Elevate your delightful treat with perfect pairings that will make every bite burst with flavor!
- Fresh Berries: A medley of strawberries, raspberries, and blueberries balances the sweetness, adding a refreshing touch to each bite.
- Creamy Vanilla Ice Cream: The rich, cold ice cream contrasts beautifully with the light sponge, providing a luxurious dimension to your dessert.
- Sparkling Lemonade: A zesty, fizzy drink brings brightness to the table, cutting through the sweetness and enhancing the nostalgic feel.
- Chai Tea: The warm spices of chai create a cozy, comforting atmosphere that complements the richness of your jelly cakes.
- Whipped Coconut Cream: For those who prefer a lighter touch, this tropical twist adds a creamy, dairy-free option to accompany your cakes.
Serve your Old-Fashioned Pink Jelly Cakes with a plate of fresh fruits or your favorite beverages to bring joy and laughter to your gathering! Each addition enhances the experience, making your dessert truly unforgettable.
How to Store and Freeze Old-Fashioned Pink Jelly Cakes
Room Temperature: Enjoy your cakes fresh by keeping them at room temperature for up to 1 day. Store them in an airtight container to maintain their softness and flavor.
Fridge: If you have leftovers, refrigerate them for up to 3 days in an airtight container. This will help preserve the moisture and buttercream filling.
Freezer: For longer storage, freeze the assembled cakes for up to 2 months. Wrap each cake tightly in plastic wrap and place them in an airtight container.
Thawing: To enjoy, thaw your Old-Fashioned Pink Jelly Cakes overnight in the fridge before serving. Allow them to sit at room temperature for about 15 minutes for the best texture.
Old-Fashioned Pink Jelly Cakes: Variations & Substitutions
Feel free to explore these delightful variations to make the Old-Fashioned Pink Jelly Cakes your own!
-
Fruit-Flavored Jelly: Swap strawberry jelly for raspberry, orange, or passionfruit for a burst of new flavor. Each option brings its unique twist while retaining that nostalgic essence.
-
Dairy-Free Option: Use coconut whipped cream instead of regular whipped cream. This substitute provides a light and airy filling without sacrificing creaminess.
-
Gluten-Free Twist: Substitute all-purpose flour with a gluten-free blend. Be sure to adjust the baking time as needed for the best texture.
-
Chocolate Delight: Instead of jelly, coat the sponge cakes in melted chocolate. This indulgent option transforms the traditional recipe into an irresistible chocolatey treat perfect for special occasions.
-
Nutty Crunch: Add crushed almonds or walnuts to the desiccated coconut for an extra layer of flavor and texture. The nutty crunch contrasts beautifully with the sweet jelly.
-
Miniature Bites: Cut the sponge into small rounds for bite-sized versions. Perfect for parties or gatherings, these charming mini cakes allow everyone to indulge guilt-free!
-
Citrus Zing: Infuse the sponge batter with a splash of lemon or orange zest. The added citrus brightens the flavor and pairs wonderfully with fruit-flavored jellies.
If you’re looking for more delightful dessert ideas, be sure to check out these scrumptious Poppy Seed Cupcakes or the charming Sherlock Holmes Cakes.
Expert Tips for Old-Fashioned Pink Jelly Cakes
-
Use Quality Ingredients: Fresh eggs and good-quality vanilla can dramatically enhance your sponge’s flavor, making the cakes truly irresistible.
-
Jelly Consistency Matters: Ensure your jelly is syrupy, as a runny or too-thick consistency can prevent proper coating, affecting the outcome of the Old-Fashioned Pink Jelly Cakes.
-
Cooling is Key: Allow the sponge to cool completely before cutting; this ensures a light texture and prevents tearing when dipping in jelly.
-
Chill for Better Results: Don’t skip the chilling step! It helps the jelly set and melds the flavors, ensuring they are at their finest when served.
-
Experiment with Fillings: If whipped cream isn’t your favorite, try using custard or fruit preserves for a delightful change in your Old-Fashioned Pink Jelly Cakes.
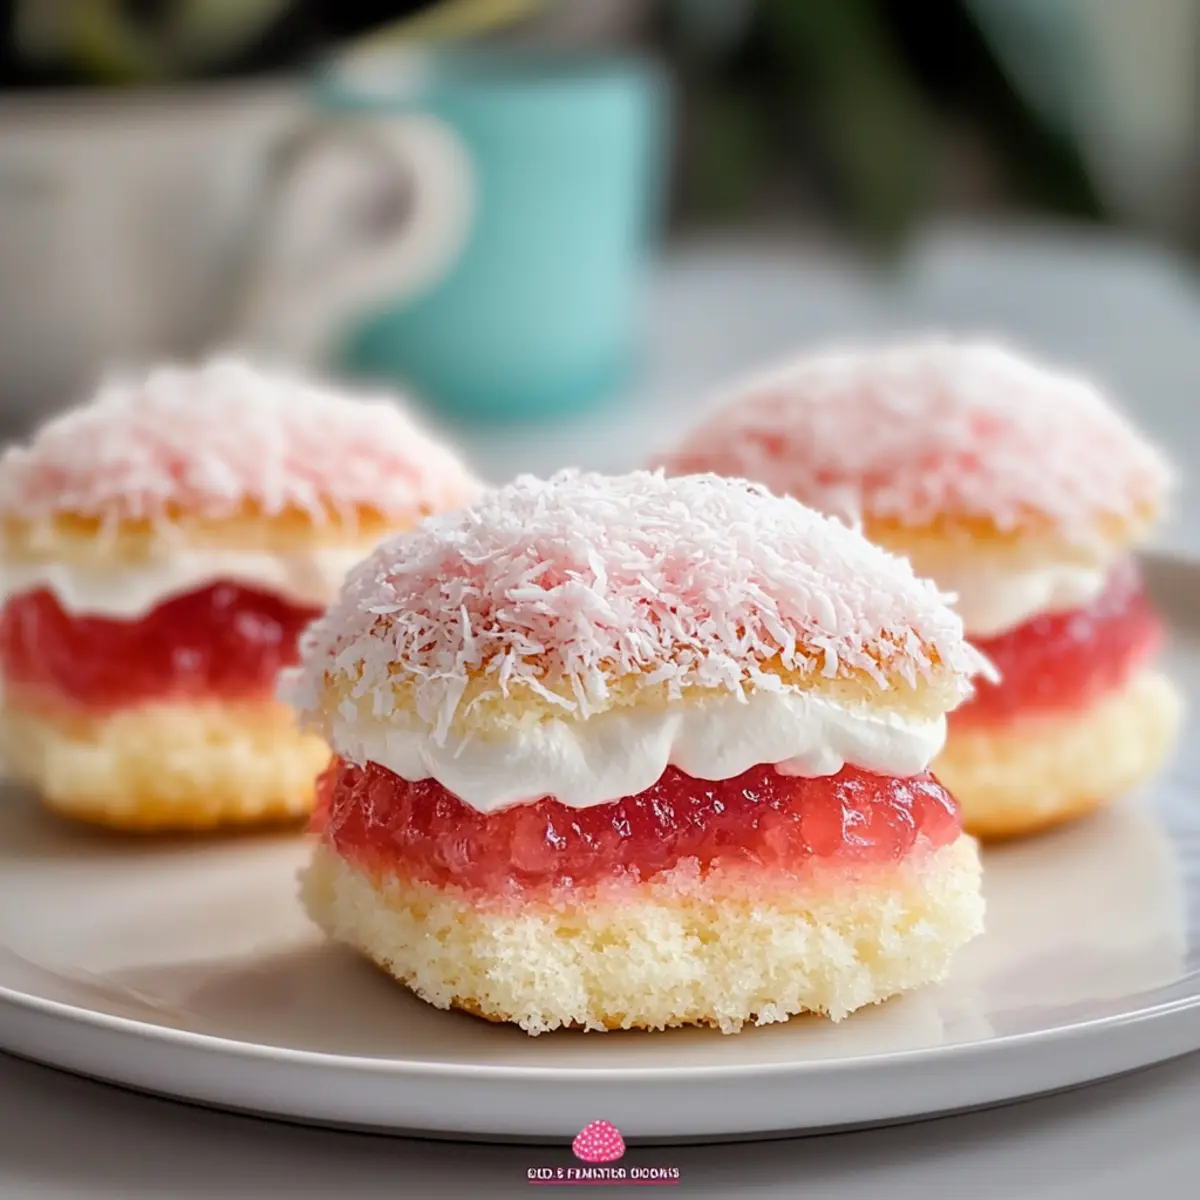
Old-Fashioned Pink Jelly Cakes Recipe FAQs
What should I look for in ripe ingredients for Old-Fashioned Pink Jelly Cakes?
Absolutely! When selecting ingredients, look for fresh eggs with unblemished shells and a mild vanilla scent for the sponge. For the strawberry jelly, choose brands without artificial colors or flavors. And while the desiccated coconut should be fresh and dry, avoid packages showing moisture or dark clumps.
How should I store leftover Old-Fashioned Pink Jelly Cakes?
You can store these delightful treats at room temperature for up to 1 day in an airtight container to maintain their softness. However, if you have leftovers, refrigerate them for up to 3 days. Just make sure they are well sealed to keep the whipped cream fresh!
Can I freeze Old-Fashioned Pink Jelly Cakes?
Very much so! These cakes can be frozen for up to 2 months. Wrap each assembled cake tightly in plastic wrap, ensuring no air pockets, and then place them in an airtight container. When you’re ready to enjoy them, thaw in the fridge overnight and let them come to room temperature for about 15 minutes for the best taste and texture.
What should I do if my jelly is too runny or too firm for coating?
If your jelly is too runny, let it cool longer until it thickens to a syrupy consistency—it should coat the cakes without dripping nonstop. On the other hand, if it’s too firm, gently reheat the jelly on the stove or in the microwave until it reaches a pourable consistency. This ensures the best coating experience for your Old-Fashioned Pink Jelly Cakes.
Are Old-Fashioned Pink Jelly Cakes suitable for people with allergies?
Very! These cakes can be made vegetarian-friendly as they do not contain any meat products. However, for those with egg or dairy allergies, alternatives such as aquafaba for eggs or coconut cream for whipped cream can be used. Always pay close attention to specific brand ingredients for jelly and desiccated coconut to ensure they are allergy-free.
What if my sponge cake turns out dry or dense?
If your sponge cake is dry, make sure to mix the batter gently and avoid overmixing! Overmixing can lead to a dense texture. Also, consider baking the sponge for the exact recommended time and checking with a toothpick for doneness. If you find your cakes don’t rise as expected, ensure your baking powder is fresh—this can make all the difference in achieving that light and fluffy Old-Fashioned Pink Jelly Cakes.
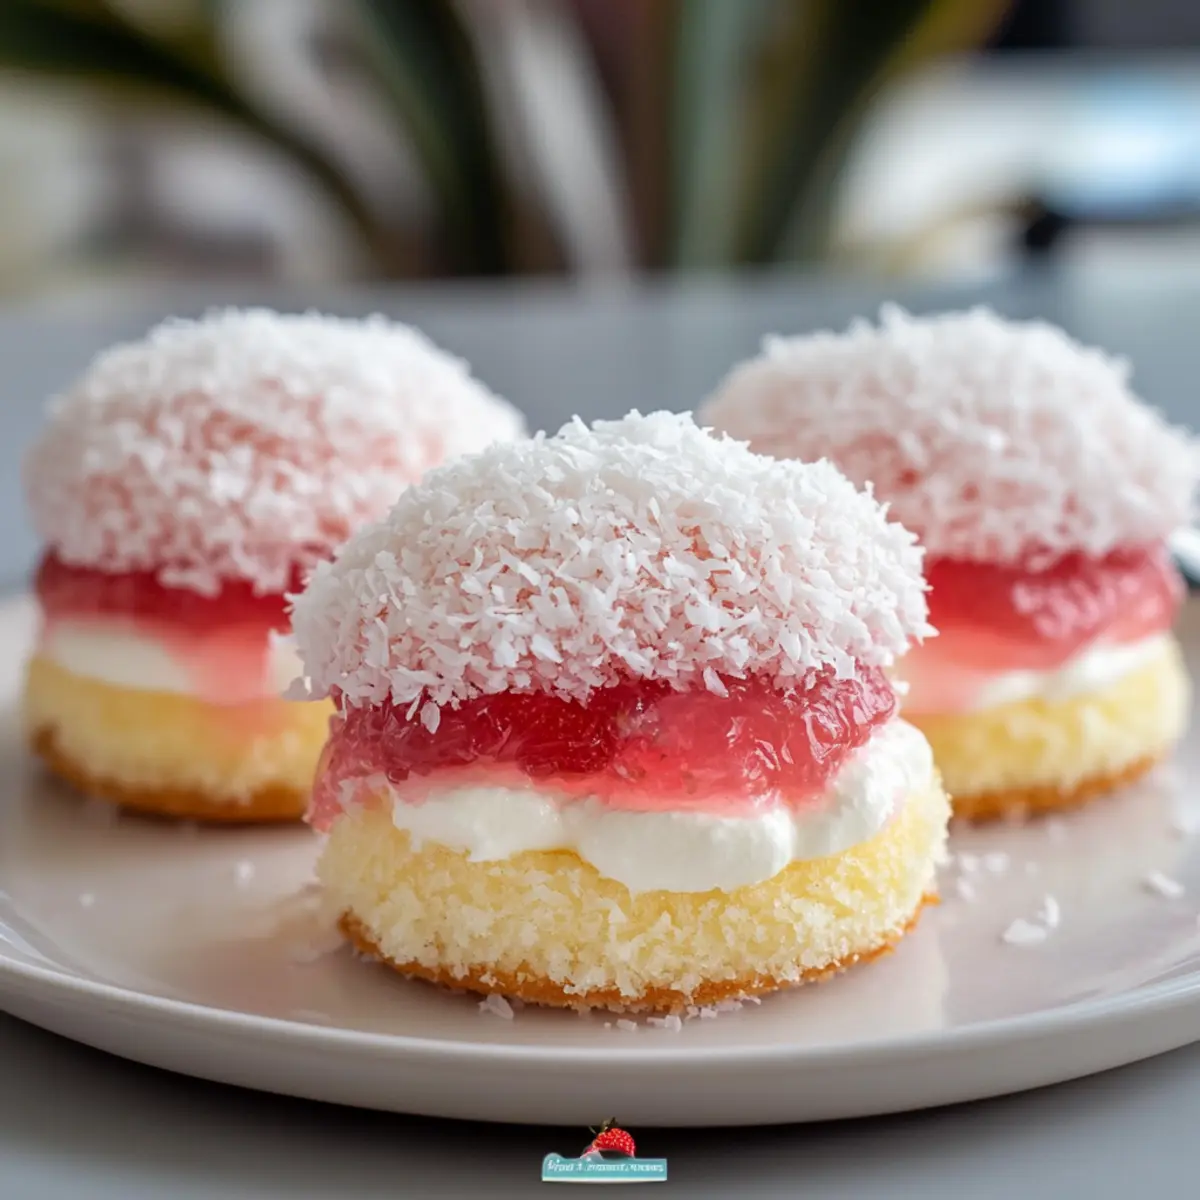
Old-Fashioned Pink Jelly Cakes: A Tasty Bit of Nostalgia
Ingredients
Equipment
Method
- Preheat your oven to 180°C (350°F) and grease a square baking tin. In a large mixing bowl, combine the ingredients for the vanilla sponge, using a gentle hand to mix until just combined. Pour the batter into your prepared tin and bake for around 18 minutes, or until the top is golden and a toothpick comes out clean.
- Once baked, remove the sponge from the oven and allow it to cool in the tin for about 10 minutes. Gently transfer the sponge onto a wire rack to cool completely.
- When the sponge has cooled, using a sharp knife, slice it into even squares, about 5cm x 5cm each.
- Prepare your strawberry jelly according to the package instructions, allowing it to cool until it reaches a syrupy consistency. Dip each sponge square into the jelly, making sure every side is well coated.
- Let the excess jelly drip off, then roll each jelly-coated sponge square in desiccated coconut until they are completely covered.
- Take two jelly-coated sponge squares and spread a generous layer of whipped cream between them, creating a sandwich.
- Refrigerate the assembled cakes for at least 30 minutes to allow the jelly to set properly.
Leave a Reply