
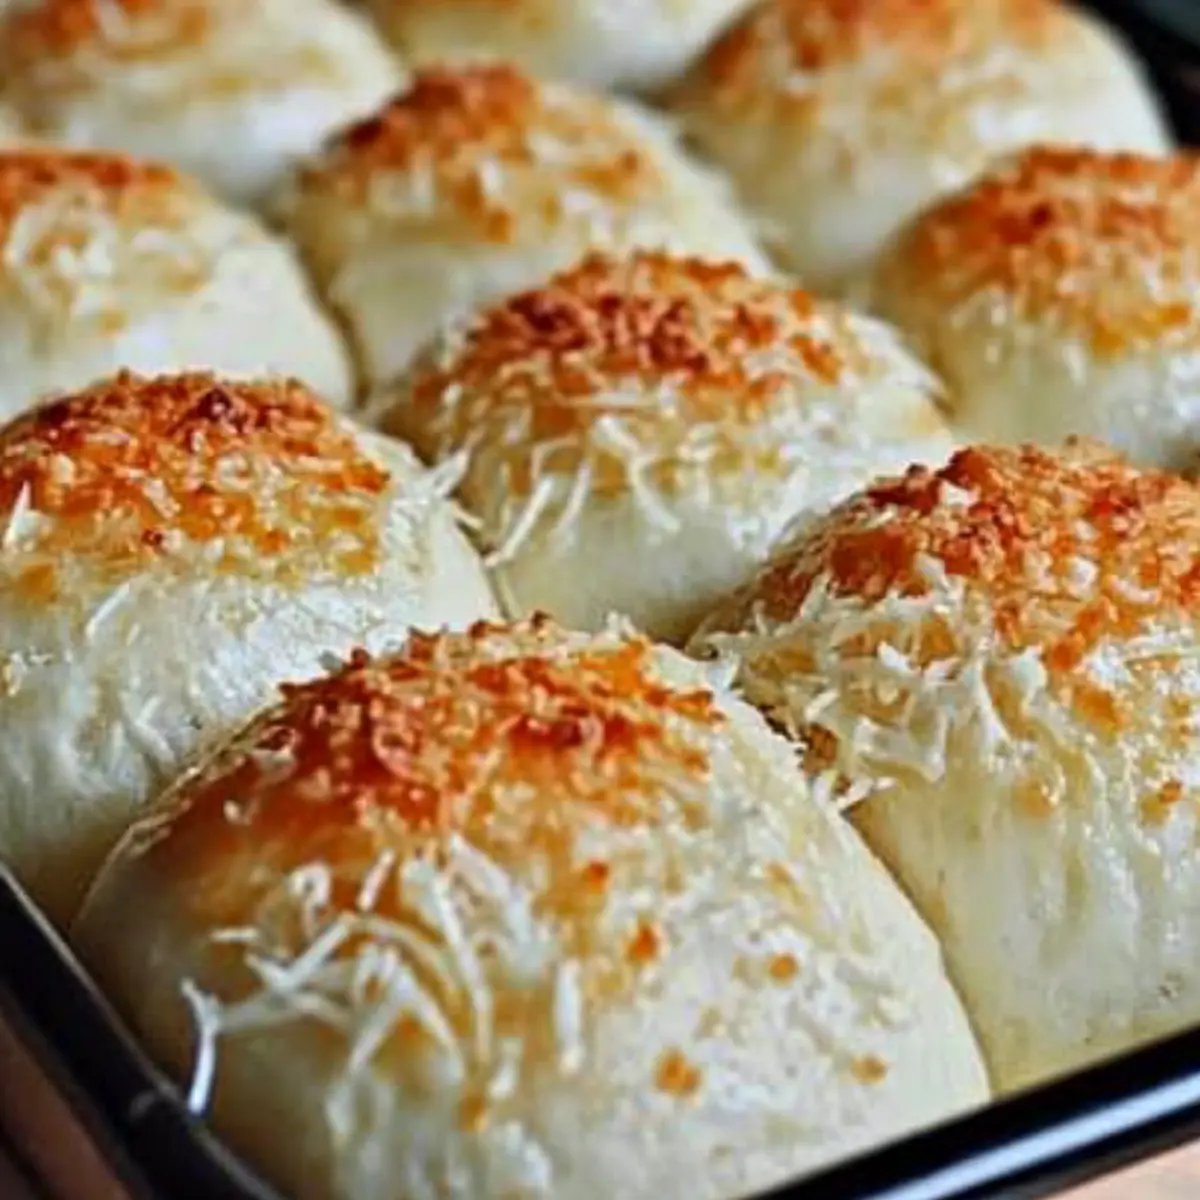
The moment the garlic hits the melted butter, my kitchen transforms into a warm embrace of delicious anticipation. These 4 Ingredient Garlic Rolls make a delightful side dish that effortlessly elevates any meal, whether it’s pasta night or a grilled dinner. With just four simple ingredients, these rolls are not only a breeze to whip up, but their fluffy nature and savory touch of parmesan are sure to win over even the pickiest of eaters. Ideal for those of us juggling busy lives, they allow you to impress your family or guests without an extensive time commitment in the kitchen. What will you serve alongside these irresistible, freshly baked rolls?
Why are these Garlic Rolls a must-try?
Simplicity reigns supreme with just four ingredients, making it perfect for busy cooks seeking big flavor without a lengthy process. Fluffy texture and rich garlic aroma will have everyone reaching for seconds. Versatile pairing option—ideal alongside pasta, grilled meats, or as a standalone treat. Plus, for a flavor boost, try serving them with a drizzle of White Garlic Pizza sauce! Crowd-pleasing appeal that impresses without breaking a sweat. Enjoy this at family gatherings or casual weeknight dinners for a warm, inviting touch that everyone will adore!
Garlic Rolls Ingredients
For the Rolls
• Frozen Dinner Rolls – The essential base for these garlic rolls; thaw them before use for best results.
• Butter – Adds richness and helps create that irresistible golden crust; olive oil can be a lighter substitute.
For the Flavor
• Garlic – The star of the show! Fresh minced garlic enhances the flavor profile, though pre-minced will do in a pinch.
• Grated Parmesan Cheese – Imparts a savory touch that complements the garlic; feel free to swap it with shredded mozzarella for a creamy alternative.
Step‑by‑Step Instructions for Garlic Rolls
Step 1: Preheat and Prepare
Begin by preheating your oven to 350°F (175°C). While it’s heating, lightly grease a 9×13-inch pan with butter or cooking spray to prevent sticking. This preparation step is essential for the garlic rolls, ensuring they are easy to remove once baked and achieve that beautiful golden crust.
Step 2: Arrange the Rolls
Take your thawed frozen dinner rolls and arrange them evenly in the greased pan. Place them close together, allowing for rising and a soft texture when baked. This layout will help the garlic rolls rise beautifully, creating a fluffy, pillowy result that everyone will love.
Step 3: Let the Dough Rise
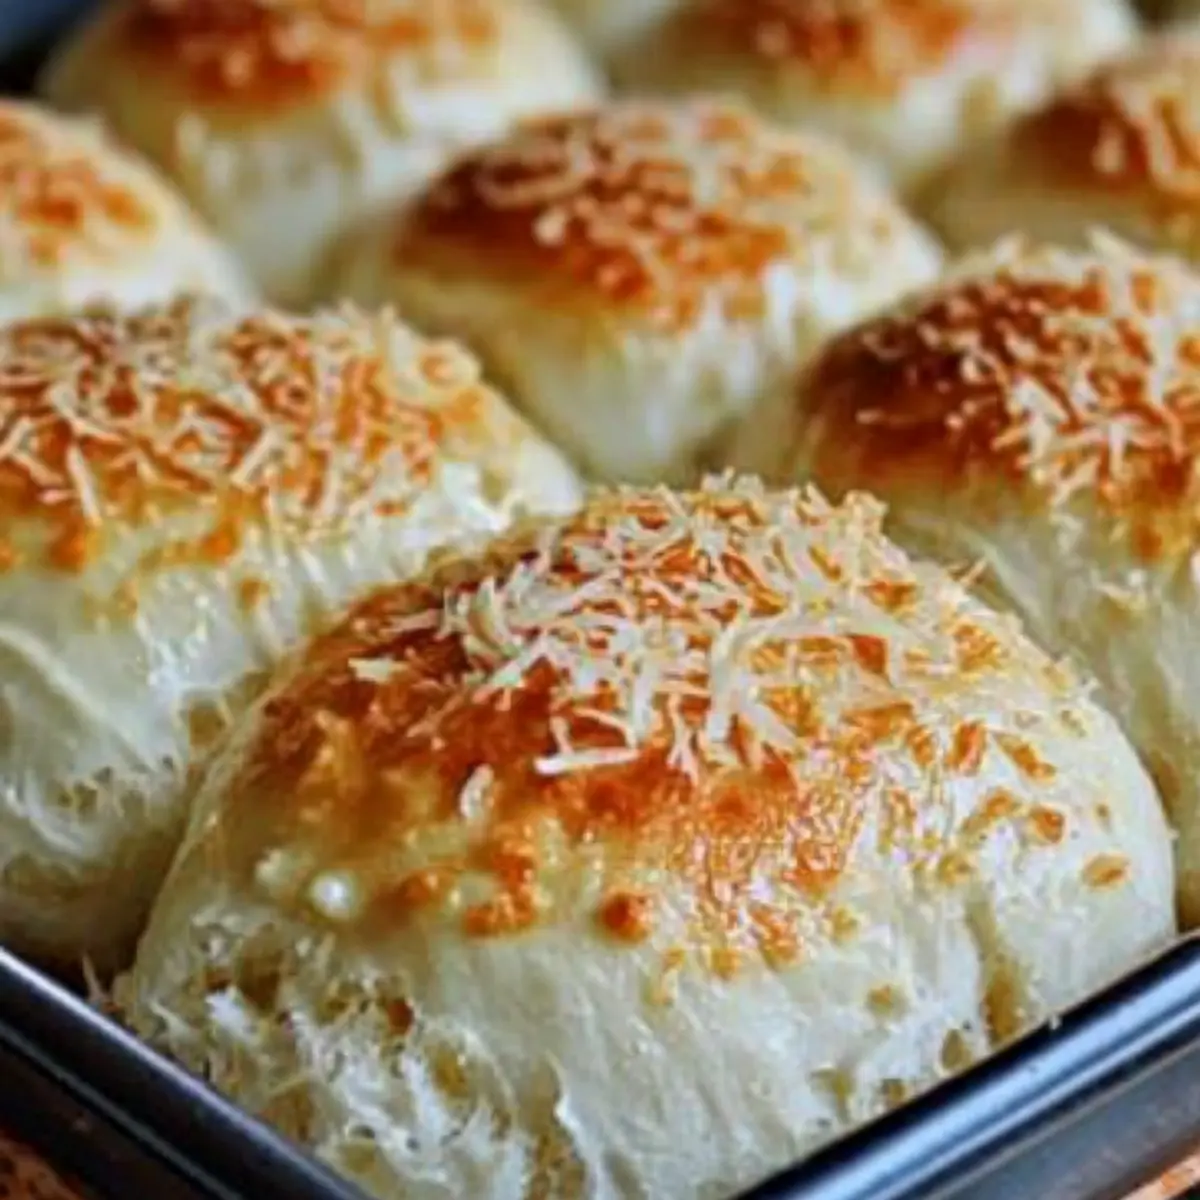
Cover the arranged rolls with a clean cloth and set them in a warm place for 1½ to 2 hours. This rising period will allow the garlic rolls to nearly double in size, becoming soft and airy. Look for them to puff up significantly, which is key for achieving that perfect light texture.
Step 4: Make the Garlic Butter Mixture
In a small bowl, combine melted butter with freshly minced garlic. Stir them together until well mixed. This fragrant garlic butter mixture is the heart of your garlic rolls, bringing flavor and richness to each bite. Set it aside as you prepare to brush it over the risen rolls.
Step 5: Brush and Sprinkle
Once the rolls have risen, use a pastry brush to generously coat the tops of the rolls with the garlic butter mixture. Make sure to cover each roll evenly to maximize flavor. After that, sprinkle grated parmesan cheese over the tops, allowing it to cling to the butter, creating a deliciously savory topping.
Step 6: Bake the Rolls
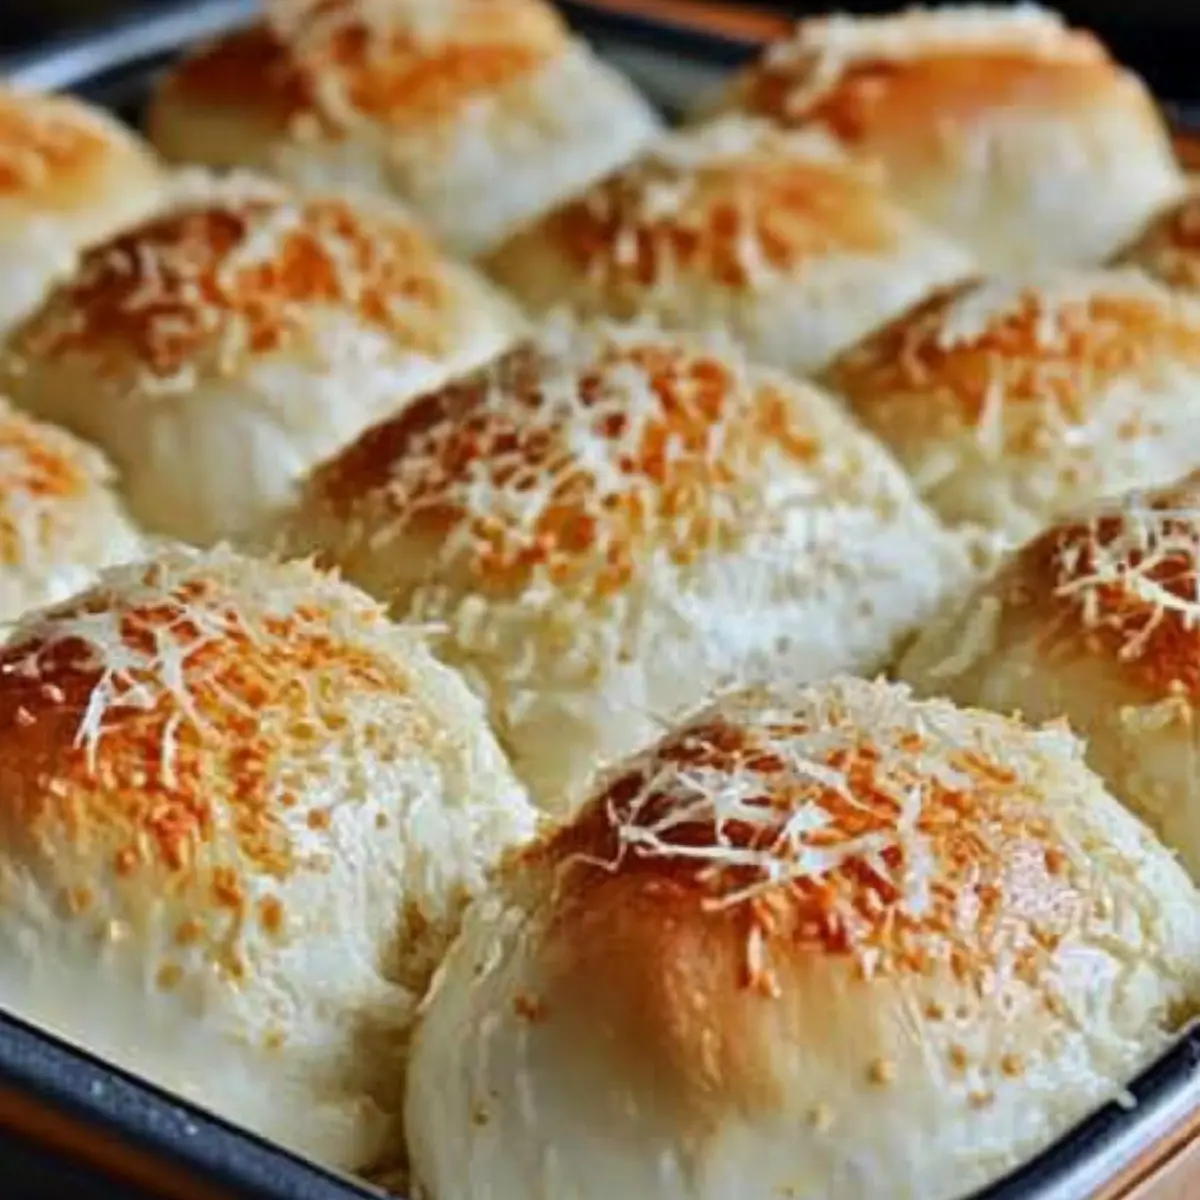
Place the pan in the preheated oven and bake for 15-20 minutes. Keep a close watch as they bake; look for a beautiful golden brown color on top. The aroma of garlic and melted cheese will fill your kitchen, making it hard to resist!
Step 7: Cool and Serve
Once golden brown, remove the garlic rolls from the oven. Let them cool slightly on a wire rack for about 5 minutes. This helps them set up and makes them easier to handle. Serve these warm garlic rolls alongside your favorite dishes, and enjoy the irresistible garlic flavor in every fluffy bite!
What to Serve with 4 Ingredient Garlic Rolls
Transform your dining experience by pairing these buttery, fluffy delights with the perfect accompaniments that elevate any meal.
-
Creamy Tomato Soup: The rich, comforting flavors meld beautifully with garlic rolls, allowing you to savor each bite together.
-
Zesty Caesar Salad: Crisp romaine and tangy dressing provide a refreshing contrast to the warm, soft rolls—you’ll love the flavor pairing!
-
Grilled Chicken Skewers: Juicy and smoky chicken complements the buttery garlic flavor, making for a delightful combination at any gathering.
-
Pasta Primavera: With its colorful veggies and light sauce, this dish offers a vibrant contrast while enhancing the rolls’ pillowy texture.
-
Herbed Quinoa Pilaf: Nutty quinoa and fragrant herbs create a wholesome dish that perfectly balances the richness of the garlic rolls. Enjoy the contrast!
-
Sparkling Lemonade: The zesty fizz and sweetness of lemonade offer a refreshing sip that brightens up any meal, enticing you with every taste.
-
Chocolate Mousse: Indulge in a light dessert to finish your meal, creating a sweet contrast that leads to a well-rounded dining experience.
Garlic Rolls: Endless Customization Options
Feel free to explore these delightful variations that bring a unique twist to your garlic rolls!
-
Herb-Infused: Swap garlic for herbs like rosemary or thyme to add a delightful aromatic profile. The warmth from the herbs complements the rolls beautifully, giving a garden-fresh twist to every bite.
-
Cheesy Goodness: Replace grated parmesan with shredded mozzarella or cheddar for a richer flavor. This addition gives your garlic rolls a melty, gooey surprise that makes them even more indulgent.
-
Dairy-Free: Use olive oil instead of butter and nutritional yeast in place of cheese for a vegan version. You’ll still achieve delicious garlic-flavored rolls while being kind to your dietary preferences.
-
Spicy Kick: Sprinkle a pinch of red pepper flakes in the garlic butter for an exciting heat. This subtle addition lifts the flavor profile and will have spice lovers reaching for more!
-
Garlic Lovers Delight: Increase the amount of minced garlic for an extra punch. For true garlic enthusiasts, don’t be shy—more garlic means more joy in each fluffy roll!
-
Sweet Twist: Experiment by adding a hint of honey to the garlic butter for a unique sweet-savory experience. The sweetness balances the richness perfectly, offering a delightful contrast.
-
Side Dish Companion: Serve your garlic rolls with a side of Chili Garlic Smoked salmon for an unforgettable flavor pairing. The combination of simmering garlic and smoky flavors creates a dining experience like no other.
-
Topping Variety: Try adding various toppings, from fresh parsley to crushed nuts. This not only enhances the visual appeal but also changes the texture, adding a delightful crunch to each bite.
Feel free to mix and match these ideas! Your 4 Ingredient Garlic Rolls can become infinitely more than a classic side—they can truly reflect your own culinary creativity!
Make Ahead Options
These 4 Ingredient Garlic Rolls are perfect for meal prep enthusiasts looking to save time during busy weeknights! You can prepare the rolls by arranging the thawed dinner rolls in the pan and letting them rise for up to 24 hours in the refrigerator. Just cover them with a clean cloth or plastic wrap to prevent drying out. When you’re ready to bake, simply brush the tops with the garlic butter mixture and sprinkle with parmesan before popping them in the oven. This way, you’ll enjoy freshly baked garlic rolls that are just as delicious, with minimal effort when the time comes to serve!
Storage Tips for Garlic Rolls
-
Room Temperature: Store any leftover garlic rolls in an airtight container at room temperature for up to 2 days to keep them soft and tasty.
-
Fridge: If you need to keep them longer, place the rolls in the fridge for up to 5 days. Just make sure to let them come to room temperature before reheating.
-
Freezer: To preserve freshness, freeze the baked garlic rolls in a resealable bag for up to a month. This will keep their flavor intact.
-
Reheating: When you’re ready to enjoy your garlic rolls again, reheat them in a 350°F (175°C) oven for 10-15 minutes, restoring that warm, fluffy texture everyone loves!
Expert Tips for Garlic Rolls
-
Rising Time Matters: Allow the rolls enough time to rise; this is crucial for achieving that light and fluffy texture you desire in garlic rolls.
-
Watch the Temperature: Use a warm (but not hot) spot for rising! A warm kitchen helps the dough aerate effectively, giving you expertly fluffy rolls.
-
Timing is Key: Keep an eye on the baking time. Overbaking can lead to dry rolls, while underbaking may result in too-soft centers. Aim for that perfect golden-brown color.
-
Butter and Garlic Ratio: Maintain a balance between melted butter and minced garlic. Too much garlic can overpower, while too little might not give that punch of flavor you want in your garlic rolls.
-
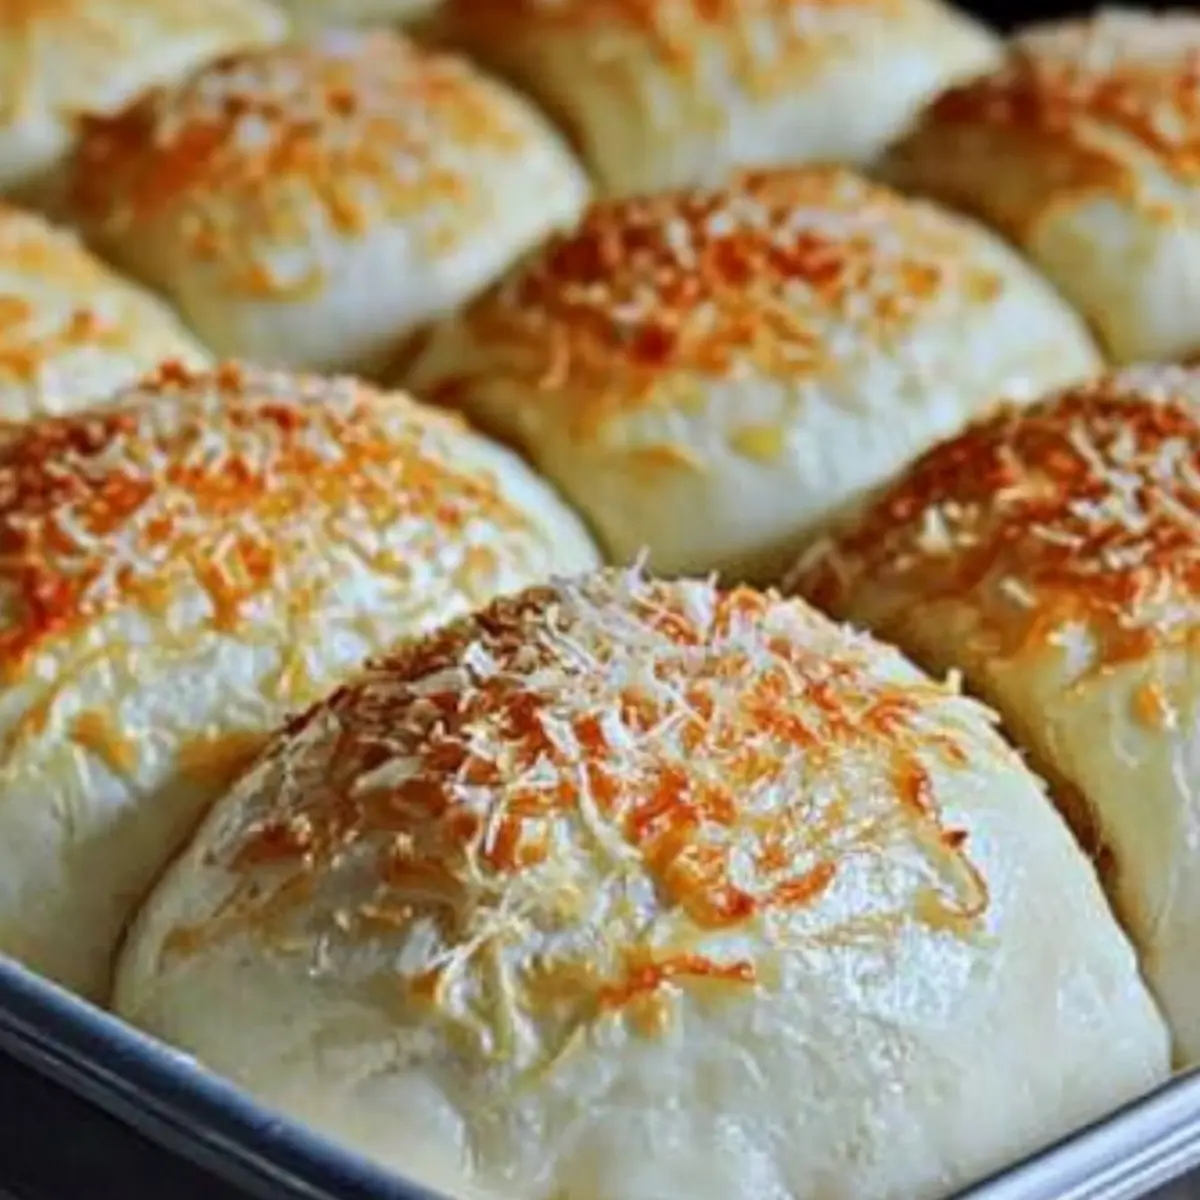
Parmesan Elevation: Don’t skip the grated parmesan cheese; it not only adds flavor but a delightful crispy texture on top that perfectly complements the soft rolls.
4-Ingredient Garlic Rolls Recipe FAQs
What types of dinner rolls are best for this recipe?
I absolutely recommend using Rhodes Rolls for the best results! They maintain their texture after baking and pair wonderfully with the garlic and parmesan. Thaw them beforehand for easier handling and won’t disappoint!
How should I store leftover garlic rolls?
Store any leftover garlic rolls in an airtight container at room temperature for up to 2 days to maintain their softness. If you want to keep them longer, refrigerate them for up to 5 days, but let them reach room temperature before reheating for the best texture.
Can I freeze garlic rolls? How do I do it?
Yes, you can freeze garlic rolls! To do so, place the cooled baked rolls in a resealable freezer bag and store them for up to a month. When you’re ready to enjoy them, simply reheat in a preheated oven at 350°F (175°C) for 10-15 minutes. This restores their warm, fluffy goodness!
What should I do if the rolls don’t rise?
If your rolls don’t rise, it could be due to a few factors. Ensure you are in a warm spot, as a cool environment can slow the rising process significantly. If the dough is too dry, try adding a little warm water. As a tip, letting them rise until they nearly double in size is key!
Are garlic rolls suitable for people with dietary restrictions?
If you’re concerned about allergies, note that this recipe contains dairy and gluten due to butter and dinner rolls. You can make it dairy-free by swapping butter with olive oil and using dairy-free cheese alternatives. Always check product labels for specific allergens to ensure safety for everyone.
Can I use fresh garlic instead of pre-minced garlic?
Absolutely! Fresh minced garlic is always recommended for the best flavor. It has a robust aroma that enhances the garlic rolls beautifully. If you must use pre-minced garlic, just know it may lack the same flavor intensity.
Garlic Rolls: Quick, Fluffy Rolls for Every Meal
Ingredients
Equipment
Method
- Preheat your oven to 350°F (175°C) and grease a 9x13-inch pan with butter.
- Arrange the thawed frozen dinner rolls evenly in the greased pan, close together.
- Cover the rolls with a cloth and let them rise in a warm place for 1½ to 2 hours.
- In a small bowl, combine melted butter with minced garlic until well mixed.
- Brush the risen rolls with garlic butter and sprinkle grated parmesan cheese on top.
- Bake in the preheated oven for 15-20 minutes until golden brown.
- Remove and let cool for 5 minutes before serving warm.
Leave a Reply