
It was a sweltering summer afternoon, and as I sat outside soaking in the warmth, a thought hit me—what could be better than a refreshing homemade ice cream? Enter my Chocolate Peanut Butter Ninja Creami creation, a dreamy blend of rich cocoa and creamy peanut goodness that dances on your tongue. This delightful recipe not only quenches your ice cream cravings but also makes for a quick and easy summer treat. With just a bit of prep work and a freeze, you’ll have that perfect scoop ready to savor during those warm evenings. Plus, there’s nothing quite like knowing exactly what’s in your dessert! Curious how to whip up this luscious indulgence? Let’s dive in!
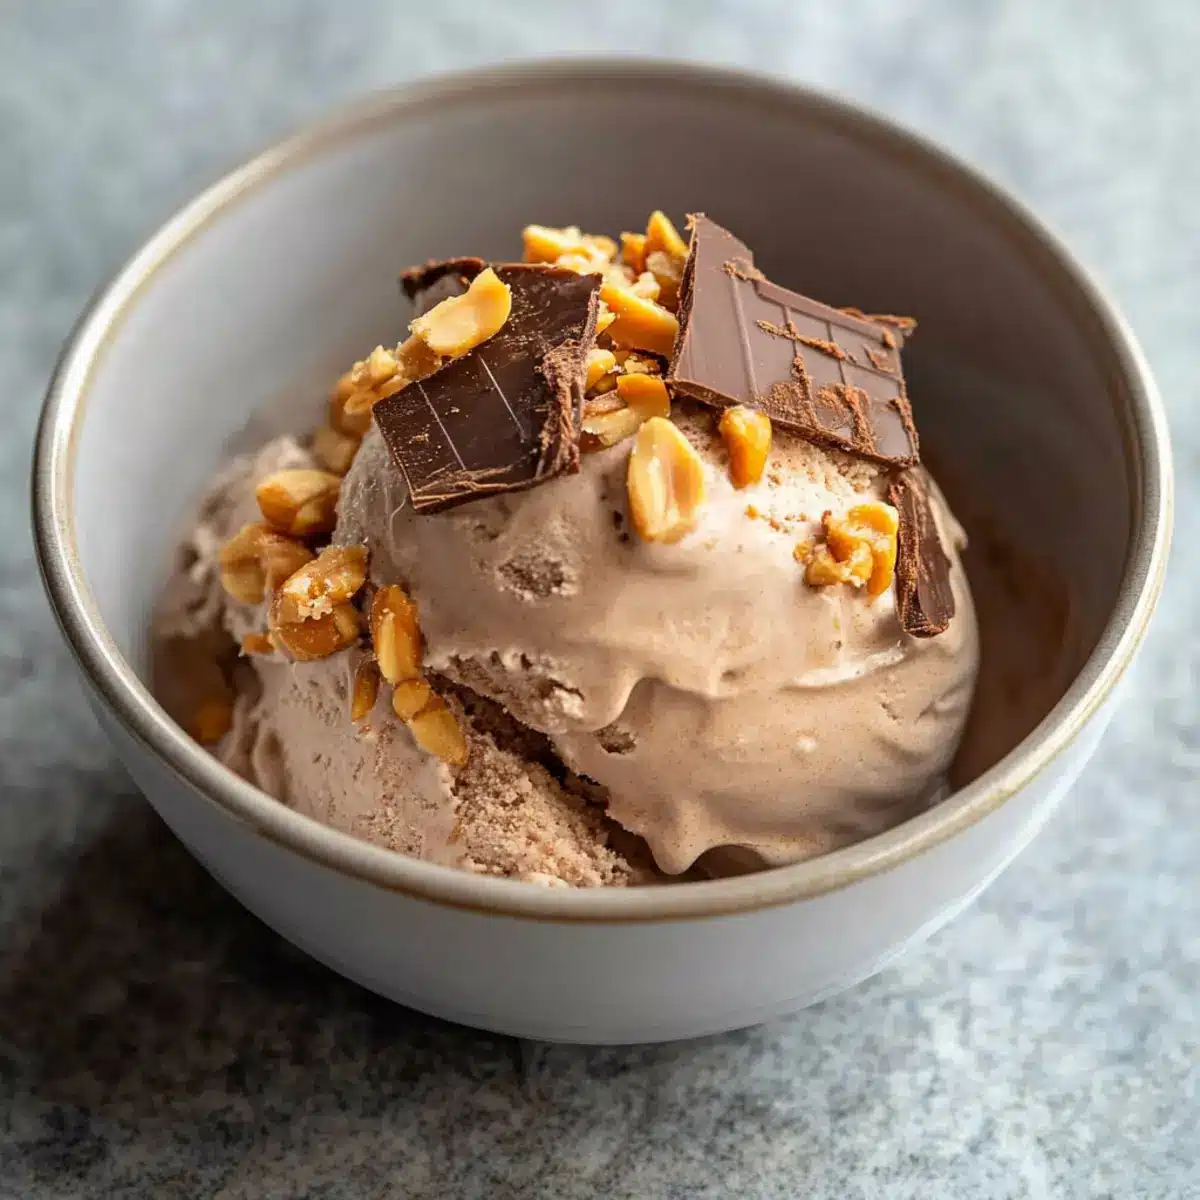
Why Make Chocolate Peanut Butter Ice Cream?
Creamy Indulgence: This recipe transforms your summer dessert game, delivering a dreamy ice cream that’s both rich and satisfying.
Quick Prep Time: With just a few simple steps, you’ll be on your way to a delightful treat in no time!
Customizable Creations: Feel free to swap out ingredients, like using Homemade Vegan Butter for a dairy-free twist or add-ins like chocolate chips for extra fun.
Healthy Satisfaction: With around 282 calories per serving, you can indulge without the guilt!
Perfect for Gatherings: This crowd-pleaser will impress your loved ones, making it a fantastic addition to summer parties or casual get-togethers.
Chocolate Peanut Butter Ninja Creami Ingredients
• Here’s what you need for this delectable treat!
For the Ice Cream Base
- Cream Cheese – Adds creaminess and helps stabilize the ice cream; if unavailable, try mascarpone as a substitute.
- Sugar – Provides essential sweetness; consider using coconut sugar for a different flavor profile.
- Peanut Butter Powder – Offers a concentrated peanut flavor without excess fat; regular peanut butter can be substituted — use 1/4 cup instead.
- Cocoa Powder – Imparts the rich chocolate flavor essential for your Chocolate Peanut Butter Ninja Creami; use unsweetened cocoa for best results.
- Vanilla Extract – Enhances overall flavor; you may replace it with almond extract for a nutty twist.
- Milk – Serves as a base for the ice cream; any kind of milk, including plant-based options, can work for a dairy-free alternative.
- Heavy Cream – Contributes to the richness and smooth texture; for lighter options, consider half-and-half or a non-dairy cream.
Optional Mix-Ins
- Chocolate Chips – Add for extra indulgence and a delightful crunch.
- Crushed Cookies – Incorporate for a fun texture and added sweetness.
- Chopped Nuts – Mix in for some nutty flavor that complements the peanut butter beautifully.
With these simple yet impactful ingredients, you’re well on your way to enjoying a blissful bowl of Chocolate Peanut Butter Ninja Creami!
Step‑by‑Step Instructions for Chocolate Peanut Butter Ninja Creami
Step 1: Prep Cream Cheese
Begin by microwaving the cream cheese for 10-15 seconds until it softens. This will ensure easy mixing and a creamy texture. Check for smoothness; it should be pliable but not hot. A properly softened cream cheese lays the foundation for your indulgent Chocolate Peanut Butter Ninja Creami.
Step 2: Mix Dry Ingredients
In a large mixing bowl, combine the melted cream cheese with the sugar, cocoa powder, peanut butter powder, and vanilla extract. Stir with a spatula until the ingredients are mostly blended, achieving a thick batter-like consistency. This mixture will form the core flavors of your delicious ice cream, so give it a good mix!
Step 3: Add Liquids
Pour in the milk and heavy cream, whisking vigorously until fully incorporated and smooth. This should take about 2-3 minutes, resulting in a rich, velvety base for your Chocolate Peanut Butter Ninja Creami. Make sure no lumps remain, as a uniform texture will elevate the final product.
Step 4: Freeze Mixture
Transfer your creamy mixture into the Ninja Creami pint container. Ensure it’s evenly spread and then place it in the freezer for a minimum of 24 hours. This freezing time is crucial for achieving that luxurious ice cream texture that melts in your mouth on a hot summer day.
Step 5: Process Ice Cream
After the mixture has frozen solid, set your Ninja Creami to the ice cream setting. Blend until the texture is creamy and smooth, which should take about 2-4 minutes. If the mix appears too thick, feel free to add a splash of milk and reprocess until you reach your desired consistency.
Step 6: Add Optional Mix-Ins
If you’re feeling adventurous, create a well in the center of the processed ice cream and add any mix-ins you desire, such as chocolate chips or crushed cookies. Use the mix-in feature on the Ninja Creami to incorporate these treats into your Chocolate Peanut Butter ice cream evenly.
Step 7: Store Leftovers
After serving, smooth out the top of any leftover ice cream and return it to the freezer. Store it in the Ninja Creami pint container or an airtight container for up to two weeks. When ready to serve again, simply reprocess it on the ice cream setting for a perfect scoop!
Make Ahead Options
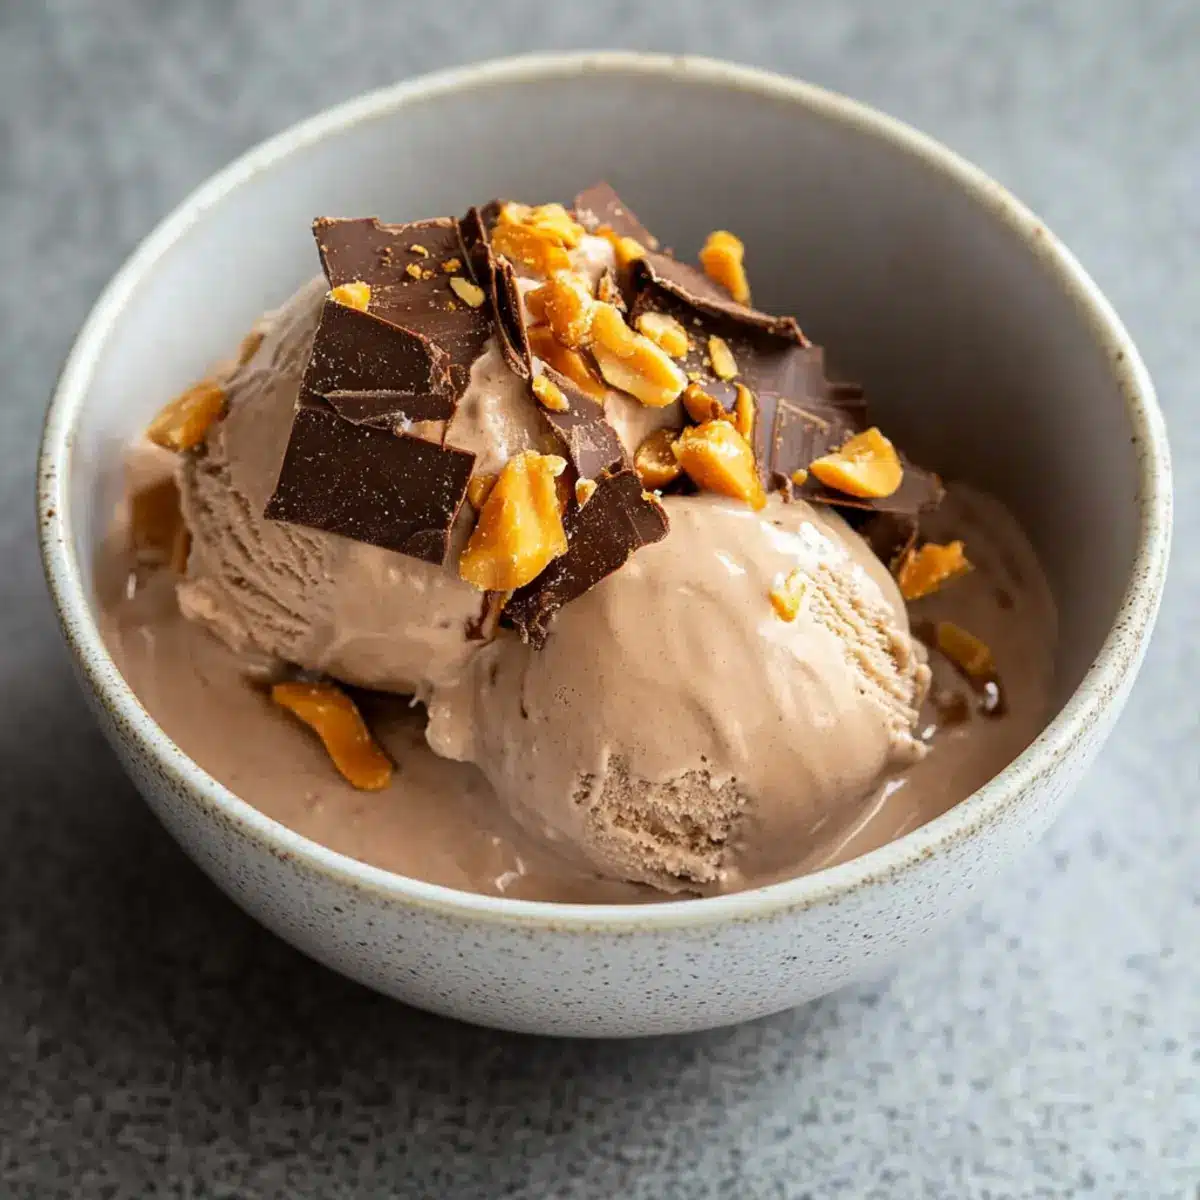
These Chocolate Peanut Butter Ninja Creami treats are perfect for meal prep, allowing you to enjoy a refreshing dessert on busy summer nights! You can make the ice cream base up to 24 hours in advance by preparing and freezing the mixture in the Ninja Creami pint container. To maintain that luscious, creamy texture, make sure to whisk the liquids thoroughly before freezing to eliminate lumps. When you’re ready to serve, simply process the frozen mixture in the Ninja Creami, adding a splash of milk if it’s too thick for your liking. This advance preparation means you’ll have a delightful homemade dessert ready with minimal effort, perfect for satisfying your sweet tooth anytime!
Variations & Substitutions for Chocolate Peanut Butter Ninja Creami
Customize your Chocolate Peanut Butter Ninja Creami with these delicious twists that will elevate your summer dessert experience!
- Dairy-Free: Use Homemade Vegan Butter and coconut cream for a luscious dairy-free alternative.
- Nut-Free: Swap peanut butter powder with sunbutter or tahini to cater to nut allergies without losing flavor.
- Flavorful Extracts: Experiment with hazelnut or peppermint extract to create a unique spin on your familiar chocolate and peanut butter theme.
- Sweetener Swap: Opt for honey or agave syrup for a touch of natural sweetness while adding a hint of floral notes.
- Texture Twists: Fold in your favorite crushed cookies like Oreos for delightful crunch; the contrast with the creamy ice cream is divine!
- Fruity Addition: Incorporate banana or strawberry puree into the mixture for a fruity touch that brightens the classic chocolate and peanut flavors.
- Extra Decadence: Drizzle in melted chocolate or caramel before processing to create a marbled effect that adds both flavor and elegance.
With all these options, you can create a Chocolate Peanut Butter Ninja Creami that’s uniquely yours, reflecting your tastes and creativity!
What to Serve with Chocolate Peanut Butter Ninja Creami
A luscious summer delight, this creamy dessert pairs wonderfully with various foods that enhance its rich flavors and textures.
-
Salty Pretzel Crust: The crunchy, salty pretzels contrast perfectly with the sweet, creamy flavors of the ice cream, creating a delightful balance. Add a layer of pretzel crumbs for a gourmet touch!
-
Fresh Berries: Ripe strawberries, raspberries, or blueberries offer a refreshing tartness that cuts through the richness of the chocolate peanut butter ice cream, making each bite extraordinary.
-
Whipped Cream: Light and airy, whipped cream adds a velvety finish to the ice cream. Consider flavored whipped cream, like vanilla or maple, to elevate the dessert experience.
-
Chocolate Syrup Drizzle: For those who can’t resist extra sweetness, a warm drizzle of chocolate syrup melts beautifully into the ice cream, amplifying that indulgent chocolate flavor.
-
Nuts & Seeds: Toasted peanuts, almonds, or pumpkin seeds provide a crunchy texture while complementing the peanut butter flavor, enhancing the overall taste profile of the dish.
-
Coffee or Espresso: A rich cup of coffee or espresso serves as the perfect drink pairing, balancing the sweetness of the ice cream with its robust flavors.
Indulge in any of these delightful pairings for a truly blissful experience while enjoying your homemade Chocolate Peanut Butter Ninja Creami!
How to Store and Freeze Chocolate Peanut Butter Ninja Creami
Fridge: Store your Chocolate Peanut Butter Ninja Creami leftovers in an airtight container for up to 3 days if you plan to enjoy them soon, ensuring maximum freshness.
Freezer: For longer storage, keep the ice cream in the freezer in an airtight container for up to 2 weeks. Smooth the top for easier reprocessing later.
Reheating: When you’re ready to indulge again, process it on the ice cream setting of your Ninja Creami until creamy and smooth; avoid letting it sit out at room temperature for best texture.
Serving Tip: If it becomes too hard, you can reprocess it briefly on the ice cream setting to regain that luscious consistency perfect for scooping.
Expert Tips for Chocolate Peanut Butter Ninja Creami
-
Smooth Preparation: Make sure your cream cheese is fully softened; this prevents lumps in your chocolate peanut butter ice cream and ensures a silky texture.
-
Mix Thoroughly: Blend your ingredients well before freezing; uneven mixing can result in icy chunks instead of that desired creamy delight.
-
Thicker Mixture? If after processing the ice cream seems too thick, don’t hesitate to add a little splash of milk and reprocess for the best scoopable texture.
-
Mind the Mix-Ins: If adding mix-ins, create a hole in the center before processing the ice cream again. This helps distribute them evenly throughout your chocolate peanut butter ninja creami.
-
Optimal Storage: For the best results, store leftovers in an airtight container. When ready to serve again, just reprocess as needed instead of letting it sit at room temperature.
Chocolate Peanut Butter Ninja Creami Recipe FAQs
What is the best peanut butter powder to use for this recipe?
Absolutely! I recommend a high-quality, unsweetened peanut butter powder. Look for brands that specifically state they are natural with minimal additives—this will ensure the best peanut flavor and quality in your ice cream.
How should I store leftovers of my Chocolate Peanut Butter Ninja Creami?
For maximum freshness, store your leftovers in an airtight container in the freezer. This will keep the ice cream good for up to 2 weeks. Just remember to smooth out the top before sealing to minimize air exposure, which can cause freezer burn.
Can I freeze the mixture before processing it with the Ninja Creami?
Very! You should freeze the mixture for at least 24 hours before processing it with the Ninja Creami to achieve that perfect ice cream texture. Make sure it’s fully frozen solid for the best results. If you happen to freeze it longer, don’t worry—just let it sit for a few minutes before processing.
How do I troubleshoot if my ice cream is too thick after processing?
If your Chocolate Peanut Butter Ninja Creami is too thick, don’t fret! Simply add a splash of milk and reprocess it on the ice cream setting for 1-2 minutes until it reaches a creamy consistency. This extra step will help achieve that luscious texture you desire.
Are there any dietary considerations for this recipe?
If you’re concerned about allergies or dietary restrictions, be mindful that this recipe contains dairy and peanuts. For a dairy-free version, substitute the heavy cream and milk with plant-based alternatives. Additionally, if you have a nut allergy, consider using sun butter as a substitute for peanut butter powder.
How can I ensure my ice cream doesn’t get icy?
To avoid an icy texture, it’s critical to mix the ingredients thoroughly before freezing. Unevenly mixed ingredients can lead to ice crystals forming. Also, ensure your cream cheese is properly softened before mixing, as this helps achieve a creamy consistency.
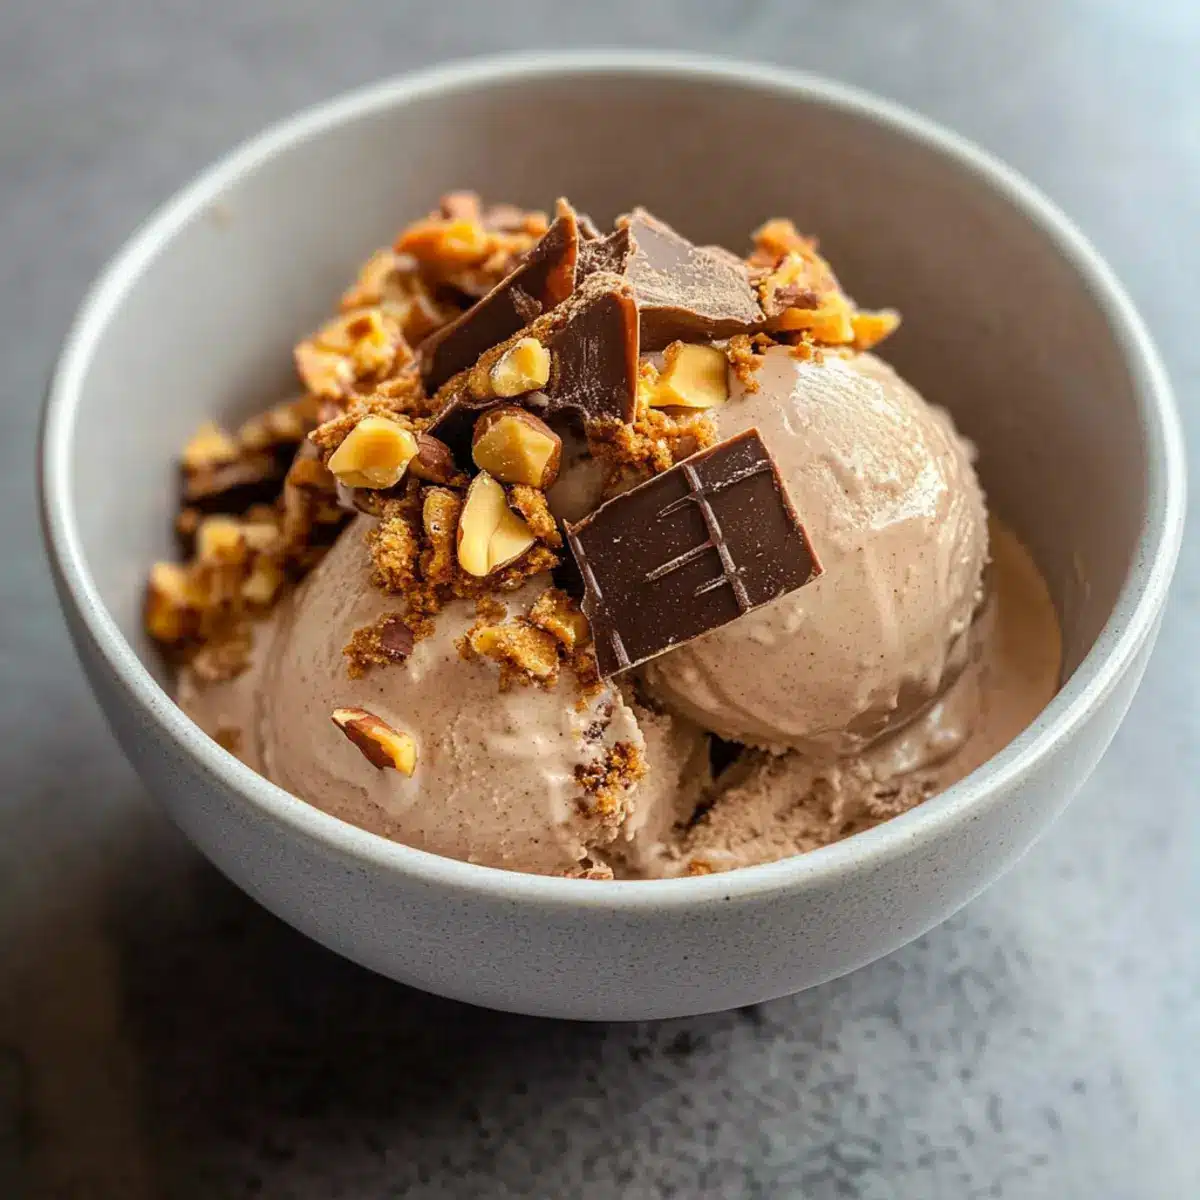
Creamy Chocolate Peanut Butter Ninja Creami for Summer Bliss
Ingredients
Equipment
Method
- Microwave the cream cheese for 10-15 seconds until softened.
- In a large mixing bowl, combine the melted cream cheese with the sugar, cocoa powder, peanut butter powder, and vanilla extract.
- Pour in the milk and heavy cream, whisking until fully incorporated and smooth.
- Transfer the mixture into the Ninja Creami pint container and freeze for a minimum of 24 hours.
- Set your Ninja Creami to the ice cream setting and blend until creamy and smooth.
- Add any optional mix-ins by creating a well in the center and using the mix-in feature to incorporate.
- Smooth out the top of any leftovers and return to the freezer.
Leave a Reply