
As I stood in my kitchen, the sweet scent of melting chocolate wafting through the air, I couldn’t help but feel a surge of excitement. Today, I’m whipping up a luxurious Black Tie Mousse Cake, a show-stopper that’s as simple as it is impressive. This no-bake dessert is the ultimate indulgence for chocolate lovers, layering a rich chocolate cake with creamy mousse that’ll leave you dreaming of your next slice. Not only is it a delightful pick for special occasions, but it’s also surprisingly easy to prepare, perfect for those moments when you want to impress friends or treat yourself without spending hours in the kitchen. Are you ready to dive into the world of this decadent creation that combines elegance and simplicity? Let’s make this chocolate lover’s dream come true!
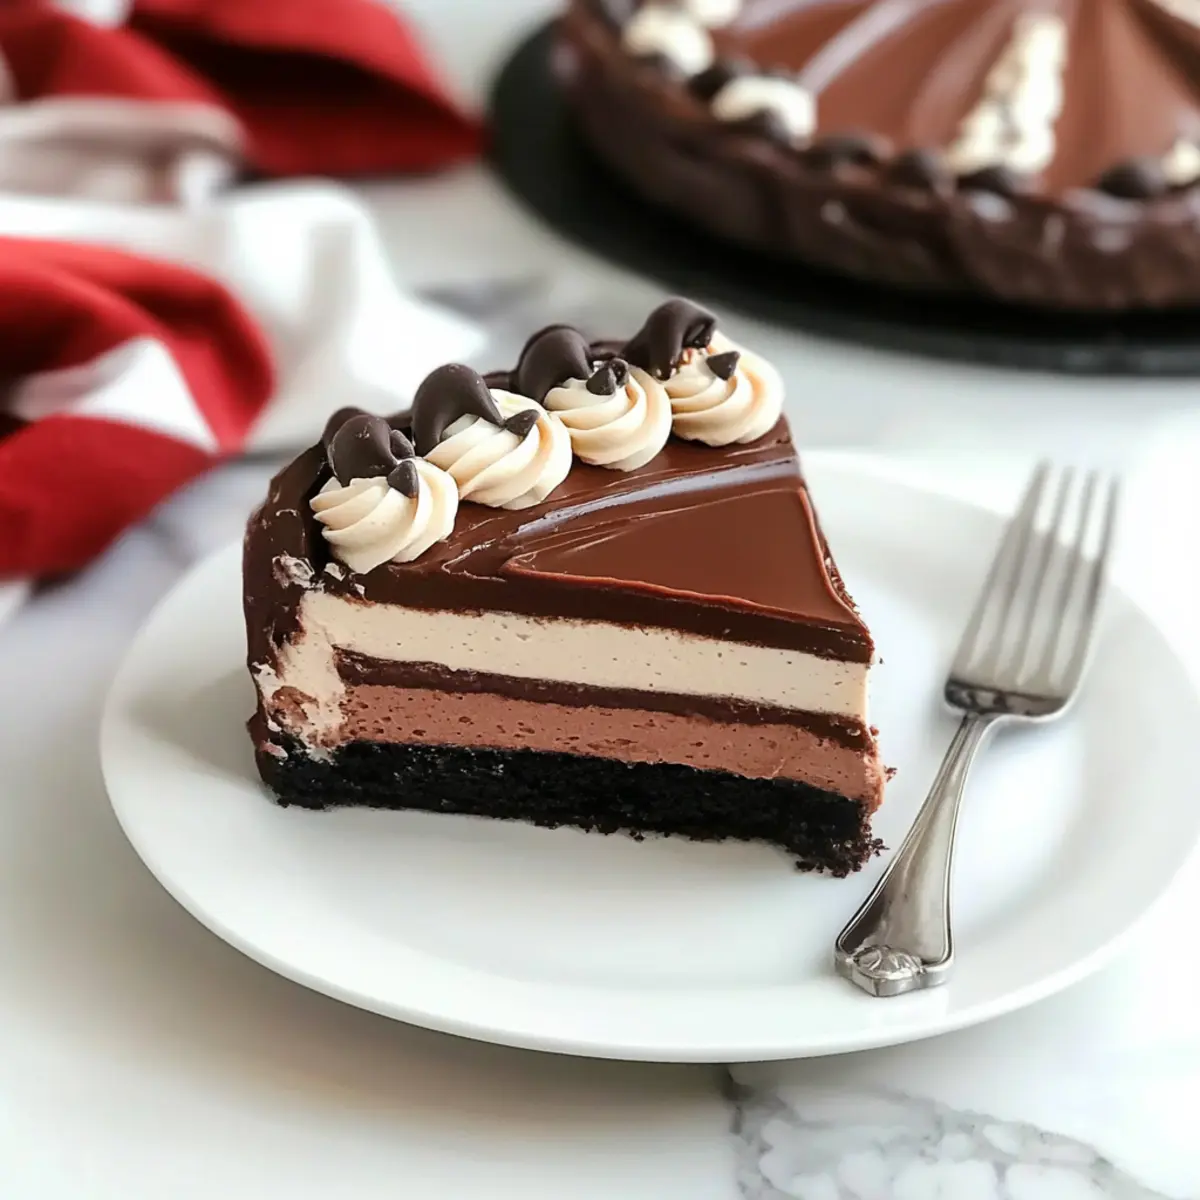
Why is this cake a must-try?
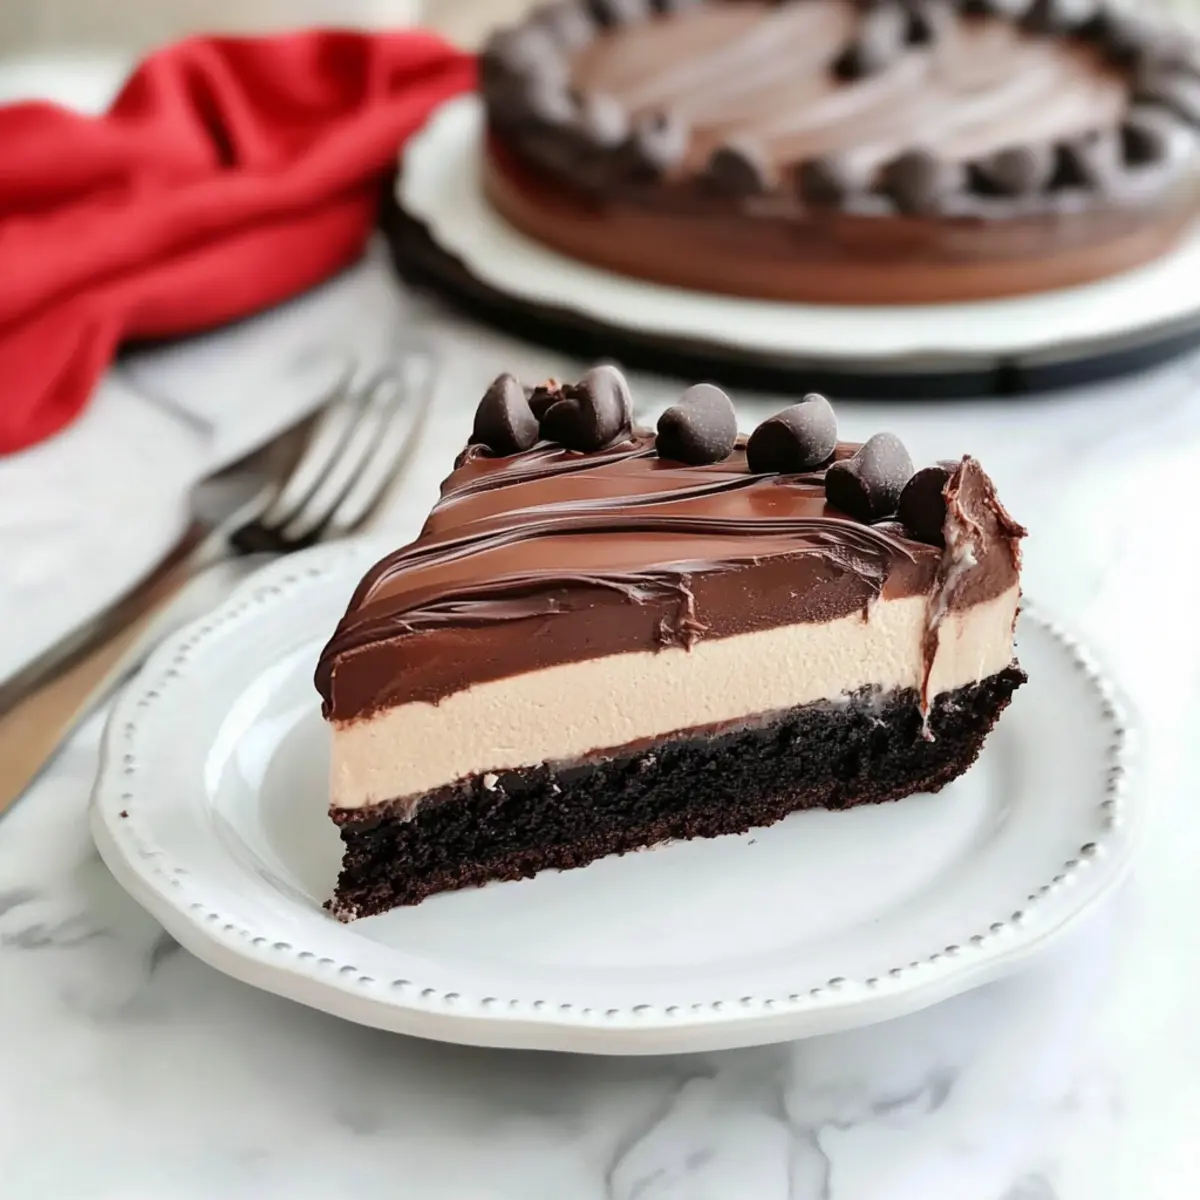
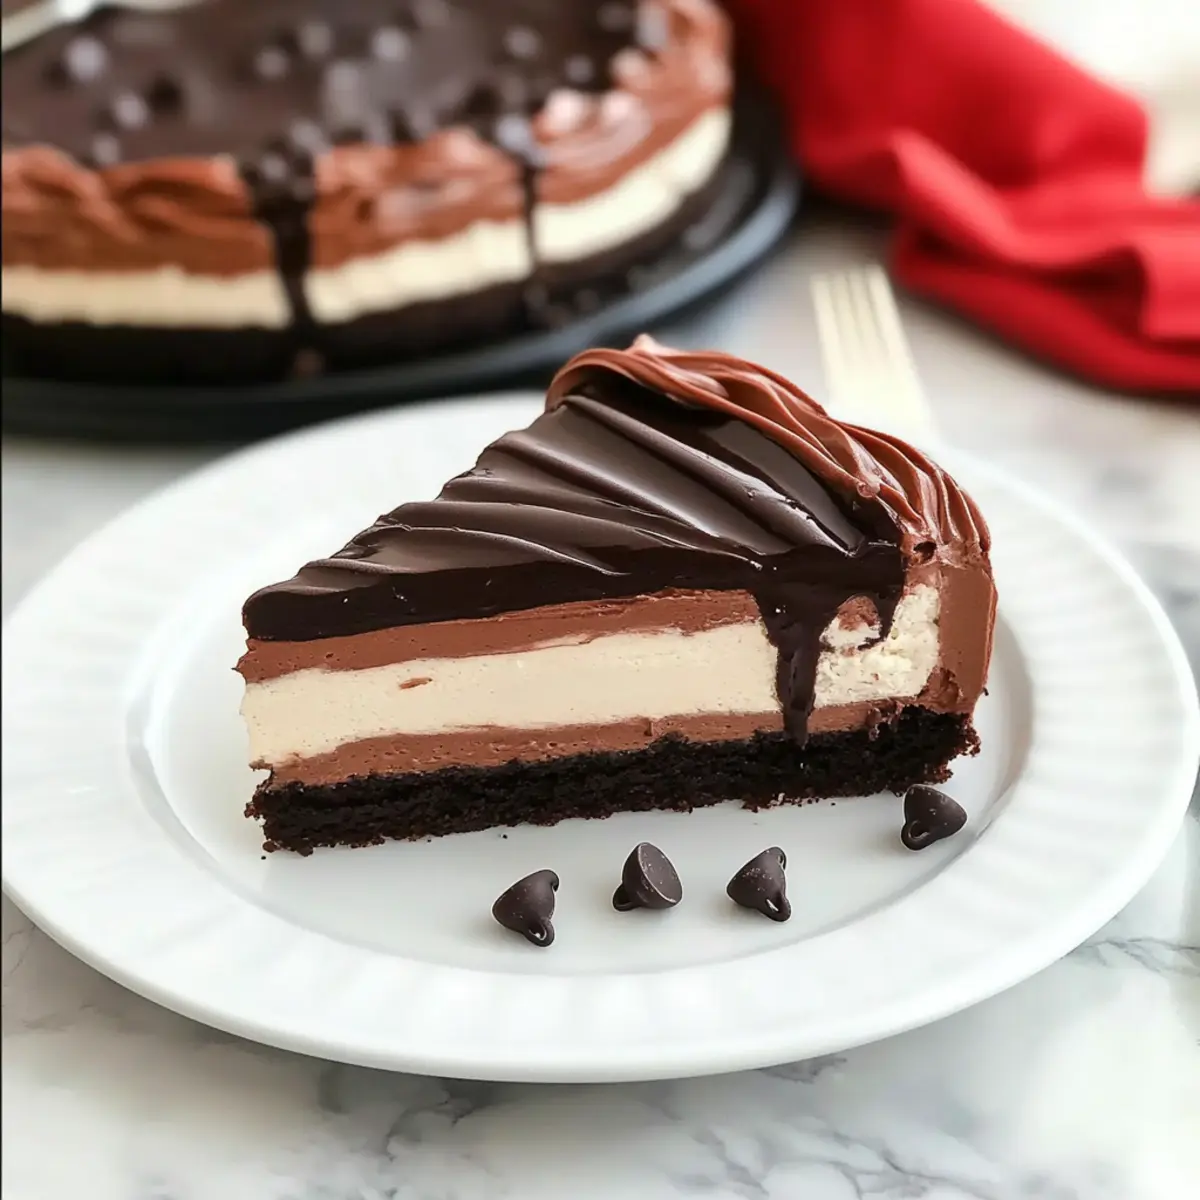
Decadent Layers: Each slice of the Black Tie Mousse Cake features a perfect harmony of rich chocolate cake, velvety chocolate mousse, and airy vanilla mousse, creating a decadent experience.
No-Bake Delight: This recipe is a dream come true for those who want to whip up an impressive dessert without turning on the oven.
Quick Assembly: In just a few simple steps, you can assemble this show-stopping cake, making it great for last-minute gatherings or special occasions.
Customizable Options: Feel free to experiment with flavors by adding coffee to the chocolate layers or topping it with your favorite fruits.
Crowd Pleaser: Whip this cake up for parties, and watch it disappear before your eyes, leaving everyone wanting more! For more delightful cake ideas, check out my Carrot Cake Roll or the airy Vegan Vanilla Cake to impress your guests.
Black Tie Mousse Cake Ingredients
Indulge in the luxurious flavors of this chocolate lover’s dream!
For the Cake Base
- Granulated Sugar – Provides sweetness for the chocolate cake; substitute with coconut sugar for a lower glycemic index.
- All-Purpose Flour – Offers structure to the cake layers; use a gluten-free flour blend for a gluten-free version.
- Unsweetened Cocoa Powder – Adds rich chocolate flavor; dark cocoa can be used for a deeper taste.
- Baking Powder – A leavening agent to help the cake rise; necessary for proper lifting.
- Baking Soda – Works alongside baking powder for the perfect puff; both are essential.
- Salt – Enhances flavor; swap with sea salt for a subtler taste.
- Egg – Binds and adds moisture to the cake; use a flax egg as a vegan alternative.
- Milk – Moistens the batter and adds richness; almond milk can substitute for a dairy-free option.
- Oil (Canola or Vegetable) – Keeps the cake moist; melted coconut oil is a great alternative.
- Vanilla Extract – Provides depth of flavor; opt for pure vanilla extract over imitation for best results.
- Boiling Water – Activates cocoa and helps dissolve ingredients; no substitutes here.
For the Mousse Filling
- Cream Cheese – Forms the base for the mousse layers; vegan cream cheese can replace it.
- Powdered Sugar – Sweetens and thickens the cream cheese mixtures; ideally, use erythritol for a sugar-free option.
- Unflavored Gelatin – Stabilizes the mousse and creates the desired texture; vegan options like agar-agar are available.
- Heavy Whipping Cream – Whipped to create airy mousse; substitute with coconut cream for a dairy-free option.
For the Ganache and Decoration
- Semi-Sweet Chocolate Chips – Provides rich flavor for the ganache; dark or dairy-free chocolate chips can also be substituted.
- White Chocolate Chips – For the decorative ganache; use vegan white chocolate for a plant-based alternative.
- Mini Chocolate Chips – Decorative and adds textural contrast; can be omitted or replaced with chopped nuts for a different bite.
Enjoy crafting your sensational Black Tie Mousse Cake with these ingredients!
Step‑by‑Step Instructions for Black Tie Mousse Cake
Step 1: Prepare the Baking Pan
Preheat your oven to 350°F (175°C) and grease a 9-inch springform pan generously with butter or cooking spray to ensure easy release later. This will create the perfect base for your decadent Black Tie Mousse Cake to rise beautifully. Set the pan aside while you prepare the cake batter.
Step 2: Make Chocolate Cake
In a large mixing bowl, sift together the all-purpose flour, cocoa powder, baking powder, baking soda, sugar, and salt for your chocolate cake. In a separate bowl, mix the wet ingredients, including eggs, milk, oil, vanilla extract, and boiling water until combined. Gradually incorporate the dry ingredients into the wet mixture, stirring until fully combined, then pour the batter into the prepared pan.
Step 3: Bake the Cake
Place the prepared pan in the preheated oven and bake for 15-18 minutes. The chocolate cake is done when a toothpick inserted into the center comes out clean, and the edges pull slightly from the pan. Keep an eye on it to avoid over-baking, as the cake will become dry. Once finished, remove the pan from the oven.
Step 4: Cool Cake
Allow the baked chocolate cake to cool in the pan for about 10 minutes, then gently transfer it to the freezer for 30 minutes. This rapid cooling not only helps the cake firm up, but also makes it easier to layer with the mousses later, ensuring a beautiful build for your Black Tie Mousse Cake.
Step 5: Mix Cream Cheese Layers
While the cake cools, prepare your chocolate and vanilla cream cheese mixtures. In separate bowls, beat the cream cheese until smooth, then incorporate powdered sugar and any flavors for each type—chocolate for one, and vanilla extract for the other. Mix until creamy and well-blended, ensuring there are no lumps to maintain a velvety texture.
Step 6: Stabilize Whipped Cream
Next, dissolve the unflavored gelatin in cold water according to package instructions. In a chilled bowl, whip the heavy cream until stiff peaks form, showcasing its aerated structure. Carefully fold the stabilized whipped cream into both the chocolate and vanilla cream cheese mixtures, ensuring a light and fluffy consistency for each mousse.
Step 7: Assemble Cake Layers
Once the chocolate cake is fully cooled, spread the chocolate mousse evenly over the top. Use an offset spatula for a smooth finish, then layer the vanilla mousse on top of the chocolate mousse. Make sure to layer them gently to create distinct sections. Cover the cake with plastic wrap and refrigerate for at least one hour to let the layers set.
Step 8: Make Ganaches
Prepare the ganache by heating heavy cream and butter in a saucepan until just simmering. Pour the hot mixture over semi-sweet chocolate chips in a separate bowl. Allow it to sit for a few minutes, then stir until the chocolate melts completely, creating a luscious, glossy ganache. Set aside to cool slightly before pouring over the chilled mousse layers.
Step 9: Decorate Cake
Once the ganache has thickened slightly, pour it over the top of the assembled Black Tie Mousse Cake, allowing it to drip down the sides. For an extra touch, pipe decorative patterns with white ganache and press mini chocolate chips onto the sides for added texture and visual appeal. This final step transforms your cake into a stunning centerpiece.
Step 10: Final Chill
Let your beautifully decorated cake set in the refrigerator for an additional 15-20 minutes, allowing the ganache to firm up slightly. This final chill enhances the layering effect and makes it easier to slice. When ready, use a hot, dry knife to cut through the cake for clean edges, ensuring a stunning presentation for your guest.
Expert Tips for Black Tie Mousse Cake
- Room Temperature Cream Cheese: Ensure cream cheese is at room temperature to avoid lumps; this will give your mousse a smooth, creamy texture.
- Careful Gelatin Mixing: Add the gelatin slowly into the whipped cream to prevent clumping, ensuring a light mousse that holds its shape.
- Chilling for Flavor: Chill the assembled cake for several hours or overnight for the best flavor and texture; patience pays off in rich taste!
- Hot Knife Slicing: Use a hot, dry knife to slice through the cooled cake, providing clean edges and maintaining the beautiful layers of your Black Tie Mousse Cake.
- Don’t Rush the Ganache: Allow the ganache to cool slightly before pouring over the cake; this will prevent it from sliding off and ensure a gorgeous finish.
What to Serve with Black Tie Mousse Cake?
Complement your decadent masterpiece with perfect pairings that enhance its rich chocolate flavors and dreamy textures.
- Fresh Berries: The bright acidity of strawberries or raspberries cuts through the richness, adding a refreshing contrast on your plate.
- Whipped Cream: A dollop of lightly sweetened whipped cream adds a creamy, fluffy touch that harmonizes beautifully with the cake’s luscious layers.
- Espresso or Coffee: A bold cup of coffee elevates the chocolate experience, bringing out the cake’s depth while providing a satisfying caffeine boost.
- Chocolate Shavings: Sprinkling chocolate shavings on top creates an elegant touch, offering additional texture and a visual appeal that delights the senses.
- Mint Leaves: A garnish of fresh mint adds an aromatic freshness, making each bite feel lighter and enhancing the overall flavor profile.
- Vanilla Ice Cream: The creamy, cool sensation of vanilla ice cream perfectly complements the cake’s richness, creating a luscious indulgence for dessert lovers.
- Cocoa Dusting: A light dusting of cocoa powder on the plate offers a sophisticated touch, enhancing the chocolate flavor and elegance of your presentation.
- Hazelnut Praline: Adding crushed hazelnut praline introduces a delightful crunch, offering both flavor and texture that beautifully contrasts the smooth mousse.
- Sparkling Wine: A glass of sparkling wine adds a celebratory touch, its bubbles complementing the cake’s creamy textures while refreshing the palate.
- Chocolate Ganache Tart: For the ultimate chocolate lover, serve alongside a slice of creamy ganache tart, showcasing different chocolate techniques and intensities.
Storage Tips for Black Tie Mousse Cake
-
Fridge: Store the Black Tie Mousse Cake in the refrigerator for up to 5-7 days. Cover it with plastic wrap or place it in an airtight container to maintain freshness and prevent drying out.
-
Freezer: If you wish to keep the cake longer, freeze it for up to 3 months. Wrap tightly in plastic wrap and aluminum foil to prevent freezer burn.
-
Thawing: To enjoy a slice, thaw the cake overnight in the refrigerator. This gentle process retains the mousse’s creamy texture and flavors.
-
Reheating: There’s no need to reheat this no-bake dessert, but if you want a warmed ganache pour, gently warm it in the microwave in short increments, stirring until smooth.
Make Ahead Options
Preparing your delicious Black Tie Mousse Cake ahead of time is a game-changer for busy weeknights or special occasions! You can make the chocolate cake base up to 3 days in advance and store it tightly wrapped in the refrigerator to keep it moist. Additionally, the chocolate and vanilla cream cheese fillings can be prepared up to 24 hours ahead; just store them separately in airtight containers to prevent them from losing their airy texture. When you’re ready to serve, simply assemble the layers and pour the chilled ganache over the top. This way, you’ll achieve that rich indulgence with minimal last-minute effort—perfect for impressing your guests while saving time!
Black Tie Mousse Cake Variations
Feel free to get creative with your Black Tie Mousse Cake and make it your own with these delightful twists!
-
Vegan Option: Use dairy-free cream cheese and coconut cream for the mousse; this way, everyone can indulge without compromise.
A vegan twist doesn’t mean you sacrifice flavor; it still delivers a divine chocolate experience! -
Gluten-Free: Swap all-purpose flour with a gluten-free blend to cater to your gluten-sensitive loved ones.
Just ensure you pick a quality blend to maintain the cake’s rich and fluffy texture! -
Flavorful Boosts: Add a teaspoon of espresso powder to the chocolate layers for a richer, deeper flavor that coffee lovers will adore.
This tiny addition can elevate the chocolate’s richness to new heights, captivating your taste buds. -
Fruit Fusion: Introduce fresh fruit purees, like raspberry or mango, into the mousse for a vibrant flavor twist.
The fruity notes create a refreshing contrast against the luscious chocolate, making each bite a delightful surprise! -
Nutty Crunch: Fold in crushed almonds or hazelnuts into the mousse layers for a delightful texture twist.
This unexpected crunch adds dimension and elevates the sophistication of your cake. -
Mini Size Delight: Create mini versions of the mousse cake in individual cups or jars for fun party treats.
Perfect for gatherings, these mini delights allow guests to enjoy a small indulgence without guilt! -
Scented Layers: Incorporate a few drops of orange or peppermint extract for a refreshing flavor twist.
These aromatic notes will dance alongside the chocolate, providing a surprising and uplifting experience. -
Chilled Delight: Serve it as a frozen dessert by simply freezing the assembled cake, making it perfect for hot summer days.
Frozen treats are a hit during warm weather, bringing a refreshing and creamy experience that’s hard to resist!
For more inspiration, you might also enjoy trying my Vegan Pistachio Coffee Cake or adding a chocolate touch to your gathering with a Cane Striped Cake.
Black Tie Mousse Cake Recipe FAQs
What type of cocoa powder should I use for the best flavor?
I recommend using unsweetened cocoa powder for a rich chocolate flavor, but if you want a deeper taste, dark cocoa powder can enhance the chocolatey notes even more!
How should I store leftovers of the Black Tie Mousse Cake?
To keep your cake fresh, store it in the refrigerator for up to 5-7 days. Make sure to cover it with plastic wrap or place it in an airtight container to prevent drying out.
Can I freeze the Black Tie Mousse Cake?
Absolutely! You can freeze the cake for up to 3 months. Be sure to wrap it tightly in plastic wrap and then aluminum foil to prevent freezer burn. When you’re ready to enjoy it again, let it thaw overnight in the refrigerator.
What if my mousse layers aren’t setting properly?
If your mousse layers aren’t setting, it likely means the gelatin wasn’t fully dissolved or mixed in properly. Make sure to dissolve the unflavored gelatin in cold water as per instructions, then slowly fold it into the whipped cream mix until combined. If using agar-agar as a vegan option, follow package instructions to achieve the right consistency.
Are there any dietary considerations for the Black Tie Mousse Cake?
Yes! If you have dietary restrictions, you can easily modify this recipe. Use gluten-free flour for those avoiding gluten, opt for vegan cream cheese and a flax egg for a plant-based version, and select dairy-free chocolate chips. Always check ingredient labels for allergens and substitutions too!
How can I ensure I cut clean slices of my Black Tie Mousse Cake?
To ensure clean slices, use a hot, dry knife for cutting through the cake. You can heat the knife by running it under hot water, then drying it thoroughly. This technique will help you achieve beautiful, perfect layers without squishing your delicate mousse!
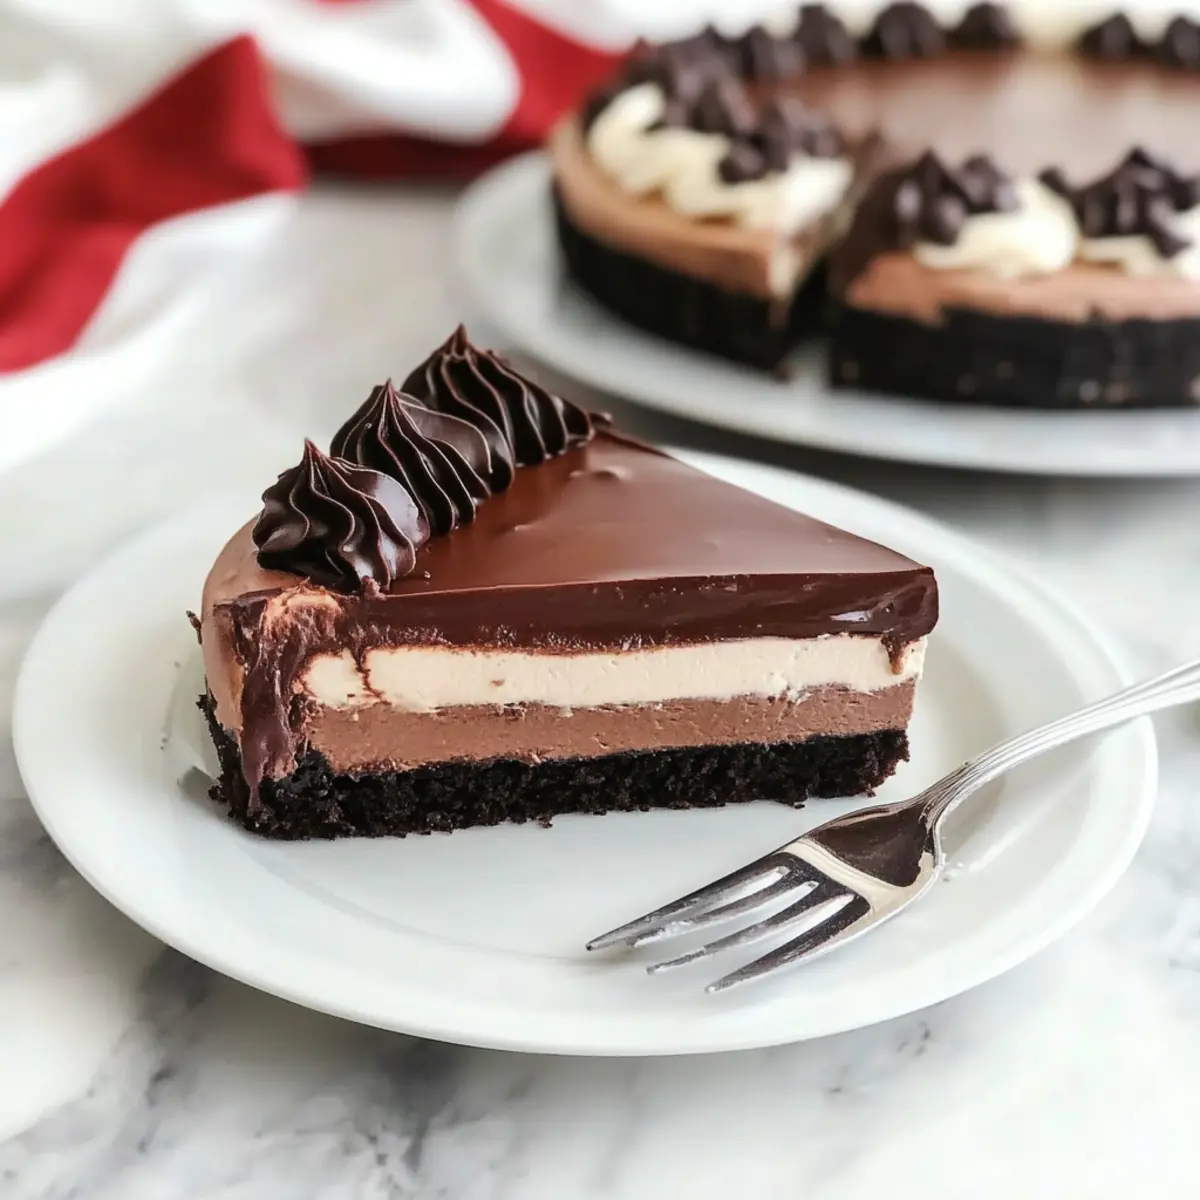
Delight in Decadence: Easy Black Tie Mousse Cake at Home
Ingredients
Equipment
Method
- Preheat your oven to 350°F (175°C) and grease a 9-inch springform pan generously.
- Sift together the flour, cocoa powder, baking powder, baking soda, sugar, and salt.
- In a separate bowl, mix the wet ingredients: eggs, milk, oil, vanilla extract, and boiling water.
- Gradually incorporate the dry ingredients into the wet mixture and pour into the prepared pan.
- Bake for 15-18 minutes until a toothpick comes out clean. Remove and cool for 10 minutes, then freeze for 30 minutes.
- Prepare your cream cheese mixtures by beating until smooth and combining with powdered sugar and flavors.
- Dissolve the gelatin in cold water and whip the heavy cream until stiff peaks form. Fold into the cream cheese mixtures.
- Spread the chocolate mousse over the cooled cake, then layer vanilla mousse on top. Cover and refrigerate for at least one hour.
- Prepare the ganache by heating heavy cream and pouring it over the chocolate chips, then stir until smooth.
- Pour the ganache over the chilled mousse layers and decorate with white ganache and mini chocolate chips.
- Let the cake set in the refrigerator for 15-20 minutes before slicing with a hot knife.
Leave a Reply