
You know that magical feeling when spring arrives, and suddenly, everything feels a bit more colorful? Enter these No-Bake Rice Krispie Nests that not only embody the essence of Easter but also invite everyone into the kitchen for some hands-on fun! This recipe marries the delightful crunch of Rice Krispie cereal with sweet marshmallows, making it an easy, kid-friendly treat perfect for any celebration. With just a few ingredients and minimal prep time, you’ll have an adorable dessert that will charm guests of all ages. Plus, these treats are a wonderful opportunity for families to bond while decorating and customizing their nests with colorful goodies. Curious about how to create these whimsical delights that add a festive flair to your table? Let’s dive into the easy steps!
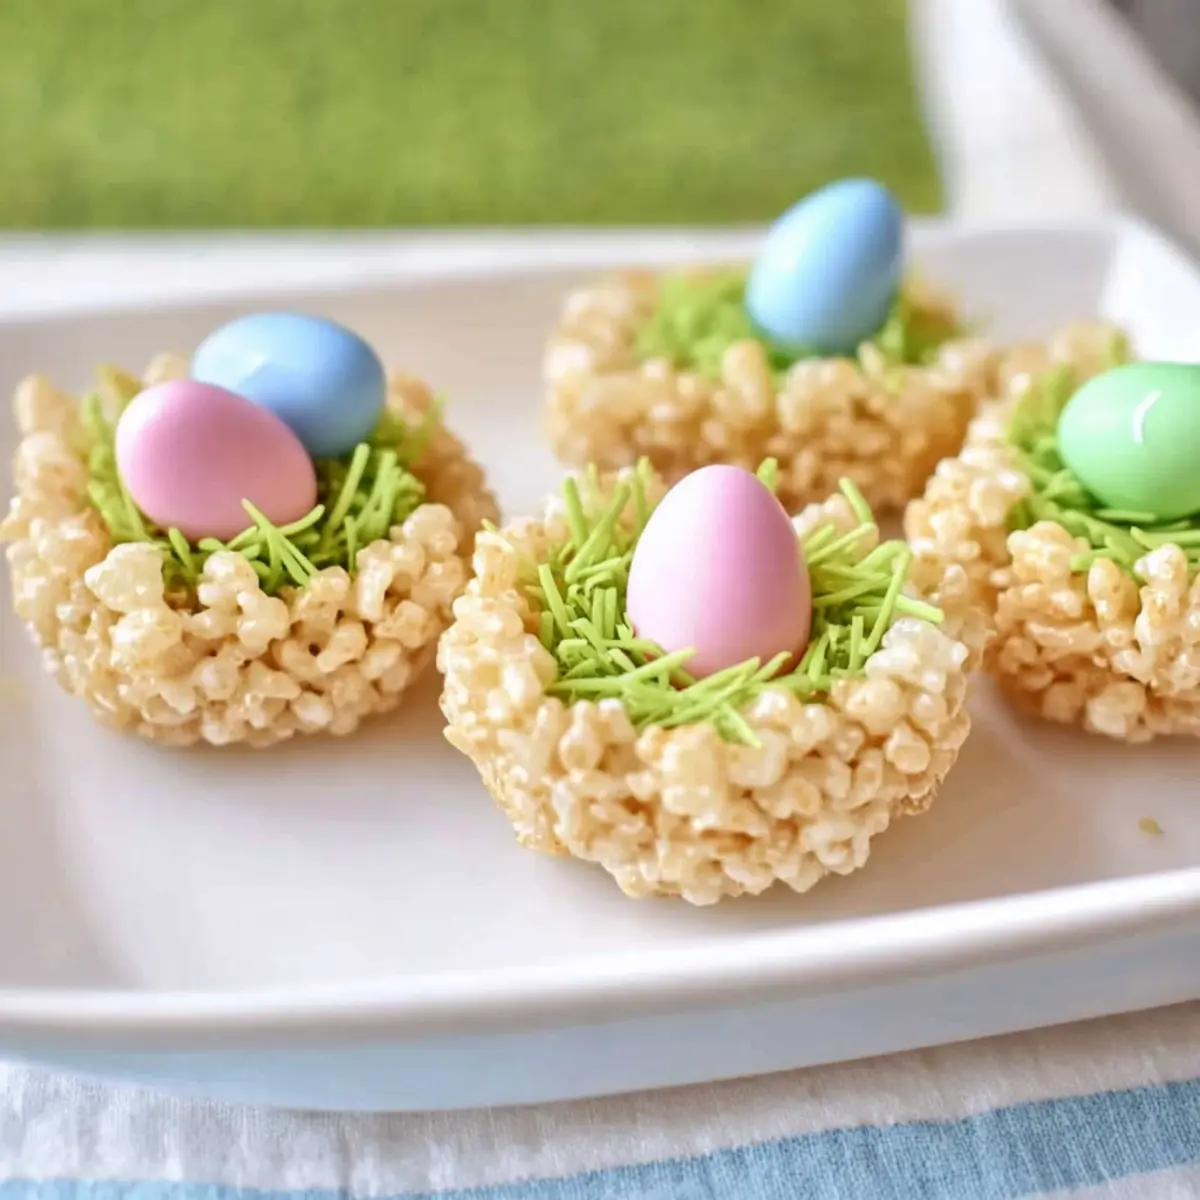
Why are Rice Krispie Nests so delightful?
No-Bake Simplicity: This recipe requires no oven, making it a breeze for even the busiest home cooks! Just melt, mix, and mold for quick results.
Kid-Friendly Fun: Perfect for involving little ones; they’ll love helping shape their nests and adding their favorite toppings.
Customizable Creations: Mix and match flavors by swapping mini eggs for chocolate-covered almonds or budding creativity with colorful jelly beans!
Perfect for Celebrations: Ideal for Easter brunch, school parties, or any spring gathering; these treats will surely wow your guests.
Quick Prep Time: Ready in about 30 minutes, you’ll have delightful, crunchy treats to share in no time! Whether you’re enjoying a sweet moment with your family or looking for something fun to do together, consider pairing these nests with something special like Tofu Fried Rice for a complete meal!
Rice Krispie Nests Ingredients
For the Nest Mixture
• Butter – Provides richness and moisture; use margarine as a dairy-free alternative.
• Miniature Marshmallows – Give the treat its signature chewy texture; be sure to use fresh marshmallows for best results.
• Rice Krispie Cereal – This adds structure and crunch; no substitutions needed.
For Decoration
• Edible Easter Grass – A decorative element mimicking a real nest; shredded coconut dyed green can be used instead.
• Mini Eggs – Adds a touch of sweetness and visual appeal; can substitute with chocolate candy eggs.
Step‑by‑Step Instructions for Rice Krispie Nests
Step 1: Prepare Muffin Tins
Start by coating two muffin tins with non-stick spray to ensure easy removal of your Rice Krispie Nests later. Set the tins aside while you prepare the ingredient mixture. This step is crucial for preventing the nests from sticking and breaking apart when you’re ready to serve your delightful treats.
Step 2: Melt Mixture
In a large pot over medium heat, melt 3 tablespoons of butter until bubbly, taking care not to burn it. Stir in 4 cups of miniature marshmallows continuously until they are fully melted and smooth, approximately 5-7 minutes. Once the mixture looks glossy and is lump-free, remove the pot from heat, and let the melted mixture cool slightly before proceeding.
Step 3: Combine and Shape
Quickly add 6 cups of Rice Krispie cereal to the melted marshmallow mixture, stirring gently until well-coated. The cereal should be evenly mixed with the gooey marshmallows—use a spatula for this purpose. Once combined, swiftly press the mixture into each cup of the prepared muffin tins, creating nests with small indentations in the center for filling later.
Step 4: Set and Decorate
Allow the Rice Krispie Nests to set at room temperature for about 20 minutes, or until they are firm to the touch. Once set, gently pop each nest out of the muffin tins and place them on a serving platter. Now, get creative by decorating each nest with a handful of edible grass and a few mini eggs nestled in the center, making them look truly festive!
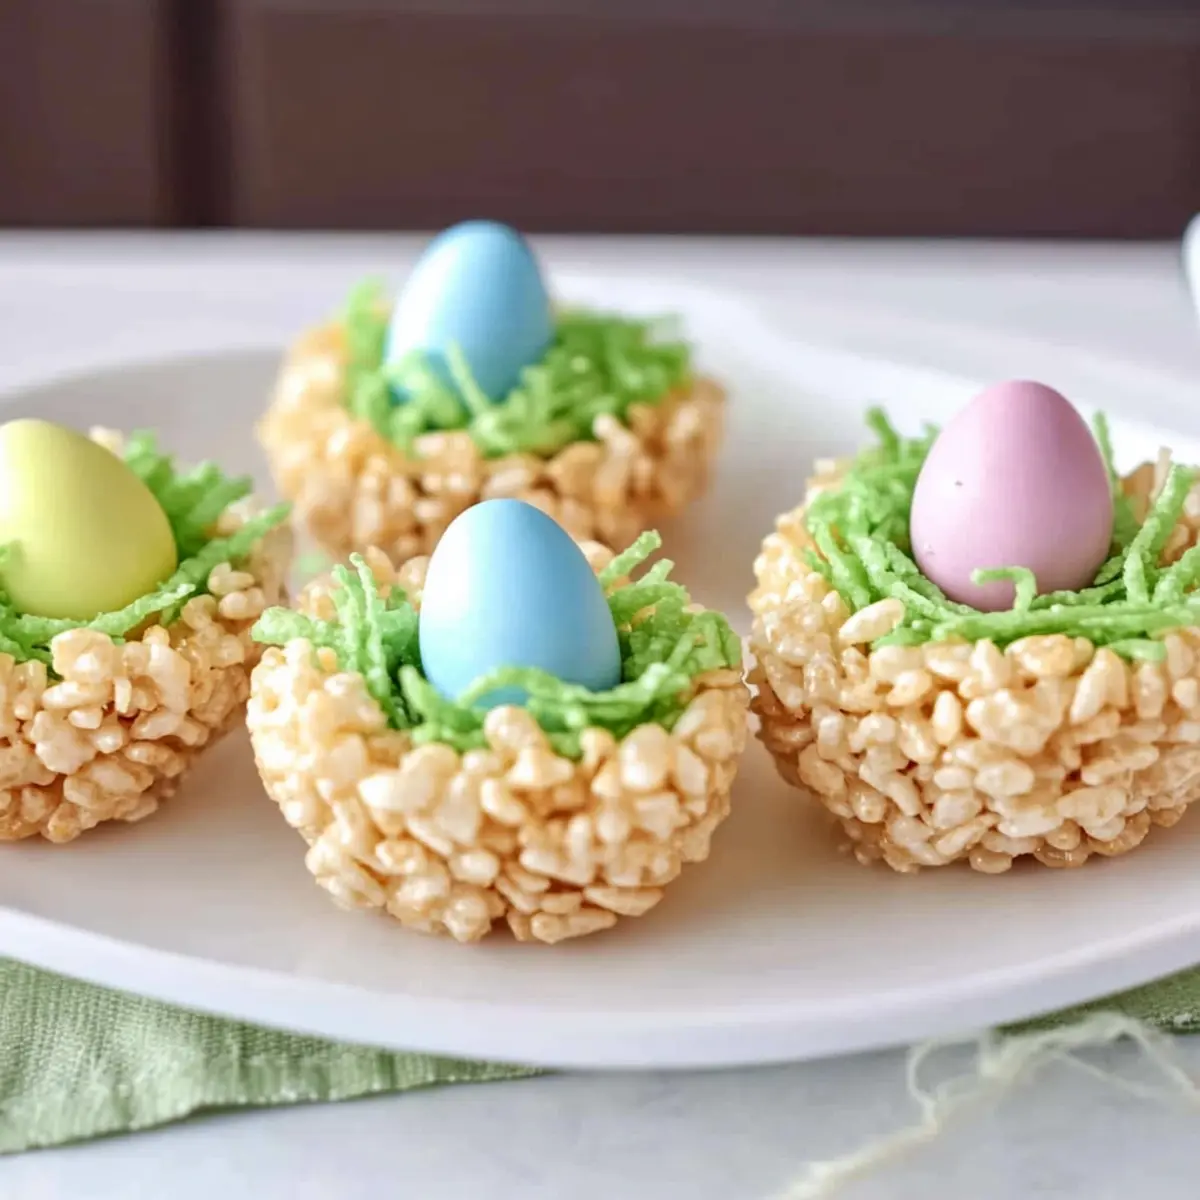
Rice Krispie Nests Variations & Substitutions
Feel free to unleash your creativity and customize these delightful treats to suit your taste!
-
Dairy-Free: Use margarine instead of butter for a creamy alternative that keeps the nests just as rich.
-
Coconut Twist: Replace edible grass with green-dyed shredded coconut for a tropical flair that adds wonderful texture.
-
Nutty Surprise: Swap mini eggs for chocolate-covered almonds or peanuts to introduce a satisfying crunch and nutty goodness.
-
Flavor Burst: Drizzle melted chocolate over the nests before adding decorations, elevating these treats with an indulgent, rich layer.
-
Fruity Fun: Add a sprinkle of chopped dried fruits, like cranberries or apricots, to the nests for a chewy, sweet contrast.
-
Seasonal Spin: Instead of mini eggs, try using pastel M&M’s for a pop of color and a different flavor profile.
-
Spiced Up: Mix in a pinch of cinnamon or nutmeg in the melted marshmallow mixture for a warm and cozy flavor.
-
Rainbow Nests: Use colorful candy-coated chocolate treats as toppings for a vibrant and fun finish that will delight kids and adults alike.
These Rice Krispie Nests are not just adorable, but they’re highly customizable! If you’re up for more variation, consider serving them alongside some delicious Japanese Banana Rice for a unique twist on dessert.
Expert Tips for Rice Krispie Nests
-
Grease Hands: Use non-stick spray on your hands to prevent the mixture from sticking while shaping the nests—it’s a game changer!
-
Work Quickly: The marshmallow mixture hardens fast, so be sure to press it into the muffin tins promptly for the best results.
-
Store Properly: Keep your Rice Krispie Nests in an airtight container at room temperature for freshness; avoid freezing them to maintain their charming texture.
-
Extra Flavor Boost: Consider adding a teaspoon of vanilla extract to the melted marshmallow mixture for a delightful flavor that elevates these treats!
-
Creative Decorations: Get creative when decorating! You can swap mini eggs for chocolate-covered almonds or colorful jelly beans for a fun twist on these Easter treats.
What to Serve with Rice Krispie Nests
Embrace the spirit of celebration with these joyful treats and create a charming spread that delights the senses.
-
Spring Salad: A vibrant mix of fresh greens and colorful veggies adds a crisp, refreshing contrast to the sweet nests. The crunchiness will perfectly balance the gooey texture of the Rice Krispie Nests.
-
Fruit Skewers: Juicy strawberries, pineapple, and melon on skewers not only offer a pop of color but also provide a sweet, healthy bite that complements the sweetness of your nests.
-
Chocolate-Covered Strawberries: Indulge in these rich, decadent bites that echo the sweetness of the nests. The combination of smooth chocolate and fresh fruit is a tempting delight.
-
Lemonade Fizz: A refreshing citrus beverage infused with bubbles adds a lively touch, enhancing the festive atmosphere of your gathering while balancing the sugary treats.
-
Carrot Sticks with Hummus: Serve a nutritious and crunchy option alongside the nests. The creamy hummus pairs beautifully, providing a savory counterpoint to the sweetness.
-
Mini Cupcakes: Offer an assortment of mini cupcakes for dessert lovers, where the fluffy cake and buttercream icing create an inviting contrast to the texture of the Rice Krispie Nests.
-
Ice Cream Sundaes: Serve a scoop of creamy vanilla ice cream topped with chocolate sauce and sprinkles for a luscious dessert, making it a hit for both kids and adults alike.
-
Herbal Iced Tea: Refreshing and soothing, this drink can provide a light, herbal contrast to the sweet nests, making for a balanced meal experience.
-
Chocolate Milk: Indulge the kids (and adults!) with a nostalgic twist on a classic drink that perfectly complements the Rice Krispie Nests, providing a rich and creamy pairing.
Make Ahead Options
These Rice Krispie Nests are perfect for busy home cooks looking to save time during festive seasons! You can prepare the nest mixture up to 24 hours in advance by following steps 1 through 3 (muffin tin preparation, melting the butter and marshmallows, and combining with the cereal). Simply store the molded nests in an airtight container at room temperature to maintain their delightful crunch. Just before serving, allow the nests to set for about 20 minutes if they’ve softened during storage, and then decorate them with edible grass and mini eggs. This way, you’ll have beautifully crafted, kid-friendly treats ready to impress your guests with minimal last-minute effort!
Storage Tips for Rice Krispie Nests
-
Room Temperature: Keep your Rice Krispie Nests in an airtight container to maintain their freshness for up to 4 days. Layer with wax paper to prevent sticking.
-
Fridge: While not necessary, you can store them in the fridge for a firmer texture, but allow them to come to room temperature before serving for optimal taste.
-
Freezer: Avoid freezing Rice Krispie Nests as the texture may change, leading to chewy or hard treats that lose their charm.
-
Reheating: These treats are best served at room temperature; there’s no need to reheat. Just let them warm up a bit outside the fridge before enjoying!
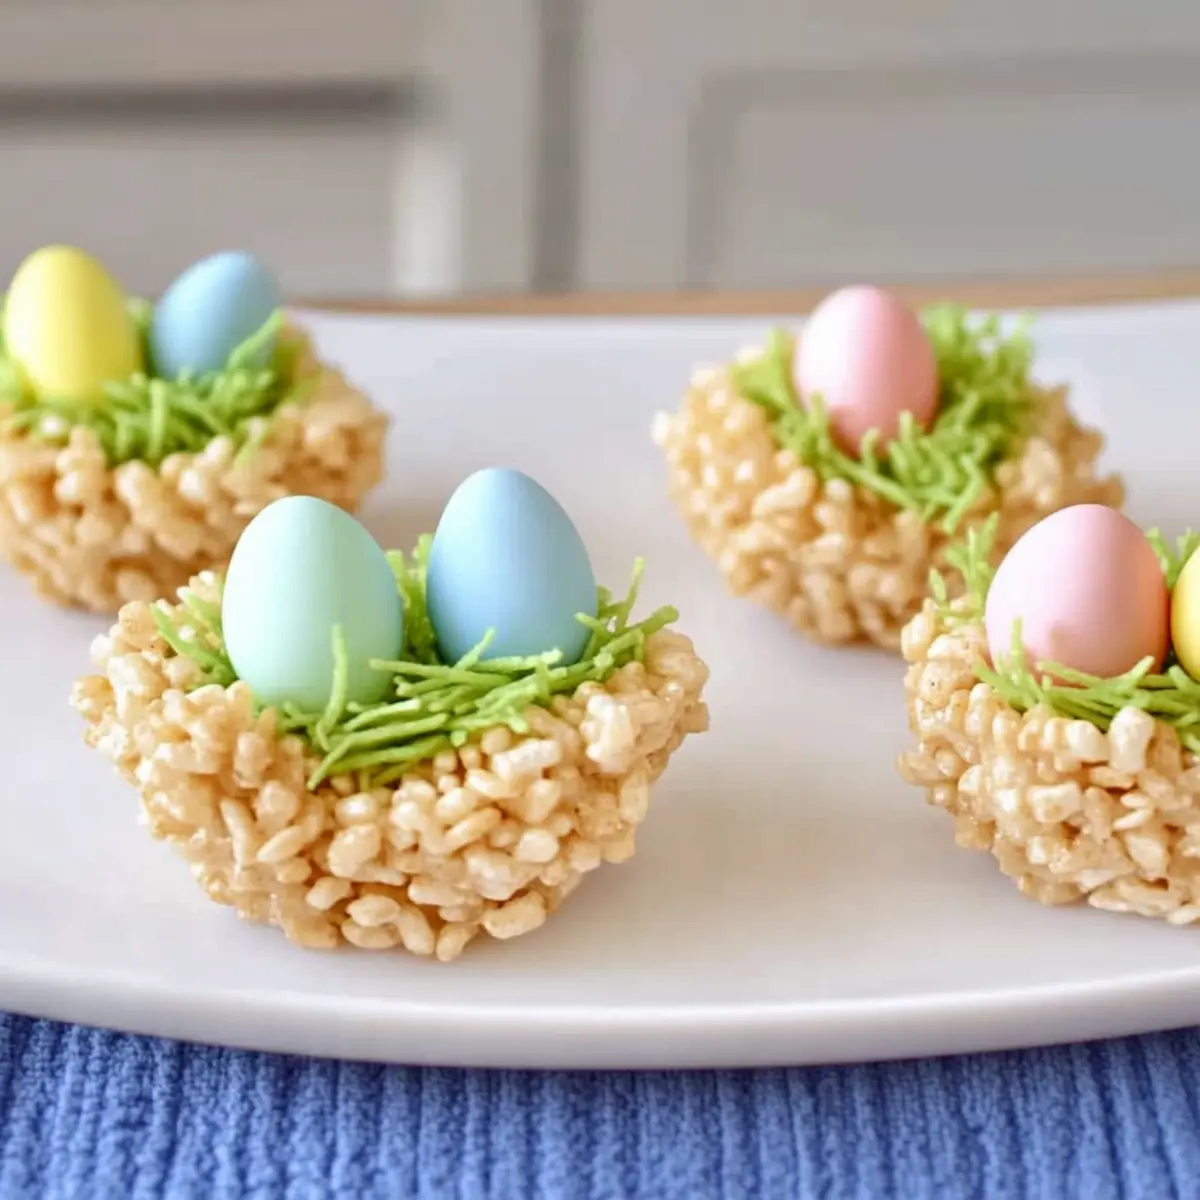
Rice Krispie Nests Recipe FAQs
What should I look for when selecting marshmallows?
Absolutely! When choosing miniature marshmallows, opt for fresh ones as they provide that signature chewy texture. Avoid any that have dark spots all over or are hard to the touch, as they won’t melt well and can affect the overall texture of your Rice Krispie Nests.
How should I store my Rice Krispie Nests?
To keep your Rice Krispie Nests fresh, place them in an airtight container at room temperature for up to 4 days. You can layer them with wax paper to prevent sticking. If you prefer a firmer texture, feel free to store them in the fridge, but remember to let them return to room temperature before serving to fully enjoy their delightful crunch!
Can I freeze Rice Krispie Nests?
I advise against freezing your Rice Krispie Nests, as they can become chewy or hard once thawed, losing their irresistible charm. Instead, enjoy them fresh or store them properly at room temperature. If you’re aiming to prepare in advance, making them a day or two ahead works perfectly!
What should I do if my mixture is too sticky?
Very! If you find that your Rice Krispie mixture is too sticky when molding, try greasing your hands with a little non-stick spray. This little trick keeps the marshmallow mixture from clinging to your fingers. If necessary, wet your hands slightly with water, but be careful not to add too much moisture to the nests themselves as it can affect the texture.
Are there any allergy considerations with this recipe?
Definitely! If you’re making Rice Krispie Nests for a crowd, keep in mind that marshmallows may contain allergens like gluten (some brands) or can be processed in facilities that handle nuts. If you’re aware of any food sensitivities or dietary restrictions, check the packaging carefully and consider using allergy-friendly alternatives, such as vegan marshmallows or dairy-free butter.
Can I customize the decorations on the nests?
Absolutely! One of the best parts about this recipe is its flexibility. Swap out edible grass for shredded coconut dyed green, or use chocolate-covered almonds, jelly beans, or even sprinkles to add a personal touch to your beautiful nests. Let your creativity flow!
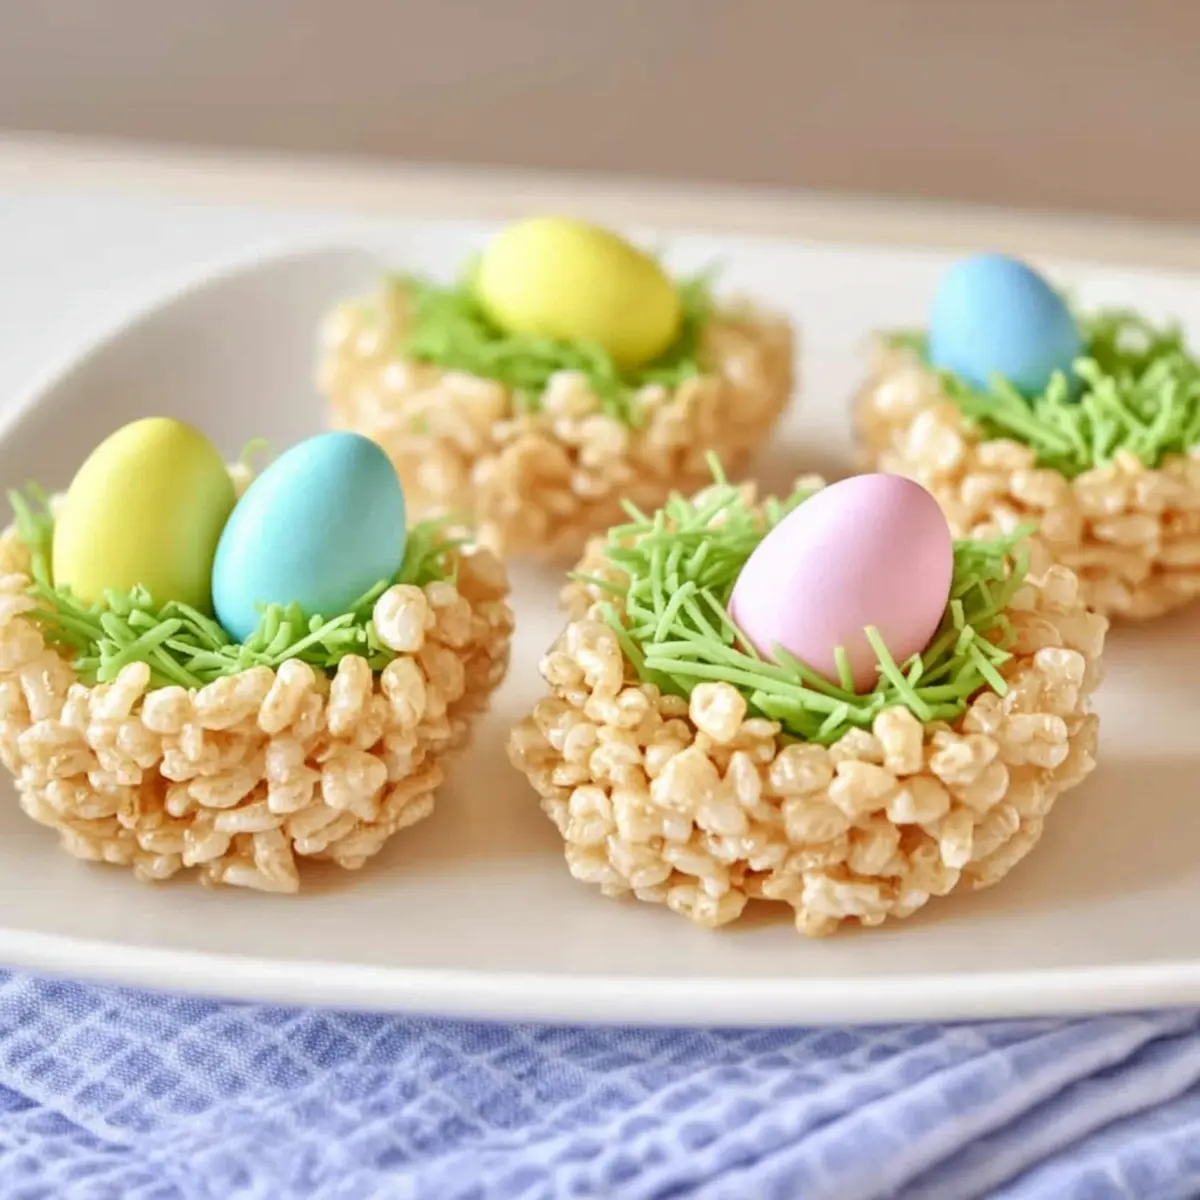
Easy Rice Krispie Nests: No-Bake Treats for Easter Fun
Ingredients
Equipment
Method
- Prepare Muffin Tins: Coat two muffin tins with non-stick spray.
- Melt Mixture: In a large pot over medium heat, melt butter until bubbly. Stir in marshmallows until fully melted, about 5-7 minutes.
- Combine and Shape: Add Rice Krispie cereal to the melted mixture, stirring until well-coated, then press into muffin tins.
- Set and Decorate: Allow to set for 20 minutes, then decorate with edible grass and mini eggs.
Leave a Reply