
As spring unfolds and vibrant colors begin to paint the world, I can’t help but feel a wave of nostalgia for the delightful treats that celebrate this season—like the whimsical Easter Egg Peanut Butter Haystacks. These charming little clusters bring together creamy peanut butter and crunchy chow mein noodles, creating a dessert that’s not only fun to make but also fast and no-bake! Perfect for involving the kids, you can whip up these festive bites in a jiffy using just your microwave, making them a hassle-free addition to any Easter celebration. They effortlessly embody the spirit of family traditions, evoking memories of laughter and joy. Curious to create your own edible nests filled with colorful candies? Let’s dive into the recipe!
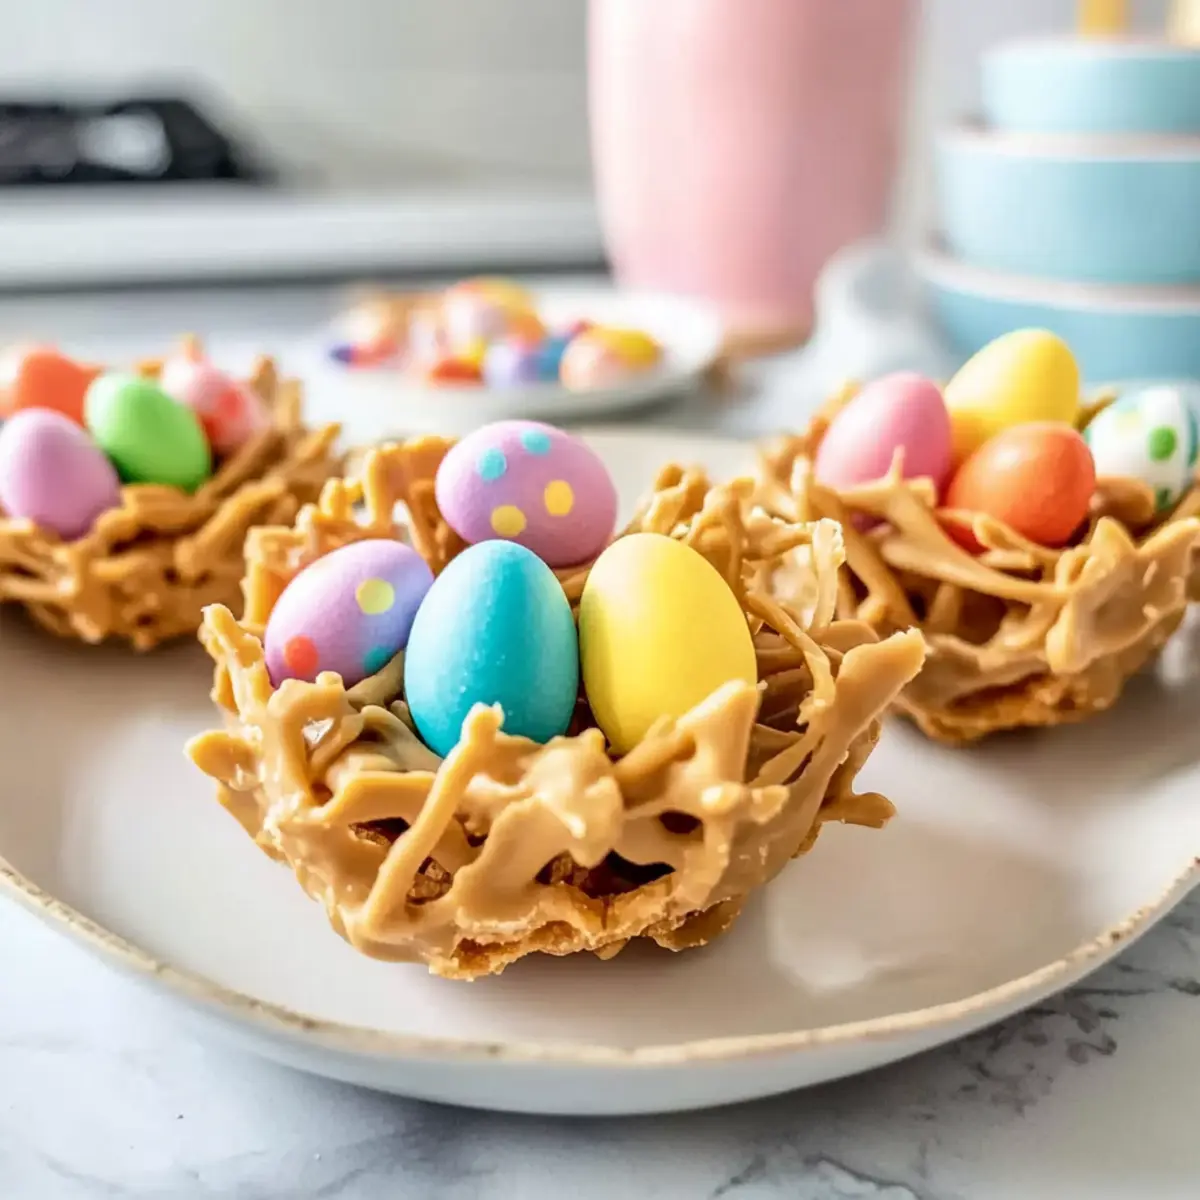
Why Are These Haystacks So Irresistible?
Simplicity makes these treats a breeze to whip up, even for beginner cooks! Nostalgic flavors take you back to cherished family moments during Easter celebrations. No-bake means you can skip the oven and save time, making them a perfect last-minute treat. Kid-friendly fun allows your little ones to help create their own edible masterpieces. Plus, the customization options let you play with flavors—try using almond butter or mixing in mini marshmallows! With these Easter Egg Peanut Butter Haystacks, you’ll bring joy to your family gathering and create sweet memories in the process.
Easter Egg Peanut Butter Haystacks Ingredients
For the Nests
- Chow Mein Noodles – Provide the essential crunch and structure; feel free to use pretzel sticks for a unique twist.
- White Chocolate – Adds a delightful sweetness and creamy texture; you can substitute with milk or dark chocolate for a different flavor profile.
- Peanut Butter – Offers binding and rich flavor; use creamy for smoothness or crunchy for added texture.
For the Decoration
- Easter Candy Eggs – Fill your nests for a festive touch of sweetness; any small chocolate candies can work beautifully as alternatives.
Step‑by‑Step Instructions for Easter Egg Peanut Butter Haystacks
Step 1: Melt the Chocolate
Begin by placing the white chocolate in a microwave-safe bowl. Microwave it on medium power for 30 seconds at a time, stirring in between, until fully melted and smooth. This should take about 1 to 2 minutes. Keep a close eye to avoid burning, as you want a silky texture to blend with the peanut butter for your Easter Egg Peanut Butter Haystacks.
Step 2: Mix in the Peanut Butter
Once your chocolate is melted, add creamy peanut butter to the bowl. Stir the mixture vigorously until the two are completely blended and form a luscious, thick consistency. The creamy peanut butter will complement the sweet white chocolate, ensuring a delicious binding for your haystacks. This step should only take about a minute.
Step 3: Fold in the Noodles
Gently fold the chow mein noodles into the chocolate-peanut butter mixture. Use a spatula to coat the noodles evenly, making sure each piece is surrounded by the chocolatey mixture. This should take about 1 to 2 minutes; you want to see the crunchy noodles peeking through the luscious blend, creating a delightful texture in your Easter Egg Peanut Butter Haystacks.
Step 4: Form the Nests
Using a spoon, carefully scoop portions of the mixture and place them into a non-stick muffin tin or lined muffin cups. Shape them into nest-like forms with a small well in the center, making sure they mold nicely and hold their shape. This process should take around 5 minutes, and you’ll begin to see the charming little nests come to life.
Step 5: Add the Candy Eggs
After shaping your haystacks, gently press the Easter candy eggs into the center of each nest. This adds a festive touch and makes everything look delightful. Allow them to remain in the muffin tin while waiting for the chocolate to cool; this step should take about 10 minutes, giving you time to admire your creations!
Step 6: Cool and Remove
Once the nests have set and cooled sufficiently, carefully remove them from the muffin tin. If they are sticking, you can gently run a spatula around the edges. Allow them to cool completely on a wire rack for about 15 minutes. Your Easter Egg Peanut Butter Haystacks are now fully formed, ready to be enjoyed or served at your spring gathering.
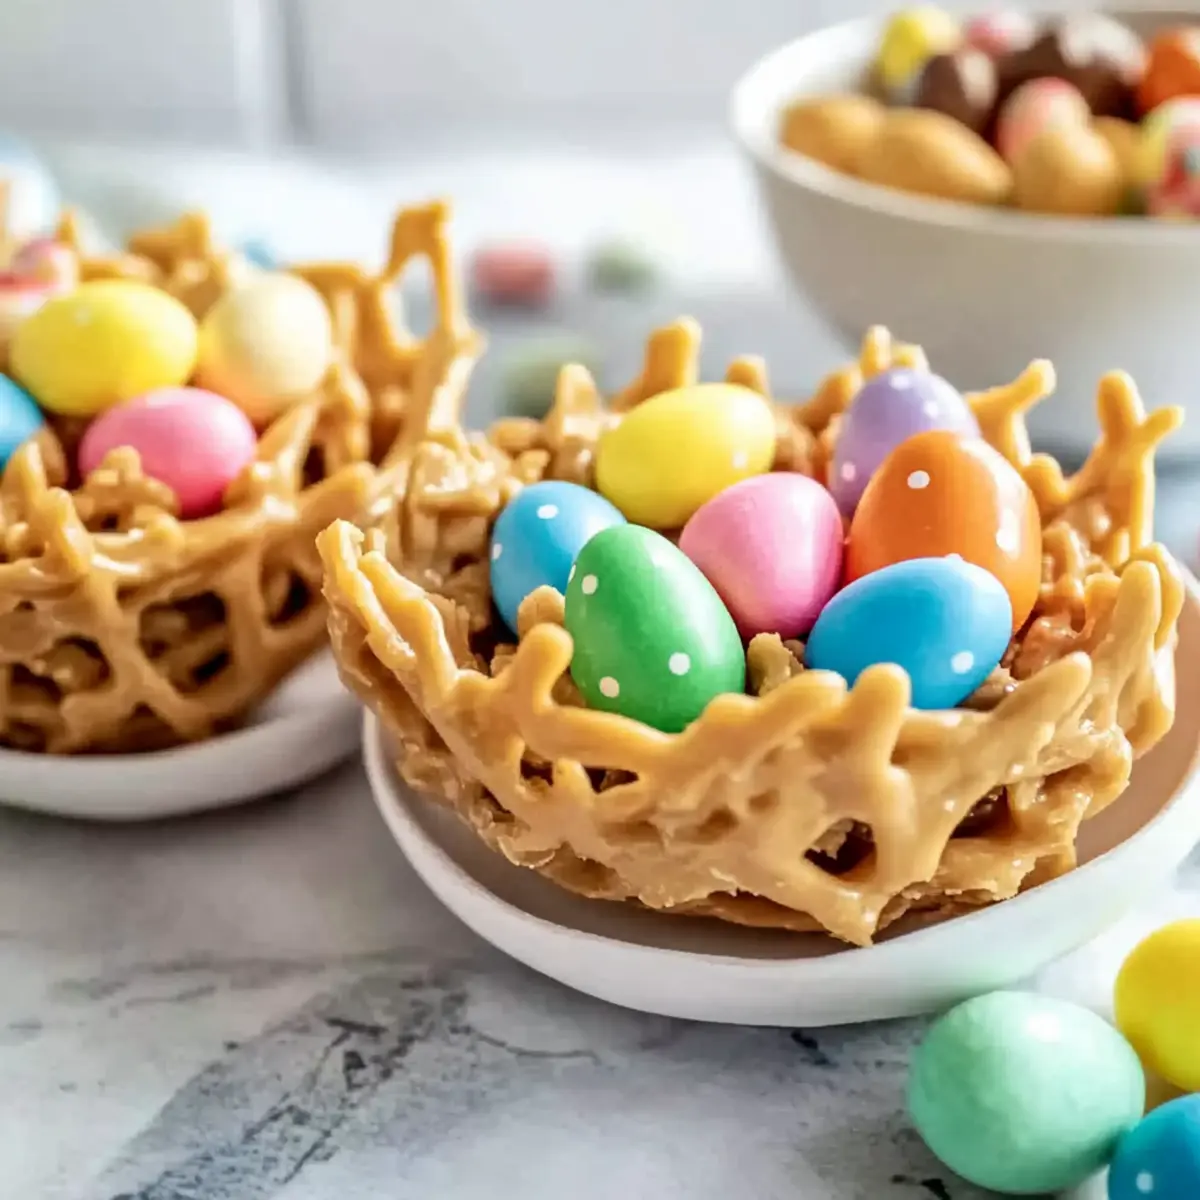
Expert Tips for Easter Egg Peanut Butter Haystacks
-
Melting Chocolate: Heat chocolate in short bursts to prevent scorching. A scorched chocolate will ruin the sweetness of your Easter Egg Peanut Butter Haystacks.
-
Perfect Nest Formation: Use a non-stick muffin tin or liners to make removing the haystacks easier. This guarantees your nests hold their shape without sticking.
-
Cool Time Matters: Allow sufficient cooling time to set in the fridge if necessary. Rushing this step can lead to messy nests that won’t hold their shape.
-
Customize Your Treats: Experiment with different chocolates or nut butters for unique flavors. This keeps your Easter Egg Peanut Butter Haystacks exciting for everyone!
-
Storage Solutions: Keep stored in an airtight container at room temperature for freshness. Ideally, consume within a week to enjoy their delightful crunch.
Make Ahead Options
These Easter Egg Peanut Butter Haystacks are a fantastic treat to prepare in advance, saving you precious time during the busy holiday season! You can complete the entire preparation process—melting the chocolate, mixing in peanut butter, and shaping the nests—up to 24 hours ahead of time. Simply store the formed nests in an airtight container at room temperature to keep them fresh. To maintain their delightful crunch, it’s best to add the Easter candy eggs right before serving, ensuring they remain vibrant and intact. When you’re ready to impress your guests, just pop them out of the muffin tin, add the candies, and enjoy a scrumptious, no-bake dessert that’s just as delicious as when they were freshly made!
What to Serve with Easter Egg Peanut Butter Haystacks
As you gather around for the Easter festivities, consider these delightful pairings that will elevate your celebration and sweeten your moments together.
-
Creamy Vanilla Ice Cream: A scoop of vanilla ice cream complements the crunchy haystacks beautifully, offering a cool, creamy contrast to the sweetness.
-
Fresh Fruit Salad: A bright mix of strawberries, blueberries, and kiwi adds a refreshing pop, balancing the rich flavors of your chocolate treats.
-
Chocolate Milk: This classic drink enhances the nostalgic feel, creating a playful pairing that brings the joy of childhood back to life during Easter.
-
Mini Marshmallow Treats: Light and fluffy, these treats are a fun addition that echoes the sweetness of the haystacks while providing a chewy contrast.
-
Caramel Sauce: Drizzling warm caramel over your haystacks adds a luscious richness that intensifies the overall flavor experience at your celebration.
-
Sparkling Lemonade: A bubbly beverage brings a festive twist, cutting through the richness of the peanut butter with its refreshing and zesty notes.
Imagine sharing these delicacies with loved ones, weaving laughter and joy into every bite—each pairing transforming your Easter gathering into an unforgettable moment filled with warmth and sweetness.
Easter Egg Peanut Butter Haystacks Variations
Feel free to personalize your Easter Egg Peanut Butter Haystacks with these delightful twists! Each option inspires creativity while elevating your festive treats.
-
Nut-Free: Use sun butter instead of peanut butter to keep it allergy-friendly. This option adds a lovely roasted flavor while being totally safe for school snacks!
-
Chocolate Lovers: Substitute white chocolate with dark chocolate for a richer, decadent finish. This darker version brings a bold sweetness, perfect for adult palates.
-
Crunchy Delight: Add crushed pretzel sticks to the mixture for an extra crunch factor! This salty surprise makes every bite even more exciting, creating a delightful balance with the sweetness.
-
Flavor Fusion: Incorporate a teaspoon of vanilla extract into the peanut butter mixture for an aromatic twist. This subtle addition enhances the overall flavor profile and makes the haystacks truly irresistible.
-
Sweet & Fruity: Mix in some mini marshmallows or dried cranberries for a fun textural pop. The burst of sweetness complements the chocolate beautifully while providing a surprising contrast in textures.
-
Spicy Kick: For those who love a little heat, sprinkle a pinch of cayenne pepper into your chocolate mixture. This unexpected twist adds an exciting dimension to your Easter treats, sure to intrigue adventurous taste buds.
-
Fun Shapes: Instead of nests, mold your mixture into other festive shapes. Try using cookie cutters to create bunnies or eggs! Kids will love helping with this creative project, making precious memories together.
You might also enjoy trying a treat like Chip Peanut Butter for a different flavor experience or baking some Matcha Butter Cookies for a delightful accompaniment. Celebrate Easter with these fun variations, and don’t hesitate to explore your own unique combinations!
How to Store and Freeze Easter Egg Peanut Butter Haystacks
Airtight Container: Keep your Easter Egg Peanut Butter Haystacks in an airtight container at room temperature for up to 1 week to maintain their crunchiness and flavor.
Fridge Storage: If you prefer a firmer texture, store the haystacks in the fridge for up to 2 weeks. Just remember, this might soften the crunch slightly.
Freezer Friendly: To freeze, place the nests in a single layer on a baking sheet until firm, then transfer them to a sealed freezer bag for up to 3 months. Thaw them at room temperature before serving.
Reheating Tips: There’s no need to reheat these treats! Simply enjoy them fresh or let them thaw to regain their original texture.
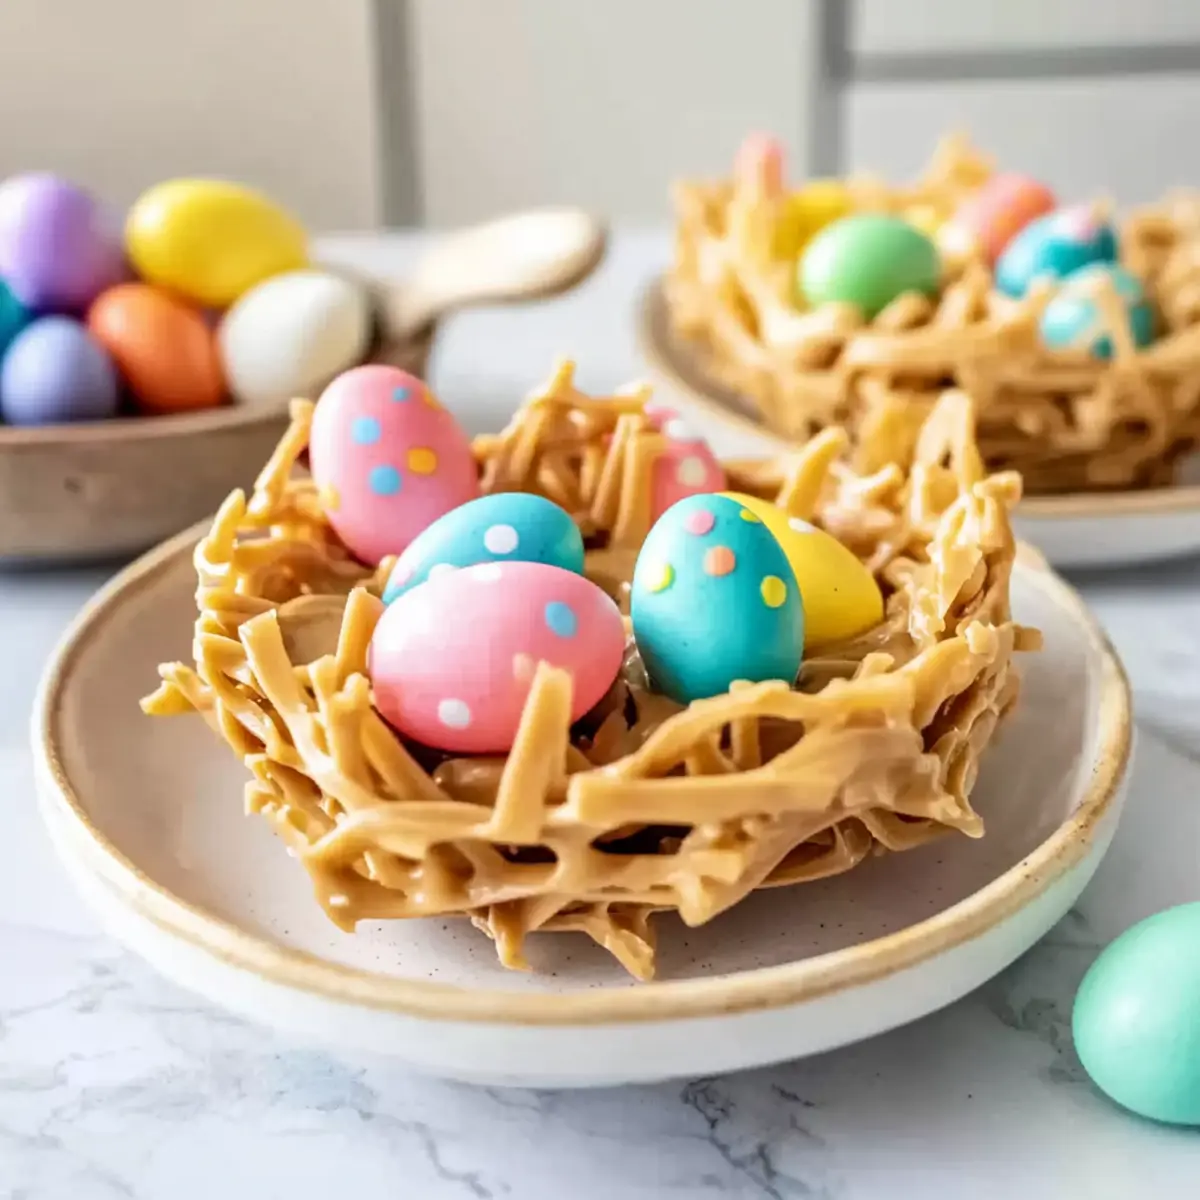
Easter Egg Peanut Butter Haystacks Recipe FAQs
What type of chow mein noodles should I use?
I recommend using plain chow mein noodles for their perfect crunch and texture! If you’re looking for a saltier flavor, pretzel sticks can also be a fun alternative that adds a delightful twist.
How should I store the haystacks, and how long will they last?
Store your Easter Egg Peanut Butter Haystacks in an airtight container at room temperature for up to 1 week to ensure they stay crunchy and delicious. If you opt for fridge storage, they can last for up to 2 weeks but be aware that the crunch may soften a bit.
Can I freeze the haystacks for later enjoyment?
Absolutely! To freeze your Easter Egg Peanut Butter Haystacks, place them in a single layer on a baking sheet and freeze until firm. After that, transfer them to a sealed freezer bag, where they can be stored for up to 3 months. To enjoy, simply thaw them at room temperature before serving!
What can I do if my chocolate isn’t melting smoothly?
If the chocolate isn’t melting smoothly, it might be too hot or too cold. Make sure you’re microwaving in 30-second intervals and stir in between until it reaches a silky texture. If it’s still lumpy, avoid adding more heat—try stirring more as residual warmth from the bowl may help melt the remaining bits.
Are there any common allergies I should consider with this recipe?
Yes! If you’re serving these delicious treats to friends or family, be aware of common allergens: the recipe contains peanut butter, which can lead to allergic reactions in those with nut allergies. You can swap out peanut butter with sunflower seed butter or almond butter for an allergy-friendly substitute. Always double-check with your guests regarding allergies to ensure everyone can enjoy!
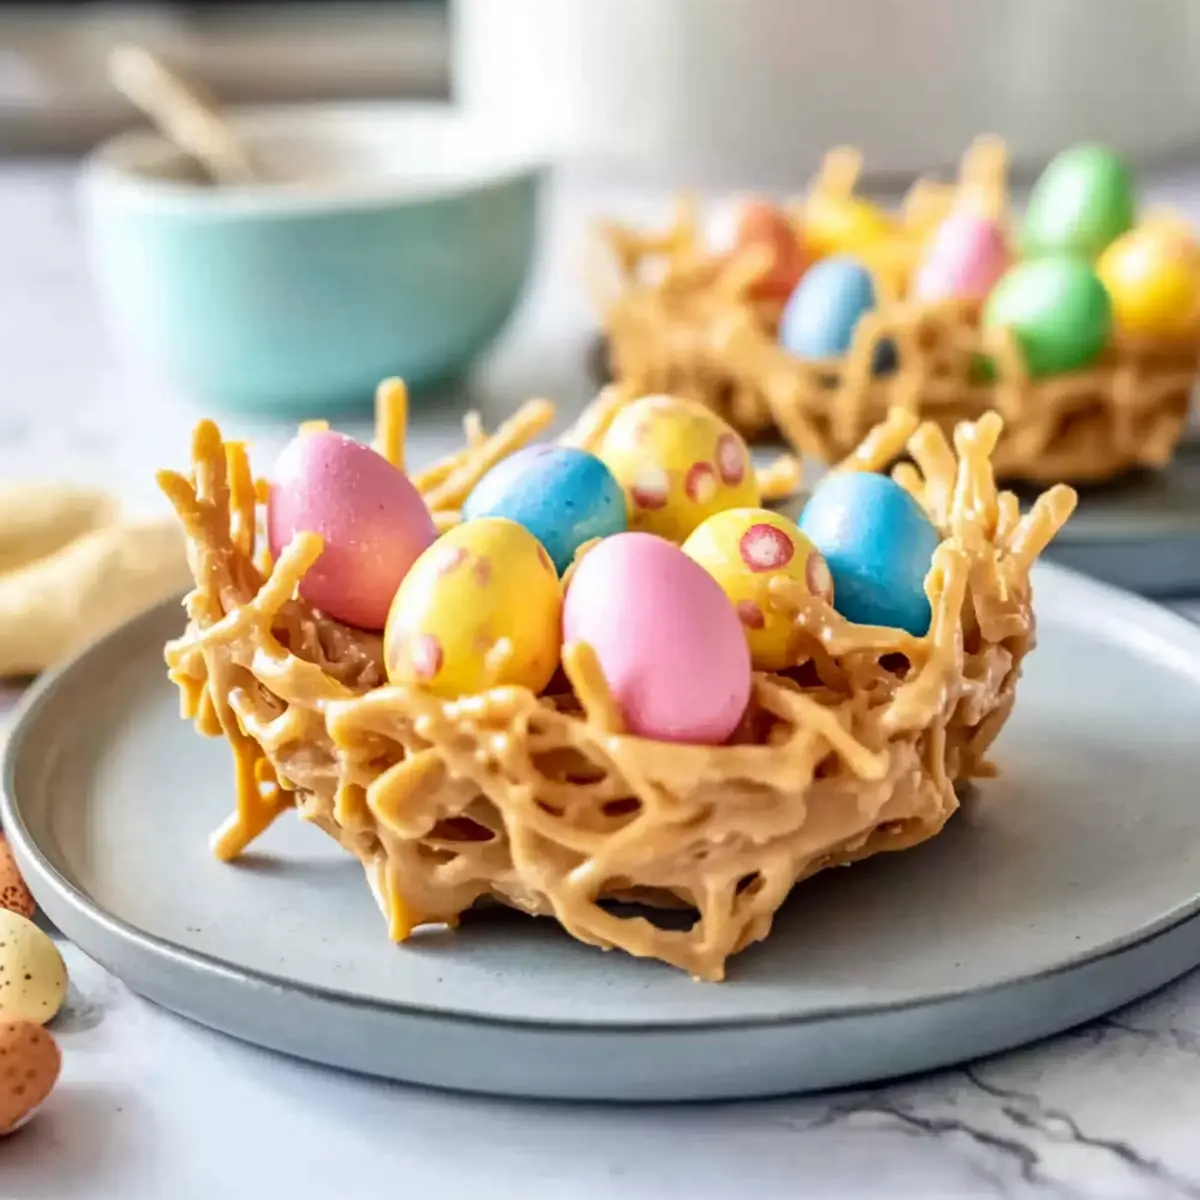
Easter Egg Peanut Butter Haystacks That Everyone Will Love
Ingredients
Equipment
Method
- Begin by placing the white chocolate in a microwave-safe bowl. Microwave it on medium power for 30 seconds at a time, stirring in between, until fully melted and smooth. This should take about 1 to 2 minutes.
- Once your chocolate is melted, add creamy peanut butter to the bowl. Stir the mixture vigorously until the two are completely blended and form a luscious, thick consistency.
- Gently fold the chow mein noodles into the chocolate-peanut butter mixture. Coat the noodles evenly.
- Using a spoon, carefully scoop portions of the mixture and place them into a non-stick muffin tin. Shape them into nest-like forms with a small well in the center.
- After shaping your haystacks, gently press the Easter candy eggs into the center of each nest.
- Once the nests have set and cooled sufficiently, carefully remove them from the muffin tin and allow them to cool completely on a wire rack for about 15 minutes.
Leave a Reply