
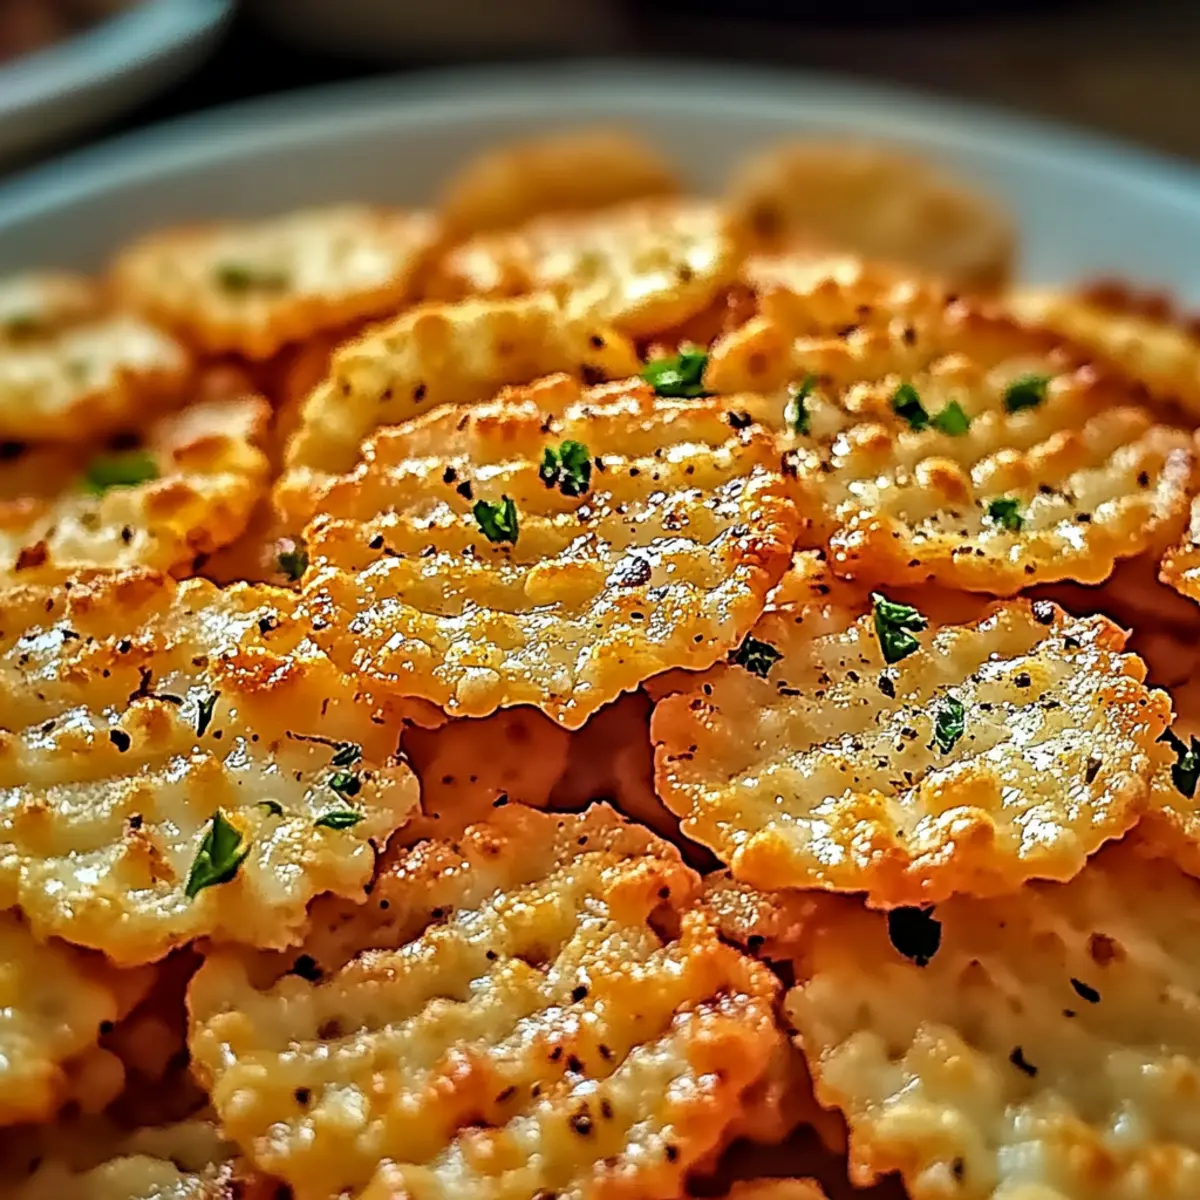
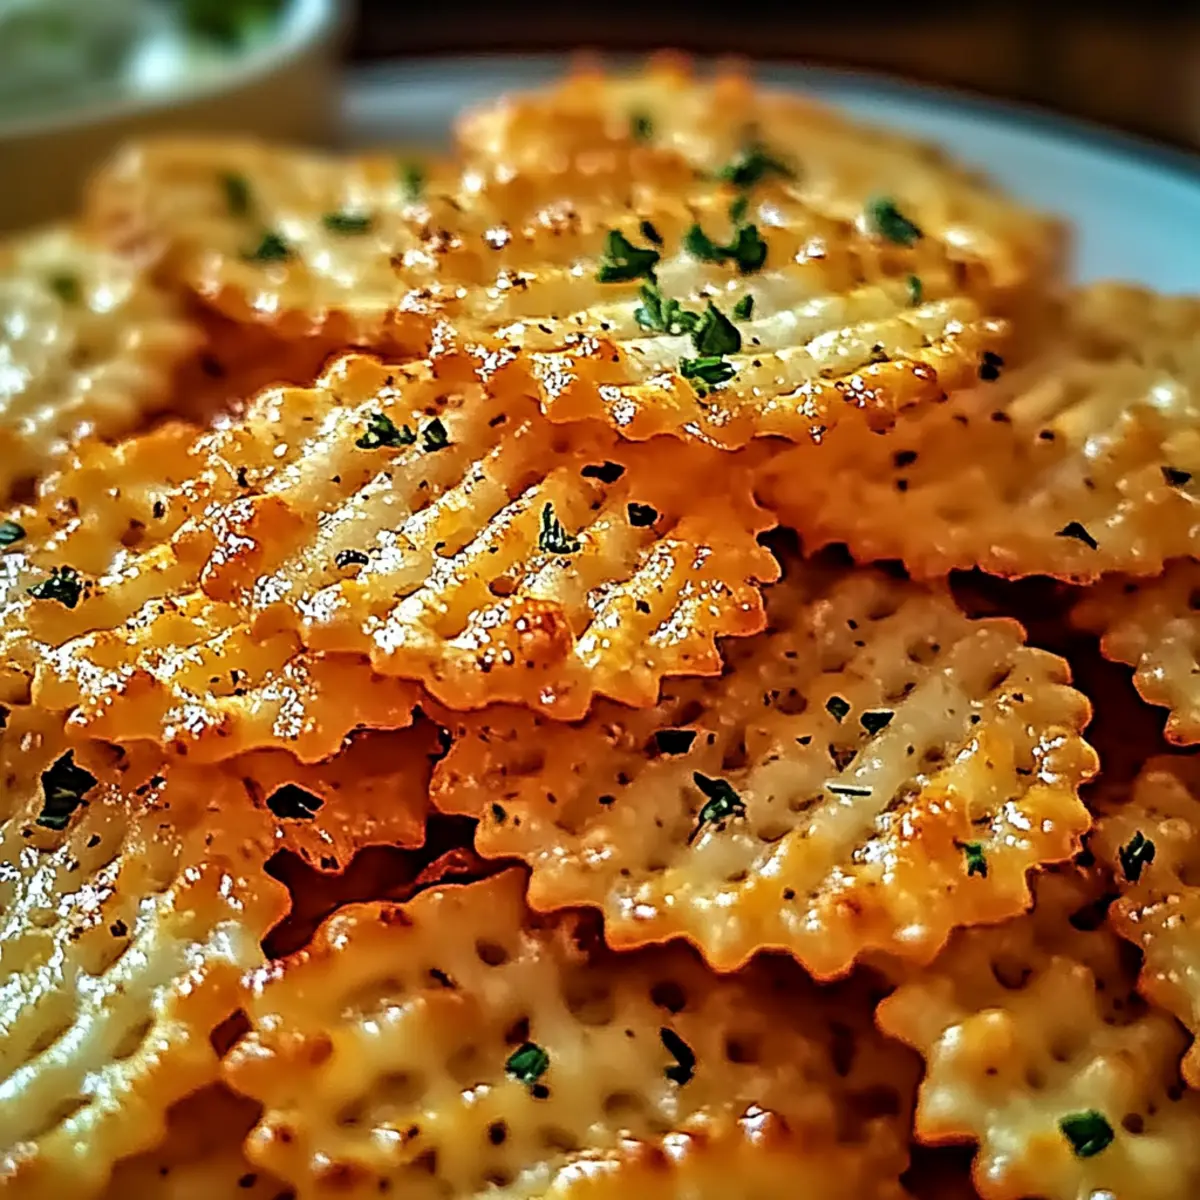
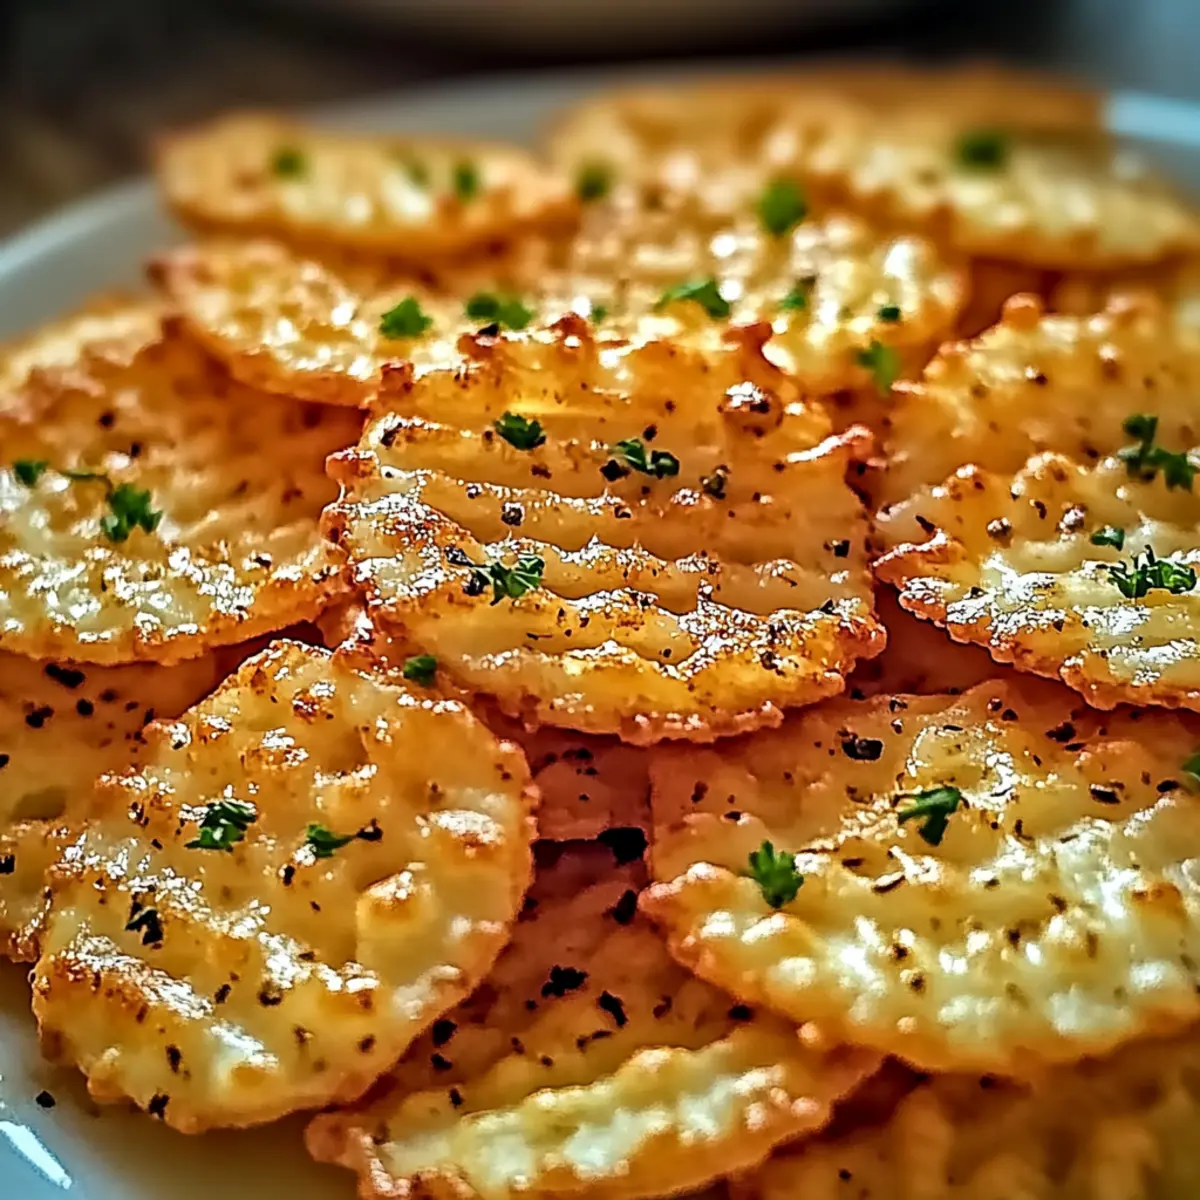
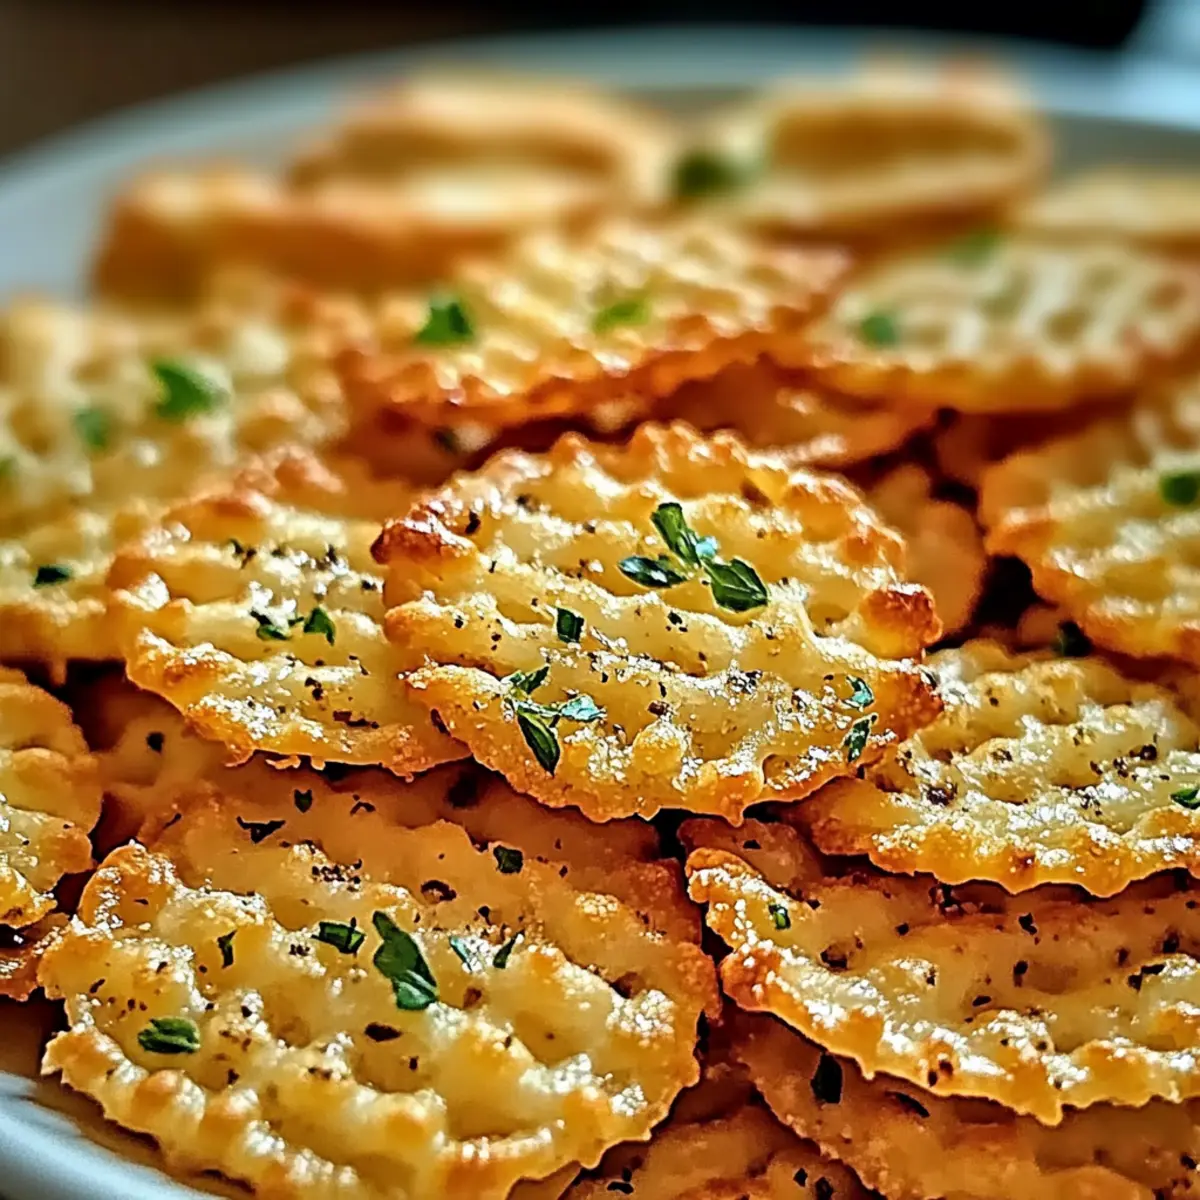
As I pulled a tray of freshly baked Cheesy Garlic Ritz Bits from the oven, the aroma enveloped my kitchen, instantly transporting me to cozy nights spent with friends and laughter. This quick and easy recipe not only transforms simple Ritz crackers into a cheesy, garlicky delight, but it also brings a dash of nostalgia that everyone craves. Perfect for parties, movie nights, or just a snack to savor on your own, these bites can be made in under 30 minutes. Plus, you can easily customize them with your favorite cheeses or spices for a unique twist tailored to your palate. Want to discover the secret to making your new favorite snack? Let’s dive into these irresistible Cheesy Garlic Ritz Bits together!
Why Are Cheesy Garlic Ritz Bits Irresistible?
Quick and Easy: With just a handful of ingredients, you can whip up these delightful bites in under 30 minutes, making them ideal for last-minute gatherings or late-night cravings.
Customizable Flavors: The recipe invites you to experiment with various cheeses like smoked gouda or pepper jack, allowing you to tailor the dish to your taste preferences.
Nostalgic Crunch: Each bite combines the beloved texture of Ritz crackers with creamy, garlicky goodness, evoking cherished memories of gatherings and celebrations.
Perfect for Sharing: Serve them with a creamy spinach dip or tangy tomato salsa, and you’ll have a hit at your next party!
Meal Prep Friendly: Store leftovers in an airtight container for up to a week, or freeze them for guilt-free snacking anytime. Once you try these, you’ll want to keep them on hand!
Transform your snacking game and discover these delightful bites today!
Cheesy Garlic Ritz Bits Ingredients
For the Coating
• Unsalted Butter – Provides richness and helps seasonings adhere; substitute with dairy-free butter for a vegan option.
• Garlic Powder – A key flavor contributor for that delicious garlicky goodness.
• Onion Powder – Enhances flavor complexity; use fresh onions for a fresh twist if desired.
• Dried Parsley Flakes – Adds a fresh, herbal touch; optional but highly recommended for garnish.
• Fine Sea Salt – Essential for flavor enhancement; adjust according to your taste.
• Freshly Ground Black Pepper – Adds a hint of heat; use according to preference.
For the Cheeses
• Parmesan Cheese – Offers a sharp, nutty flavor; can be swapped with Pecorino Romano for a different taste.
• Sharp Cheddar Cheese – Contributes creaminess and robust flavor; mild cheddar can work in its place.
• Smoked Paprika – Optional for added earthy depth; regular paprika can substitute.
• Cayenne Pepper – Adds heat; adjust according to your spice preference.
With these ingredients, you can create the delicious Cheesy Garlic Ritz Bits that everyone loves! Enjoy the process of bringing flavor to life!
Step‑by‑Step Instructions for Cheesy Garlic Ritz Bits
Step 1: Preheat and Prepare
Start by preheating your oven to 300°F (150°C). While the oven heats, line a baking sheet with parchment paper to prevent sticking. This will set the stage for your Cheesy Garlic Ritz Bits, ensuring they bake evenly and maintain their crispy texture.
Step 2: Melt Butter and Season
In a medium saucepan, melt 1/2 cup of unsalted butter over low heat for about 2-3 minutes. Once melted, stir in the garlic powder, onion powder, dried parsley flakes, fine sea salt, and freshly ground black pepper. Mix well until all the seasonings are combined, creating a buttery, aromatic coating for your Ritz Bits.
Step 3: Combine Cheeses
In a large mixing bowl, blend together 1/4 cup of grated Parmesan cheese and 1/2 cup of shredded sharp cheddar cheese. Pour the melted butter mixture over the cheeses and use a spatula to stir until everything is well-coated. The goal is a creamy, flavorful blend that will infuse your Cheesy Garlic Ritz Bits with deliciousness.
Step 4: Coat Ritz Bits
Add a 12-ounce package of Ritz crackers to the bowl and gently toss them with the cheese mixture until each cracker is evenly coated. Make sure to handle them with care to avoid breaking, ensuring that the buttery, cheesy goodness covers every single bite.
Step 5: Bake
Spread the coated Ritz Bits onto the prepared baking sheet in a single layer. Bake in the preheated oven for 15-20 minutes, stirring halfway through to promote even baking. You’ll know they are done when they turn a light golden brown and emit a mouthwatering aroma, signaling the perfect crunch.
Step 6: Cool
Once baked, remove your Cheesy Garlic Ritz Bits from the oven and let them cool on the baking sheet for about 5-10 minutes. This crucial step enhances crispiness, so resist the urge to dig in right away. Once cooled, they’ll be ready for serving or storing in an airtight container!
Storage Tips for Cheesy Garlic Ritz Bits
Room Temperature: Store any leftovers in an airtight container at room temperature for up to 3-5 days to maintain their delightful crunch.
Fridge: Alternatively, you can refrigerate them for up to a week in an airtight container; just be sure to allow them to come to room temperature before enjoying.
Freezer: For longer storage, these Cheesy Garlic Ritz Bits freeze beautifully for up to 3 months. Just place them in a freezer-safe bag, ensuring they are well-sealed.
Reheating: When you’re ready to enjoy, reheating in the oven at 300°F (150°C) for about 5-10 minutes helps restore their crispiness and flavor.
What to Serve with Cheesy Garlic Ritz Bits?
As you relish the buttery crunch and savory flavors of these delightful bites, consider elevating your snacking game with these perfect pairings.
-
Creamy Spinach Dip: This luscious dip adds a vibrant and rich flavor contrast that complements the cheesiness of the Ritz Bits.
-
Tangy Tomato Salsa: The bright acidity of fresh salsa cuts through the richness, creating a refreshing balance that will tantalize your taste buds.
-
Zesty Guacamole: The smooth, creamy texture of guacamole pairs beautifully with the crunch, offering a delightful contrast of flavors.
-
Roasted Red Pepper Hummus: The earthy notes and creamy texture of hummus blend perfectly, adding an extra layer of flavor and twist to your snacking experience.
-
Fresh Veggie Platter: Crunchy vegetables like carrots, cucumbers, and bell peppers create a satisfying contrast while adding a crisp freshness to each bite.
-
Sparkling Lemonade: The effervescence and sweetness of this drink balance the savory notes, making it a delightful pairing for your snack spread.
These suggestions will enhance your Cheesy Garlic Ritz Bits experience, creating a full array of flavors that will keep everyone coming back for more!
Expert Tips for Cheesy Garlic Ritz Bits
-
Even Coating: Ensure all Ritz Bits are evenly coated with the cheese mixture for a consistent flavor experience in every bite.
-
Watch the Oven: Keep an eye on them while baking; overbaking can turn your snacks from golden to burnt. Trust your nose for the perfect timing.
-
Custom Cheese Blends: Don’t hesitate to mix different cheeses for a unique twist. Smoked gouda or sharp pepper jack can elevate your Cheesy Garlic Ritz Bits to the next level.
-
Spice it Up: For a little heat, consider adding crushed red pepper or cayenne pepper to your seasoning mixture. Adjust according to your spice tolerance!
-
Cooling Matters: Allowing them to cool on the baking sheet after baking is key for achieving max crispiness. Resist the temptation to taste too soon!
Cheesy Garlic Ritz Bits Variations
Feel free to get creative and customize these delightful bites to match your taste and preference!
-
Dairy-Free: Substitute unsalted butter and cheese with dairy-free alternatives for a delicious vegan version. The flavors remain rich and satisfying, proving that you don’t need dairy to enjoy cheesy goodness.
-
Spicy Twist: Mix in crushed red pepper flakes or a splash of hot sauce for an extra kick. The heat coupled with the garlic is sure to awaken your taste buds and add a zesty flavor.
-
Veggie Boost: Toss in chopped vegetables like spinach or roasted red peppers before baking. This not only enhances the nutrition but also brings colorful vibrancy to your snack!
-
Bacon Bliss: Top your Ritz Bits with crumbled bacon before baking for an indulgent flavor explosion. The salty crunch of bacon combined with cheesy garlic is simply irresistible.
-
Gluten-Free: Use gluten-free crackers to make this recipe suitable for those with dietary restrictions. Your friends will still love the crunchy texture and cheesy flavor without missing out!
-
Herbed Delight: Sprinkle fresh herbs like thyme or rosemary into the cheese mixture for a fragrant twist. Fresh herbs elevate the taste and make these bites feel gourmet.
-
Maple Sweetness: Drizzle with honey or maple syrup after baking for a delightful sweet-savory experience. The combination of sweet and salty creates a unique taste sensation that you’ll crave.
For more unforgettable flavors, you might want to explore these recipes: Chili Garlic Smoked salmon for an excellent pairing, or try some Garlic Rolls Every for sharing!
Make Ahead Options
These Cheesy Garlic Ritz Bits are perfect for meal prep enthusiasts! You can prepare the cheesy coating up to 24 hours in advance by melting the butter and mixing in the spices and cheeses, then refrigerating. Simply store it in an airtight container until you’re ready to coat the Ritz crackers. Additionally, you can also coat the crackers and arrange them on the baking sheet ahead of time, keeping them covered in the refrigerator for up to 3 days. When you’re ready to enjoy them, just pop them in the oven and bake according to the recipe instructions. This way, you’ll have deliciously cheesy snacks on hand, making your busy weeknights a little easier!
Cheesy Garlic Ritz Bits Recipe FAQs
What type of Ritz crackers should I use for this recipe?
Absolutely! Traditional Ritz crackers work perfectly for these Cheesy Garlic Ritz Bits, but feel free to experiment with gluten-free alternatives if needed. Just make sure to select a version that offers a similar crunch to maintain that delightful texture.
How should I store leftover Cheesy Garlic Ritz Bits?
I recommend placing any leftovers in an airtight container at room temperature for up to 3-5 days. If you want them to last longer, refrigerate them for up to a week. Remember to let them return to room temperature before enjoying for the best experience!
Can I freeze Cheesy Garlic Ritz Bits?
Very! For longer storage, these bites freeze beautifully. Simply place them in a freezer-safe bag, ensuring they are well-sealed to avoid freezer burn. They can be stored this way for up to 3 months. When you’re ready to enjoy them, just reheat in the oven at 300°F (150°C) for about 5-10 minutes to restore their crispiness.
What should I do if my Ritz Bits don’t turn out crispy?
If your Cheesy Garlic Ritz Bits aren’t crispy, check a few things. First, ensure that they were spread out in a single layer on the baking sheet; overcrowding can trap steam and lead to sogginess. Also, be mindful of the baking time—overbaking can lead to burnt bits, while underbaking will keep them soft. Watch closely, and remember to cool them on the baking sheet to enhance that desired crunch!
Are there any allergenic ingredients in Cheesy Garlic Ritz Bits?
Great question! This recipe contains dairy in the form of cheese and butter, so it’s not suitable for those with dairy allergies. For vegan options, substitute with dairy-free butter and vegan cheeses. Always check labels to ensure there are no hidden allergens based on your dietary restrictions.
Can I customize the spices to suit my taste?
Absolutely! The beauty of these Cheesy Garlic Ritz Bits is the customization they allow. You can mix in your favorite spices, such as smoked paprika or cayenne pepper for a kick. Add garlic or onion powder according to your preference for extra flavor. The more the merrier when it comes to personalizing your snack delights!
Cheesy Garlic Ritz Bits: Quick, Irresistible Snack Magic
Ingredients
Equipment
Method
- Preheat your oven to 300°F (150°C) and line a baking sheet with parchment paper.
- Melt 1/2 cup of unsalted butter over low heat for about 2-3 minutes. Stir in garlic powder, onion powder, parsley flakes, salt, and pepper until combined.
- In a large mixing bowl, blend together 1/4 cup of grated Parmesan cheese and 1/2 cup of shredded sharp cheddar cheese. Pour the melted butter mixture over the cheeses and stir until well-coated.
- Add the Ritz crackers to the bowl and gently toss them with the cheese mixture until evenly coated.
- Spread the coated Ritz Bits onto the prepared baking sheet in a single layer and bake for 15-20 minutes, stirring halfway through.
- Remove from the oven and let cool on the baking sheet for about 5-10 minutes before serving or storing.
Leave a Reply