
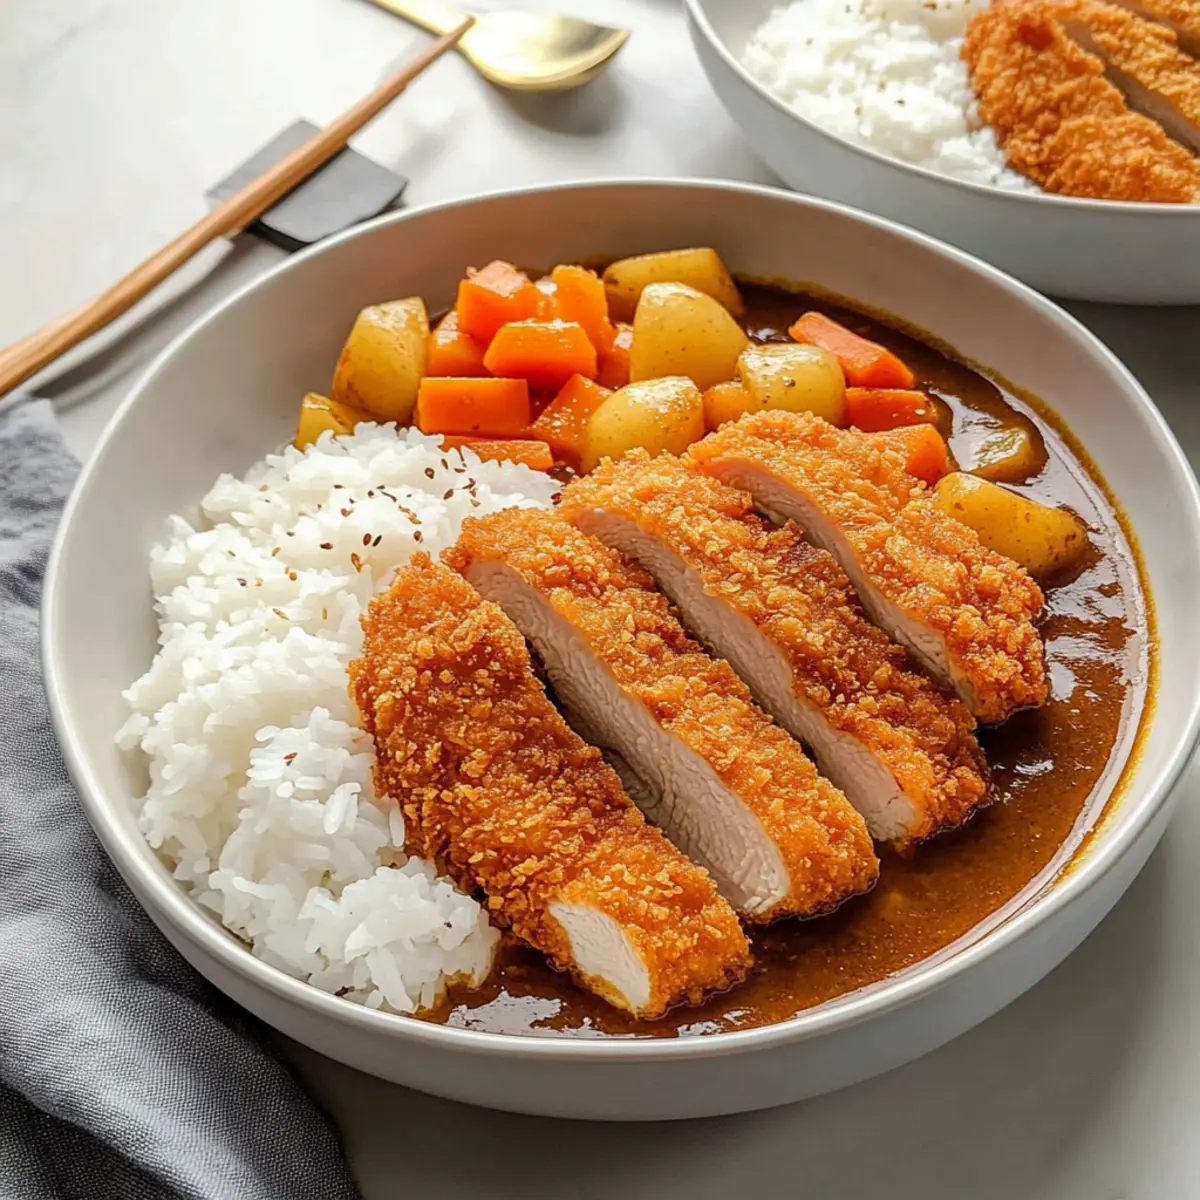
As the aroma of sizzling chicken fills my kitchen, I can’t help but feel a wave of nostalgia wash over me. Today, I’m excited to share my version of the comforting and flavorful Japanese Katsu Curry. This dish beautifully marries crispy, panko-breaded chicken with a sweet and savory curry sauce, all resting on a fluffy bed of rice. Not only is this recipe a quick solution when time is tight, but it’s also perfect for gatherings—with its satisfying crunch and unifying flavor, it’s sure to be a hit with everyone around the table. Plus, you can easily swap in pork or tofu, making it versatile for any diet. Are you ready to dive into the world of Japan’s favorite comfort food?
Why Is Katsu Curry So Beloved?
Comforting Dish: The crispy Japanese Katsu Curry melds crunchy, panko-breaded chicken with a rich, sweet-savory curry that warms the soul.
Meal Flexibility: With options for pork or tofu, you can cater to different dietary preferences effortlessly!
Quick Preparation: This dish comes together quickly, making it ideal for busy weeknights without skimping on flavor.
Crowd-Pleasing: Its robust taste is sure to impress family and friends—perfect for gatherings or cozy dinners!
Culinary Adventure: Experience the authentic taste of Japan right in your kitchen. For a delightful twist, check out my take on Japanese Banana Rice to serve alongside!
Japanese Katsu Curry Ingredients
For the Chicken Katsu
• Boneless skinless chicken breasts – Main protein; lightly pound for even cooking. Substitute with pork or tofu for alternatives.
• Salt – Enhances flavor significantly.
• Black pepper – Adds warmth and depth to the dish.
• All-purpose flour – Creates a crispy coating when dredging the chicken.
• Egg – Binds the breadcrumbs well for that crunchy texture.
• Panko breadcrumbs – Provides the light and crunchy crust essential to katsu.
• Vegetable oil – Ensures perfect frying for a crispy katsu.
For the Curry Sauce
• Japanese curry roux – The flavorful base that thickens the sauce, available in mild or spicy options.
• Yellow onion – Offers sweetness and depth in the curry flavor.
• Russet potato – Adds heartiness; dice for even cooking; substitute with Yukon Gold for better cooking integrity.
• Carrot – Brings natural sweetness and vibrant color to the dish.
• Olive oil – Used for sautéing onions and vegetables to release their flavors.
• Garlic – Minced for aromatic flavor enhancement.
• Red apple – Sweetens the sauce naturally; grate it to blend smoothly.
• Chicken stock – Provides depth; can use vegetable broth for a vegetarian option.
• Water – Use to adjust the consistency of the curry.
• Soy sauce – Enhances umami and saltiness of the dish.
• Honey – A natural sweetener that balances the curry’s spice.
• Cooked white rice – Serves as the perfect base, providing a neutral flavor that pairs beautifully with the katsu and curry.
Step‑by‑Step Instructions for Japanese Katsu Curry
Step 1: Prepare Chicken
Start by butterflying the boneless skinless chicken breasts to ensure even cooking. Pound them to approximately ½ inch thick to tenderize. Season both sides generously with salt and black pepper to enhance the flavor. This preparation is crucial for the perfect crispy Japanese Katsu Curry that will delight your family.
Step 2: Set Up Breading Station
Create a breading station by placing three shallow dishes in a row. Fill the first dish with all-purpose flour, the second with a beaten egg, and the third with panko breadcrumbs. This setup will streamline the breading process and ensures that each piece of chicken gets well-coated for that delightful crunch.
Step 3: Coat Chicken
Now, take the seasoned chicken and dredge it in the flour, ensuring an even coating. Next, dip it into the beaten egg, allowing any excess to drip off. Finally, press the chicken into the panko breadcrumbs, ensuring it’s thoroughly coated. This will create a golden, crispy exterior once fried.
Step 4: Fry Chicken
In a deep pan, heat vegetable oil to 340°F (170°C). Gently place the breaded chicken into the hot oil, making sure not to overcrowd the pan. Fry for approximately 6-7 minutes, turning occasionally until each piece is golden brown and crispy. Once done, transfer the chicken to a wire rack to cool and maintain its crunch.
Step 5: Prepare Curry Ingredients
While the chicken fries, prepare your curry ingredients. Dice the russet potato and carrot, and soak the potato in water to remove excess starch. Mince the garlic and grate the red apple. These ingredients will provide body and sweetness to your Japanese Katsu Curry sauce, enhancing its flavor profile beautifully.
Step 6: Sauté Onion and Garlic
In a large pot, heat olive oil over medium heat and add the diced yellow onion. Sauté for about 5 minutes until the onions are translucent and fragrant, then add the minced garlic. Continue to sauté for an additional minute, allowing the garlic to infuse the oil, setting a flavorful base for your curry.
Step 7: Add Carrots and Potatoes
Mix in the diced carrots and drained potatoes into the sautéed onion and garlic. Cook for about 2-3 minutes to allow the vegetables to begin softening. Stir occasionally to combine the flavors, making sure to coat the veggies in the aromatic oil—the foundation of your delectable Japanese Katsu Curry.
Step 8: Make Curry Base
Pour in chicken stock and water, followed by soy sauce, honey, and the grated apple. Bring the mixture to a boil, then reduce the heat and let it simmer for about 15 minutes until the vegetables are tender. This process melds the sweet and savory notes of the curry, forging a delicious backdrop for your katsu.
Step 9: Incorporate Curry Roux
Stir in the Japanese curry roux, mixing well to ensure it dissolves completely. Continue to simmer for another 15 minutes, allowing the sauce to thicken to the desired consistency. The richness of the roux will create that comforting texture that makes Japanese Katsu Curry so irresistible.
Step 10: Serve
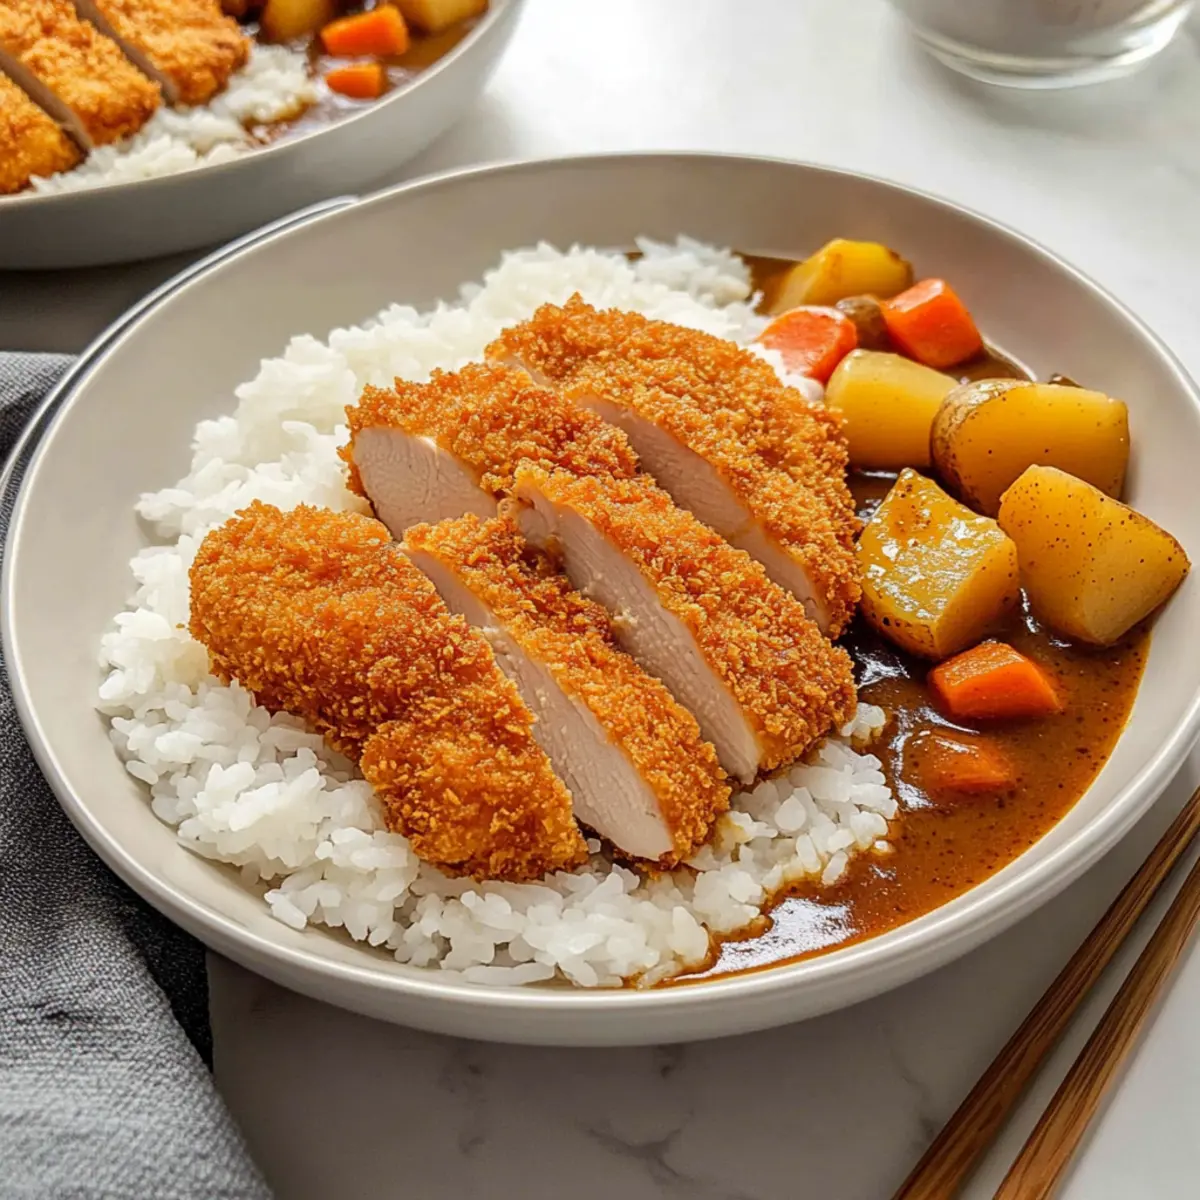
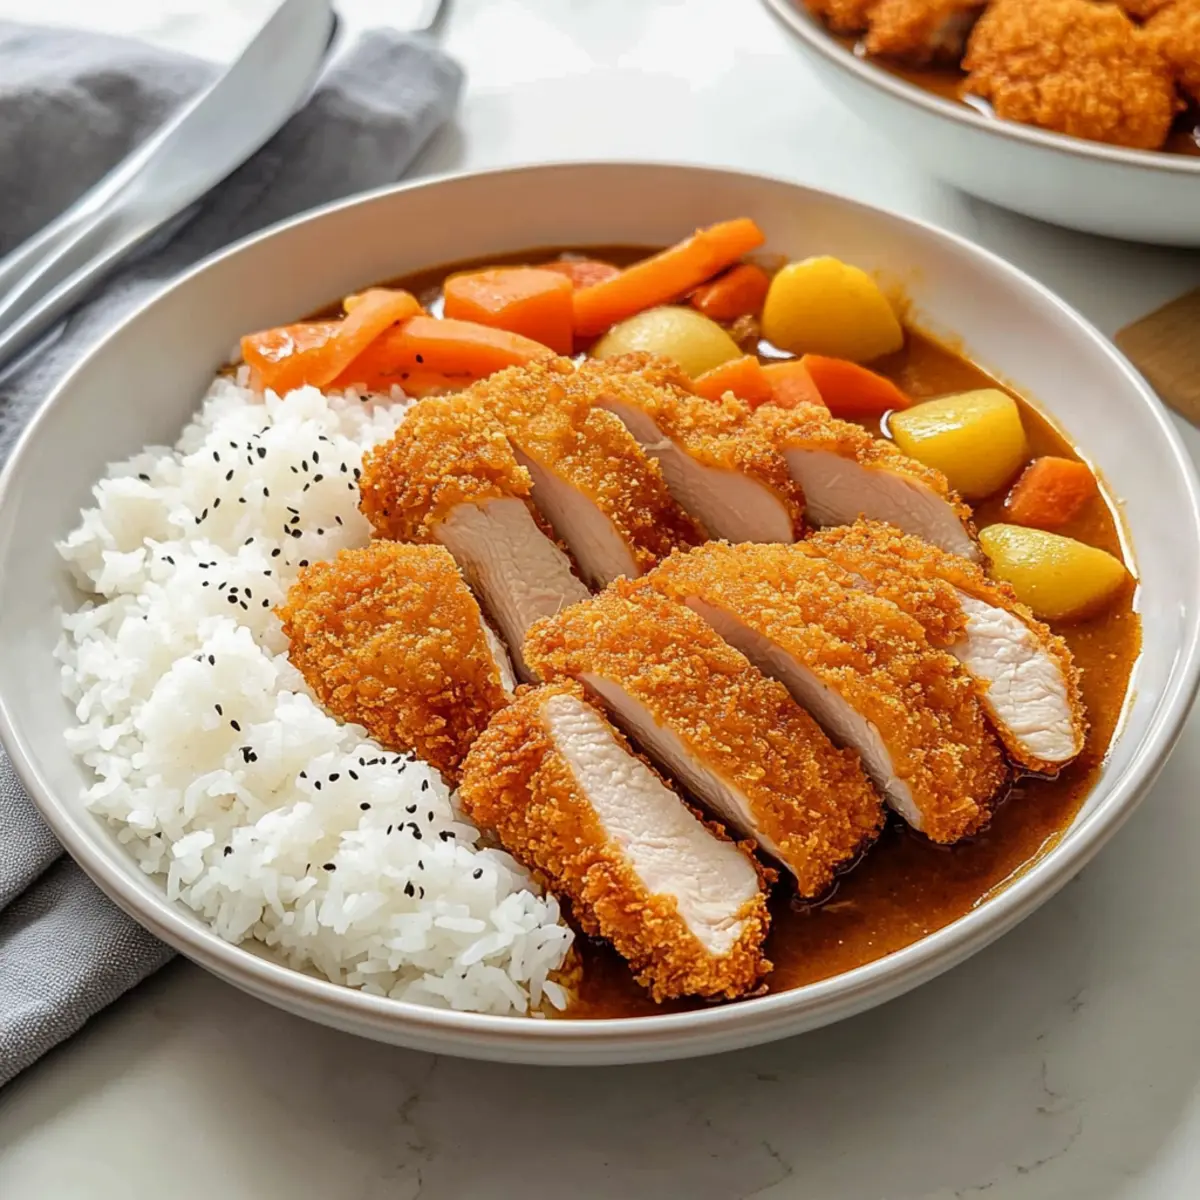
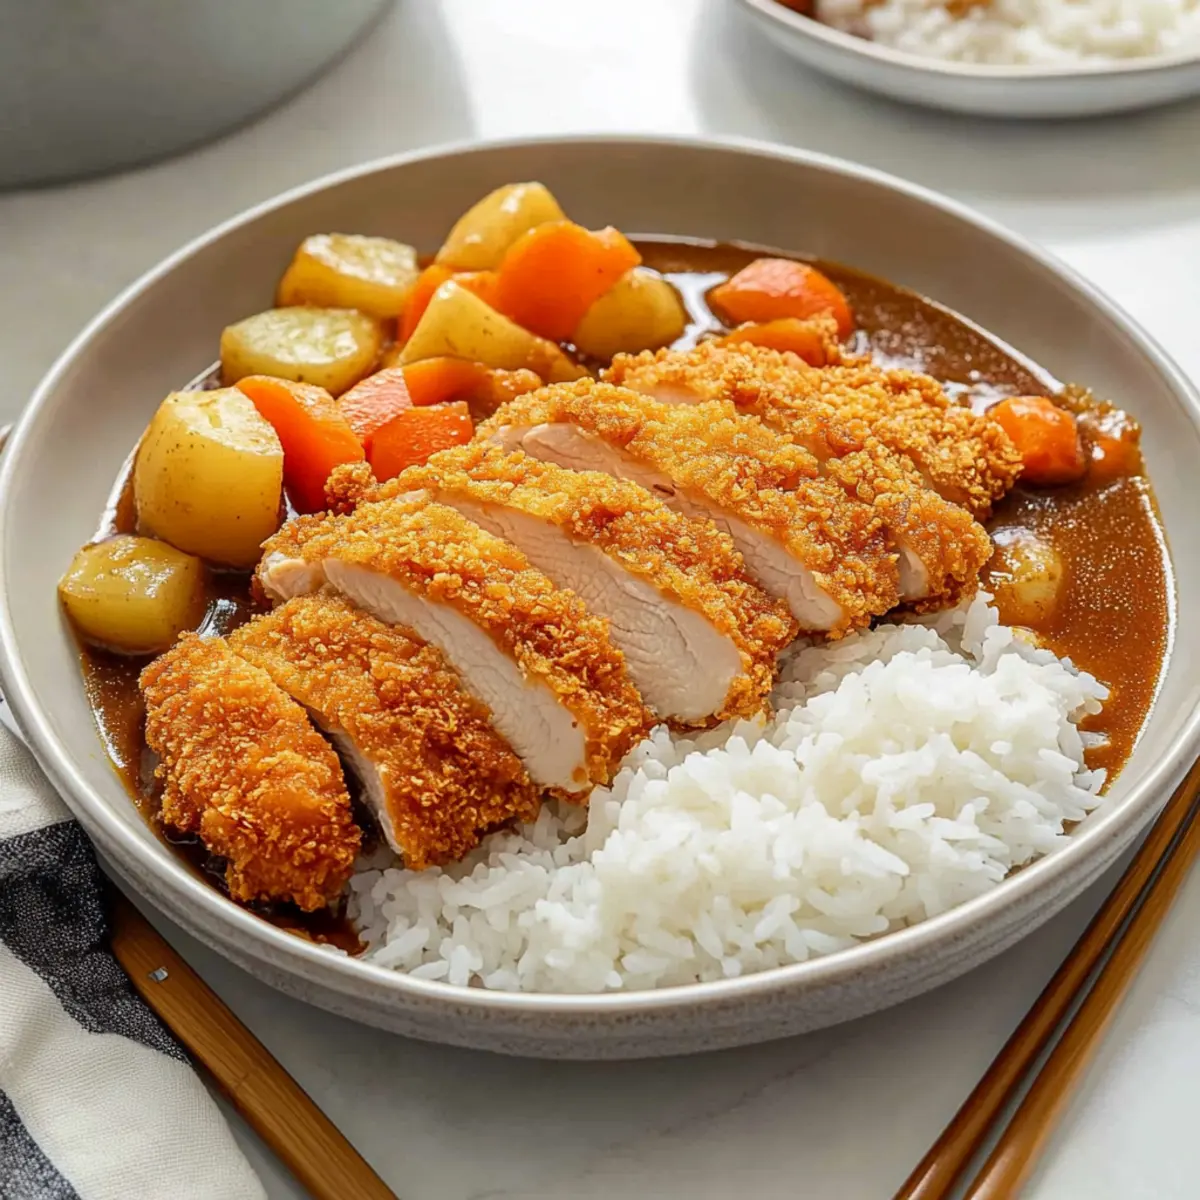
To serve, slice the crispy chicken katsu into strips and place it over a bed of fluffy cooked white rice. Generously ladle the thick, aromatic curry sauce over the chicken. This presentation captures the essence of Japanese Katsu Curry, offering a delightful combination that is sure to warm hearts and satisfy appetites.
Japanese Katsu Curry Variations
Feel free to explore these delightful twists on Japanese Katsu Curry that will tantalize your taste buds!
-
Pork or Tofu: Swap chicken for crispy pork cutlets or fried tofu for a vegetarian delight. Both options embrace the same delectable flavors!
-
Spicy Kick: If you crave a bolder flavor, use spicy curry roux or add a dash of chili flakes to bring the heat. This twist will elevate your dish to new heights.
-
Veggie Medley: Add a medley of vegetables like bell peppers or snap peas to the curry for additional nutrition and vibrant color. It’s a simple way to enhance the dish while keeping harmony with the classic flavors.
-
Sweet Potato Swap: Try substituting russet potatoes with sweet potatoes for a richer, sweeter profile in your curry. The creamy texture will beautifully contrast the crispy katsu.
-
Fruit Fusion: Experiment by adding other fruits like bananas or pineapples to the sauce for a unique sweet-sour twist! This flavor combination can create surprising layers in your Japanese Katsu Curry.
-
Coconut Cream: Stir in a splash of coconut cream for a rich and creamy texture that complements the curry’s sweetness. This variation offers a taste of the tropics right in your bowl.
-
Umami Boost: For extra depth, incorporate a spoonful of miso paste into the curry. This addition enhances the umami flavor, creating a comforting and hearty experience.
Want to serve something unique? Try pairing your Katsu Curry with simple, delicious Japanese Banana Rice for a sweet finish to your meal!
Make Ahead Options
These Japanese Katsu Curry components are perfect for meal prep enthusiasts looking to save time in their busy week! You can bread the chicken and refrigerate it for up to 24 hours; just be sure to keep it covered to maintain its crispness. You can also prepare the curry sauce in advance; it holds up well in the fridge for up to 3 days and even tastes better as the flavors meld together. Just reheat the curry gently on the stovetop when you’re ready to serve. Assemble everything with freshly cooked rice, and you’ll enjoy a comforting, restaurant-quality Japanese Katsu Curry with minimal effort!
Tips for the Best Japanese Katsu Curry
Oil Temperature: Ensure your oil is heated to around 340°F (170°C); this avoids soggy chicken katsu and helps achieve that perfect crunch.
Even Pounding: Pound the chicken evenly to promote uniform cooking; this results in juicy meat and a delightful texture in your Japanese katsu curry.
Wire Rack Cooling: Allow the fried chicken to cool on a wire rack to retain its crispiness; otherwise, it might become soggy if placed directly on a plate.
Store Separately: If you have leftovers, store the chicken and curry in separate airtight containers. This maintains the texture of the katsu for future meals.
Serving with Style: For an authentic touch, serve your katsu curry with pickled vegetables, enhancing the flavors and adding a refreshing contrast to the rich sauce.
How to Store and Freeze Japanese Katsu Curry
Fridge: Store leftovers in airtight containers for up to 3 days. Keep the chicken katsu separate from the curry sauce to maintain its crispiness.
Freezer: The curry can be frozen for up to 3 months. Freeze it in a sealed, freezer-safe container; ensure it’s cooled before storing.
Reheating: Thaw in the fridge overnight before reheating. Microwave the curry on low heat, stirring occasionally, or warm it on the stove until heated through. For best results, use an oven to reheat the chicken katsu to restore its crunch.
What to Serve with Crispy Japanese Katsu Curry
Imagine the perfect cozy meal that brings everyone together with warmth, flavor, and a touch of adventure.
- Steamed Edamame: These tender green soybeans add a nutty flavor and bright color, providing a delightful contrast to the rich curry.
- Miso Soup: A warm bowl of miso soup is light yet flavorful, making it a comforting starter that complements the heartiness of katsu curry.
- Pickled Vegetables: A side of tangy pickled cucumbers or daikon offers a refreshing crunch that cuts through the richness of the curry.
- Crisp Salad: A fresh garden salad with a zesty sesame dressing pairs beautifully, bringing a crisp texture and vibrant taste.
- Japanese Beer or Sake: Enjoy a chilled glass of lager-style Japanese beer or a smooth cup of sake to enhance the meal’s flavors.
- Mochi Ice Cream: For dessert, indulge in sweet mochi ice cream, offering a delightful chewy texture to end your meal on a high note.
- Brown Rice: Swapping traditional white rice for nutty brown rice adds a heartier texture and a pleasant earthy flavor to balance the curry.
- Asian-style Cole Slaw: A colorful slaw with crunchy cabbage and carrots tossed in ginger dressing elevates the meal with its crunchy freshness.
- Seaweed Salad: This light and refreshing salad introduces an umami element, perfectly complementing the savory notes of the katsu curry.
Japanese Katsu Curry Recipe FAQs
How do I select ripe ingredients for Japanese Katsu Curry?
Absolutely! For optimal flavor, choose firm and unblemished vegetables. Look for potatoes without dark spots and vibrant carrots for sweetness. Ensure your chicken breasts are fresh, and if using apples, select ones that are sweet and crisp for your curry sauce.
How should I store leftovers from Japanese Katsu Curry?
For sure! Store any leftover chicken katsu and curry sauce separately in airtight containers in the refrigerator for up to 3 days. This will help maintain the chicken’s crispiness and keep the curry at its best flavor.
Can I freeze Japanese Katsu Curry, and how?
Very! You can freeze the curry for up to 3 months. Ensure it has cooled completely before transferring it to a sealed, freezer-safe container. When you’re ready to enjoy it again, thaw it overnight in the fridge.
What should I do if my chicken katsu becomes soggy?
No worries! If your chicken katsu turns out soggy, the key is oil temperature. Ensure your oil is heated to 340°F (170°C) before frying. If frying in batches, avoid overcrowding the pan, as this can lower the oil temperature and lead to soggy katsu.
Are there any dietary considerations for making Japanese Katsu Curry?
Absolutely! For those with dietary restrictions, you can substitute chicken with pork or tofu for a vegetarian option. Be cautious with soy sauce if you have a gluten allergy; opt for gluten-free soy sauce or tamari instead. Use vegetable broth instead of chicken stock for a completely vegetarian dish.
What are some helpful tips for achieving the best texture in my Japanese Katsu Curry?
Definitely! Ensure to pound your chicken evenly to achieve that perfect tenderness. This helps it cook uniformly and remain juicy inside. For the ultimate crunch, cool the fried chicken on a wire rack rather than a plate, as it allows air to circulate and prevents sogginess.
Crispy Japanese Katsu Curry: A Comfort Food Delight
Ingredients
Equipment
Method
- Butterfly and pound the chicken breasts to about ½ inch thick. Season with salt and pepper.
- Set up three shallow dishes: one with flour, one with beaten egg, and one with panko breadcrumbs.
- Dredge seasoned chicken in flour, dip in egg, then coat in panko breadcrumbs.
- Heat oil in a deep pan to 340°F (170°C) and fry the chicken for 6-7 minutes until golden.
- Prepare curry ingredients by dicing potatoes and carrots, mincing garlic, and grating apple.
- Sauté onions in olive oil until translucent, then add garlic and cook for one more minute.
- Mix in carrots and potatoes, cooking for 2-3 minutes to soften.
- Add chicken stock, water, soy sauce, honey, and grated apple. Bring to a boil, then simmer for 15 minutes.
- Stir in the curry roux and simmer for another 15 minutes until thickened.
- Serve sliced chicken katsu over rice, topped with the curry sauce.
Leave a Reply