
In the hustle and bustle of everyday life, finding time to enjoy vibrant flavors can often feel like a luxury. That’s where my Quick and Spicy Pickled Celery comes in! This delightful recipe not only revitalizes your snacking routine with a zesty twist, but it also brings a fresh, crispy crunch straight from the garden to your plate. Packed with the delicious perks of being both gluten-free and vegan, these tangy celery sticks transform an ordinary day into a joyful celebration of flavor. Whether you’re looking for a quick snack, a colorful addition to a cheese board, or a crunchy topping for your sandwiches, this pickled celery is sure to impress. Ready to dive into the zesty brine of this sensational recipe? Let’s get started!
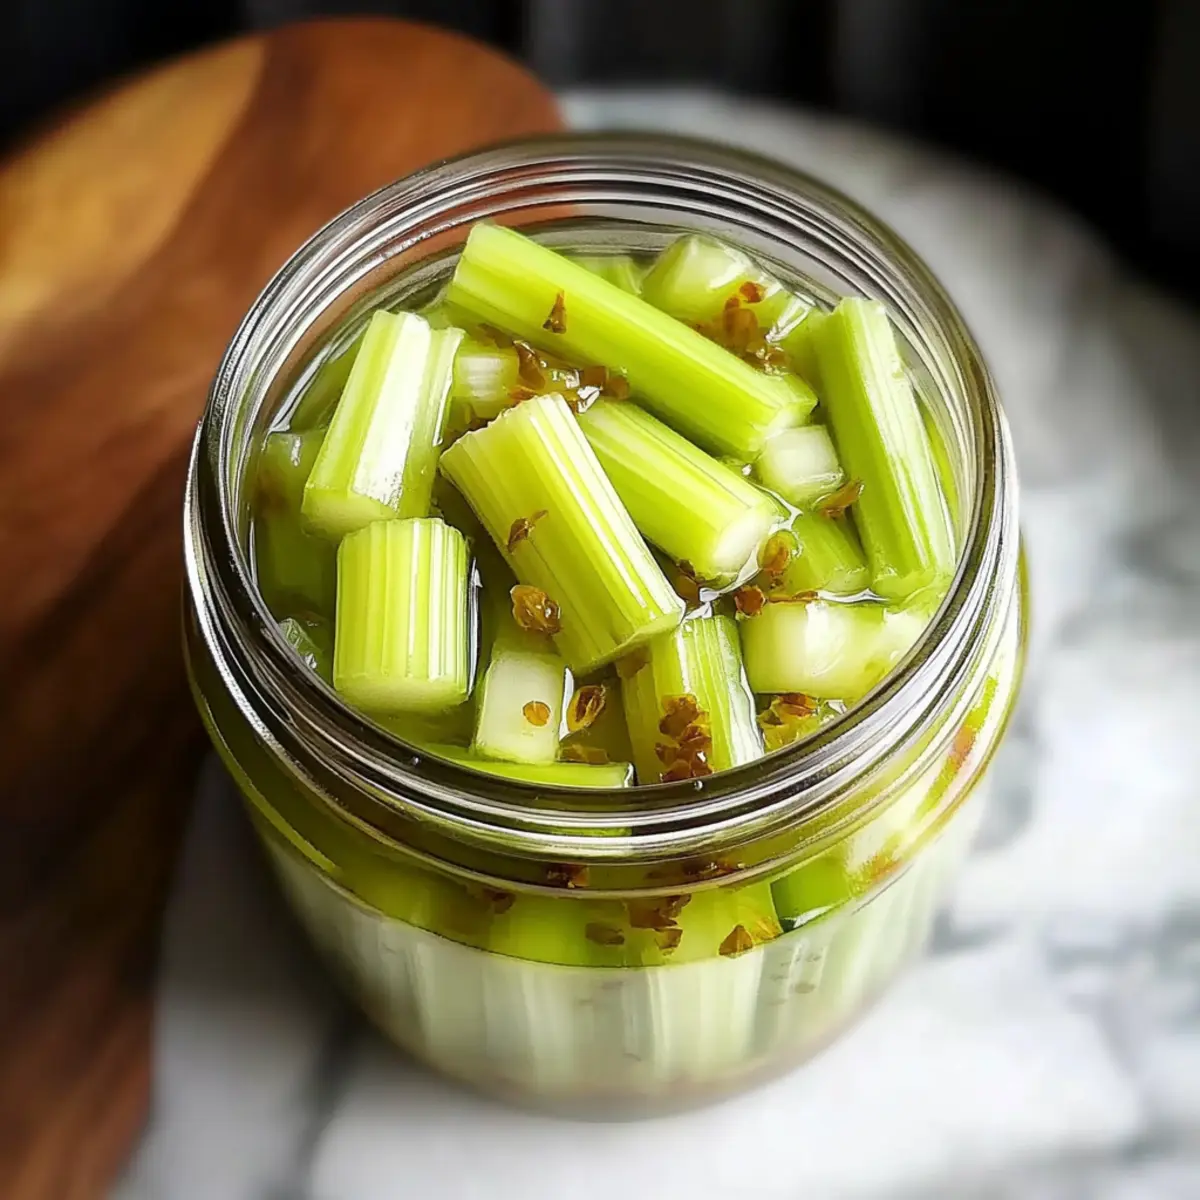
Why is Pickled Celery a Must-Try?
Quick and Easy: The pickling process is a breeze, making it accessible even for novice cooks. You can have your zesty snack ready in no time!
Bursting with Flavor: This recipe offers a tangy, spicy punch that’s far from ordinary, elevating any meal with its bold kick.
Versatile Use: Whether enjoyed solo, on a cheese board, or tossed into salads, this pickled celery adapts beautifully to any occasion.
Healthy Option: Low in calories and packed with crunch, it’s a guilt-free way to satisfy your cravings. It’s also vegan and gluten-free, making it suitable for various diets.
Perfect for Meal Prep: Whip up a jar, store it in the fridge, and enjoy a fresh snack all week long! Consider trying it alongside other quick pickles, like Cranberry Pecan Celery for a flavorful variety.
Pickled Celery Ingredients
For the Brine
- White Vinegar – Provides the classic tangy flavor essential for quick pickle, but feel free to substitute with apple cider vinegar for a sweeter note.
- Water – Balances the acidity of the vinegar, creating a harmonious blend in the brine.
- Sugar – Adds a subtle sweetness to the mix; you can adjust the amount based on your taste preferences.
- Salt – Enhances flavor and helps preserve the celery; it’s a crucial component of the brining process.
For the Celery
- Celery Stalks – The star of the dish; opt for firm and fresh stalks to ensure a satisfying crunch!
Optional Add-ins
- Crushed Red Pepper Flakes – For those who crave extra spice, this is a delightful addition to the brine.
- Garlic Cloves – Enhance flavor with a couple of cloves for a zesty twist in your pickled celery.
Get ready to elevate your snacking game with this enticing pickled celery recipe that promises a delightful crunch and a burst of flavor!
Step‑by‑Step Instructions for Quick and Spicy Pickled Celery
Step 1: Prepare the Brine
Begin by combining 1 cup of water, 1 cup of white vinegar, 2 tablespoons of sugar, and 1 tablespoon of salt in a saucepan. Heat over medium heat, stirring until the sugar and salt completely dissolve—this usually takes about 3-5 minutes. Once dissolved, remove the saucepan from the heat and set it aside to cool slightly.
Step 2: Pack the Jar
While the brine cools, take a clean, sterilized jar and pack in roughly 4-5 stalks of fresh celery, cut into 4-5 inch spears. Make sure to arrange the celery tightly but without crushing; this allows the brine to reach every piece. For a spicy kick, consider sprinkling some crushed red pepper flakes among the celery spears.
Step 3: Pour the Brine
Once the brine has cooled for about 10 minutes, carefully pour it over the packed celery in the jar. Ensure that the celery is fully submerged in the brine, which will help maintain its crunch. If needed, you can prepare a little extra brine to cover any celery that may not be immersed.
Step 4: Seal the Jar
Seal the jar with a tight-fitting lid to keep out air and preserve the flavors. At this point, let the Quick and Spicy Pickled Celery sit at room temperature for about 1 to 2 hours. This marinating time allows the flavors to meld beautifully and gives your snack the vibrant taste it’s known for.
Step 5: Chill for Best Flavor
After the initial marination, transfer the jar to the refrigerator. For optimal taste, let your pickled celery chill for at least 1-2 hours, though overnight is even better. The chilling process enhances the tanginess and spiciness of the pickles, ensuring a refreshing crunch every time you enjoy them.
Step 6: Serve and Store
Once your Quick and Spicy Pickled Celery has marinated and chilled, it’s ready to enjoy! Serve it as a crunchy snack, add it to salads, or include it on a cheese board. Remember to store any leftovers in the refrigerator, where they’ll retain their flavor and crispness for up to 2 weeks.
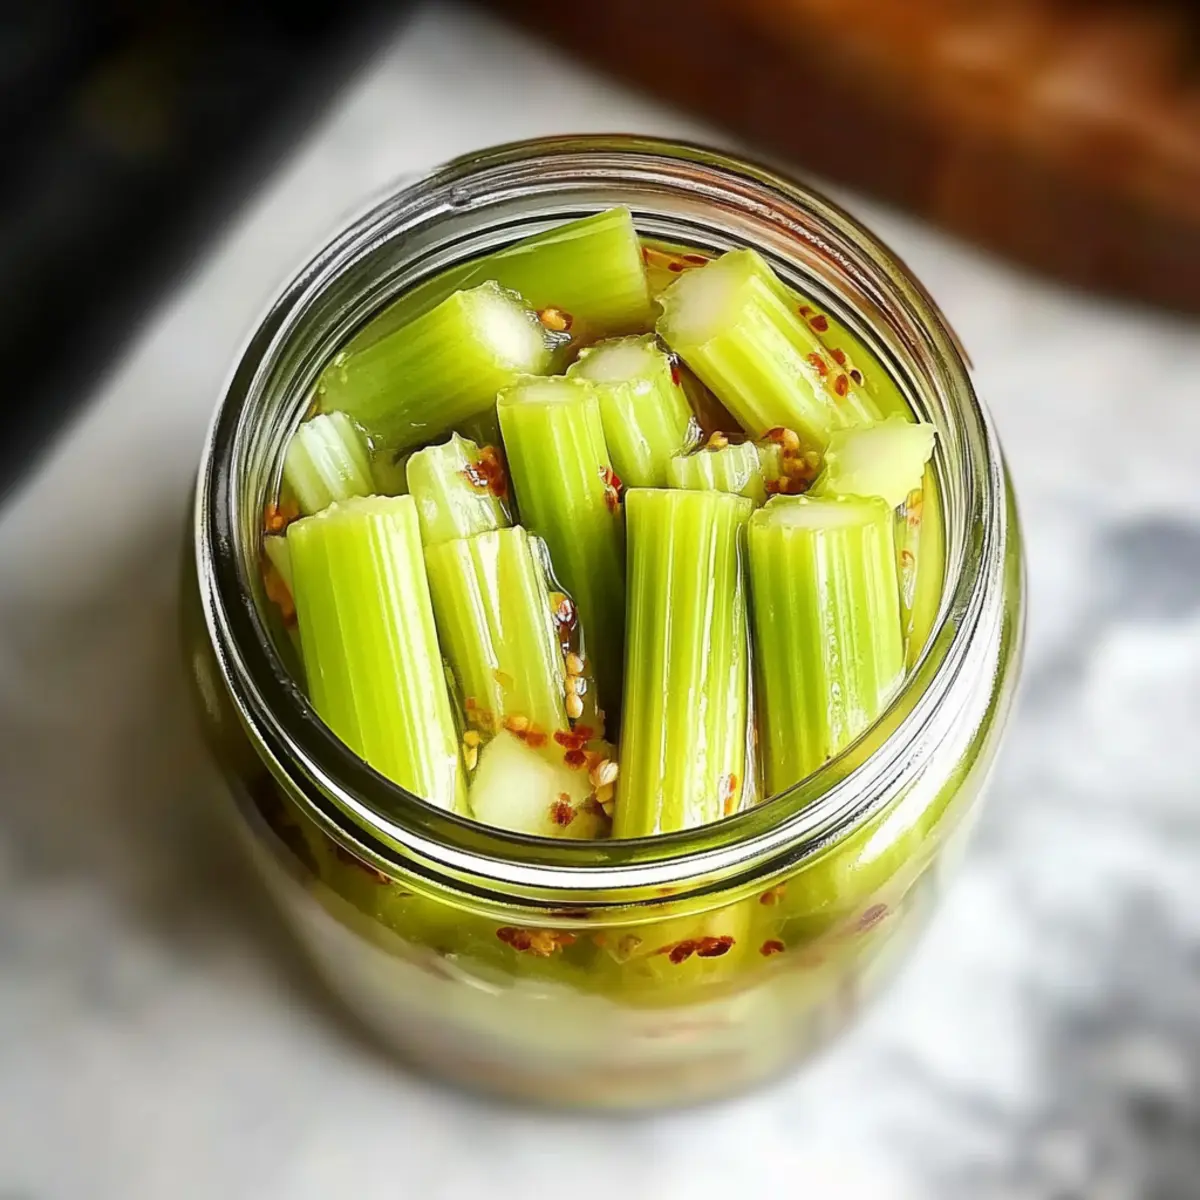
Make Ahead Options
These Quick and Spicy Pickled Celery sticks are ideal for meal prep, allowing you to savor their vibrant flavors with ease! You can prepare the brine and pack the celery up to 24 hours in advance; simply refrigerate the filled jar until you’re ready to marinate. To maintain their perfect crunch, make sure the celery is fully submerged in the brine, adding extra if necessary. When you’re ready to enjoy your pickled celery, let it sit at room temperature for about 1-2 hours to let the flavors meld beautifully, then refrigerate for at least an additional 1-2 hours (overnight preferred) for maximum taste. This way, you’ll have a quick, zesty snack ready to brighten even the busiest of days!
Pickled Celery Variations & Substitutions
Feel free to mix things up with these delightful twists that cater to your taste buds!
- Cucumber Crunch: Substitute celery with cucumber for a refreshing twist that enhances the crunch factor.
- Sweet & Spicy: Incorporate sliced jalapeños into the brine for an enticing heat that contrasts with a dash of honey or agave syrup.
- Garlic Infusion: Add whole garlic cloves to the jar for a burst of aromatic flavor that melds beautifully with the brine.
- Herbal Kick: Toss in fresh dill or cilantro before sealing the jar for a vibrant herby aroma with every bite.
- Root Veggie Delight: Experiment with carrots or radishes, adjusting marinating time as necessary for different textures.
- Asian Flair: Swap out white vinegar for rice vinegar and add a splash of soy sauce for an umami-rich twist that’s perfect for sushi or Asian salads.
- Zesty Citrus: Include citrus peels or juice from lemons or limes into the mix for a zingy burst of freshness, brightening your snacking experience.
- Mixed Veggie Medley: Combine various veggies like green beans, bell peppers, and asparagus, creating an eye-catching, colorful pickle jar that’s a feast for the eyes!
Elevate your snacking game with these variations, and consider trying out other delicious pickles like Cranberry Pecan Celery for even more flavor adventures! Enjoy the journey of crafting your perfect pickled treat!
How to Store and Freeze Pickled Celery
Fridge: Store pickled celery in a sealed glass jar in the refrigerator for up to 2 weeks. This keeps it crisp and flavorful, ready for snacking anytime.
Airtight Storage: Ensure the jar is airtight to prevent off-flavors and maintain the vibrant taste of your pickled celery.
No Freezing: Avoid freezing pickled celery, as the texture may become soggy and lose its satisfying crunch upon thawing.
Serving Tips: Enjoy chilled directly from the jar, add to salads, or serve alongside sandwiches for a zesty twist.
What to Serve with Quick and Spicy Pickled Celery?
Imagine brightening your table with delightful dishes that perfectly complement the zesty crunch of your pickled celery, turning any meal into a festive occasion!
- Creamy Hummus: This smooth dip balances the crunchy texture, creating a satisfying contrast while enhancing the snacking experience. Perfect for dipping!
- Charcuterie Board: Pair the pickled celery with artisanal cheeses, cured meats, and olives for a vibrant and colorful spread that delights the senses.
- Crunchy Salad: Toss with fresh greens, cherry tomatoes, and a citrus vinaigrette for a refreshing boost of flavor and color that screams summer!
- Savory Sandwiches: Whether you’re building a classic BLT or a veggie-packed delight, these pickled sticks add a spicy crunch that elevates each bite.
- Spicy Tacos: Use the pickled celery as a topping for soft or crunchy tacos, adding that zesty flavor and crisp texture that rounds out the meal beautifully.
- Chilled Sparkling Water: A light spritz pairs well, making for a refreshing drink option that enhances the overall flavor profile of your meal.
- Rich Guacamole: Spread this creamy avocado goodness on crackers or toast and top with a slice of pickled celery for a crunchy surprise!
- Mini Wedge Salad: Serve with a drizzle of blue cheese dressing and crumbled bacon, topped with pickled celery for a punchy, crunchy addition.
- Dark Chocolate Dessert: Indulge your sweet tooth with rich dark chocolate. The contrast to the briny celery is an unexpected yet delightful pair!
Expert Tips for Pickled Celery
• Choose Fresh Celery: Use firm, bright celery stalks to ensure a satisfying crunch and vibrant flavor in your pickled celery.
• Submerge Fully: Always ensure the celery is completely submerged in the brine to maintain its crunchiness; add extra brine if necessary.
• Adjust Spice Levels: For a spicier kick, feel free to add more crushed red pepper flakes or even sliced jalapeños for that extra heat!
• Marinating Time Matters: Don’t rush the marination process; letting the celery sit at room temperature for a couple of hours allows flavors to develop beautifully.
• Proper Storage: Store your pickled celery in a sealed glass jar in the refrigerator to keep it crisp and flavorful for up to 2 weeks.
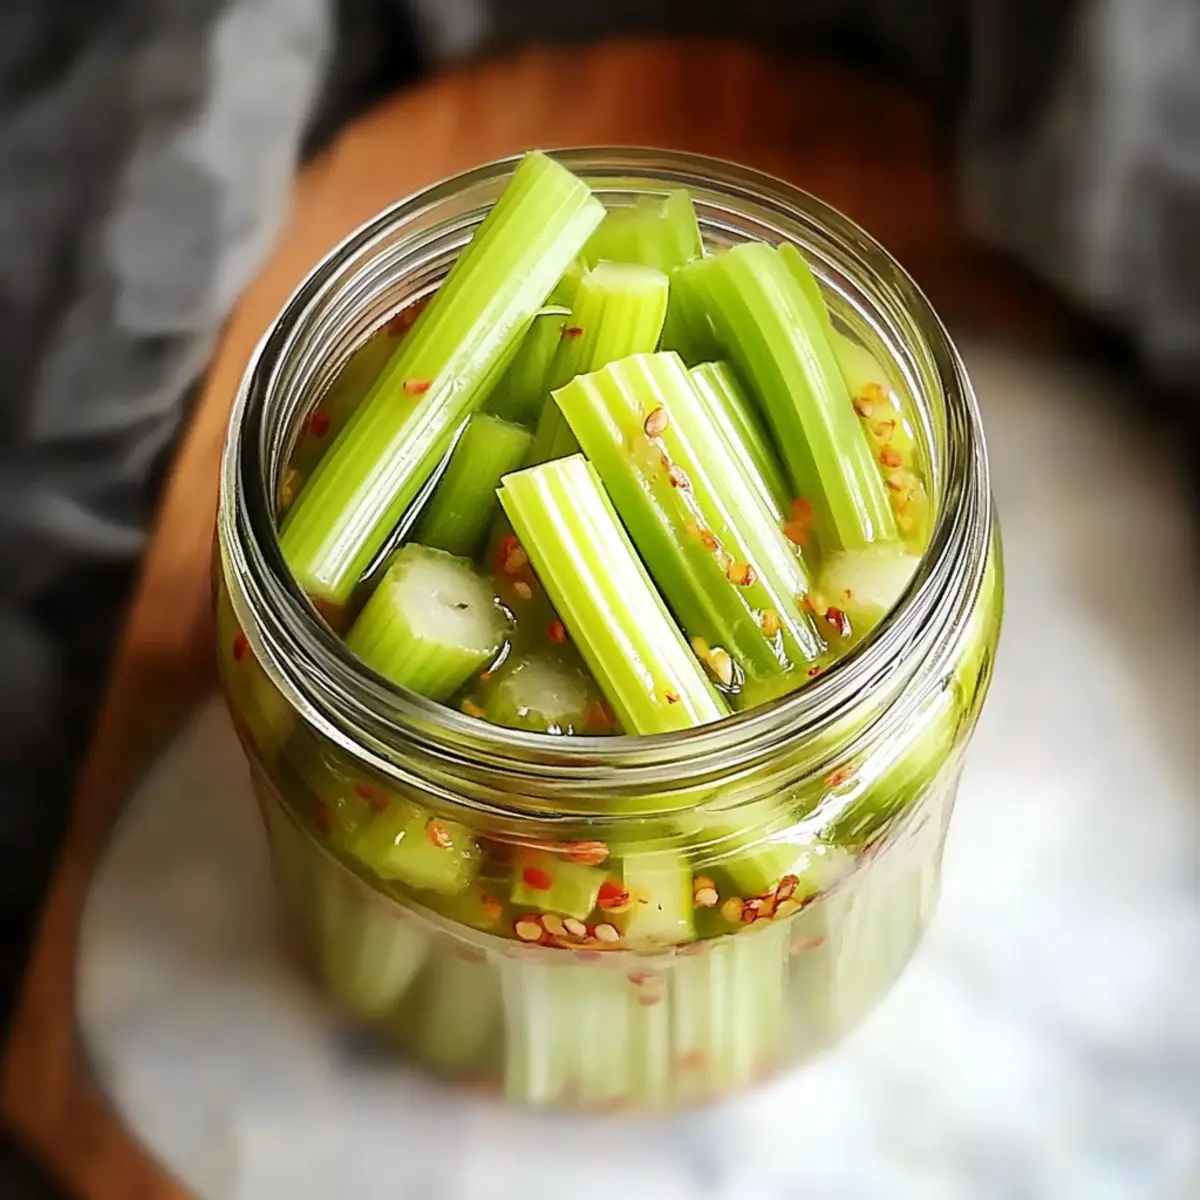
Quick and Spicy Pickled Celery Recipe FAQs
How do I select the best celery for pickling?
Absolutely! When choosing celery, look for stalks that are firm, crisp, and bright green. Avoid any stalks with dark spots or wilting leaves, as these indicate aging or spoilage. Fresh celery will ensure the best texture and flavor in your pickled celery recipe.
How long can I keep pickled celery in the refrigerator?
Very! You can store your pickled celery in a sealed glass jar in the refrigerator for up to 2 weeks. Just make sure the jar is airtight to preserve the crispness and prevent off-flavors. Enjoy your delicious snack anytime within that timeframe!
Can I freeze pickled celery for later use?
Absolutely not! Freezing pickled celery is not recommended, as the texture can become soggy and lose that delightful crunch once thawed. Instead, enjoy your pickled celery fresh and crisp directly from the fridge!
What should I do if my pickled celery isn’t crunchy?
No worries! If you find that your pickled celery isn’t as crunchy as you’d like, ensure it is fully submerged in the brine, as exposure to air can lead to wilting. If necessary, prepare a bit more brine and cover the celery entirely. Also, remember that marinating time is key—let it sit at room temperature for the recommended time to allow flavors to develop fully.
Are there any dietary considerations for this pickled celery recipe?
Very! This pickled celery is both vegan and gluten-free, making it a suitable snack for various dietary preferences. Just ensure your vinegar and any optional add-ins (like spices) also adhere to your dietary restrictions. It’s a perfect zesty treat for everyone, including your loved ones with specific dietary needs!
Can I use other vegetables for pickling in the same brine?
Absolutely! Feel free to experiment with other vegetables such as carrots, cucumbers, or bell peppers. Simply adjust the marinating times based on their thickness—thinner vegetables like cucumber may need less time, while thicker ones like carrots may take longer to absorb the brine. Enjoy getting creative with your pickling adventures!
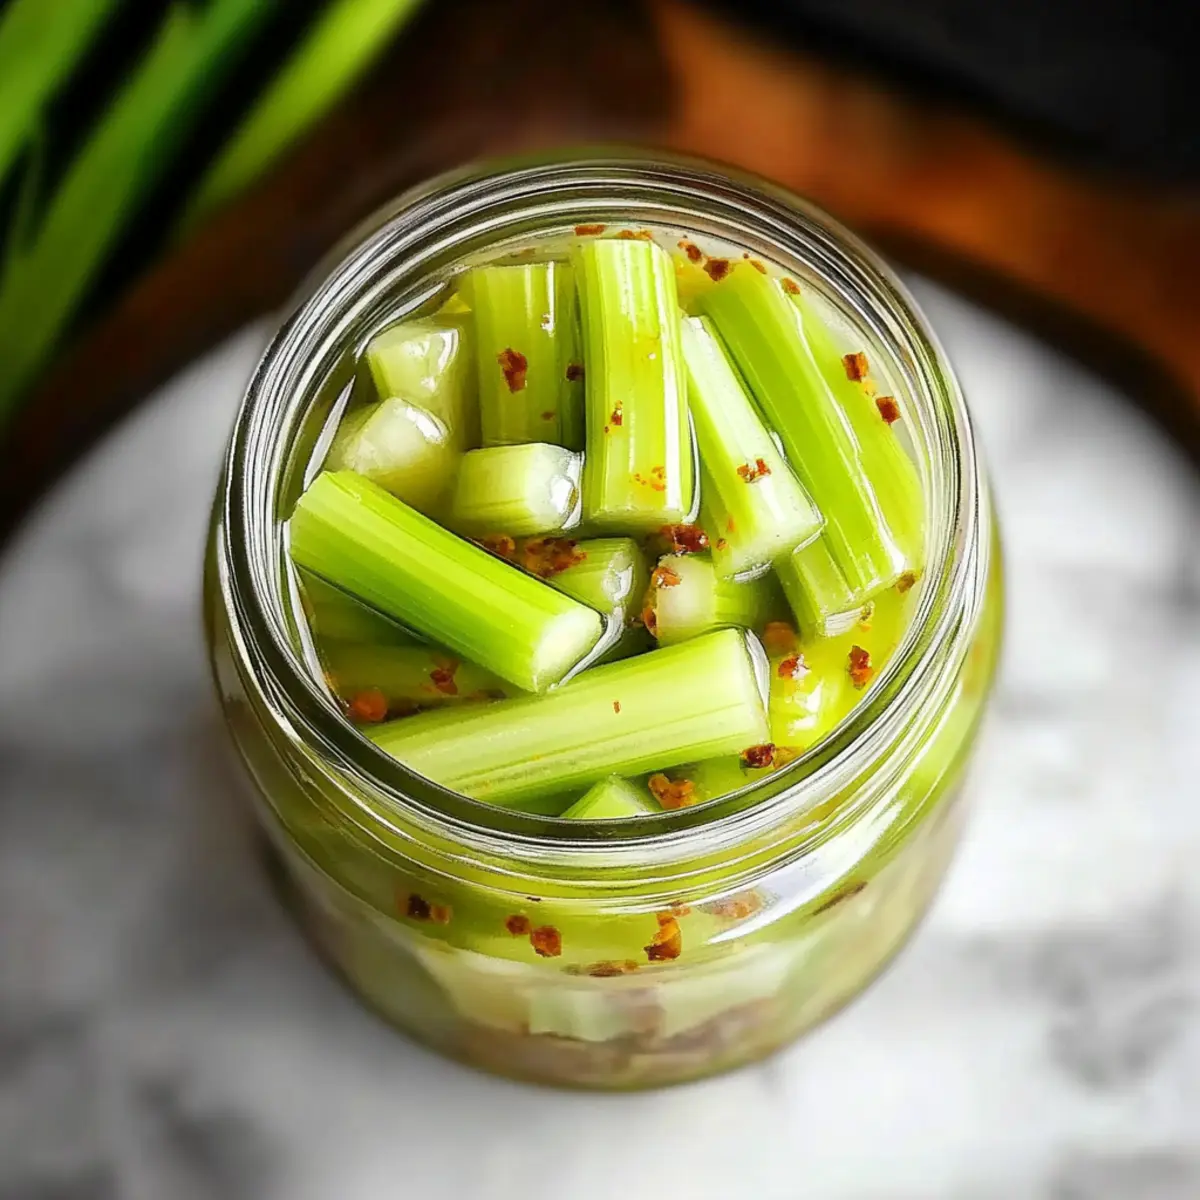
Quick and Zesty Pickled Celery for a Crunchy Snack
Ingredients
Equipment
Method
- Combine 1 cup of water, 1 cup of white vinegar, 2 tablespoons of sugar, and 1 tablespoon of salt in a saucepan. Heat over medium heat until dissolved.
- Pack roughly 4-5 stalks of fresh celery, cut into 4-5 inch spears, tightly in a clean sterilized jar.
- Pour the cooled brine over the packed celery, ensuring all pieces are submerged.
- Seal the jar with a lid and let it sit at room temperature for 1 to 2 hours.
- Transfer to the refrigerator and chill for at least 1-2 hours for optimal taste.
- Enjoy your Quick and Spicy Pickled Celery as a snack or topping!
Leave a Reply