
“Just imagine your favorite dessert coming together in a mere 20 minutes—sounds too good to be true, right? Well, let me introduce you to my No-Bake Easy Peanut Butter Pie. This delightful treat combines a creamy, rich filling with the satisfying crunch of an Oreo crust, making it the perfect choice for both casual nights in and festive gatherings alike. One of the best parts? It’s effortlessly easy to whip up, even for those who might not consider themselves kitchen wizards. Plus, there’s a fun vegan twist if that’s your jam! So, are you ready to dive into a slice of pure bliss?”
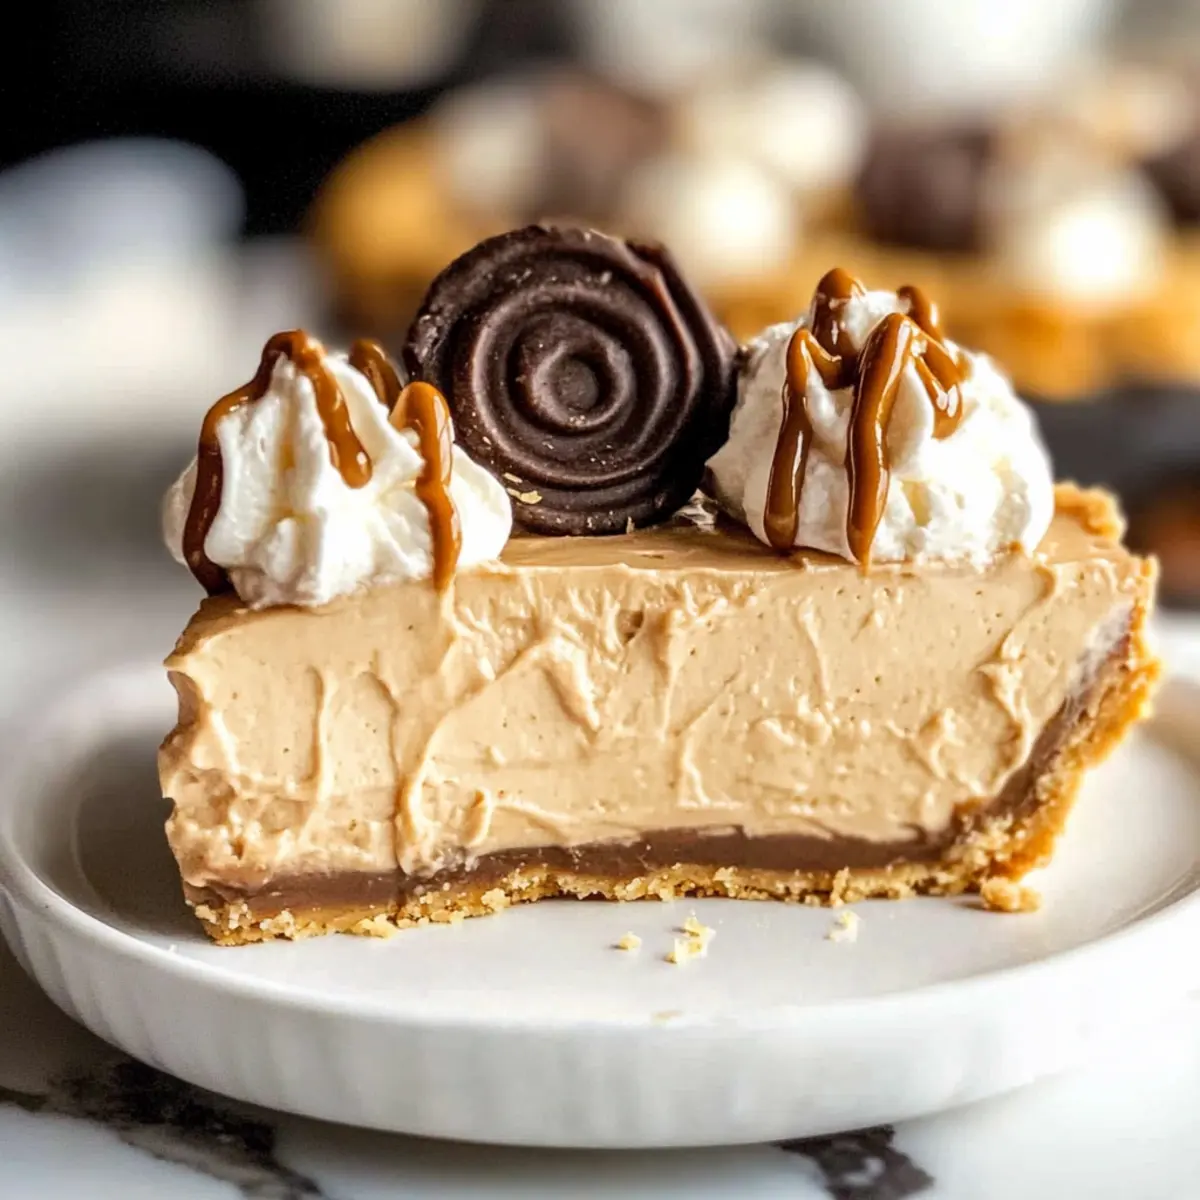
Why is this Peanut Butter Pie irresistible?
Simplicity makes this pie a dream; you can create a stunning dessert in just 20 minutes! Decadent flavor abounds with a luscious peanut butter filling paired with a crunchy Oreo crust. Versatile options allow you to switch the crust or even go vegan with easy modifications. Crowd-pleasing appeal means it’s perfect for parties or cozy dinners alike. Plus, the no-bake method saves you time and hassle; just whip it, chill it, and enjoy! For a different texture, consider trying it with Cheese Onion Pie or brighten up your dessert table with Dragon Fruit Pie.
Peanut Butter Pie Ingredients
• Perfectly designed for your next delightful dessert!
For the Crust
- Oreo Cookies – Form a crunchy base; you can swap these with Nutter Butter cookies for a unique twist.
- Melted Butter – Binds the cookie crumbs together; don’t skip this for a sturdy crust.
For the Filling
- Cream Cheese – Adds a creamy texture to the filling; ensure it’s softened for an easy blend.
- Creamy Peanut Butter – The star of the show, providing rich flavor; opt for natural peanut butter for a healthier version.
- Powdered Sugar – Sweetens the filling and gives it a smooth consistency; feel free to adjust for your desired sweetness.
- Heavy Whipping Cream – Adds lightness to the mixture; whip until stiff peaks form for the best result.
- Vanilla Extract – Enhances the flavor profile; don’t skip this for that extra warmth in taste.
Topping Ideas
- Crushed Candies – Sprinkle on top for a fun crunch; think M&M’s or chopped Reeses.
- Mini Reese’s Cups – Elevate the dessert with more peanut butter goodness; they make every slice look tempting!
- Chocolate and Peanut Butter Chips – Perfect for an extra sweet finish; they add both flavor and decorative flair.
Explore the magic of this Peanut Butter Pie, and get ready to impress your family and friends with this delightful, no-bake treat!
Step‑by‑Step Instructions for No-Bake Easy Peanut Butter Pie
Step 1: Prepare the Crust
In a food processor, pulse about 24 Oreo cookies until they turn into fine crumbs. Mix the crumbs with 1/4 cup of melted butter until well combined. Press this mixture into a 9.5-inch pie plate evenly, creating a sturdy, flat base. Refrigerate for at least 1 hour or pop it in the freezer for 20-30 minutes to set and firm up the crust perfectly.
Step 2: Make the Filling
In a mixing bowl, beat 8 ounces of softened cream cheese and 1 cup of creamy peanut butter with an electric mixer until the mixture is smooth and well-blended. Gradually add in 1 cup of powdered sugar and 1 teaspoon of vanilla extract, mixing until fully integrated. This luxurious filling will be delightfully creamy and rich with peanut butter flavor.
Step 3: Whip the Cream
In a separate bowl, pour 1 cup of heavy whipping cream and beat it with a hand mixer until stiff peaks form. This should take about 3-5 minutes. Be careful not to overwhip, as this can lead to a grainy texture. The whipped cream adds a lightness to the filling, balancing the richness of the peanut butter pie.
Step 4: Combine the Mixtures
Gently fold the whipped cream into the peanut butter filling using a spatula, taking care not to deflate the lightness from the whipped cream. Continue folding until the mixture is well combined and there are no streaks remaining. This step gives the No-Bake Peanut Butter Pie its delightful, airy texture.
Step 5: Assemble the Pie
Pour the creamy filling into the cooled Oreo crust, smoothing the top with a spatula for an even finish. Cover the pie with plastic wrap and chill it in the refrigerator for at least 4 hours, or overnight for the best results. The chilling time allows the filling to firm up and develop its full flavor.
Step 6: Serve the Pie
Once set, slice the No-Bake Easy Peanut Butter Pie into generous servings. For an extra treat, top each slice with optional toppings, such as crushed candies, mini Reese’s cups, or a dollop of whipped cream. This dessert is ready to bring smiles and satisfaction to your table!
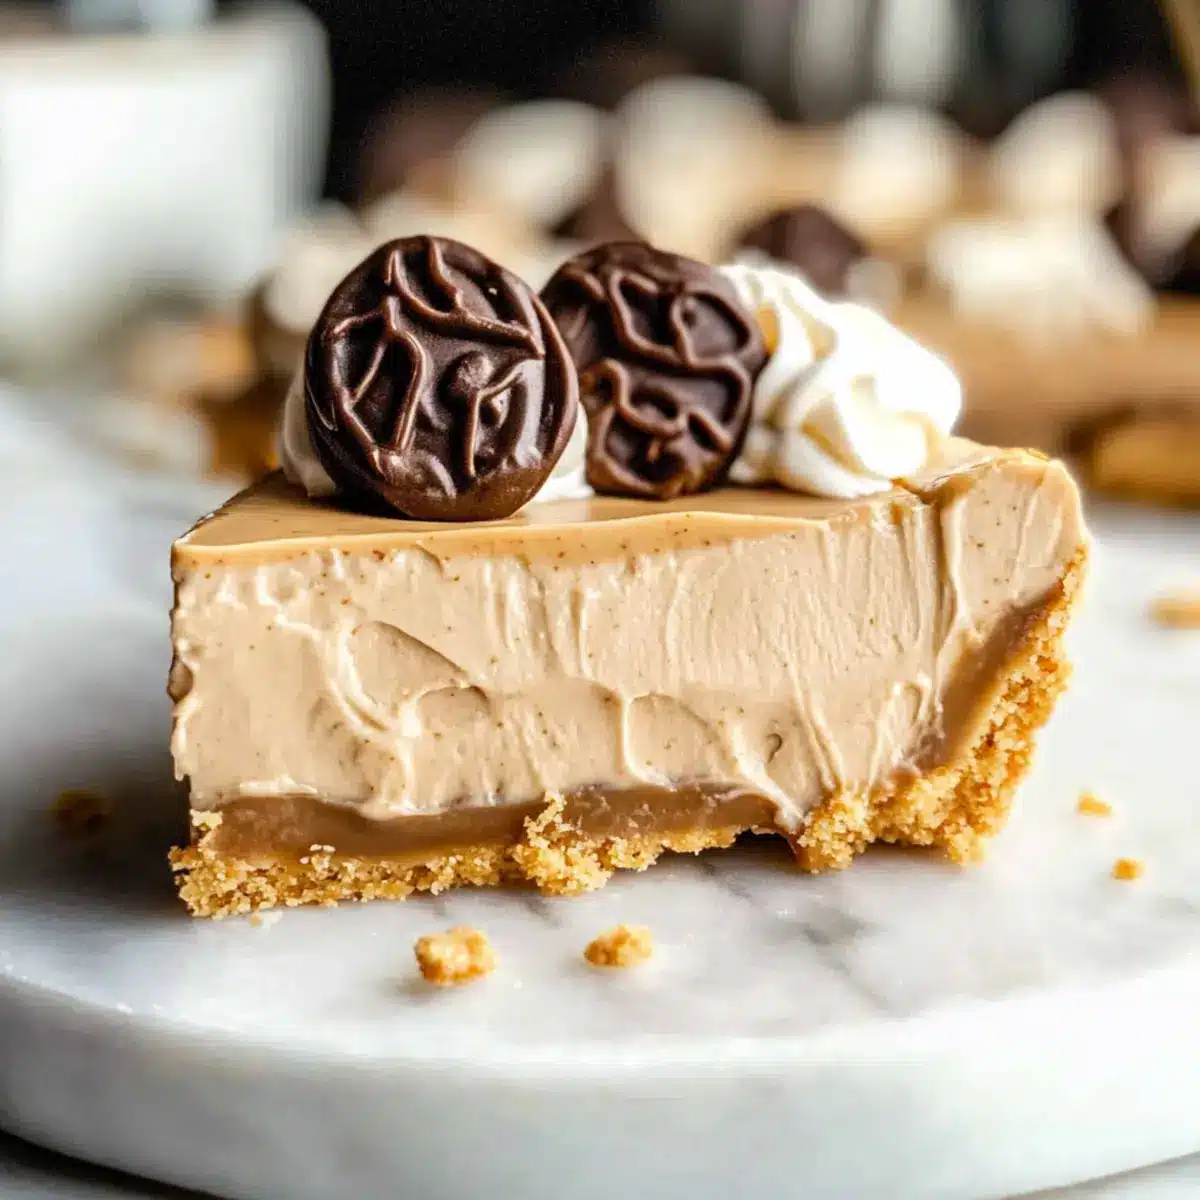
Peanut Butter Pie Variations
Feel free to get creative with this Peanut Butter Pie, and tailor it to your taste buds and dietary needs for a truly personalized dessert experience!
-
Nutter Butter Crust: Swap the Oreo crust with Nutter Butter cookies for a delightful and sweet twist that pairs wonderfully with the peanut butter filling.
-
Vegan Option: Use vegan cream cheese and whipped silken tofu instead of heavy cream for a creamy, plant-based version everyone can enjoy. It’s rich and satisfying!
-
Chocolate Lovers: Mix in a layer of chocolate ganache beneath the filling for a decadent chocolate-peanut butter combination that will have dessert lovers swooning.
-
Crunchy Peanut Butter: Opt for crunchy peanut butter instead of creamy to add texture and that satisfying crunch in every bite. It’s a fun change for peanut butter aficionados!
-
Flavor Infusion: Add a teaspoon of cinnamon or a splash of bourbon to the filling to bring a warm, aromatic twist that elevates the flavors to new heights.
-
Fruit Additions: Top your pie with sliced strawberries or bananas before serving for a fresh, fruity contrast that brightens the rich peanut butter flavor.
-
Spicy Kick: Incorporate a pinch of cayenne pepper into the filling for a surprising, spicy twist that pairs surprisingly well with the sweetness of the pie.
-
Nut Topping: Sprinkle chopped nuts like pecans or almonds on top for added crunch and a nutty richness that complements the smooth filling beautifully.
Don’t forget to explore other delicious desserts like Matcha Butter Cookies or the unique flavors of Chocolate Chip Peanut Butter for more exciting culinary adventures!
Expert Tips for Peanut Butter Pie
-
Proper Cream Cheese: Ensure your cream cheese is completely softened to avoid lumps in the filling. This step guarantees a silky-smooth texture in your Peanut Butter Pie.
-
Whipping the Cream: Whip the heavy cream until it forms stiff peaks, but be cautious not to overwhip. Overwhipping can create a grainy texture, which detracts from the pie’s overall creaminess.
-
Chill Time Matters: Allow the pie to chill in the refrigerator for at least 4 hours or overnight for best results. This rest time helps the flavors meld wonderfully and ensures a firm, sliceable texture.
-
Crust Alternatives: Feel free to experiment with crust alternatives! Nutter Butter or a chocolate graham cracker base can provide delicious twists to the classic Oreo crust.
-
Serve with Flair: Elevate each slice by adding fun toppings like whipped cream, crushed candies, or mini Reese’s cups. These little touches enhance visual appeal and flavor, impressing your guests!
How to Store and Freeze Peanut Butter Pie
Fridge: Store the pie covered in plastic wrap in the fridge for up to 2-3 days. This keeps it fresh while the flavors continue to meld beautifully.
Freezer: To freeze, wrap the pie tightly in plastic wrap and then foil. It can be stored for up to 2-3 months. Thaw in the fridge overnight before serving for the best texture.
Slice Storage: If you’ve already sliced the peanut butter pie, place each slice in an airtight container. It will stay fresh for 1-2 days in the fridge or 1-2 months in the freezer.
Reheating: For best results, enjoy the pie cold or at room temperature. If desired, warm individual slices in the microwave for a few seconds, but avoid overheating to maintain texture.
Make Ahead Options
This No-Bake Easy Peanut Butter Pie is perfect for meal prep, making your life easier during busy weeknights! You can prepare the crust and filling up to 24 hours in advance. Simply follow the instructions to create the crust and filling, and then assemble the pie as directed. After that, cover it tightly with plastic wrap and refrigerate. It will keep deliciously fresh for up to 3 days. To maintain its creamy texture and rich flavor, avoid adding any toppings until just before serving. When ready to impress your guests, simply slice the pie and add your favorite toppings for a delightful finish!
What to Serve with No-Bake Easy Peanut Butter Pie
A delightful pie deserves an equally delicious spread to accompany it, don’t you think?
-
Whipped Cream: Adds a light and airy touch to each slice, enhancing the pie’s rich flavors. It’s the classic partner for a reason!
-
Fresh Berries: Strawberries or raspberries provide a tart contrast, balancing the sweet, creamy filling and offering a colorful flourish.
-
Chocolate Drizzle: A decadent drizzle enriches your pie experience, adding an extra layer of indulgence that chocolate lovers crave.
-
Coffee or Espresso: The bold flavors of coffee complement the peanut butter beautifully, making it a perfect after-dinner pairing.
-
Chocolate Ice Cream: A scoop of creamy chocolate ice cream brings a delightful cold contrast, making every bite a trip to dessert heaven.
-
Peanut Butter Cookies: For die-hard peanut butter fans, serve alongside peanut butter cookies for a double dose of that beloved nutty flavor.
-
Nutty Trail Mix: A sprinkle of crushed nutty trail mix adds delightful crunch, offering an unexpected but delicious textural contrast to the pie.
-
Mint Tea: A refreshing cup of mint tea clears the palate and rounds off the meal beautifully, enhancing the sweetness of the dessert.
Choose any of these options to create a delightful meal experience that will leave your guests raving about your no-bake easy peanut butter pie!
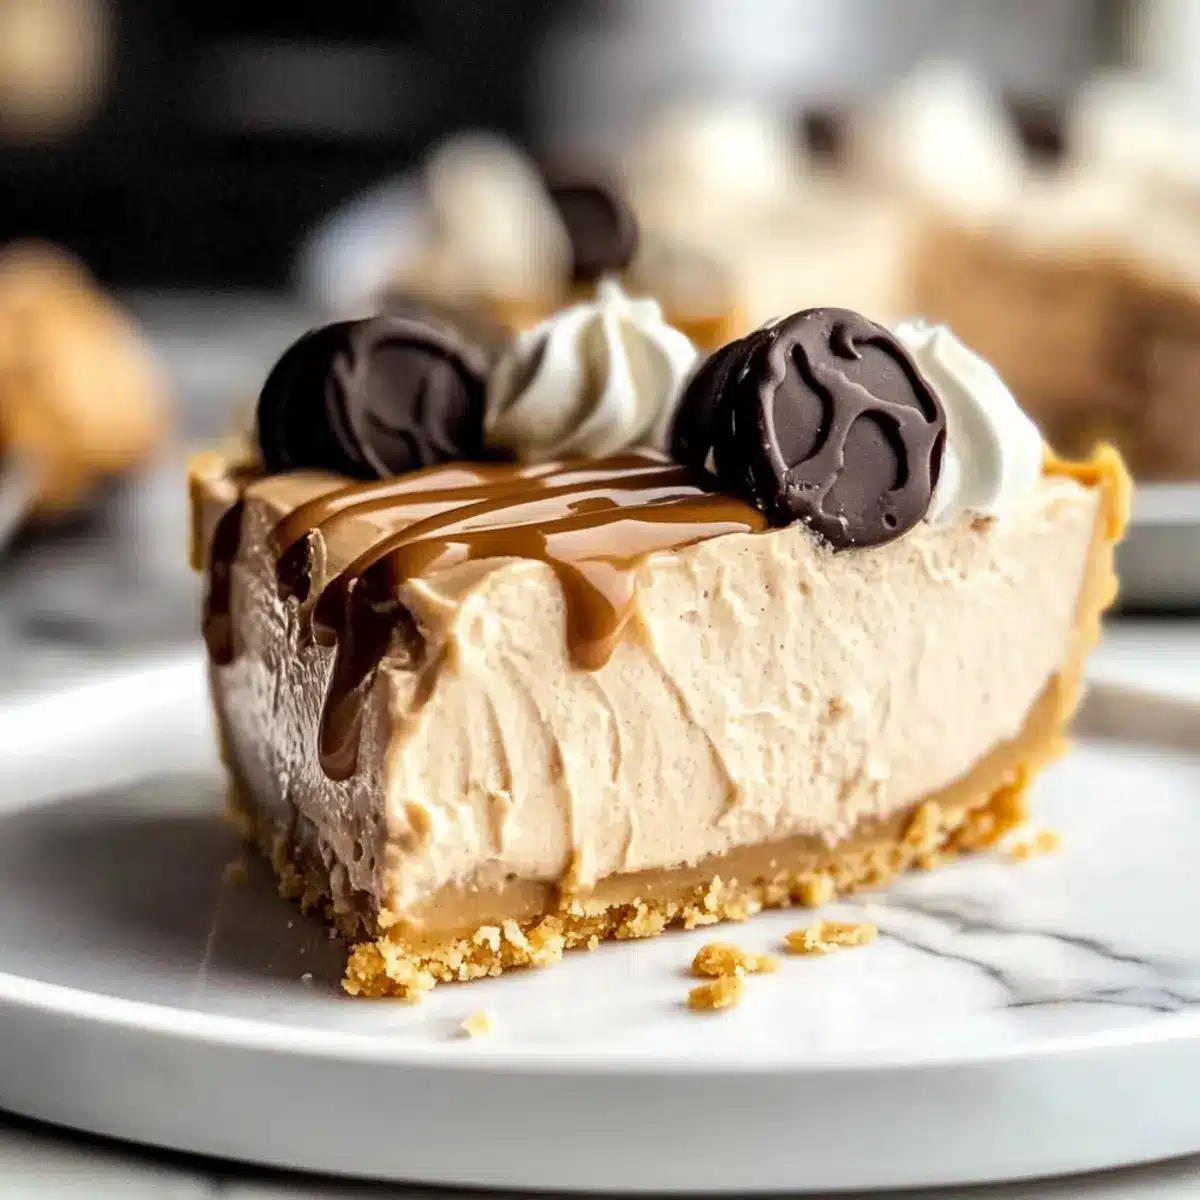
No-Bake Easy Peanut Butter Pie Recipe FAQs
What type of peanut butter is best to use for the pie?
Absolutely! For the richest flavor, I recommend using a creamy peanut butter that’s free from hydrogenated oils. This helps ensure a smooth filling and adds that delightful authentic peanut butter taste. If you’re looking for a healthier option, natural peanut butter works wonderfully too, just make sure to stir it well to mix the oils back in!
How can I tell if the cream cheese is softened enough?
Very! To ensure your cream cheese is softened adequately, take it out of the refrigerator and let it sit at room temperature for about 30 minutes before mixing. A good indicator is when it easily yields to your touch and can be blended smoothly without lumps. If you’re short on time, you can microwave it for about 10-15 seconds—just keep an eye on it to prevent melting!
How long does the No-Bake Peanut Butter Pie stay fresh in the fridge?
Absolutely! Once prepared, your delicious No-Bake Peanut Butter Pie can be stored in the fridge for up to 2-3 days. Just make sure to cover it tightly with plastic wrap so it doesn’t absorb any odors from the refrigerator, keeping it fresh and tasty.
Can I freeze the pie, and if so, how do I do it?
Certainly! To freeze your Peanut Butter Pie, wrap it tightly in plastic wrap, and then in aluminum foil to prevent freezer burn. It can be stored for up to 2-3 months. When you’re ready to enjoy it, simply transfer it to the refrigerator for an overnight thaw before serving. This keeps the texture intact while preserving the delightful flavors!
What should I do if my whipped cream deflates when folding it into the filling?
No worries! If you notice your whipped cream has deflated, try not to overmix the filling once you add the cream. Use a gentle folding motion with a spatula, incorporating the whipped cream into the peanut butter mixture in stages. If you realize the cream has deflated and the filling is not as light as you’d like, you can whip up another batch of cream and carefully fold it back into the mixture for a fluffy consistency.
Is this recipe suitable for those with nut allergies?
Definitely not! Unfortunately, this No-Bake Easy Peanut Butter Pie is not suitable for those with nut allergies due to the primary ingredient, peanut butter. If you’re looking for an alternative dessert, consider fruit-based varieties or flavors that don’t include nuts to ensure it’s safe for everyone.
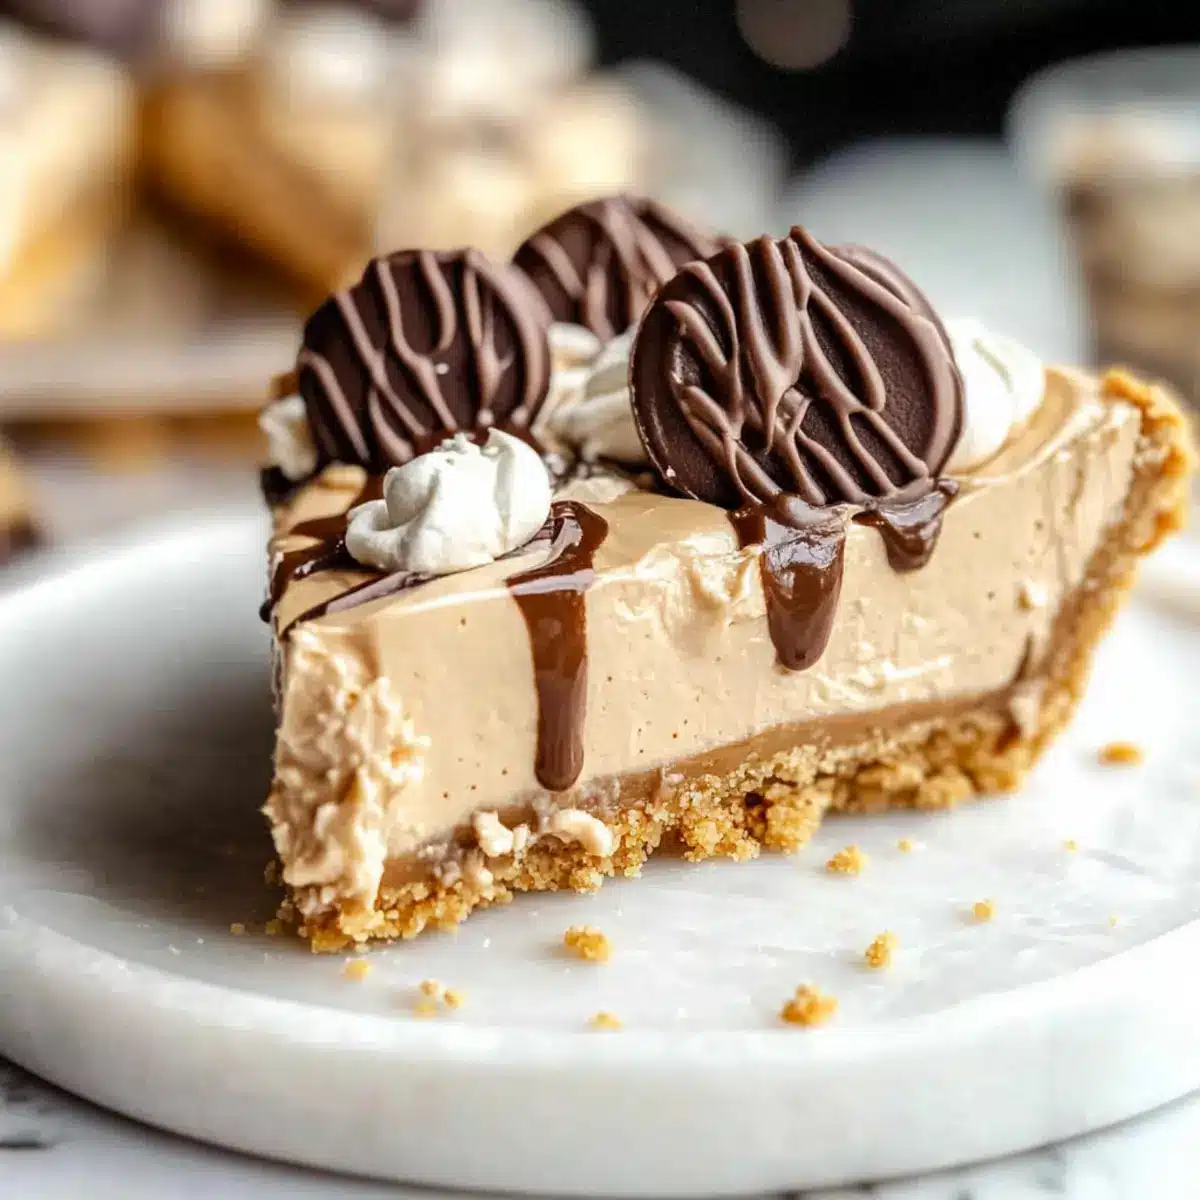
Irresistible Peanut Butter Pie That Everyone Will Love
Ingredients
Equipment
Method
- Pulse Oreo cookies in a food processor until fine crumbs.
- Mix cookie crumbs with melted butter and press into a 9.5-inch pie plate.
- Refrigerate for at least 1 hour or freeze for 20-30 minutes to set the crust.
- Beat softened cream cheese and creamy peanut butter until smooth.
- Gradually add powdered sugar and vanilla extract, mixing until well combined.
- In a separate bowl, whip heavy cream until stiff peaks form.
- Gently fold the whipped cream into the peanut butter filling until well combined.
- Pour the filling into the cooled Oreo crust and smooth the top.
- Cover with plastic wrap and chill in the refrigerator for at least 4 hours.
- Slice and serve with optional toppings like crushed candies or mini Reese's cups.
Leave a Reply