
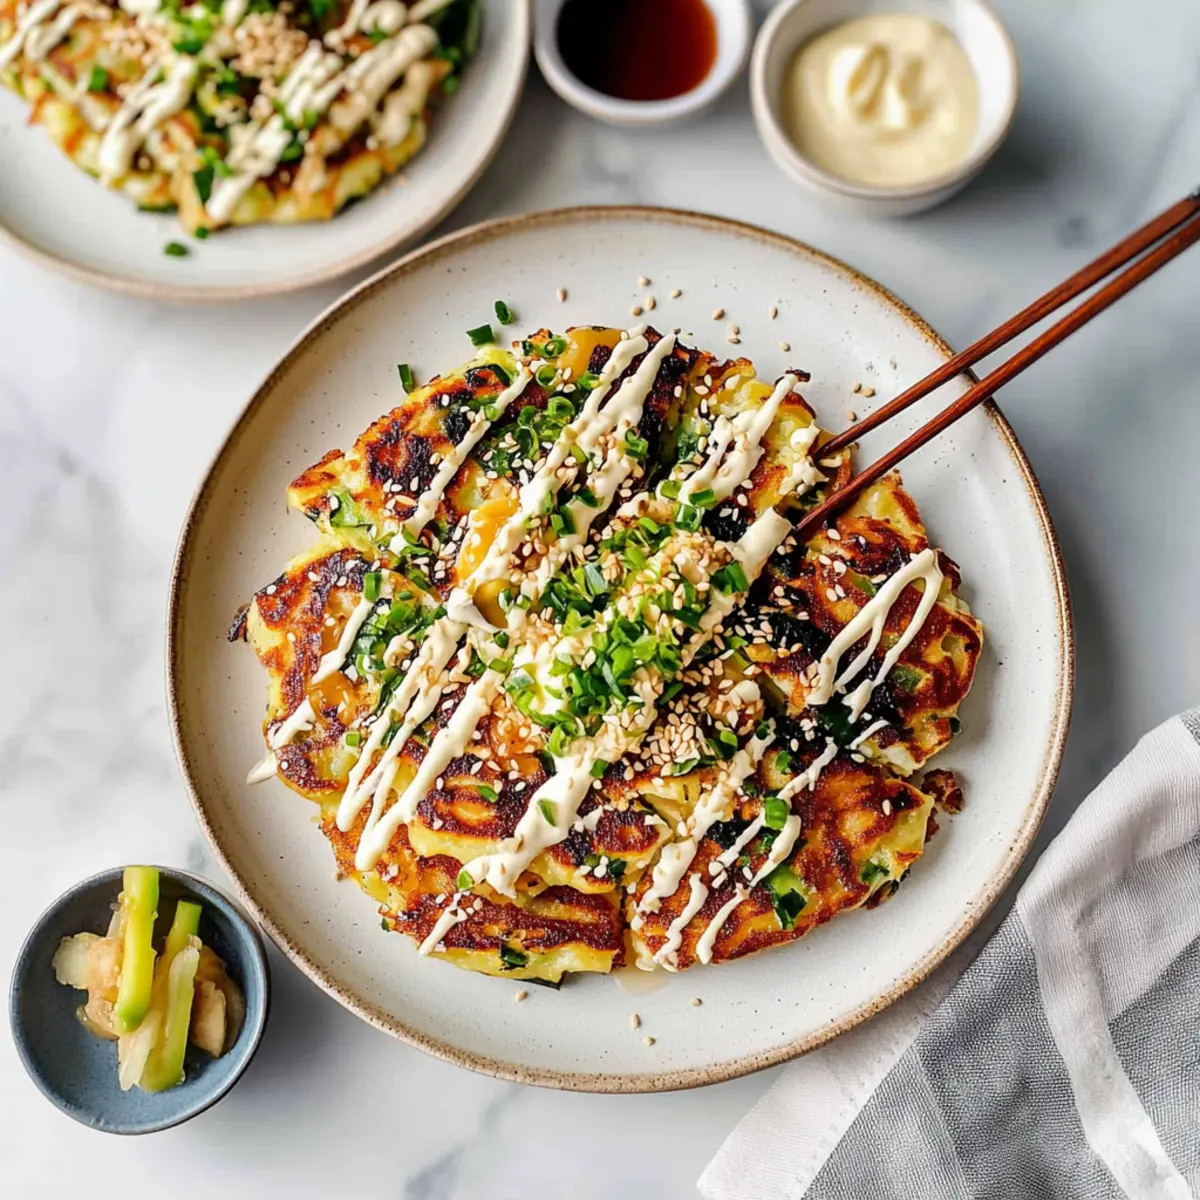
As I flipped the first okonomiyaki in my pan, the sizzle danced around the kitchen, spreading an enticing aroma that felt like a warm hug. This vegetarian okonomiyaki is not just a savory pancake; it’s a beautiful blend of textures that transports me straight to the bustling streets of Osaka. In just 25 minutes, you can whip up this quick and easy weeknight dinner that feels as rewarding as it is delicious. Packed with simple pantry ingredients, it’s not only a healthy option but also a fun way to experiment with Japanese cuisine right at home. Are you ready to bring a little bit of Japan to your table tonight?

Why is Okonomiyaki a Must-Try?
Unique Fusion: This savory pancake brings together the best of Japanese cuisine and comfort food, making it an exciting meal for any occasion.
Quick & Easy: With just 25 minutes from start to finish, it’s perfect for busy weeknights without sacrificing flavor.
Health Conscious: Packed with fiber-rich cabbage and fresh scallions, this dish keeps it nutritious while delighting your taste buds.
Endless Variations: Customize your okonomiyaki by adding your favorite vegetables or proteins, allowing you to tailor it to your family’s preferences.
Crowd-Pleaser: Perfect for family dinners or impressing friends, everyone will love digging into these delicious stacks! ఇంకా try serving them with a side of miso soup for a complete meal.
Okonomiyaki Ingredients
For the Batter
- Cabbage – Provides structure and bulk to the pancakes; use finely shredded for a uniform texture.
- Scallions – Adds a mild onion flavor and freshness; about one bunch is needed, adjusting based on personal preference.
- Panko breadcrumbs – Acts as a binder and gives a delightful crunch; substitute with crushed cornflakes if necessary.
- Sea salt – Enhances overall flavor; adjust to taste.
- Eggs – Binds the ingredients together and provides moisture; beat well for consistency.
For Cooking
- Extra-virgin olive oil – Brush the skillet with this to prevent sticking and add richness.
For Toppings
- Vegan Worcestershire sauce – Enhances umami flavors as a savory topping for your okonomiyaki.
- Mayo – Use Japanese-style (like Kewpie) for a creamy contrast that completes the dish.
- Sesame seeds – Add texture and flavor as a topping.
- Pickled ginger – Offers a tangy kick when served alongside the pancakes.
- Nori – Used as a topping, add thin strips for a sea-flavored accent.
- Microgreens (optional) – Elevate presentation with a fresh garnish.
Step‑by‑Step Instructions for Easy Vegetarian Okonomiyaki
Step 1: Mix Ingredients
In a large mixing bowl, combine finely shredded cabbage, chopped scallions, panko breadcrumbs, and sea salt. Use a gentle folding motion to ensure all ingredients are evenly distributed. Next, pour in the beaten eggs, mixing until the batter is slightly sticky and cohesive. Let the mixture sit for about 10 minutes to enhance binding, especially if it appears dry.
Step 2: Heat Skillet
Preheat a nonstick skillet over medium heat for about 3 minutes. Once warm, brush the skillet generously with extra-virgin olive oil to create a non-stick surface and enhance flavor. Ensure the oil glistens, indicating it’s ready for cooking. This step is crucial for achieving a beautifully golden-brown crust on your okonomiyaki.
Step 3: Cook Pancakes
Using a ¼ cup measurement, scoop the batter into the skillet, gently pressing it down to form a pancake about ½ inch thick. Allow each pancake to cook for 3 to 4 minutes, or until the bottom is golden brown and firm. Carefully flip it using a spatula, adjusting the heat if necessary to prevent burning. Cook for another 3 minutes on the second side.
Step 4: Serve
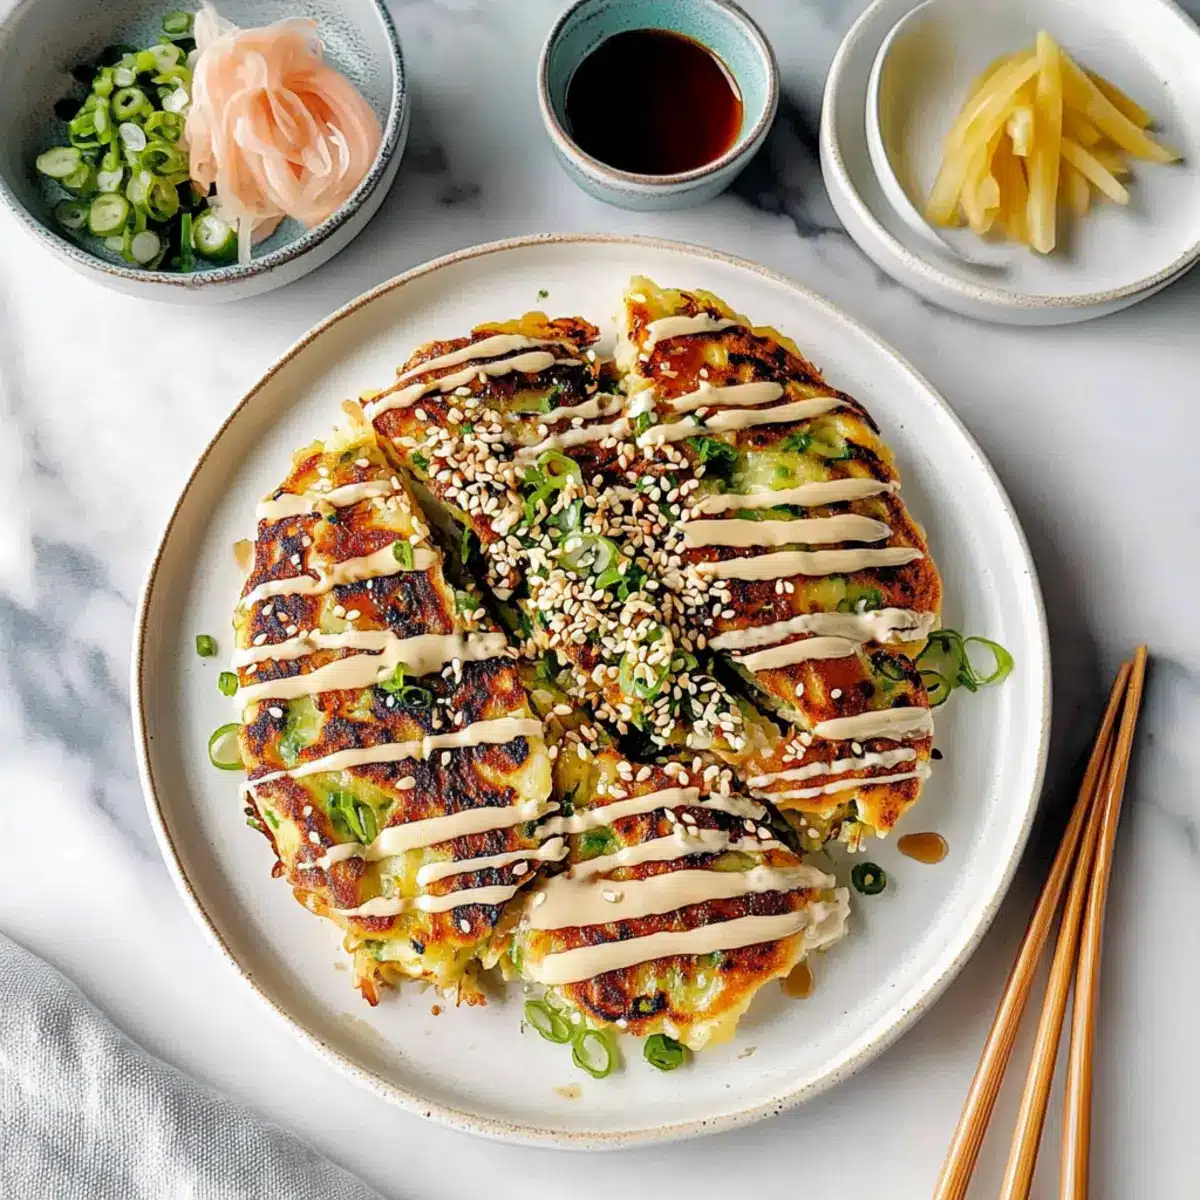
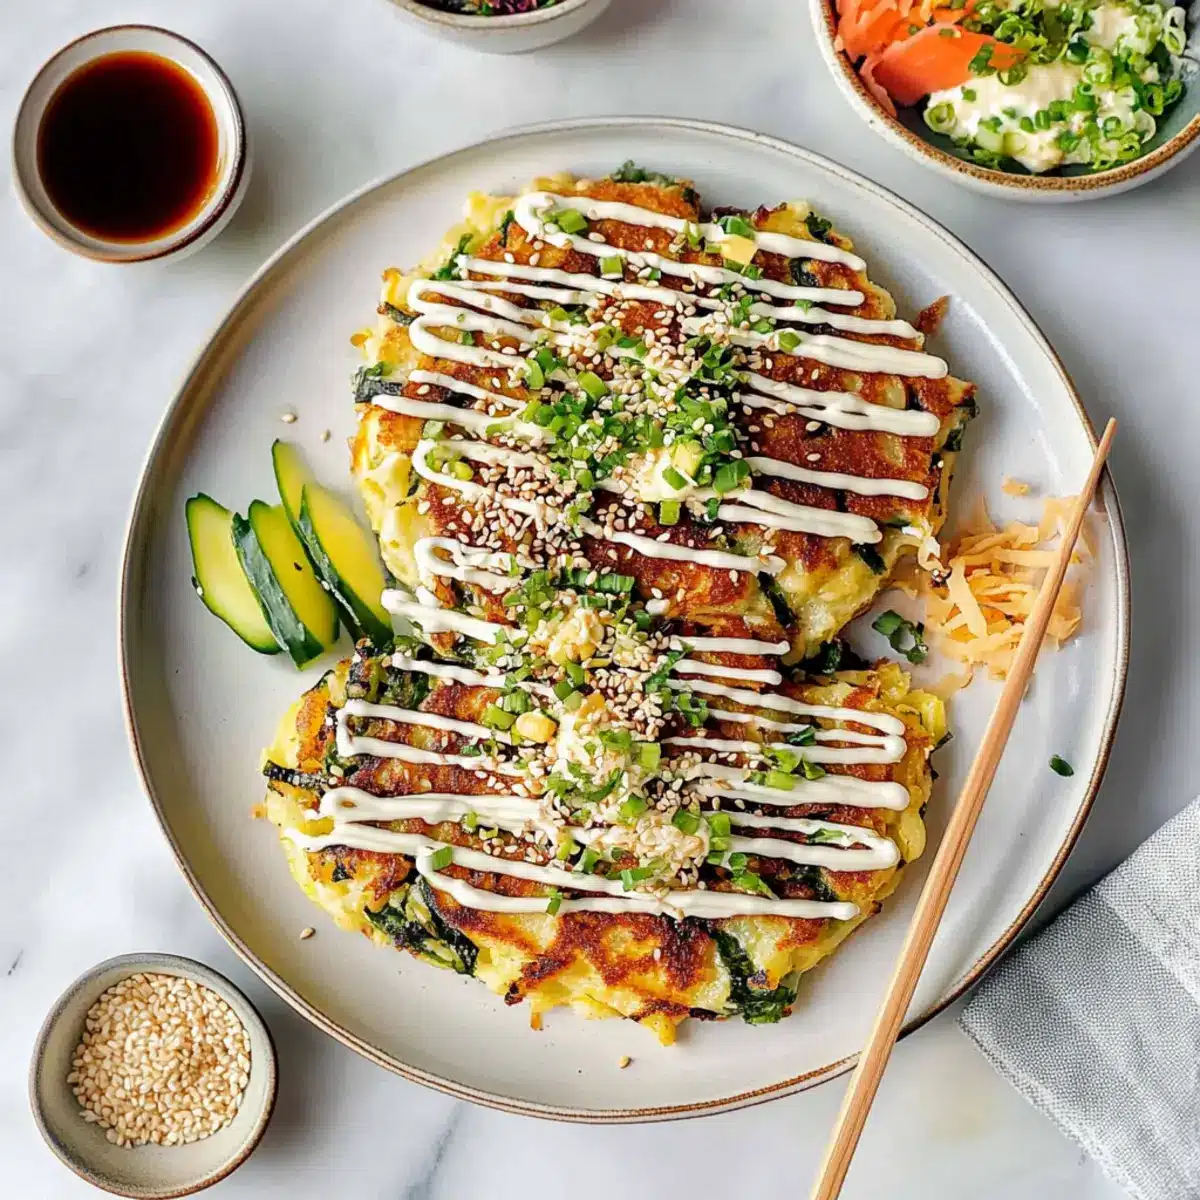
Once cooked through and evenly browned, remove the okonomiyaki from the skillet and place it on a serving plate. Drizzle with vegan Worcestershire sauce and mayonnaise, embellishing with sesame seeds, pickled ginger, and strips of nori. If desired, finish with a sprinkle of microgreens for added freshness and presentation before serving hot, ready to be enjoyed!
Make Ahead Options
These easy vegetarian okonomiyaki are perfect for meal prep enthusiasts! You can prepare the batter (mixing shredded cabbage, scallions, panko, and beaten eggs) up to 24 hours in advance, storing it in the refrigerator to keep everything fresh. To maintain quality, cover the mixture tightly to prevent browning. The uncooked batter can be refrigerated, while toppings such as vegan Worcestershire sauce, mayo, and sesame seeds can also be prepped ahead of time and stored separately. When you’re ready to enjoy, simply heat your skillet, portion the batter, and cook as directed. In just minutes, you’ll have delicious okonomiyaki ready to serve with minimal effort!
What to Serve with Easy Vegetarian Okonomiyaki?
Enhance your meal with delightful sides and toppings that complement this savory Japanese pancake’s vibrant flavors.
-
Fresh Side Salad: A crisp salad with mixed greens and a light vinaigrette adds a refreshing element, balancing the pancake’s richness. The crunch of fresh vegetables offers a perfect contrast.
-
Miso Soup: This warm, comforting soup brings umami depth and pairs beautifully with okonomiyaki. The silky texture and savory flavor create a soothing sidekick for your meal.
-
Tempura Vegetables: Lightly battered and fried veggies introduce a delightful crunch, enhancing the overall texture experience. Their delicate flavor complements the savory profile of the okonomiyaki.
-
Sautéed Bok Choy: Stir-fried bok choy with garlic adds a lovely, green touch. Its slight bitterness enhances the sweet-savory notes of the pancakes, making each bite even more enjoyable.
-
Pickled Vegetables: Crispy, tangy pickles offer a palate-cleansing bite between mouthfuls, harmonizing perfectly with the rich flavors of the okonomiyaki.
-
Japanese Beer or Sake: A light Japanese lager or a smooth sake elevates your dining experience, offering crisp refreshment that fits harmoniously with these savory pancakes.
-
Dessert: Matcha Green Tea Cheesecake: End your meal with this creamy treat that balances sweetness and earthy flavors. The rich cheesecake pairs well with the umami tones of okonomiyaki, leaving a satisfied smile.
Okonomiyaki Variations & Substitutions
Feel free to unleash your creativity and customize this delightful recipe to suit your taste buds!
-
Veggie Boost: Add grated carrots or zucchini to the batter for extra nutrition and a splash of color. They blend beautifully into the savory flavors, making your dish even more vibrant!
-
Dairy-Free Delight: Replace eggs with a flaxseed mixture (1 tbsp flaxseed meal + 2.5 tbsp water) to bind the ingredients together. You won’t notice the difference, just a fabulous texture and taste!
-
Protein Punch: For a meaty twist, consider incorporating diced tofu, shrimp, or thin slices of pork belly. These proteins add richness and heartiness that elevates this dish from a snack to a satisfying meal.
-
Spicy Kick: If you’re craving heat, mix in Sriracha or chili flakes to the batter. Just a small amount will transform the dish into a fiery treat, perfect for those who love a bit of zing!
-
Herb Infusion: Toss in fresh herbs like cilantro or basil for a fragrant surprise. The herbs give a refreshing lift that beautifully compliments the savory components.
-
Nutty Finish: Sprinkle roasted sesame seeds or crushed peanuts on top for an added layer of crunch. This subtle nutty flavor heightens the experience with each delightful bite.
-
Gluten-Free Twist: Substitute regular panko breadcrumbs with gluten-free breadcrumbs or ground oats. This ensures everyone can enjoy your scrumptious okonomiyaki without compromising texture!
-
Umami Explosion: Drizzle with additional vegan Worcestershire sauce or a splash of soy sauce for an umami flavor boost that’s irresistible. This small but mighty addition can take your dish from great to sensational.
Explore these variations to make your okonomiyaki truly one-of-a-kind! If you need help with substitutes, you might find our section on Ingredient Swaps useful. Also, don’t forget to check out our guide on Cooking Techniques for more tips. Enjoy your culinary adventure!
How to Store and Freeze Okonomiyaki
Fridge: Store leftover cooked okonomiyaki in an airtight container for up to 3 days, separating layers with parchment paper to retain crispness.
Freezer: Freeze individual okonomiyaki wrapped tightly in plastic wrap for up to 2 months. Place in a freezer-safe bag for added protection against freezer burn.
Reheating: To reheat, warm in a skillet over medium heat for about 5 minutes on each side or until heated through and crispy again. Enjoy your okonomiyaki just as delightful as when freshly made!
Make-Ahead Tip: Prepare the batter and store it in the fridge for up to 1 day before cooking. This makes weeknight dinners even quicker!
Expert Tips for Easy Vegetarian Okonomiyaki
• Rest the Batter: Allow the mixture to sit for about 10 minutes before cooking; this helps with binding and improves texture.
• Shred Uniformly: Use a mandoline slicer for finely shredded cabbage; this ensures even cooking and consistent texture in your okonomiyaki.
• Heat Control: Adjust the skillet heat as needed. If you notice browning too quickly, reduce the heat to prevent burning while cooking through.
• Keep it Crisp: Wipe the skillet with a paper towel between pancakes to remove debris and ensure that each okonomiyaki remains crispy.
• Customize Wisely: While experimenting with different veggies, ensure added ingredients are shredded to match the cooking time of the main ingredients for even results.
• Serving Fresh: Okonomiyaki tastes best served hot off the skillet; enjoy it immediately for the best taste experience!
Easy Vegetarian Okonomiyaki Recipe FAQs
What type of cabbage is best for okonomiyaki?
For okonomiyaki, I recommend using green cabbage as it provides the best structure and mild flavor. Make sure to finely shred the cabbage for a uniform texture, which helps to bind the pancakes together during cooking.
How can I store leftover okonomiyaki?
Store any leftover cooked okonomiyaki in an airtight container in the refrigerator. It will stay fresh for up to 3 days. To help maintain its crispiness, you can layer parchment paper between the pancakes.
Can okonomiyaki be frozen?
Absolutely! You can freeze individual okonomiyaki for up to 2 months. Wrap each pancake tightly in plastic wrap and then place them in a freezer-safe bag. When you’re ready to enjoy them, simply reheat in a skillet over medium heat until crispy.
What should I do if my okonomiyaki batter is too dry?
If your batter appears too dry, let it rest for about 10 minutes. This will allow the cabbage to release moisture. If it still seems off, start by adding a bit more beaten egg or a touch of water to achieve the right consistency for binding.
Are there any dietary considerations for okonomiyaki?
Yes! This recipe is vegetarian, but if you’re cooking for someone with allergies, be cautious with the ingredients. The panko breadcrumbs may contain gluten, and mayonnaises vary by brand regarding allergens. Opt for gluten-free panko and vegan mayo for a delightfully allergen-friendly variant.
How can I customize my okonomiyaki?
The more the merrier when it comes to customization! Feel free to add grated veggies like zucchini or carrots for extra nutrition. If you’re not following a vegetarian diet, thin slices of cooked meat or seafood can also be delightful additions. Just be sure to keep the amounts proportional to maintain the pancake’s texture.
Savory Okonomiyaki: Quick Vegetarian Delight You’ll Love
Ingredients
Equipment
Method
- In a large mixing bowl, combine finely shredded cabbage, chopped scallions, panko breadcrumbs, and sea salt. Fold gently, then add the beaten eggs and mix until slightly sticky. Let sit for 10 minutes.
- Preheat a nonstick skillet over medium heat for about 3 minutes. Brush with olive oil until glistening.
- Scoop ¼ cup of batter into the skillet for each pancake, pressing down to about ½ inch thick. Cook for 3 to 4 minutes until golden brown, then flip and cook for another 3 minutes.
- Remove from skillet, drizzle with vegan Worcestershire sauce and mayo, and garnish with sesame seeds, pickled ginger, and nori. Add microgreens if desired. Serve hot.
Leave a Reply