
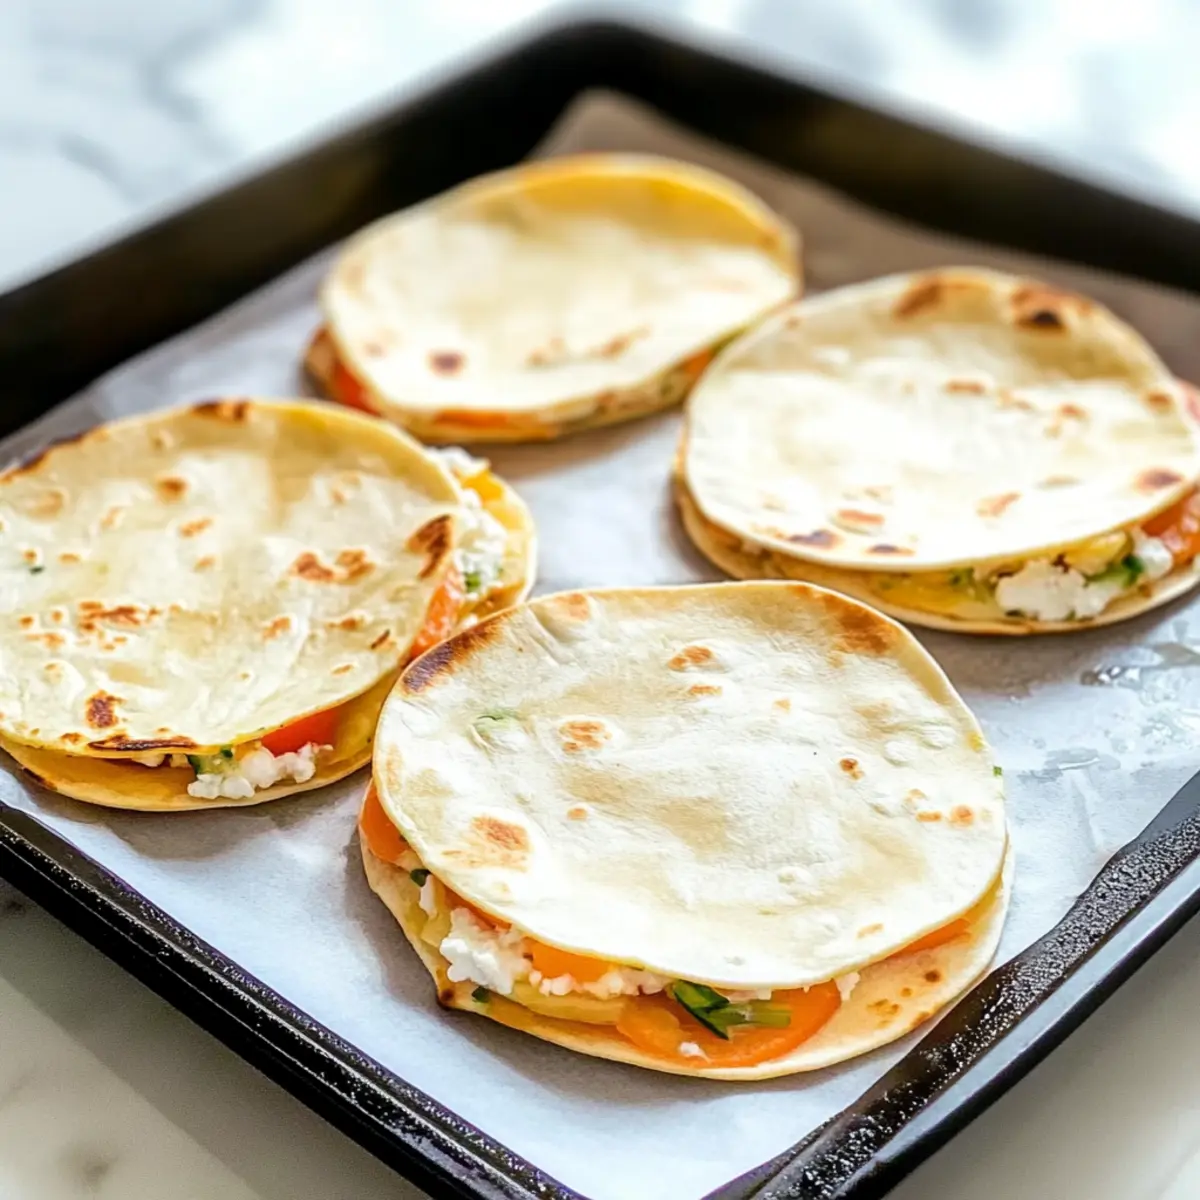
In a world full of mundane meals, I recently stumbled upon a delightful twist that turned my kitchen into a palette of flavors: Cottage Cheese Wraps! These high-protein, low-carb gems are not only gluten-free but also effortlessly customizable. They boast a creamy texture perfect for wrapping around both savory delights and sweet treats, making them a fantastic choice for busy weeknights or last-minute gatherings. Whether you’re looking to whip up something nutritious for your family or simply want a fun kitchen project, these wraps make meal prep a breeze as they can be enjoyed fresh or stored for later. Are you ready to elevate your dining experience with a dish that’s as versatile as your culinary imagination?
Why Choose Cottage Cheese Wraps?
Nutritional Powerhouse: These wraps shine with a high-protein profile, making them perfect for muscle recovery or a satiating snack.
Low-Carb Friendly: They fit seamlessly into low-carb diets, providing a delicious alternative to traditional wraps.
Endless Customizations: Whether you’re craving savory flavors or something sweet, you can easily adjust the fillings or spices to suit any mood.
Meal Prep Made Easy: Prepare a batch ahead of time and store them for quick meals throughout the week. These wraps are a lifesaver for busy individuals!
Kid-Approved Fun: Enjoy getting creative with the kids as they fill their wraps with their favorite ingredients, turning meal time into a fun activity.
If you’re looking for more delicious ideas, you might enjoy pairing these wraps with a fresh garden salad or trying them in an Avocado Chicken Wrap for a delightful twist!
Cottage Cheese Wraps Ingredients
For the Wraps
• Cottage Cheese – A protein base for wraps; full-fat offers richer flavor and creaminess.
• Eggs – The binding agent that keeps wraps together; use whole eggs for the best texture.
• Garlic Powder – Adds savory depth to the wraps; use it to elevate your flavor profile.
• Italian Seasoning – Herb blend for enhanced taste; feel free to substitute with your favorite herbs.
• Salt and Pepper – Essential for seasoning; adjust according to your preference.
• Nutritional Yeast – Delivers a cheesy flavor without the dairy; an excellent option for those avoiding dairy.
If you want to tweak this recipe to your personal taste, feel free to experiment with your favorite spices or fillings!
Step‑by‑Step Instructions for Cottage Cheese Wraps
Step 1: Blend Ingredients
In a high-speed blender, combine 1 cup of cottage cheese and 2 large eggs. Blend the mixture on high for 20-30 seconds until it reaches a smooth, creamy consistency, with no lumps visible. This step is crucial for achieving that silky texture in your Cottage Cheese Wraps, which will make them delightful and pliable once cooked.
Step 2: Prepare Skillet
Heat a nonstick skillet over low to medium-low heat for about 2 minutes. Lightly grease the skillet with cooking spray or a touch of oil, ensuring an even coating to prevent sticking. This preparation not only helps to create a perfect surface for cooking but also sets the stage for beautifully browned wraps that are easy to flip.
Step 3: Cook Wraps
Pour approximately 1/3 cup of the prepared batter into the skillet, tilting it gently to create a thin layer that covers the bottom. Allow the wrap to cook undisturbed for about 3-5 minutes. Watch for the edges to lift slightly and appear set. Carefully flip the wrap and cook for an additional 1-2 minutes, until both sides are a lovely golden brown.
Step 4: Cool and Repeat
Once cooked, transfer the wraps to a plate and allow them to cool for 2-3 minutes. This cooling step is vital for maintaining flexibility before you fill your Cottage Cheese Wraps. Continue this process, repeating the cooking steps for the remaining batter until all wraps are made, ensuring they are stacked neatly on the plate.
Step 5: Optional Oven Method
For a hands-off approach, preheat your oven to 350°F (175°C) and spread the batter evenly on a parchment-lined baking sheet. Bake for about 18-20 minutes or until the wraps are set and lightly golden. This method provides an alternative for those who prefer to avoid stovetop cooking while still yielding delightful Cottage Cheese Wraps ready for filling.
Cottage Cheese Wraps Variations & Substitutions
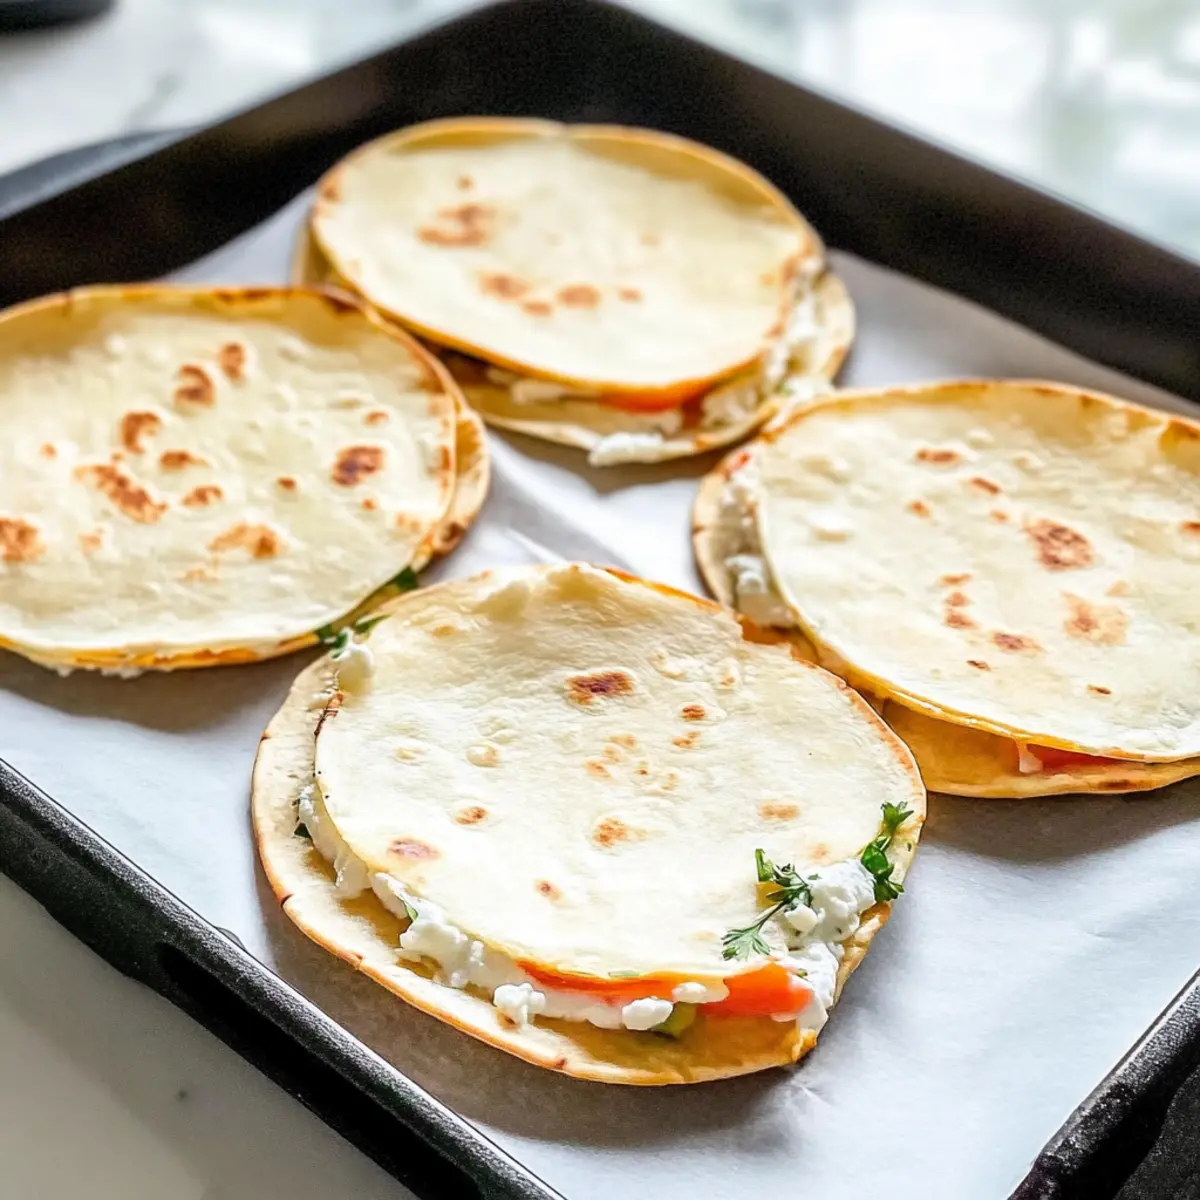
Discover the endless possibilities to customize your Cottage Cheese Wraps and make them your own!
- Herb-Infused: Stir in chopped fresh herbs like basil or parsley for a fragrant twist that brightens each bite.
- Spicy Kick: Add a pinch of cayenne or chili powder to the batter for an invigorating heat that excites the taste buds.
- Veggie Boost: Incorporate spinach or shredded zucchini into the mix for added nutrition and flavor. It’s a sneaky way to up your veggie game!
- Sweet Variation: Mix in cinnamon and a splash of vanilla extract for a sweet treat perfect for breakfast or dessert. Imagine wrapping your favorite fruits in these delightful, sweet wraps.
- Cheesy Delight: Fold in shredded cheese such as cheddar or mozzarella for a creamy, savory flavor that takes these wraps to another level. The melted cheese creates a gooey, indulgent filling!
- Nutty Twist: Add ground nuts like almonds or walnuts to the batter for a delightful crunch and a nutty flavor. It’s a simple way to enhance both texture and taste.
- Smoky Flavor: Mix in smoked paprika or chipotle powder for a rich, smoky essence that pairs beautifully with savory fillings.
- Dairy-Free Option: Swap out cottage cheese for blended silken tofu to create a vegan-friendly alternative that keeps the texture delightful.
If you’re looking for more flavorful combinations, why not try these wraps alongside some Avocado Chicken Wraps or serve them with a refreshing Pecan Cream Cheese dip for an exciting twist? Your taste buds will thank you!
Expert Tips for Cottage Cheese Wraps
• Blend Thoroughly: Ensure your batter is completely smooth; any lumps can impact the texture of your Cottage Cheese Wraps and cause tearing during cooking.
• Heat Control: Maintain a low to medium-low heat when cooking; too high of a temperature can cause the wraps to brown too quickly and become tough.
• Patience is Key: Allow the edges of the wrap to set before flipping; this prevents them from falling apart and guarantees a perfect shape.
• Wrap Storage: Keep your wraps separate with parchment paper to prevent sticking. This will help maintain their freshness and make meal prep easier throughout the week.
• Experiment Freely: Don’t hesitate to mix in your own favorite spices or fillings; this adaptability makes Cottage Cheese Wraps a fun addition to your meal rotation!
Storage Tips for Cottage Cheese Wraps
Fridge: Store the wraps in an airtight container in the fridge for up to 7 days. Layer parchment paper between wraps to prevent sticking and maintain freshness.
Freezer: For longer storage, freeze wraps in a single layer separated by parchment paper. They can last up to 3 months without losing texture.
Reheating: To reheat, thaw in the fridge overnight if frozen, then gently warm in a skillet over low heat for 1-2 minutes on each side or microwave for 15-20 seconds until heated through.
Serving Suggestions: Enjoy them filled with your favorite ingredients, drizzled with sauces, or paired with sides like salad for a quick meal on busy days!
What to Serve with Cottage Cheese Wraps?
These satisfying wraps can transform your meal into a delightful dining experience with the perfect pairings.
-
Fresh Garden Salad: A mix of crisp greens and vegetables adds a refreshing crunch that complements the soft texture of the wraps. Drizzle with a light vinaigrette for an extra zesty kick!
-
Roasted Vegetables: Caramelized veggies, like bell peppers and zucchini, bring warmth and a rich flavor to the table, perfectly balancing the wraps’ creamy filling.
-
Guacamole: The creamy, buttery richness of guacamole pairs wonderfully with the wraps, creating a luscious experience with each bite.
-
Hummus: A dollop of hummus, with its creamy and savory profile, enhances the fluffy texture of the Cottage Cheese Wraps while offering a protein boost.
-
Salsa or Pico de Gallo: A fresh, zesty salsa adds a burst of flavor; the acidity complements the wraps’ mild taste, making every bite vibrant and exciting.
-
Fruit Compote: For a sweet twist, serve with a warm homemade fruit compote, such as berries or apples, adding a delightful contrast to the savory wraps.
-
Iced Herbal Tea: A refreshing drink choice, iced herbal tea with mint or hibiscus can cleanse your palate and enhance the overall meal experience.
-
Dark Chocolate Mousse: Round off your meal with a light dessert like dark chocolate mousse, offering a rich and satisfying contrast to the wraps’ savory flavors.
Make Ahead Options
These Cottage Cheese Wraps are a game-changer for busy home cooks looking to save time! You can prepare the batter up to 24 hours in advance by blending the cottage cheese and eggs, then refrigerating it in an airtight container. For the wraps themselves, cook them and cool completely before stacking with parchment paper in between, which allows you to refrigerate them for up to 3 days. When you’re ready to serve, simply reheat the wraps in a skillet over low heat or in the microwave for about 15-20 seconds. This method ensures your Cottage Cheese Wraps remain just as delicious and fresh, providing a quick, nutritious meal option whenever you need it!
Cottage Cheese Wraps Recipe FAQs
What type of cottage cheese should I use?
Absolutely! For the best flavor and texture in your wraps, I recommend using full-fat cottage cheese. It provides a richer taste and creamier consistency. If you’re looking for a vegan option, you can substitute it with silken tofu blended until smooth for similar results!
How should I store leftover Cottage Cheese Wraps?
Store your Cottage Cheese Wraps in an airtight container in the fridge for up to 7 days. I usually layer parchment paper between each wrap to prevent them from sticking together, keeping them fresh and ready to fill. You’ll thank yourself during those busy weeknights!
Can I freeze Cottage Cheese Wraps?
Yes, you can definitely freeze them! Lay the wraps out in a single layer with parchment paper in between each one. They can last for up to 3 months in the freezer. When you’re ready to use them, thaw them in the fridge overnight. Reheat in a skillet over low heat for 1-2 minutes on each side or in the microwave for about 15-20 seconds until warmed through.
What should I do if my wraps are sticking to the skillet?
Very importantly, make sure your skillet is adequately greased before pouring in the batter. If they’re sticking, it could be a sign that the skillet wasn’t hot enough or didn’t have enough oil. Preheat the skillet properly over low to medium-low heat, and be patient! Allow the edges to cook before attempting to flip for the best results.
Can I customize my Cottage Cheese Wraps for dietary restrictions?
Absolutely! These wraps are not only gluten-free but also adaptable to other dietary needs. If you have dairy allergies, use silken tofu instead of cottage cheese, and feel free to alter seasonings to your preference. Just be cautious with the seasonings if you’re sensitive to spices, and always check labels on pre-made ingredients to be safe!
How do I tell if my cottage cheese is fresh enough for the wraps?
Look for cottage cheese that has a creamy appearance without dark spots or sour odor. Always check the expiration date as well. If you notice any watery residue on the surface or an off-putting smell, it’s time to replace it. Enjoy your cooking adventure!

Cottage Cheese Wraps: High-Protein Delight for Every Meal
Ingredients
Equipment
Method
- In a high-speed blender, combine 1 cup of cottage cheese and 2 large eggs. Blend the mixture on high for 20-30 seconds until it reaches a smooth, creamy consistency.
- Heat a nonstick skillet over low to medium-low heat for about 2 minutes. Lightly grease the skillet with cooking spray or a touch of oil.
- Pour approximately 1/3 cup of the prepared batter into the skillet and cook for about 3-5 minutes until the edges lift slightly.
- Carefully flip the wrap and cook for an additional 1-2 minutes until both sides are golden brown.
- Transfer the wraps to a plate and allow them to cool for 2-3 minutes. Repeat the cooking steps for the remaining batter.
- For a hands-off approach, preheat your oven to 350°F (175°C) and spread the batter evenly on a parchment-lined baking sheet.
- Bake for about 18-20 minutes or until the wraps are set and lightly golden.
Leave a Reply