
Every Easter, my kitchen transforms into a colorful wonderland filled with laughter and creativity, as we dive into making these delightful Rice Krispie Eggs. These no-bake treats are not only a fun way to spend quality time with family, but they’re also a perfect balance of crispy cereal and gooey marshmallows, making them an instant crowd-pleaser. With vibrant color variations—think bright pinks, greens, and yellows—you can easily customize them to fit your festive theme. Plus, they’re kid-friendly, so little hands can join in on the shaping fun! With these Rice Krispie Eggs, you can create sweet memories and scrumptious treats without any fuss. Curious about how to whip these up for your Easter celebrations? Let’s get started!
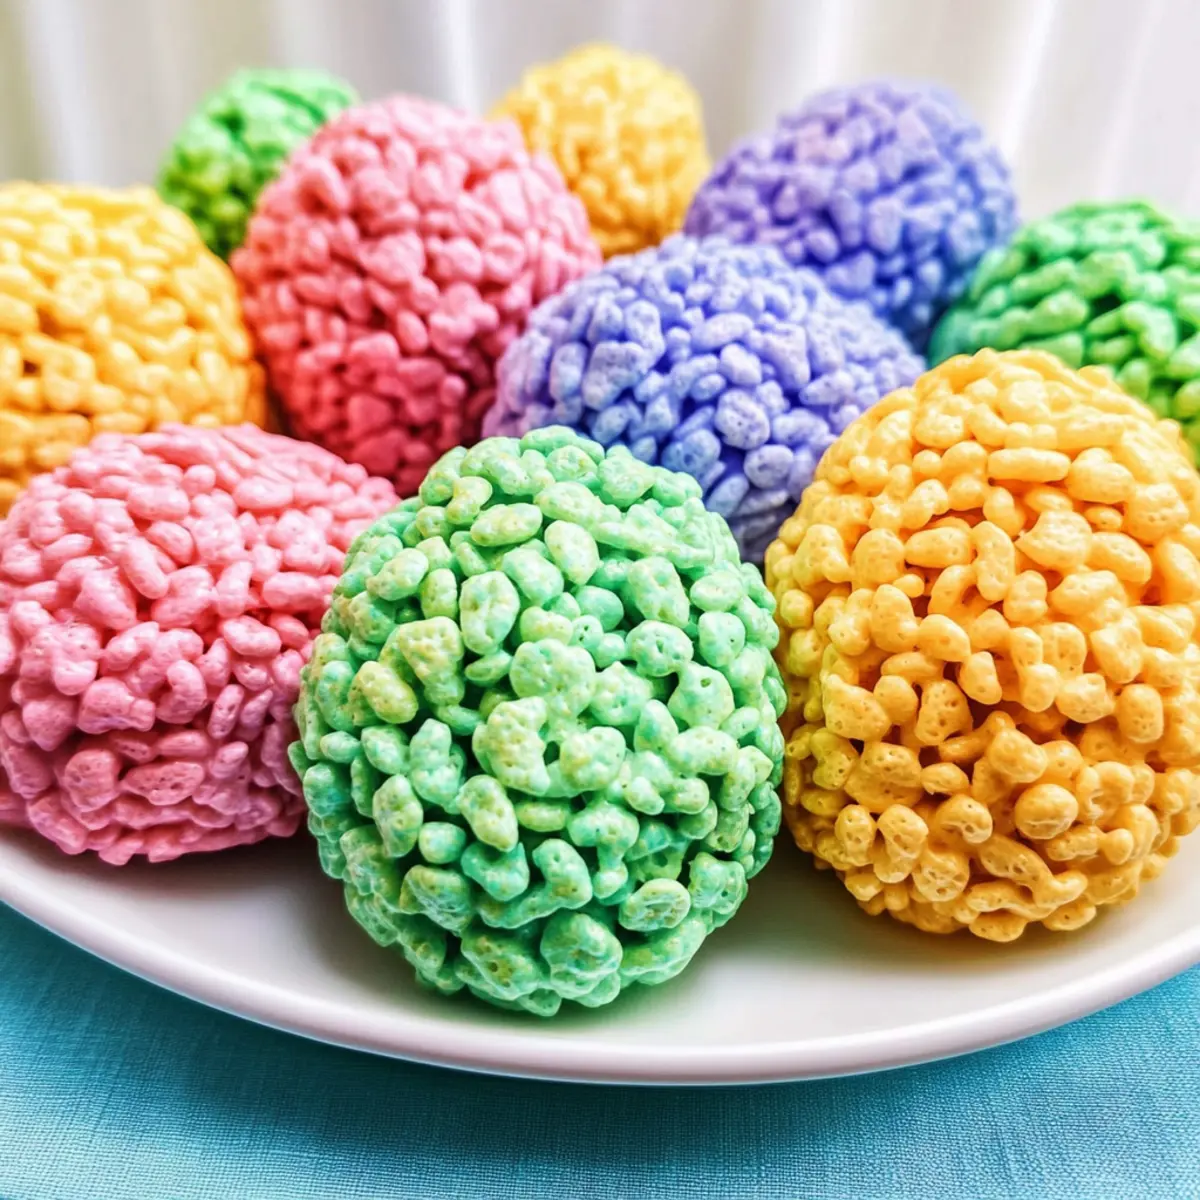
Why Are Rice Krispie Eggs So Special?
Colorful, these Rice Krispie Eggs bring a festive touch to your Easter gathering, appealing to both kids and adults alike. No-Bake Convenience means you can whip them up quickly without any oven fuss. Customizable with endless colors and mix-ins, they can perfectly match your holiday theme. Interactive Fun allows the whole family to shape and decorate, making it a cherished bonding experience. Plus, these delightful treats can be stored for days, just grab a few for Easter baskets or as sweet classroom snacks. For more fun ideas, check out Baked Eggs Florentine for a savory twist and Japanese Banana Rice if you’re looking for a sweet dessert!
Rice Krispie Eggs Ingredients
These colorful Rice Krispie Eggs will be a hit at your Easter celebration!
For the Base
- Kellogg’s Rice Krispies Cereal – Provides the essential crunch; make sure it’s fresh for the best texture.
- Butter (Salted, Sweet Cream) – Binds the mixture together and adds a delightful richness; margarine is a great dairy-free substitute.
- Mini Marshmallows – The main sweetener that gives these eggs their gooey chewiness; opt for vegan marshmallows for a dairy-free version.
For the Color
- Wilton Color Right Food Coloring – Perfect for tinting your Rice Krispie mixture in cheerful shades; alternative gel food colors can be fun too!
Tip: To create an array of vibrant Rice Krispie Eggs, simply follow the steps as you mix each colored batch!
Step‑by‑Step Instructions for Colorful Rice Krispie Easter Eggs
Step 1: Melt Butter
Begin by placing a medium saucepan over low heat, and add 3 tablespoons of salted butter. Allow the butter to melt slowly, stirring occasionally to prevent burning, until completely liquid and bubbly. This should take about 2-3 minutes. The butter will be ready for the next step when it has a smooth, golden appearance.
Step 2: Add Marshmallows
Once the butter is melted, stir in 3 cups of mini marshmallows. Continue to mix the marshmallows into the butter, keeping the heat low. Stir until all the marshmallows have completely melted and the mixture is smooth and glossy, which should take about 4-5 minutes. Watch for the marshmallows to dissolve fully into the buttery goodness.
Step 3: Prepare Color
Remove the saucepan from heat, and add your desired food coloring to the melted marshmallow mixture. Stir vigorously until the color is evenly distributed, creating a vibrant, uniform hue. Depending on the food coloring used, this can take another minute or two. Ensure the mixture is rich and lively in color for those delightful Rice Krispie Eggs.
Step 4: Combine with Cereal
Next, add 3 cups of Rice Krispies to the colorful marshmallow mixture. Using a rubber spatula, gently fold the cereal into the mixture until every piece is coated. Be careful not to crush the cereal, and aim for a thorough coating; the mixture should appear sticky and well-blended after 2-3 minutes of folding.
Step 5: Cool Slightly
Allow the rice krispie mixture to cool for a few minutes in the pan. This step is crucial as it prevents burns when handling. Wait until the mixture is cool to the touch yet still soft and pliable, which should take about 5-10 minutes. Be patient; adjust the mixture’s temperature for comfortable handling!
Step 6: Shape into Eggs
Once the mixture has cooled adequately, butter your hands lightly to prevent sticking, then scoop out about 0.5 oz of the mixture. Shape the mixture into egg shapes, gently compressing until they hold together without crumbling. Each egg should be roughly the same size for a uniform appearance, taking around 1-2 minutes per egg to mold.
Step 7: Repeat
If you’re making more color variations, repeat steps 1-6 for each color of Rice Krispie egg mixture. Be sure to clean the saucepan between colors to avoid mixing. This hands-on process can be quite fun and will result in a colorful display of festive eggs once completed.
Step 8: Cool & Store
Finally, place the shaped Rice Krispie Eggs on a parchment-lined baking sheet to cool completely. Allow them to set for about 30 minutes. Once cooled, transfer the eggs to an airtight container for storage, where they will stay fresh and crispy for up to 3-4 days. These delightful Rice Krispie Eggs are now ready to brighten your Easter celebration!
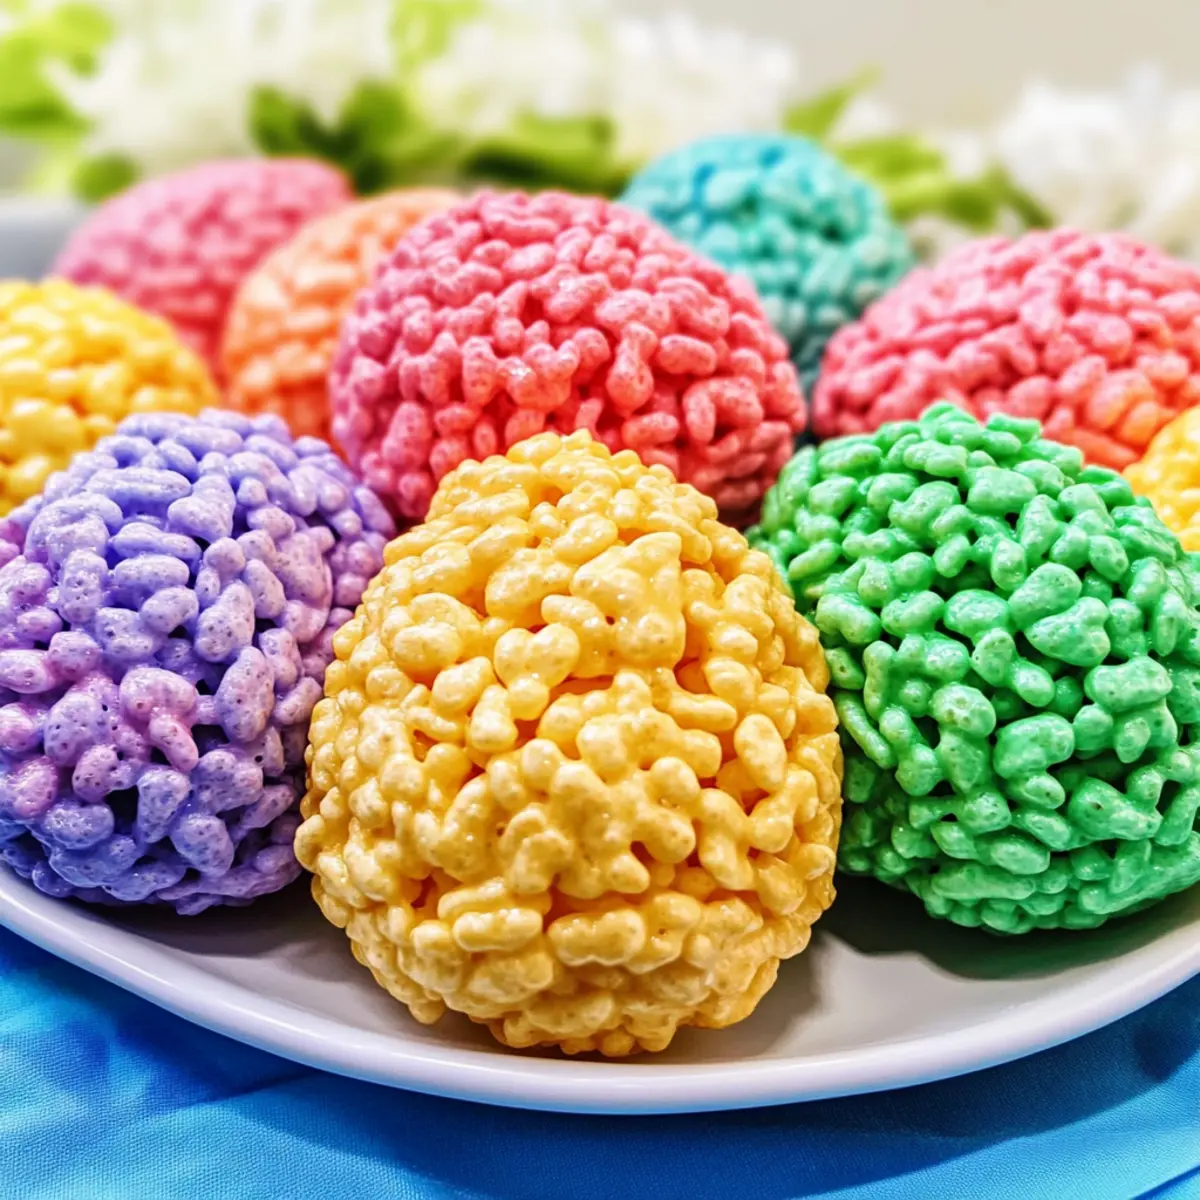
What to Serve with Colorful Rice Krispie Eggs
Enjoy the festivities with delightful pairings that will elevate your Easter celebration from sweet to spectacular.
- Fresh Fruit Salad: A vibrant mix of seasonal fruits adds a refreshing contrast to the sweet, crunchy eggs.
- Mini Carrot Cupcakes: These moist, spiced treats echo the Easter theme and offer a lovely bite-sized complement.
- Chocolate-dipped Strawberries: The rich decadence of chocolate pairs beautifully with the sweetness of the Krispie eggs.
- Creamy Vanilla Pudding: The smooth, rich texture enhances the crispy, chewy nature of the eggs while offering a satisfying contrast.
- Sparkling Lemonade: A zesty, bubbly drink that adds a fun and refreshing twist, perfect for kids and adults alike.
- Nutty Trail Mix: A crunchy and savory snack that complements the sweetness of the eggs while adding healthy elements.
- Easter-themed Cookies: Fun shapes and flavors, these cookies provide another sweet bite to enjoy alongside your Rice Krispie Eggs.
- Mint Chocolate Chip Ice Cream: This cool, creamy delight serves as a fun, pastel-hued dessert that pairs well with the festive eggs.
- Iced Tea with Lemon: A refreshing, lightly sweet drink option that balances the sugariness of the Rice Krispie Eggs perfectly!
Make Ahead Options
These Colorful Rice Krispie Easter Eggs are perfect for busy home cooks looking to streamline their Easter preparations! You can prepare the Rice Krispie mixture up to 24 hours in advance and store it in an airtight container, keeping it nice and fresh. Simply make the marshmallow-cereal mixture and allow it to cool before shaping. When you’re ready to serve, just take the mixture out, butter your hands lightly, and shape it into eggs. If you want vibrant colors, prep each colored batch ahead of time, refrigerate them, and then assemble just before your celebration for delightful treats that are just as delicious!
Expert Tips for Rice Krispie Eggs
-
Even Sizing: Use a kitchen scale to measure out 0.5 oz servings of the mixture for uniformly-sized eggs. This not only looks appealing but ensures an even treat for everyone.
-
Handle Wisely: If the mixture feels too sticky when shaping, lightly butter your hands or the bowl. This will prevent the Rice Krispie Eggs from sticking to your fingers, making the process smoother.
-
Colorful Blends: Experiment with food coloring by mixing different shades. Layering colors or swirling them together can create stunning, eye-catching Rice Krispie Eggs.
-
Storage Secrets: Keep your treats fresh by placing them in an airtight container. Enjoy within 3-4 days for optimal taste and texture.
-
Fun Additions: Consider adding mix-ins like chocolate chips or sprinkles to the mixture for extra fun and flavor in your Rice Krispie Eggs!
Rice Krispie Eggs: Fun Variations
Feel free to let your creativity shine with these delightful variations that make your Rice Krispie Eggs even more exciting!
-
More Colors: Try vibrant shades like orange, teal, or lavender for a fun twist. Mixing pastel colors can create an enchanting rainbow effect!
-
Flavor Boost: Add a teaspoon of vanilla extract when melting the marshmallows for an aromatic hint. The delightful flavor pairs perfectly with the marshmallow sweetness.
-
Textured Extras: Mix in chocolate chips, rainbow sprinkles, or chopped nuts before shaping! These not only enhance the taste, but also add a delightful crunch that everyone will love.
-
Themed Shapes: Instead of traditional eggs, mold some into cute bunny shapes or nest-like forms. Kids will adore the extra fun!
-
Dairy-Free Delight: Replace butter with coconut oil and use vegan marshmallows for a delightful dairy-free version. You won’t lose the sweetness or texture!
-
Spicy Surprise: Add a pinch of cinnamon or nutmeg when melting the marshmallows to infuse warmth into your treats, bringing unexpected flavor depth.
-
Chocolate Coating: Dip the shaped eggs in melted chocolate for a rich finish! It adds a decadent layer that transforms them into a luxurious treat.
-
Cookie Crumble: For an extra crunch, roll your shaped eggs in crushed cookies or cereal before they set. It’s a perfect way to create a playful outer layer!
With these charming variations, your Rice Krispie Eggs will become the star of your Easter celebrations. If you’re looking for an equally delightful treat, consider trying out Tofu Fried Rice for a savory option or Baked Feta Eggs that offer a unique twist on breakfast!
How to Store and Freeze Rice Krispie Eggs
Room Temperature: Store your Rice Krispie Eggs in an airtight container at room temperature for up to 3-4 days. This keeps them fresh and crisp, perfect for quick snacking!
Fridge: If you’re in a warm climate, you may store them in the fridge for added longevity. They’ll last up to a week, but they may lose some of their delightful crunch.
Freezer: For longer storage, freeze the Rice Krispie Eggs for up to 3 months. Wrap them individually in plastic wrap and place them in a freezer-safe bag to prevent freezer burn.
Reheating: To restore their delightful texture, let the frozen treats sit at room temperature for about 10-15 minutes before enjoying, or warm slightly in the microwave for a few seconds.
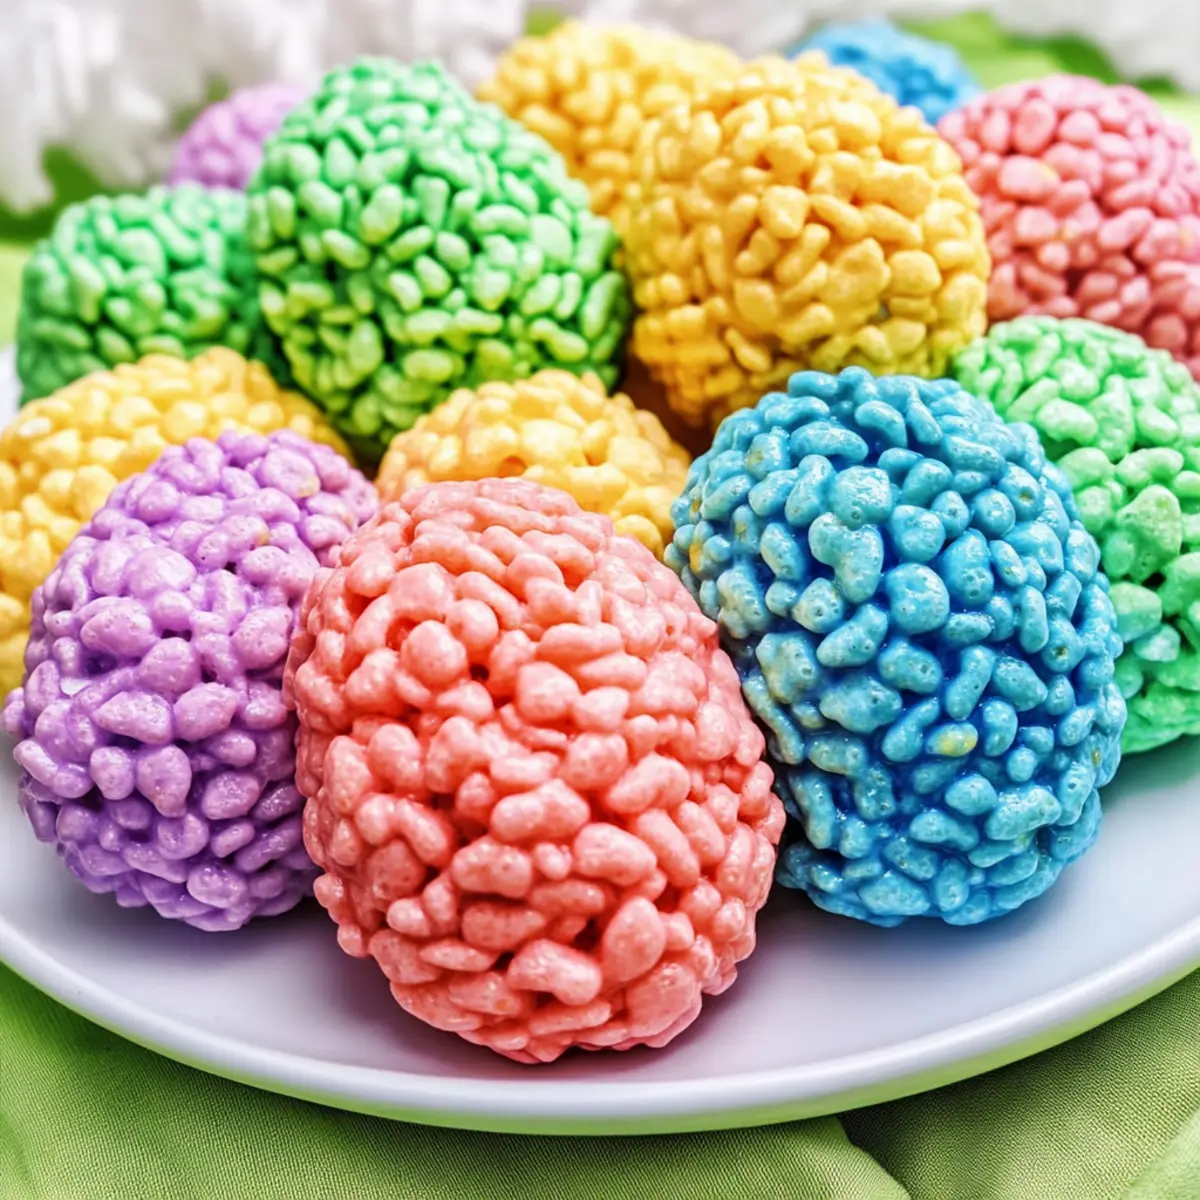
Rice Krispie Eggs Recipe FAQs
What is the best way to select marshmallows for this recipe?
Absolutely! When choosing mini marshmallows for your Rice Krispie Eggs, look for options that are fresh, plump, and free from any dark spots or hard chunks. Fresh marshmallows yield the best gooey texture, essential for achieving that perfect chewiness in your treats.
How should I store leftover Rice Krispie Eggs?
To keep your Rice Krispie Eggs fresh, store them in an airtight container at room temperature for up to 3-4 days. If you live in a warmer climate, these delightful treats can be refrigerated for up to a week, though be aware they may lose some crunch. Always check for any signs of staleness before enjoying them!
Can I freeze Rice Krispie Eggs for later use?
Yes, you can! For long-term storage, wrap each Rice Krispie Egg individually in plastic wrap and place them in a freezer-safe bag. They can be frozen for up to 3 months. When you’re ready to enjoy them, let them sit at room temperature for about 10-15 minutes or microwave them for a few seconds to restore their texture.
What can I do if my Rice Krispie mixture is too sticky?
Very! If your mixture is sticky while shaping your Rice Krispie Eggs, lightly butter your hands or the mixing bowl to make the process easier. This will help prevent the mixture from sticking to your fingers and ensure that you can mold them into the perfect egg shape without frustration.
Are these Rice Krispie Eggs safe for children and pets?
Absolutely! These Rice Krispie Eggs are kid-friendly and perfect for family fun. However, be cautious with any potential allergies, particularly to marshmallows or colorings. As for pets, avoid sharing these treats with them, as the sugar content can be harmful to animals.
Can I make these Rice Krispie Eggs ahead of time?
Yes, you can prepare Rice Krispie Eggs a couple of days in advance. Just store them in an airtight container after they’ve fully cooled to keep them fresh. They’re perfect for busy schedules or last-minute Easter preparations!
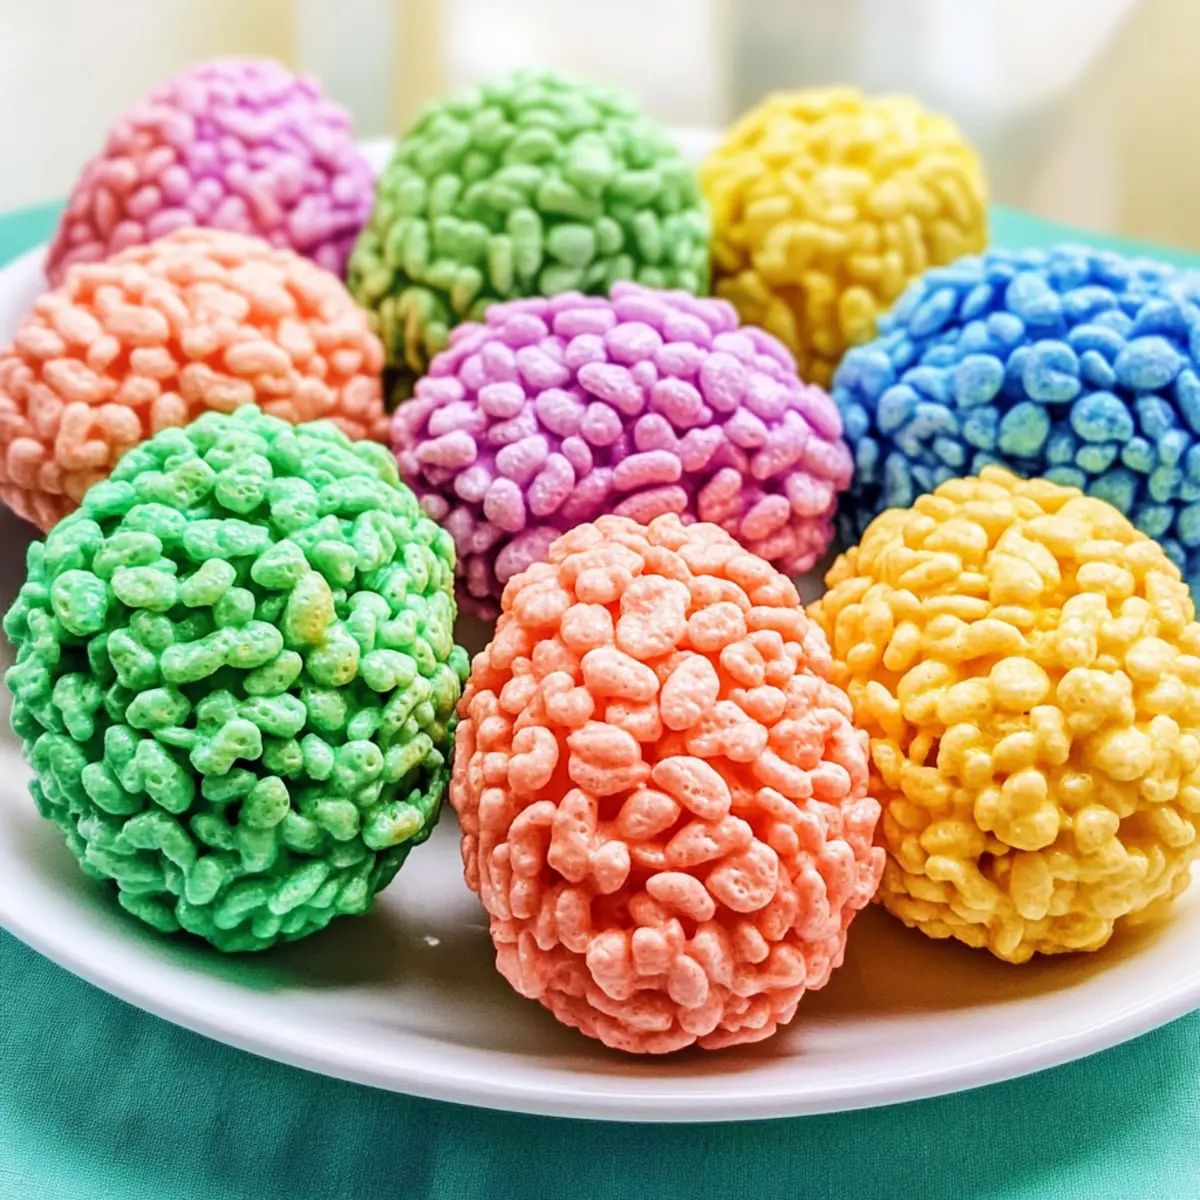
Delightful Rice Krispie Eggs for a Colorful Easter Celebration
Ingredients
Equipment
Method
- Begin by placing a medium saucepan over low heat, and add 3 tablespoons of salted butter. Allow the butter to melt slowly, stirring occasionally until completely liquid and bubbly (about 2-3 minutes).
- Once the butter is melted, stir in 3 cups of mini marshmallows. Continue to mix until all the marshmallows have melted and the mixture is smooth and glossy (about 4-5 minutes).
- Remove the saucepan from heat, and add your desired food coloring to the melted marshmallow mixture. Stir vigorously until the color is evenly distributed.
- Add 3 cups of Rice Krispies to the colorful marshmallow mixture. Gently fold the cereal until every piece is coated.
- Allow the rice krispie mixture to cool for a few minutes in the pan until it is cool to the touch yet still soft.
- Butter your hands lightly, scoop out about 0.5 oz of the mixture, and shape into egg shapes.
- Repeat steps 1-6 for each color of Rice Krispie egg mixture.
- Place the shaped Rice Krispie Eggs on a parchment-lined baking sheet to cool completely for about 30 minutes.
Leave a Reply