
As I stood in my kitchen, the sweet, warm scent of caramel and cinnamon wafting through the air, I knew I had stumbled upon something special. These No-Bake Biscoff Rice Krispie Treats are a delightful spin on a classic dessert that will wow your taste buds and have you reminiscing about cozy afternoons. With their buttery, crunchy texture and a touch of creamy white chocolate, they can be prepared in a flash, making them perfect for unexpected guests or a sweet craving. Plus, they come with vegetarian and vegan options, ensuring everyone can indulge in this crowd-pleasing treat. Curious about how to create this irresistible combination? Let’s dive into the simple steps to whip up your own batch of Biscoff Rice Krispie Treats!
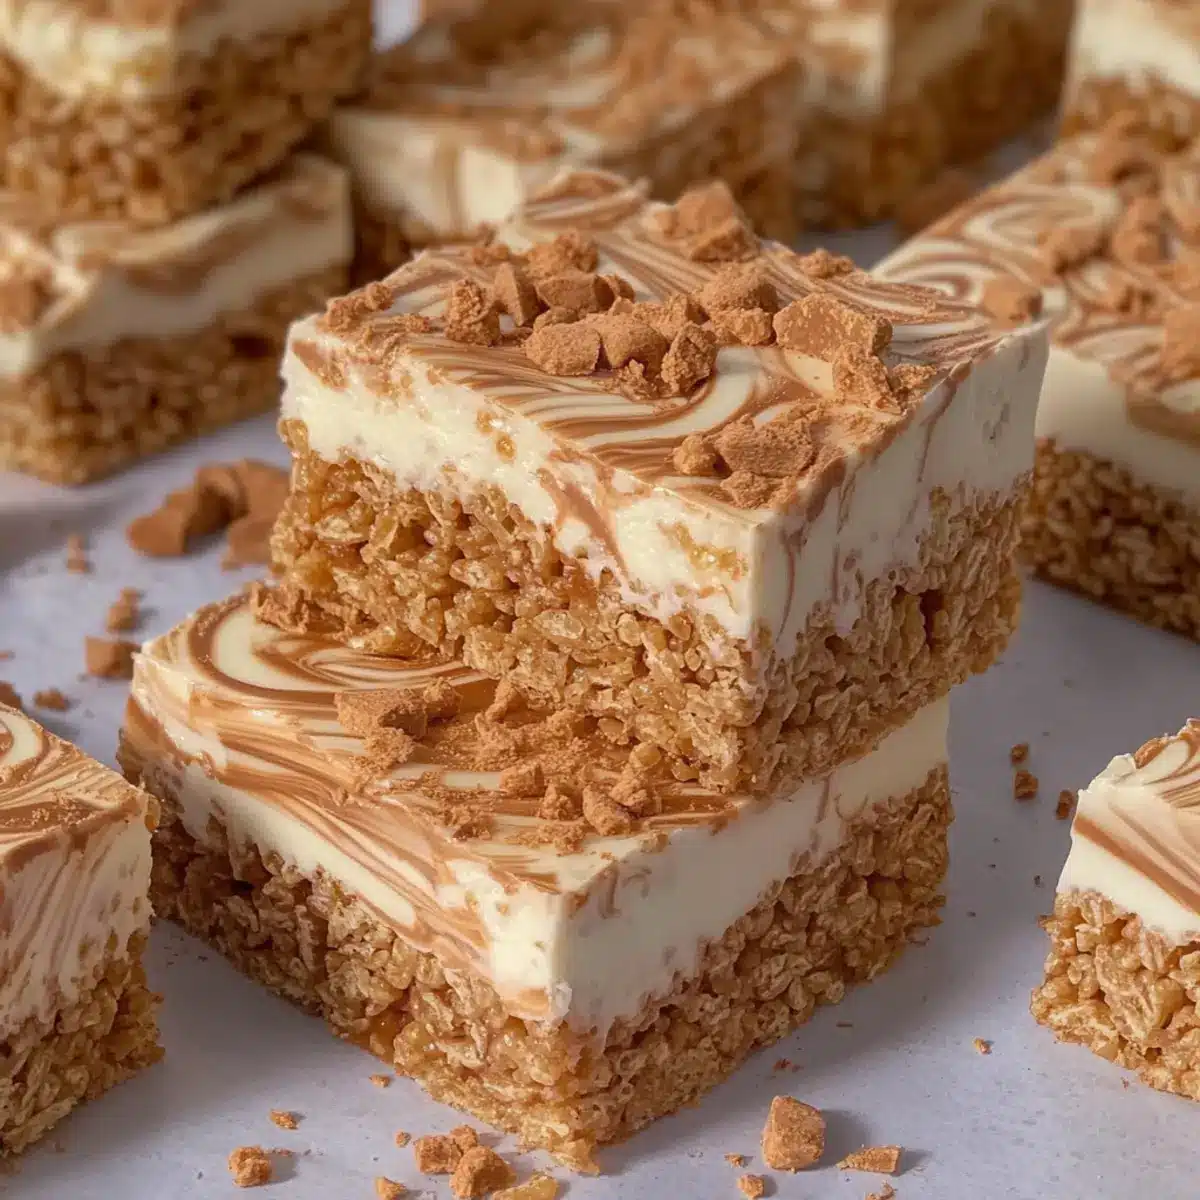
Why Are These Biscoff Treats So Irresistible?
Irresistible Flavors: The sweet, caramel goodness of Biscoff spread adds a unique twist to a beloved classic.
No-Bake Convenience: Simple to make and perfect for whipping up last minute, these treats save you time without sacrificing taste.
Diet-Friendly Options: With vegetarian and vegan variations available, everyone can enjoy this delightful dessert!
Crowd-Pleasing Delight: Serve them at parties or gatherings, and watch them disappear as guests rave about their deliciousness.
Versatile Texture: The combination of crunchy rice cereal and chewy marshmallows creates a satisfyingly unique experience.
Don’t forget to explore more sweet ideas like our Japanese Banana Rice or for a savory option, check out the Tofu Fried Rice. Enjoy!
Biscoff Rice Krispie Treats Ingredients
For the Base
- Rice Cereal – Provides structure and crunch; can be substituted with gluten-free options if needed.
- Salt – Enhances the flavors; using sea salt adds a delightful touch.
- Butter – Adds richness and binds everything together; replace with dairy-free butter for vegan options.
- White Marshmallows – Acts as the sweet and soft texture base; ensure they are gelatine-free for vegetarian suitability.
For the Flavor
- Biscoff Spread – The star ingredient that brings a caramel and spice essence; use smooth or crunchy styles based on your preference.
For the Topping
- White Chocolate – Creates a creamy finish; feel free to substitute with milk or dark chocolate for a different flavor profile.
- Biscoff Biscuits (for decoration) – Adds extra crunch and flavor; these can be omitted if you want a simpler treat.
With these ingredients at hand, you’re on your way to creating your own scrumptious Biscoff Rice Krispie Treats!
Step‑by‑Step Instructions for Biscoff Rice Krispie Treats
Step 1: Prepare the Tin
Start by preparing a 9-inch square baking tin by lining it with baking paper. Lightly grease the paper with butter to prevent sticking. This will ensure your Biscoff Rice Krispie Treats come out easily once set. Set the prepared tin aside while you get your other ingredients ready.
Step 2: Mix Dry Ingredients
In a large mixing bowl, measure out your rice cereal and add a pinch of salt. Stir them together gently to combine the flavors evenly. This will create a solid base that enhances the texture of your Biscoff Rice Krispie Treats, providing that delightful crunch.
Step 3: Melt Ingredients
In a medium saucepan, combine butter, white marshmallows, and Biscoff spread over low to medium heat. Stir continuously until the mixture melts and becomes smooth, being careful not to let it boil. This process should take about 5-7 minutes, and you’ll know it’s ready when it looks glossy and uniform.
Step 4: Combine Mixtures
Once melted, pour the creamy mixture over your rice cereal mixture. Using a spatula, fold them together gently until all the rice cereal is evenly coated. The mixture should be sticky and well-combined, so make sure there are no dry spots before pressing it firmly into your prepared tin.
Step 5: Set
Allow the Biscoff Rice Krispie Treats to set at room temperature for about 1 hour. During this time, they will firm up, making them easy to slice into squares. You can also place them in the refrigerator for a quicker set if you’re in a hurry.
Step 6: Top Treats
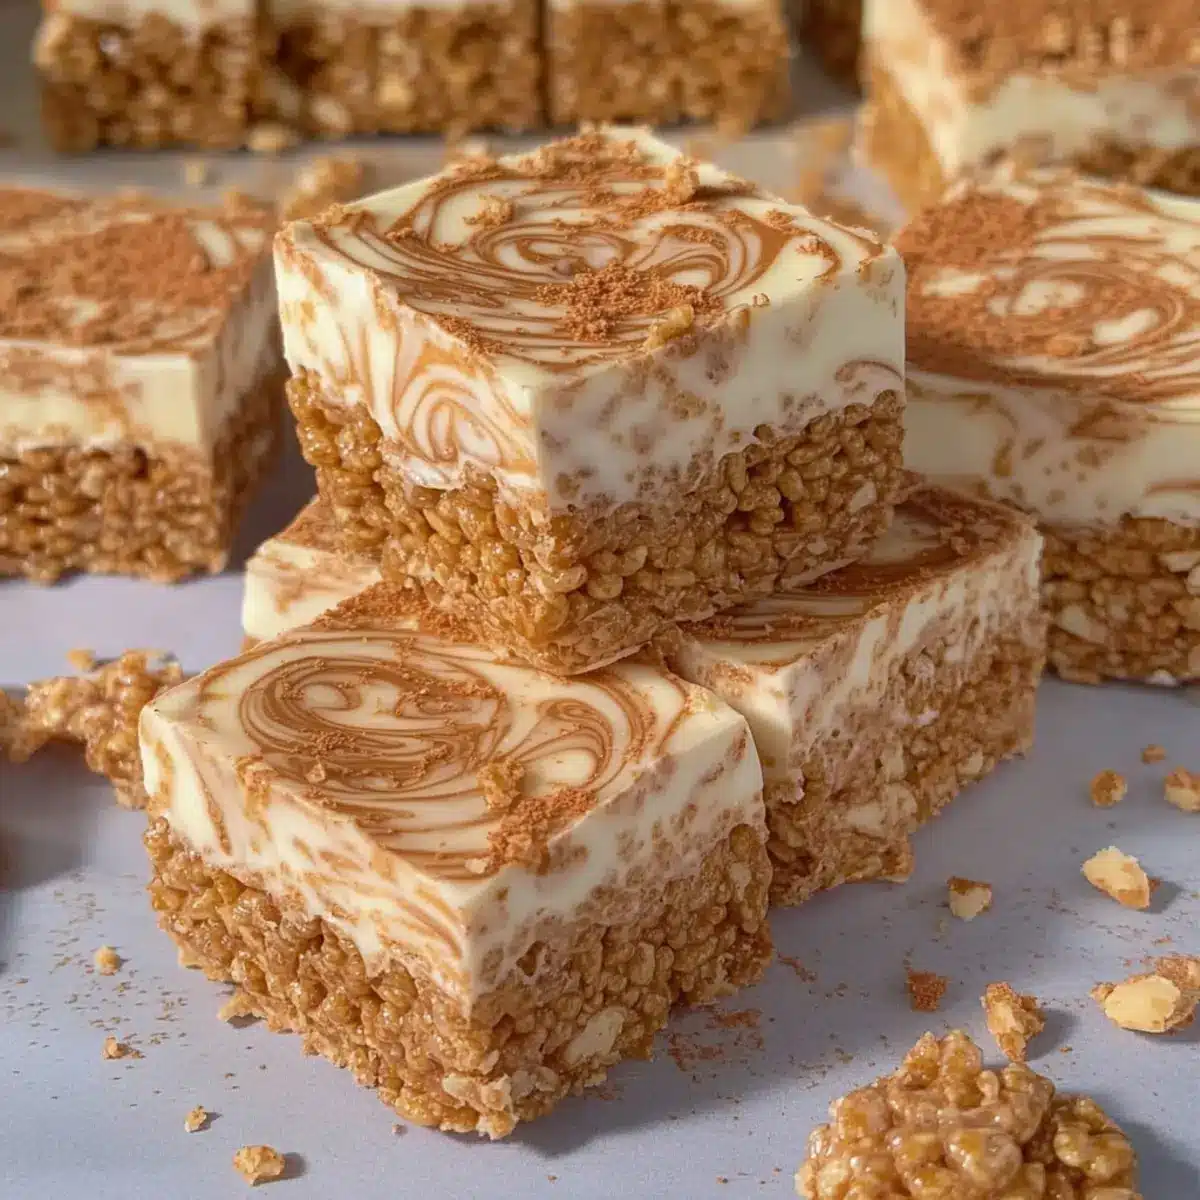
With the treats set, melt your white chocolate in a microwave-safe bowl in 30-second intervals, stirring until smooth. Pour the melted chocolate evenly over the top of the treats. You can then add dollops of warmed Biscoff spread and use a skewer or knife to swirl it beautifully into the chocolate.
Step 7: Decorate
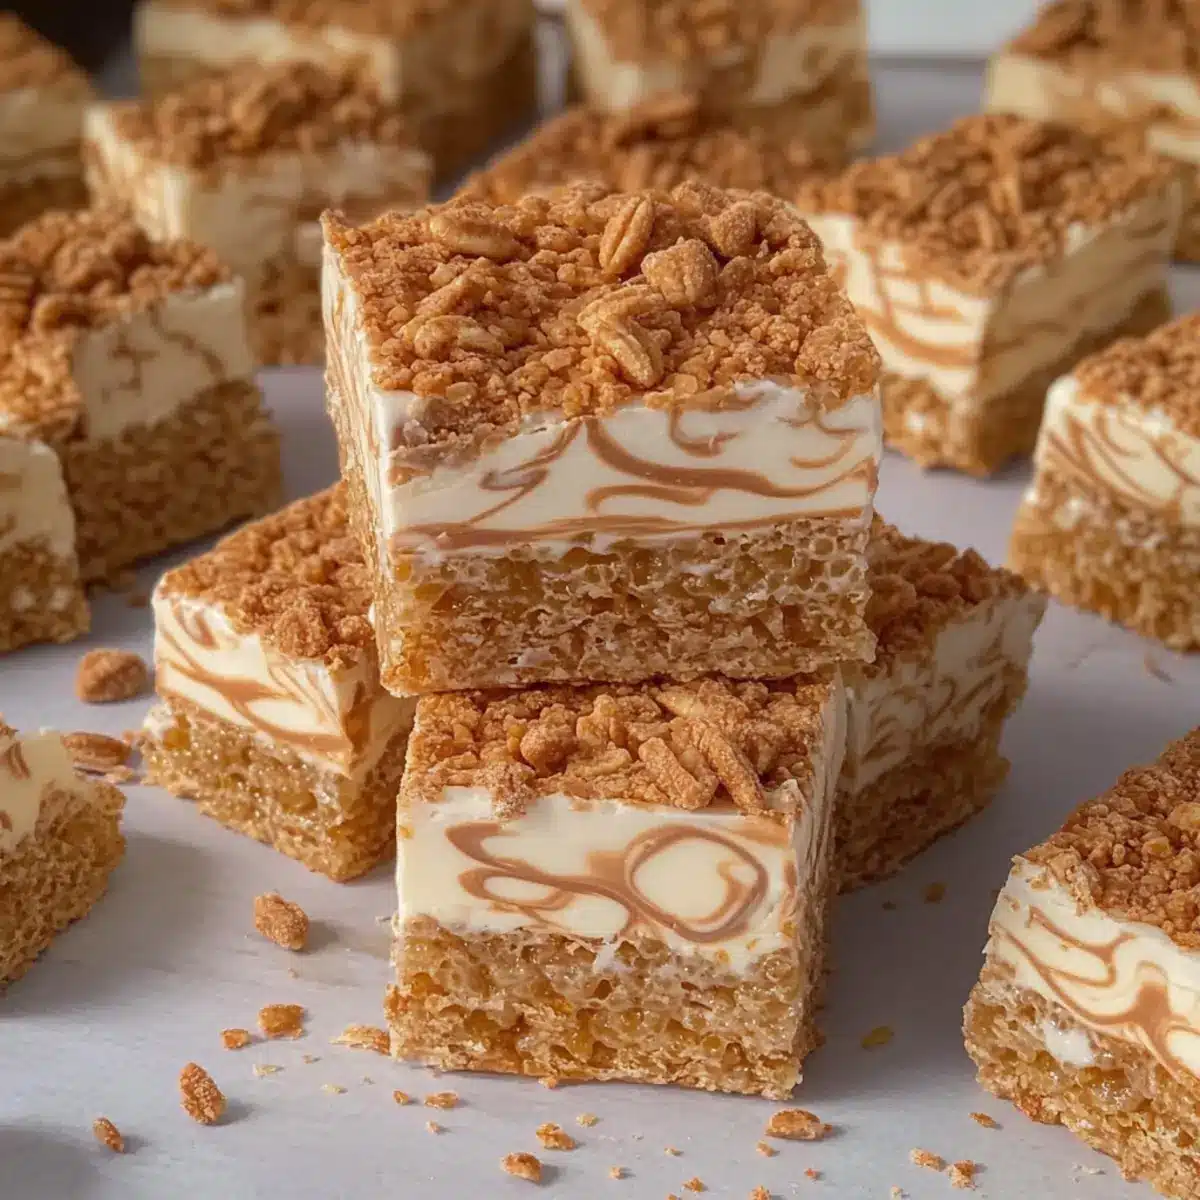
To finish, sprinkle crushed Biscoff biscuits over the top for an extra crunch and flavor burst. Allow the treats to set completely at room temperature for at least another 30 minutes to firm up the topping before slicing them into squares for serving.
Make Ahead Options
These Biscoff Rice Krispie Treats are fantastic for meal prep, allowing you to save time on busy weeknights! You can prepare the base mixture and press it into the tin up to 24 hours in advance; simply cover it tightly with plastic wrap to maintain freshness. When you’re ready to serve, melt the white chocolate and Biscoff spread, then drizzle them over the set treats. Allow the chocolate to firm for about 30 minutes before slicing them into delightful squares. This way, you can have a homemade dessert ready at a moment’s notice, ensuring every bite remains just as delicious!
How to Store and Freeze Biscoff Rice Krispie Treats
Room Temperature: Keep your Biscoff Rice Krispie Treats in an airtight container at room temperature for up to 1 week to maintain their chewy texture and delightful flavor.
Fridge: If you prefer a firmer texture, store them in the refrigerator for up to 2 weeks. Just remember to let them sit at room temperature for a few minutes before enjoying.
Freezer: For longer storage, you can freeze the treats for up to 3 months. Wrap them tightly in plastic wrap and place them in an airtight container to prevent freezer burn.
Reheating: When you’re ready to indulge, allow them to thaw in the fridge overnight or on the counter for a couple of hours. For a warm treat, microwave them for a few seconds until warm.
What to Serve with Biscoff Rice Krispie Treats?
Looking to create the perfect spread around your delightful treats? Here are some complementary bites and sips to enhance your dessert experience.
-
Creamy Vanilla Ice Cream: Smooth and rich, a scoop of this classic flavor balances the sweet crunch of the treats perfectly.
-
Fresh Berries Medley: The tartness of strawberries and blueberries contrasts beautifully with the sweetness, adding a refreshing pop.
-
Nutty Caramel Sauce: Drizzle warm caramel over the treats for an indulgent twist that enhances their rich flavors. Each bite becomes a luxurious experience!
-
Coffee or Espresso: A warm cup of coffee offers a bitter contrast to the sweetness of the Biscoff Rice Krispie Treats, enhancing their flavor perfectly.
-
Chocolate Dipped Strawberries: These provide a delightful mix of flavors and textures, making them a perfect pairing for an afternoon tea or dessert platter.
-
Almond Biscotti: Perfect for dipping, the crunchiness of biscotti complements the soft, chewy treats, creating a delightful contrast.
Consider making an afternoon of it! Serve them all together for a delightful dessert spread that brings family and friends together.
Biscoff Rice Krispie Treats Variations
Feel free to let your creativity flow with these delightful twists on Biscoff Rice Krispie Treats that will tantalize your taste buds!
- Gluten-Free: Substitute rice cereal with gluten-free cereal or cornflakes for a different crunchy texture that’s equally delicious.
- Nutty Add-In: Mix in some chopped nuts like almonds or pecans to add an extra layer of flavor and crunch.
- Vegan Version: Use dairy-free butter and ensure your marshmallows are gelatin-free for a completely vegan treat that doesn’t skimp on sweetness.
- Chocolate Drizzle: Instead of just white chocolate, try a swirl of dark or milk chocolate over the top for a decadent flavor contrast.
- Salted Caramel: Drizzle some homemade or store-bought caramel sauce on top for an indulgent sweet-and-salty twist.
- Coconut Flakes: Incorporate shredded coconut into the mixture for a tropical flavor boost that complements the caramel notes of Biscoff.
- Spicy Kick: For a surprising twist, add a pinch of cayenne pepper or cinnamon to the melted mixture for a hint of heat.
- Mix & Match Toppings: Experiment with different toppings like M&Ms or seasonal sprinkles—there’s no wrong way to top these treats!
You might also enjoy pairing these treats with a comforting bowl of our Tofu Fried Rice for a savory counterpart or try adding a touch of banana to them! Dive into the world of sweet and savory blends—it’s all about creating what you love!
Expert Tips for Biscoff Rice Krispie Treats
-
Fresh Marshmallows: Always use fresh marshmallows to ensure they melt smoothly without becoming lumpy, which can affect the texture of your Biscoff Rice Krispie Treats.
-
Low Heat Essential: Keep the heat low to medium when melting ingredients. This prevents the mixture from hardening and maintains the desired chewy consistency.
-
Accurate Measurements: Weigh your rice cereal and other ingredients for accuracy. This helps achieve the perfect balance of flavors and texture in your treats.
-
Vegetarian-Friendly Check: Always check marshmallow packaging for gelatin content to ensure they suit vegetarian diets and keep your treats enjoyable for everyone.
-
Personalize Toppings: Feel free to experiment with different toppings – dark chocolate or chopped nuts can add wonderful textures and flavors to your Biscoff Rice Krispie Treats!
Biscoff Rice Krispie Treats Recipe FAQs
How do I choose the best Biscoff spread?
Absolutely! When selecting Biscoff spread, look for a jar that has smooth consistency without dark spots or separation, indicating freshness. You can choose between smooth or crunchy varieties based on your preference for texture in the treats.
What’s the best way to store Biscoff Rice Krispie Treats?
You can store your Biscoff Rice Krispie Treats in an airtight container at room temperature for up to 1 week. If you prefer a firmer texture, refrigerate them for up to 2 weeks; just let them sit at room temperature for a few minutes before serving.
Can I freeze Biscoff Rice Krispie Treats?
Very! To freeze your treats for longer storage, wrap them tightly in plastic wrap, then place them in an airtight container to prevent freezer burn. They will last for up to 3 months in the freezer. When you’re ready to indulge, simply thaw them in the fridge overnight or on the counter for a couple of hours.
What if my treats are too sticky?
If you find your Biscoff Rice Krispie Treats are too sticky after mixing the ingredients, it may be due to the mixture being too warm. Try letting it cool slightly before pressing it into the tin, which helps with handling. Alternatively, you can add a bit more rice cereal to balance the stickiness.
Are Biscoff Rice Krispie Treats suitable for vegetarians and vegans?
Yes! You can make them vegetarian-friendly by ensuring your marshmallows are gelatine-free. For a vegan version, simply replace the butter with dairy-free butter and use suitable marshmallows. There’s no need to sacrifice flavor for dietary needs with this delightful treat!
Can I customize the toppings for Biscoff Rice Krispie Treats?
The more the merrier! Feel free to personalize your Biscoff Rice Krispie Treats by experimenting with various toppings such as dark chocolate drizzle, chopped nuts, or even drizzles of caramel. These additions can enhance both flavor and presentation for a truly unique treat!
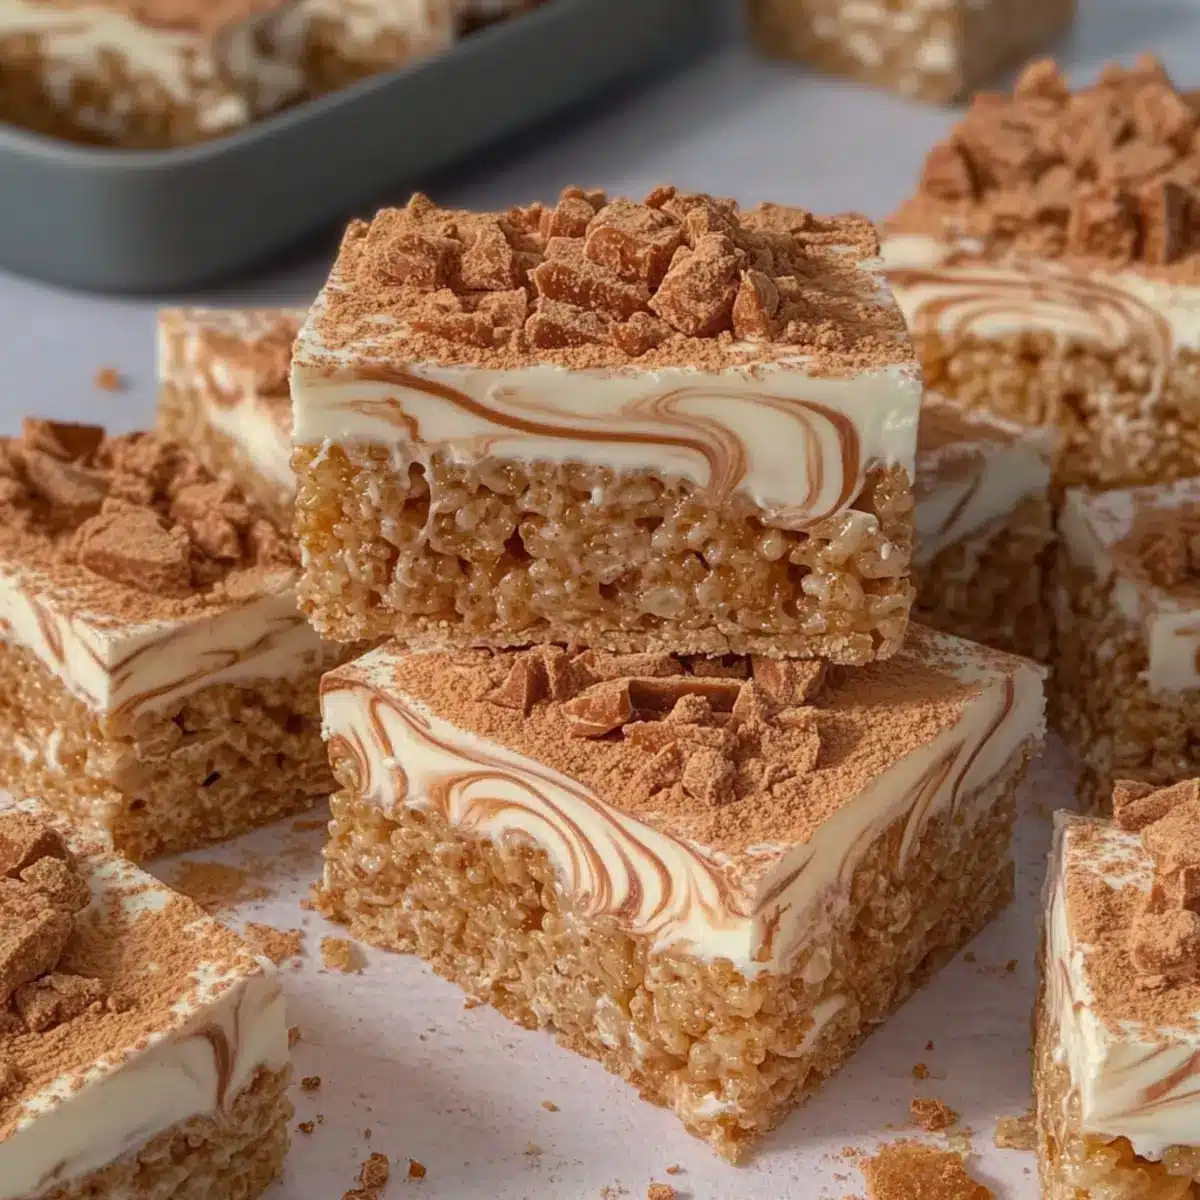
Deliciously Chewy Biscoff Rice Krispie Treats You’ll Love
Ingredients
Equipment
Method
- Prepare a 9-inch square baking tin by lining it with baking paper and greasing it lightly with butter.
- In a large mixing bowl, combine rice cereal and a pinch of salt.
- In a medium saucepan, melt butter, marshmallows, and Biscoff spread over low to medium heat, stirring continuously.
- Pour the melted mixture over the rice cereal and fold gently until combined.
- Allow the mixture to set at room temperature for about 1 hour.
- Melt white chocolate in a microwave-safe bowl in 30-second intervals until smooth.
- Pour melted chocolate over the treats and swirl in warmed Biscoff spread.
- Sprinkle crushed Biscoff biscuits on top and let them set completely for at least 30 minutes.
Leave a Reply