
As I stirred the velvety mascarpone, the sweet scent of ripe cherries wafted through my kitchen—a subtle reminder that dessert doesn’t have to be labor-intensive to impress. This Cherry Tiramisu melds the best of both worlds, transforming the classic Italian favorite into a festive no-bake masterpiece. With layers of ladyfingers soaked in coffee and cherry amaretto, and crowned with a luscious homemade cherry sauce, it’s sure to steal the spotlight at any gathering. Not only is this recipe quick to prepare, but it also delivers the comfort of crowd-pleasing flavors without the oven swelter on hot days. Curious how to create a show-stopping dessert that could become your new holiday tradition? Let’s dive into this delightful treat!
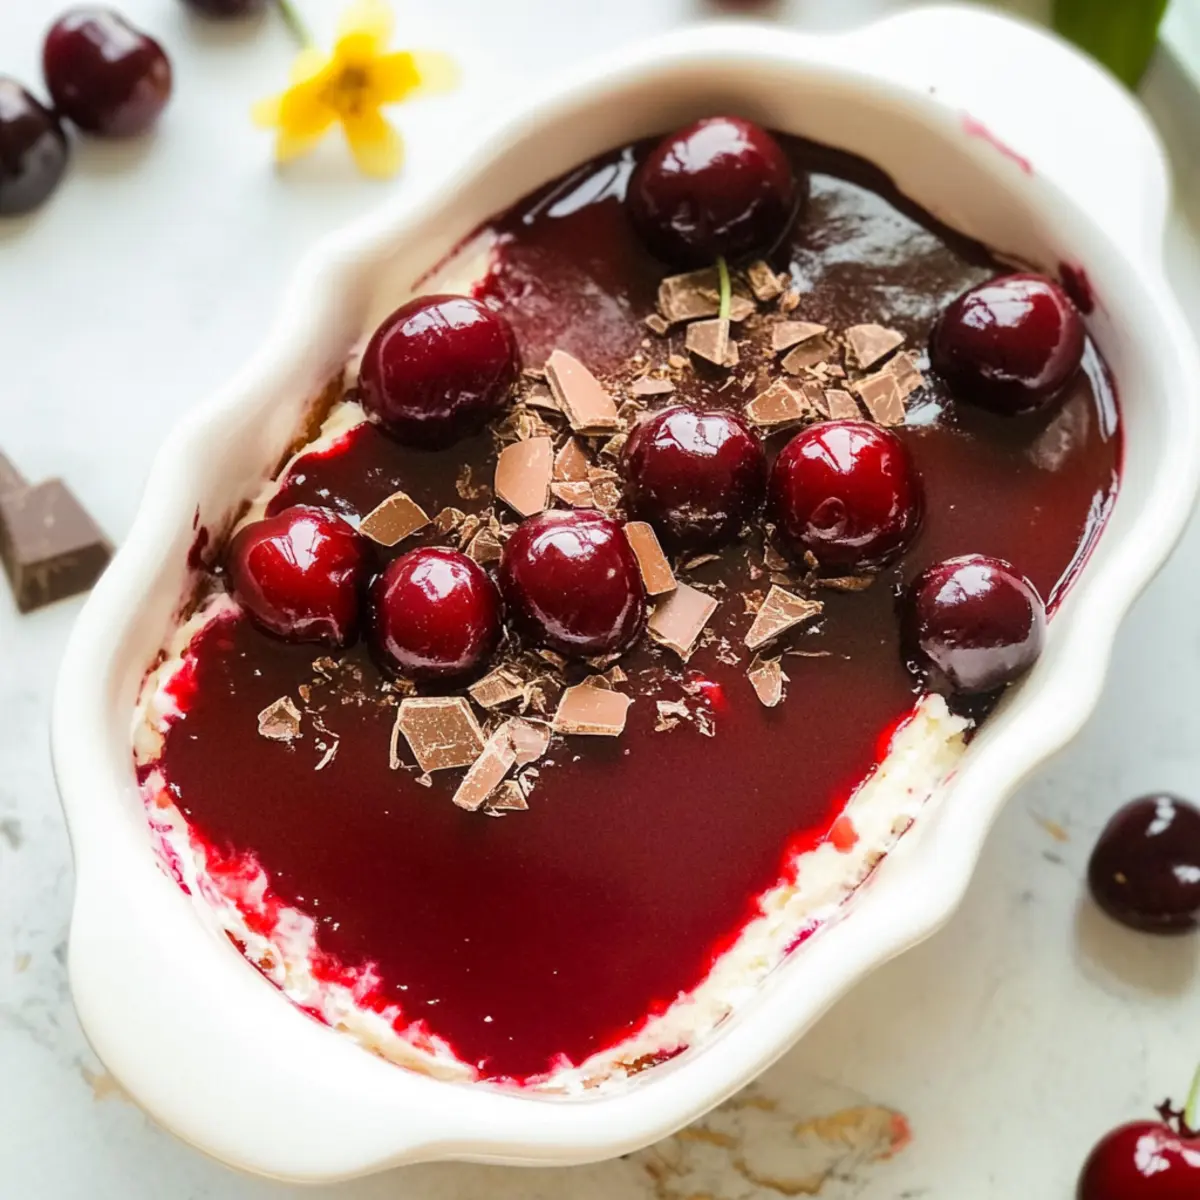
Why is Cherry Tiramisu a Must-Try?
Irresistible Flavor: A delightful twist on a classic, this Cherry Tiramisu combines rich cherry amaretto with smooth mascarpone for a taste explosion.
Effortless Preparation: No-bake and incredibly simple, you can whip it up in no time—perfect for busy hosts or last-minute gatherings!
Eye-Catching Presentation: With its stunning layers and fresh cherry topping, this dessert is as beautiful as it is delicious, guaranteed to impress your guests.
Versatile Options: Customize it by swapping out alcohol or adding different toppings—there are endless variations to keep things exciting!
Perfect for Any Occasion: Whether it’s a holiday feast or a casual gathering, this dessert is sure to be a hit, making it your go-to recipe for entertaining.
If you’re eager to explore variations, consider checking out my tips for flavor substitutions that could elevate your dish even further!
Cherry Tiramisu Ingredients
Get Ready to Bake Up Joy!
For the Cherry Filling
• Cherries – Fresh or frozen, pitted; they add the sweet and tangy flavor that elevates the whole dessert.
• Water – Used for extracting cherry juice; reduce the amount if using frozen cherries.
• Granulated Sugar – Sweetens the cherry juice and mascarpone filling; feel free to adjust according to your taste.
• Lemon Juice – Freshly squeezed is best; it brightens the flavor of the cherry mixture beautifully.
For the Cream Mixture
• Heavy Cream – Provides a luscious texture; you can substitute with double cream if needed.
• Mascarpone Cheese – Essential for a creamy filling; ensure it’s at room temperature to mix easily.
• Vanilla Extract – Adds depth to the flavors; use a high-quality pure extract for the best results.
For the Coffee Layer
• Brewed Coffee – This classic tiramisu element adds warmth; replace with cherry juice if you want a fruitier profile.
• Cherry Amaretto – Infuses the coffee with a lovely cherry flavor; feel free to swap it or omit it entirely for a non-alcoholic version.
For the Ladyfingers
• Ladyfingers – The structure of your tiramisu; ensure they are dipped quickly to absorb the flavors without becoming soggy.
Optional Toppings
• Cherry Sauce – Make from additional cherries, water, and sugar for a beautiful drizzle; adds flavor and presentation.
• Toppings – Fresh cherries and chocolate flakes for garnish; they add a festive touch that your guests will adore.
Now that you have your ingredients ready, let’s move on to whipping up this fantastic Cherry Tiramisu that will bring smiles to every gathering!
Step‑by‑Step Instructions for Cherry Tiramisu
Step 1: Prepare the Cherry Juice
In a medium saucepan, combine pitted cherries with water over medium heat. Gently mash the cherries to release their juices. Bring the mixture to a boil, then reduce the heat and let it simmer for about 10 minutes. You should see the cherries soften and the liquid become vibrant.
Step 2: Strain and Cool
Remove the saucepan from the heat and strain the cherry mixture through a fine mesh sieve into a bowl, pressing with the back of a spoon to extract as much juice as possible. Stir in granulated sugar and fresh lemon juice until dissolved. Allow this cherry juice to cool completely before using in your Cherry Tiramisu.
Step 3: Whip the Cream
In a large mixing bowl, pour in the heavy cream and start whisking on medium speed until thickened. Continue whisking until stiff peaks form, which should take about 3-5 minutes. The cream should hold its shape well; set it aside for later to blend into the mascarpone filling.
Step 4: Prepare the Mascarpone Mixture
In a separate bowl, combine room temperature mascarpone cheese, granulated sugar, and vanilla extract. Whisk the mixture until smooth and creamy, ensuring there are no lumps. This creamy base will form the luscious filling for our Cherry Tiramisu, so take your time to get it perfect.
Step 5: Combine Cream and Mascarpone
Gently fold the whipped cream into the mascarpone mixture, alternating with the cooled cherry juice. Use a spatula to incorporate the ingredients carefully, maintaining the light and fluffy texture. Aim for a uniform color and consistency without over-mixing, allowing the flavors of the Cherry Tiramisu to meld beautifully.
Step 6: Prepare the Coffee Layer
In a shallow bowl, mix brewed coffee with cherry amaretto. Stir well to combine, allowing the amaretto to enhance the coffee’s rich flavors. This will be the soaking liquid for the ladyfingers, so take a moment to ensure it’s well blended and fragrant.
Step 7: Soak the Ladyfingers
Dunk each ladyfinger quickly into the coffee-amaretto mixture, ensuring they are just coated without becoming soggy. Arrange them in a single layer in a rectangular dish, forming the foundation for your Cherry Tiramisu. The ladyfingers should absorb the coffee flavors while retaining their structure.
Step 8: Add the First Layer of Filling
Spread half of the cherry-infused mascarpone mixture evenly over the soaked ladyfingers. Use a spatula to smooth it out gently, ensuring the filling reaches the edges of the dish. This creamy layer is a key part of the delightful flavor and texture profile of your Tiramisu.
Step 9: Layer Again
Repeat the process by dipping more ladyfingers into the coffee-amaretto mixture to create a second layer. Arrange them closely on top of the mascarpone filling, creating a solid base for the final layer of cherry filling.
Step 10: Add the Remaining Mascarpone
Spoon the remaining mascarpone mixture over the second layer of ladyfingers, smoothing it out gently to create an even top layer. Patience is key here to ensure each layer in the Cherry Tiramisu is distinct yet harmonious, promising a rich texture.
Step 11: Chill
Cover the assembled Cherry Tiramisu with plastic wrap or a lid and refrigerate for at least 6 hours or overnight. This step allows the flavors to meld beautifully and the dessert to firm up, ensuring an impressive presentation when served.
Step 12: Make the Cherry Sauce
Before serving, prepare the cherry sauce by heating additional pitted cherries, water, and sugar in a small saucepan over medium heat. Bring to a gentle boil, then blend until smooth for a luscious drizzle that enhances the dessert’s flavors. Let it cool slightly.
Step 13: Serve and Garnish
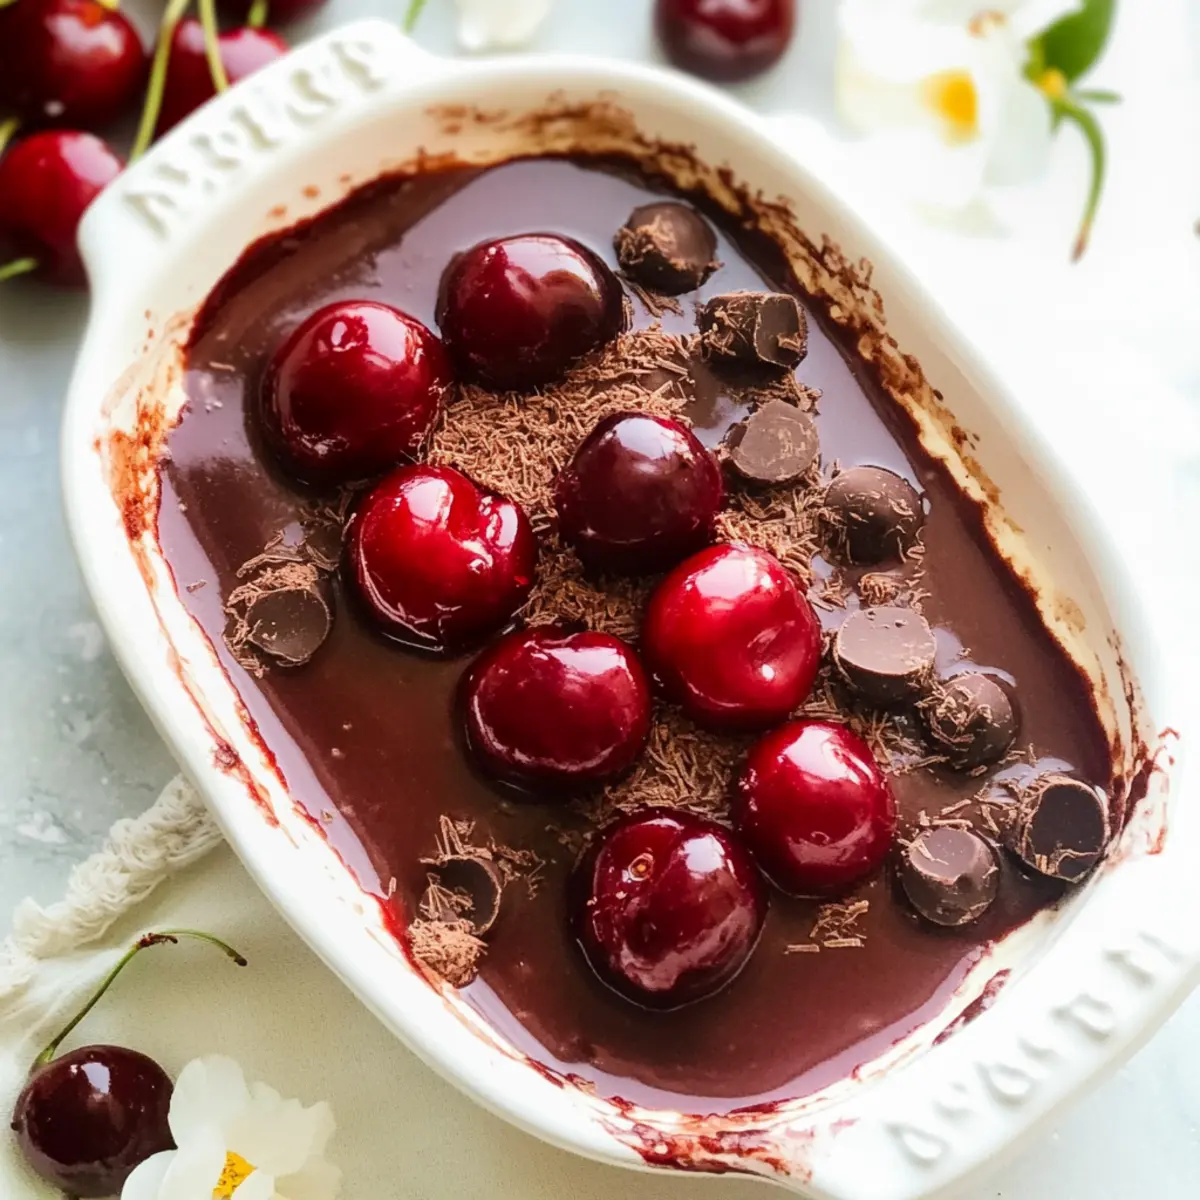
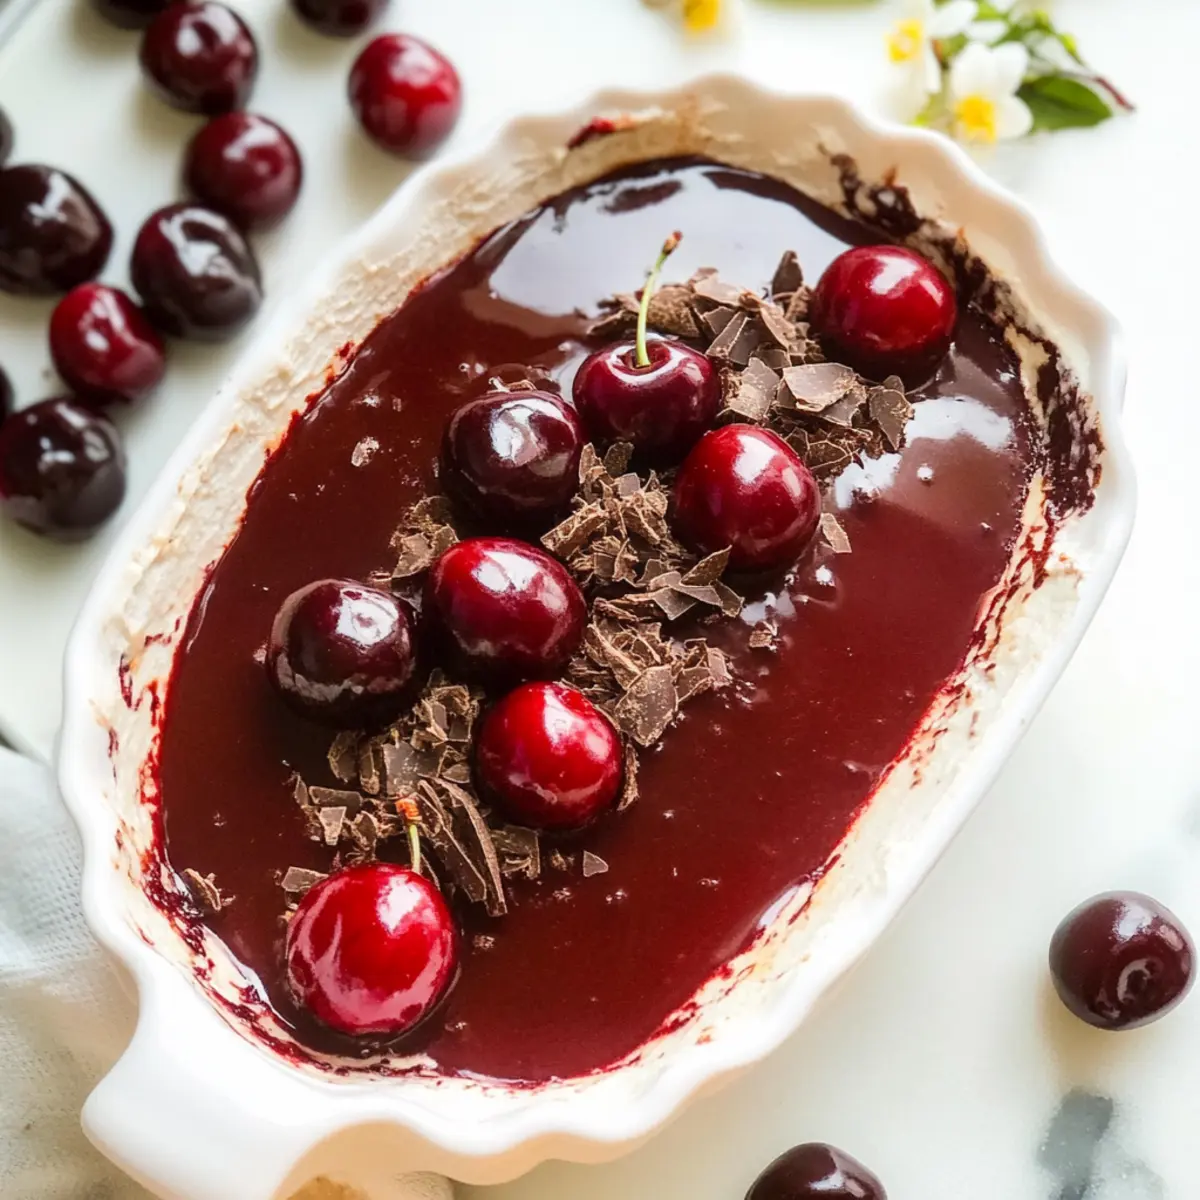
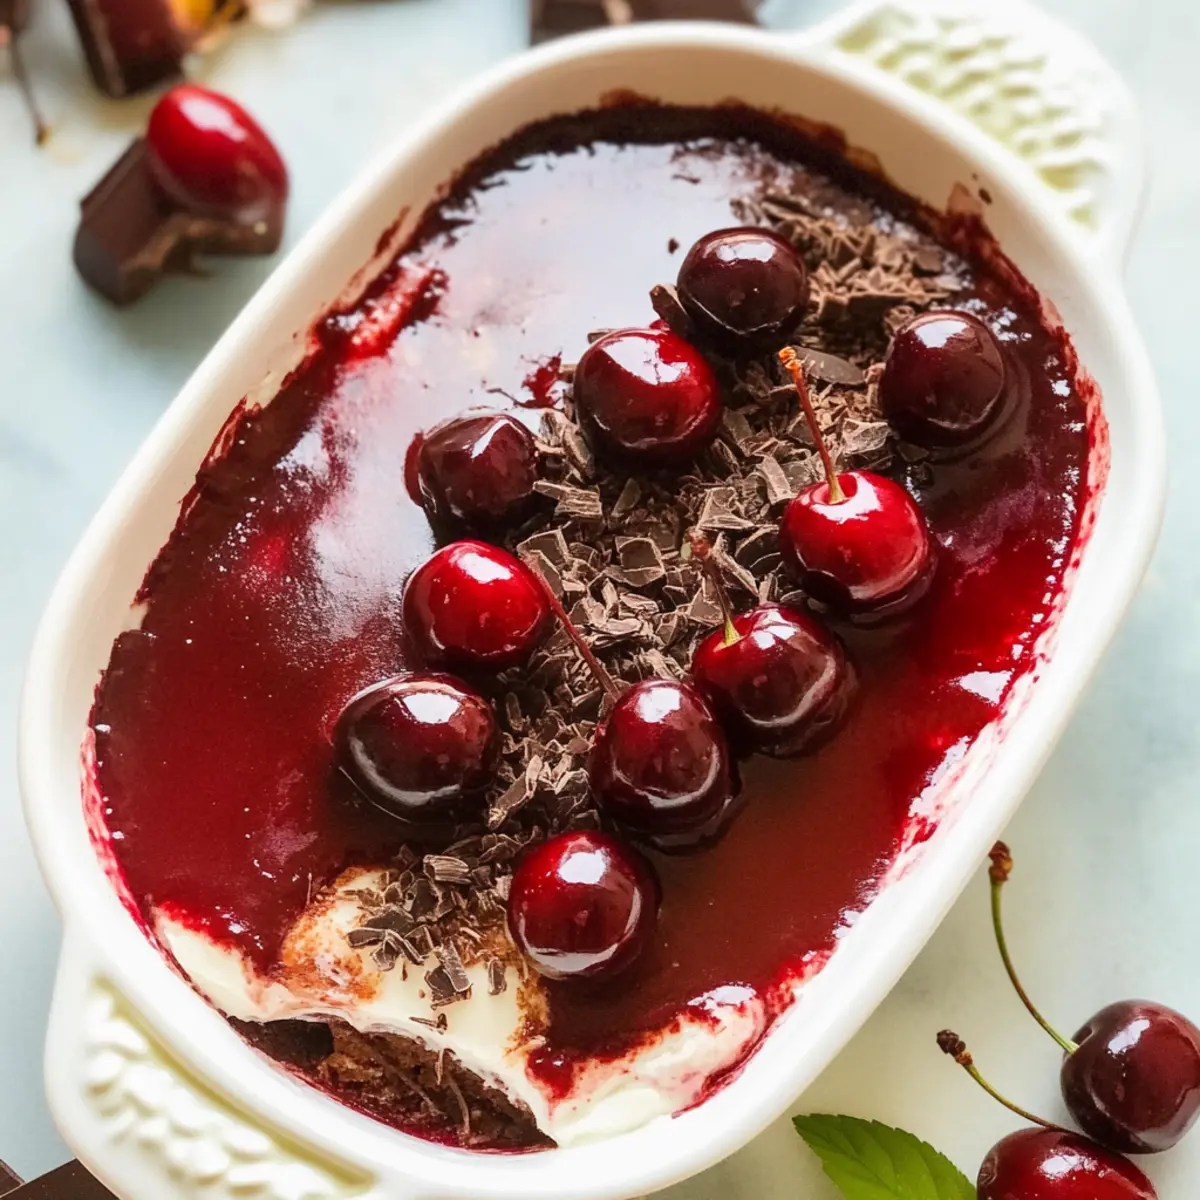
To serve, pour the cooled cherry sauce over the tiramisu just before plating. Garnish with fresh cherries and chocolate flakes for a festive touch, making your Cherry Tiramisu not just a treat for the palate, but also a feast for the eyes!
What to Serve with Cherry Tiramisu
Serving up sweetness with your Cherry Tiramisu elevates the entire dessert experience into a symphony of flavors and textures.
-
Espresso or Coffee: The rich, bold flavors of freshly brewed espresso perfectly complement the creamy layers of tiramisu, enhancing the coffee notes.
-
Chocolate Covered Almonds: Crunchy, nutty, and sweet, these bites add texture and a burst of flavor that contrasts beautifully with the smooth mascarpone.
-
Fresh Berry Salad: A light mix of berries drizzled with honey brings a tart freshness that balances the sweetness of the tiramisu. Perfect for brightening each bite!
-
Vanilla Ice Cream: A scoop of velvety vanilla ice cream adds a creamy richness that blends deliciously with the cherry flavors for a delightful contrast.
-
Sparkling Wine: A bubbly dessert wine or prosecco adds a festive touch, enhancing the celebratory feel of your gathering. The effervescence pairs well with the richness.
-
Lemon Tart: For a zesty companion, a tangy lemon tart is a refreshing counterpoint that brings brightness to the table alongside the cherry tiramisu.
Each of these pairings not only completes the meal but adds its own delightful charm to your festive Cherry Tiramisu experience!
Cherry Tiramisu Variations & Substitutions
Feel free to explore these simple tweaks that will elevate your Cherry Tiramisu and cater to your taste preferences!
-
Alcohol-Free: Replace the cherry amaretto with more cherry juice or a splash of vanilla extract for a family-friendly version. This keeps all the luscious flavors intact while making it suitable for all ages.
-
Different Liquors: Swap cherry amaretto for dark rum or a splash of bourbon to add warmth and depth. This can create a delightful twist that brings out different flavor notes.
-
Vegan Option: Use coconut cream instead of heavy cream and a non-dairy cream cheese in place of mascarpone. You can even dip vegan ladyfingers in brewed herbal tea for a unique flavor.
-
Flavor Boost: Enhance the cherry layer by adding almond extract to the mascarpone, creating an intriguing flavor profile reminiscent of maraschino cherries.
-
Chocolate Layer: For a decadent surprise, incorporate a layer of chocolate mousse between the ladyfinger layers. This would elevate your dessert into a double-layered delight!
-
Fruit Variations: Feel free to switch the cherries for other berries—strawberries, raspberries, or blueberries will also create a gorgeous and equally delicious tiramisu.
-
Toppings Galore: Instead of just chocolate flakes, feel free to add crumbled cookies or toasted nuts for a delightful crunch that contrasts beautifully with the creamy layers.
-
Elegant Garnish: Add a dusting of cocoa powder or edible flowers to the top just before serving to make your Cherry Tiramisu even more visually appealing.
If you’re curious about different flavors or want tips on how to optimize your dessert experience, be sure to check out my suggestions for flavor substitutions!
How to Store and Freeze Cherry Tiramisu
Fridge: Store your Cherry Tiramisu in an airtight container or tightly wrapped in plastic wrap for up to 5 days. This will keep it fresh and delicious, ensuring that every bite is as delightful as the first.
Freezer: For longer storage, freeze individual slices by wrapping them in plastic wrap and placing them in a freezer-safe container. This way, you can enjoy this delightful dessert for up to 2 months.
Thawing: When ready to enjoy, simply transfer your frozen slice to the fridge and let it thaw overnight. You can also bring it to room temperature for about an hour.
Reheating: There’s no need to reheat Cherry Tiramisu, as its charm lies in its cool, creamy texture. Just drizzle with some cherry sauce before serving for a refreshing finish!
Make Ahead Options
These Cherry Tiramisu are perfect for meal prep enthusiasts! You can prepare the cherry juice and mascarpone filling up to 3 days in advance, allowing the flavors to meld beautifully. Simply refrigerate the cherry juice and the mascarpone mixture in separate airtight containers. You can also soak the ladyfingers and layer them with the filling up to 24 hours ahead of serving—just cover the assembled dessert tightly to keep it fresh. To maintain quality, make sure the cherry sauce is added just before serving. When you’re ready to impress your guests, simply drizzle the cherry sauce and add garnishes for a stunning, no-fuss dessert that still feels special!
Expert Tips for Cherry Tiramisu
-
Choose Fresh Cherries: Fresh cherries will elevate the flavor of your Cherry Tiramisu, but frozen can work too—just adjust the water amount during juice preparation.
-
Dip Lightly: Avoid soggy ladyfingers by quickly dipping them into the coffee-amaretto mixture; too long can make them fall apart.
-
Chill Well: Refrigerate your Cherry Tiramisu for at least 6 hours, or overnight, to allow the flavors to meld together beautifully.
-
Cool Ingredients: Ensure that the cherry juice and sauce are completely cool before adding to mascarpone to prevent separation.
-
Presentation Matters: Serve with the cherry sauce poured on just before serving and finish with fresh cherries and chocolate flakes for a stunning look!
Cherry Tiramisu Recipe FAQs
What type of cherries should I use for the Cherry Tiramisu?
Absolutely! For the best flavor, I recommend using fresh, ripe cherries. They add a delicious sweetness and vibrant color to your dessert. If fresh cherries are unavailable, frozen cherries can work too; just remember to adjust the water content during juice preparation since they release extra moisture.
How should I store leftover Cherry Tiramisu?
You can store your Cherry Tiramisu by wrapping it tightly in plastic wrap or placing it in an airtight container in the refrigerator. It will stay fresh for up to 5 days. Just remember to keep it covered to prevent any odors from the fridge from seeping in!
Can I freeze Cherry Tiramisu?
Yes! For longer storage, you can freeze individual slices of Cherry Tiramisu. Wrap them tightly in plastic wrap and store in a freezer-safe container. This dessert can be enjoyed for up to 2 months. To thaw, simply place the slice in the refrigerator overnight or leave it at room temperature for about an hour before serving.
What should I do if my mascarpone filling is too runny?
Very! If you find your mascarpone filling is too runny, it may be due to overmixing or using cold mascarpone. To fix it, try cooling it in the refrigerator for about 30 minutes. When you whip the cream, do so until stiff peaks form; this can help create a thicker consistency as you fold it into the mascarpone mixture. Always handle the mixture gently to maintain that wonderful light texture.
Are there any dietary considerations for making Cherry Tiramisu?
Yes! If you’re hosting guests with dietary restrictions, it’s good to know that you can customize your Cherry Tiramisu. For a non-alcoholic version, simply omit the cherry amaretto or substitute it with more cherry juice. Additionally, be mindful of any allergies related to dairy or gluten; look for gluten-free ladyfingers or lactose-free mascarpone if necessary. Always check with your guests about their dietary needs before serving.
Can I use different flavors or toppings in my Cherry Tiramisu?
The more the merrier! You can absolutely customize your Cherry Tiramisu by experimenting with different flavors and toppings. For instance, swap cherry amaretto for rum or brandy, or add fresh strawberries and whipped cream for a fruity twist. You can also go for a chocolate ganache topping instead of cherry sauce for a rich, chocolaty experience!
Cherry Tiramisu: A Festive Twist on a Classic Favorite
Ingredients
Equipment
Method
- In a medium saucepan, combine pitted cherries with water over medium heat. Gently mash the cherries to release their juices. Bring the mixture to a boil, then reduce the heat and let it simmer for about 10 minutes.
- Remove from heat and strain the cherry mixture through a fine mesh sieve into a bowl, pressing to extract as much juice as possible. Stir in sugar and lemon juice until dissolved. Allow to cool completely.
- In a large mixing bowl, whisk the heavy cream on medium speed until thickened and stiff peaks form, about 3-5 minutes. Set aside.
- In another bowl, combine mascarpone cheese, sugar, and vanilla extract. Whisk until smooth and creamy.
- Gently fold the whipped cream into the mascarpone mixture, alternating with the cooled cherry juice, using a spatula to maintain a light texture.
- In a shallow bowl, mix brewed coffee with cherry amaretto. Stir well to combine.
- Quickly dip each ladyfinger into the coffee-amaretto mixture and arrange them in a single layer in a rectangular dish.
- Spread half of the cherry-infused mascarpone mixture evenly over the soaked ladyfingers.
- Repeat the process with more ladyfingers and top with the remaining mascarpone mixture.
- Cover and refrigerate for at least 6 hours or overnight.
- Before serving, prepare the cherry sauce by heating additional cherries, water, and sugar. Bring to a gentle boil, then blend until smooth.
- Serve with cherry sauce poured over and garnish with fresh cherries and chocolate flakes.
Leave a Reply