
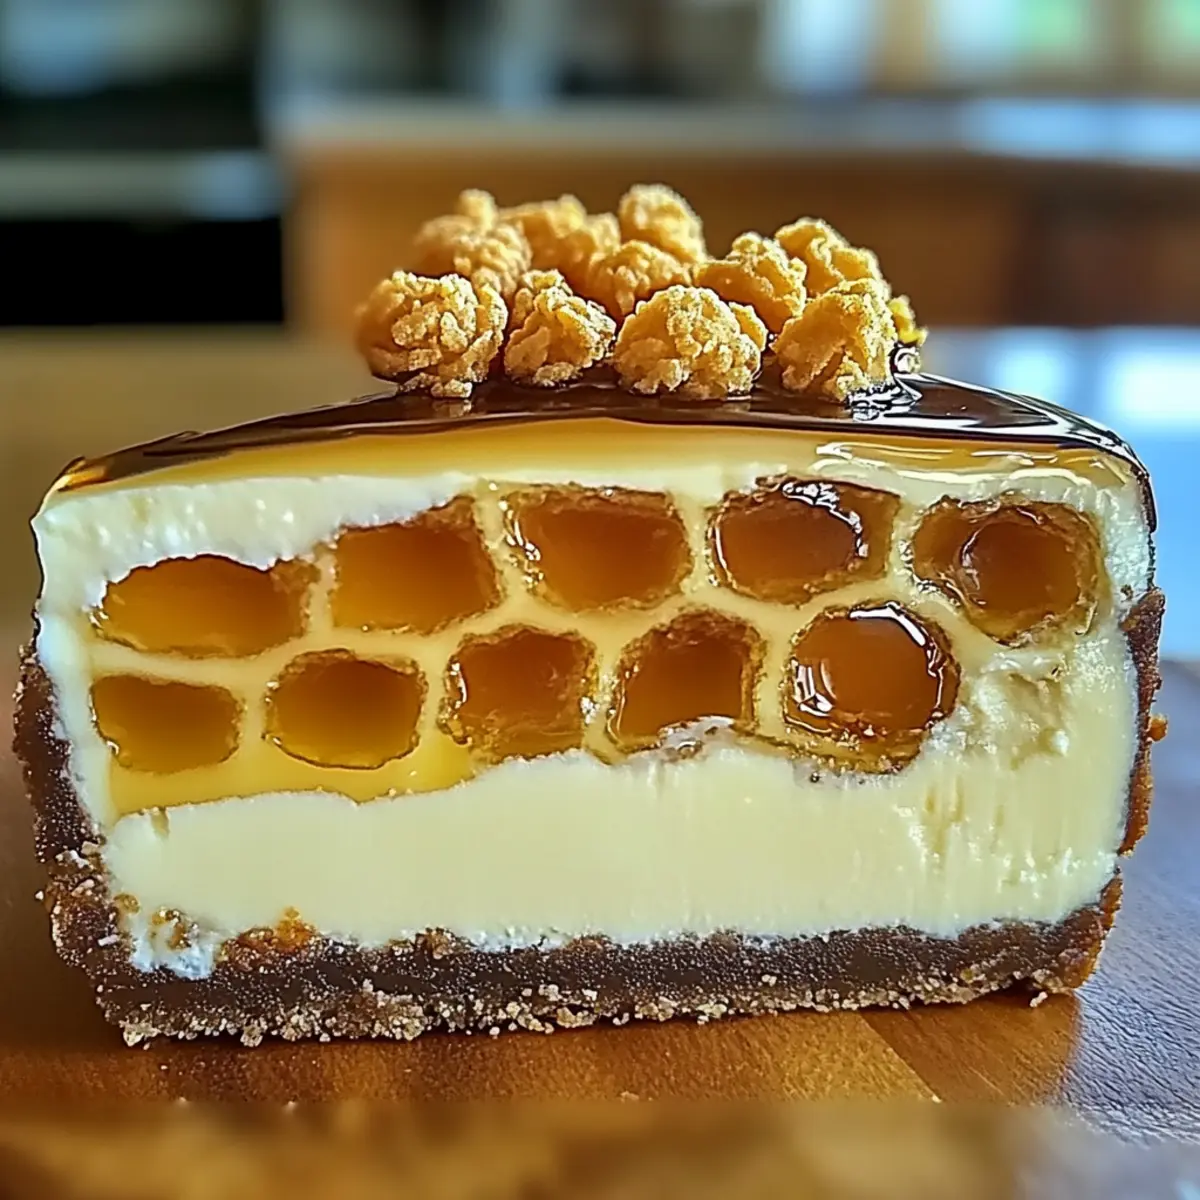
As I stood in the kitchen, a puzzle piece of flavors began to fall into place. Have you ever tried a dessert that reveals itself slowly, each bite enticing you to go for more? That’s exactly what my No-Bake Honeycomb Cheesecake does. This delightful treat combines a buttery, crisp crust with a luxuriously creamy filling made rich with mascarpone and topped with crunchy bits of honeycomb. Not only is this cheesecake incredibly easy to make, perfect for those new to baking, but it also shines as an impressive centerpiece for any gathering, instantly turning an ordinary get-together into a celebration. Whether you’re hosting friends or simply indulging in some self-care, this delightful dessert is sure to enchant your taste buds. So, who’s ready to whip up this charming creation and savor every bite?
Why is Honeycomb Cheesecake a Must-Try?
Unforgettable Flavor: The delicate sweetness of honeycomb paired with a velvety mascarpone filling creates a taste that lingers beautifully on your palate.
No-Bake Ease: Simplifying dessert prep, this recipe requires no baking, making it accessible even for beginners.
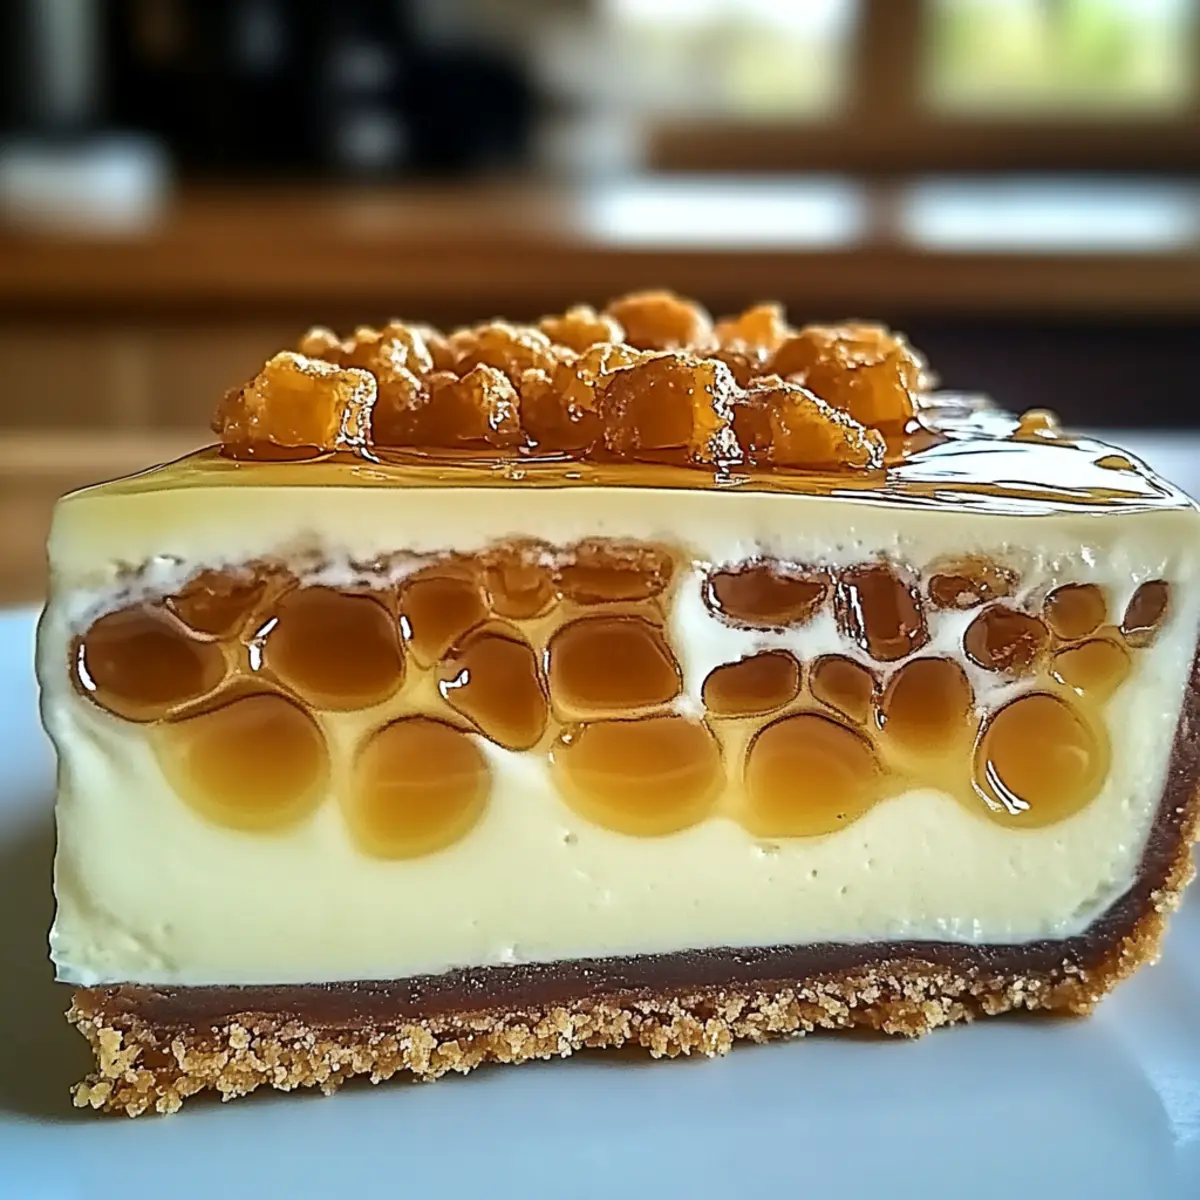
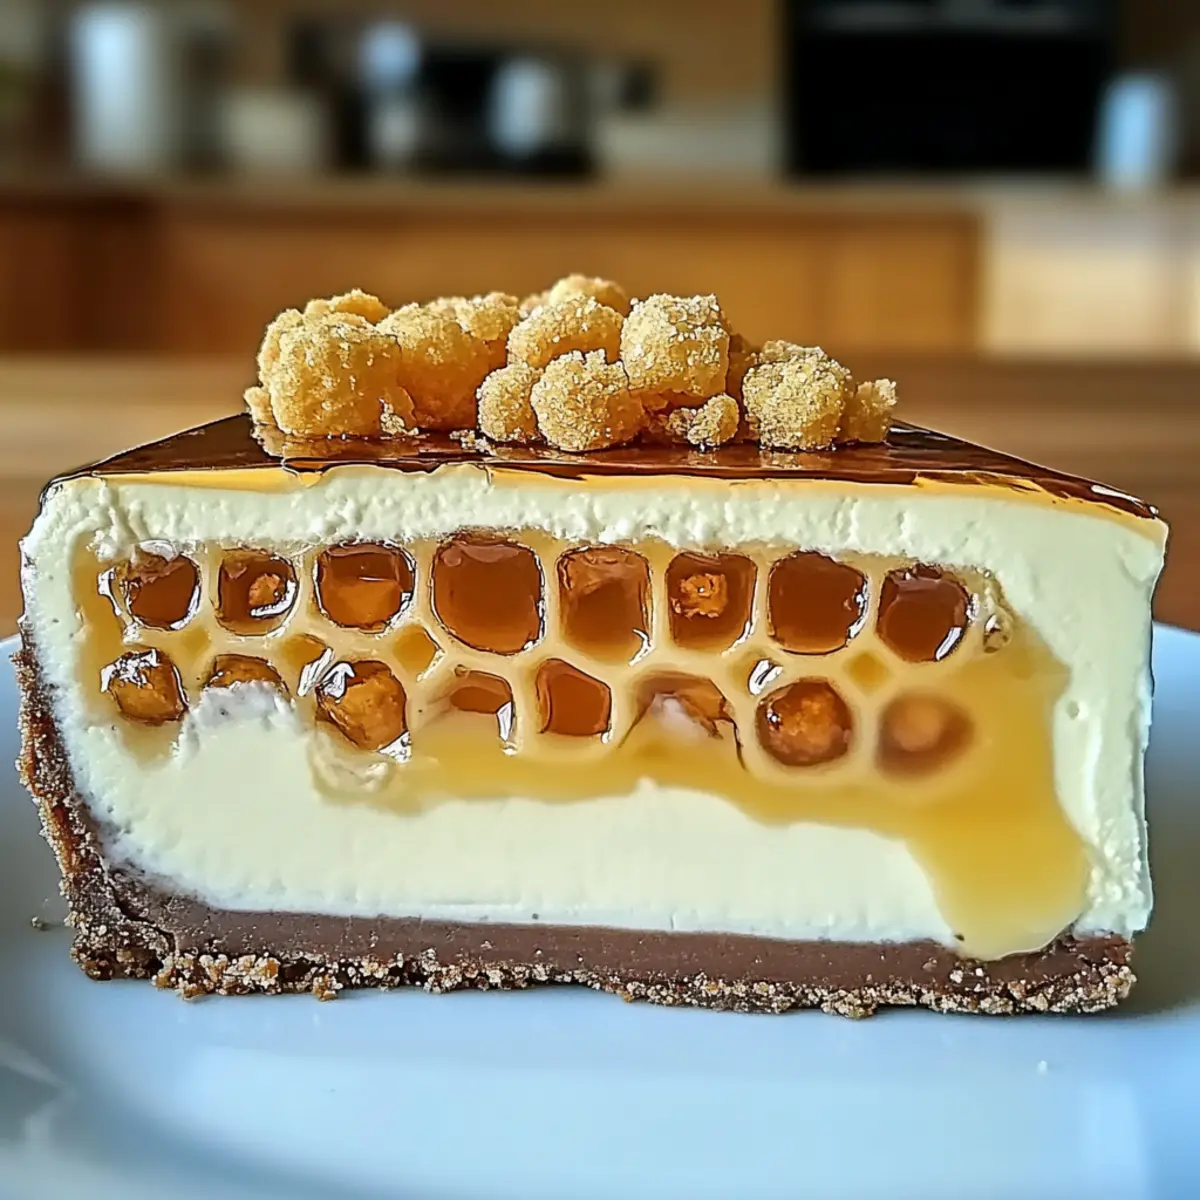
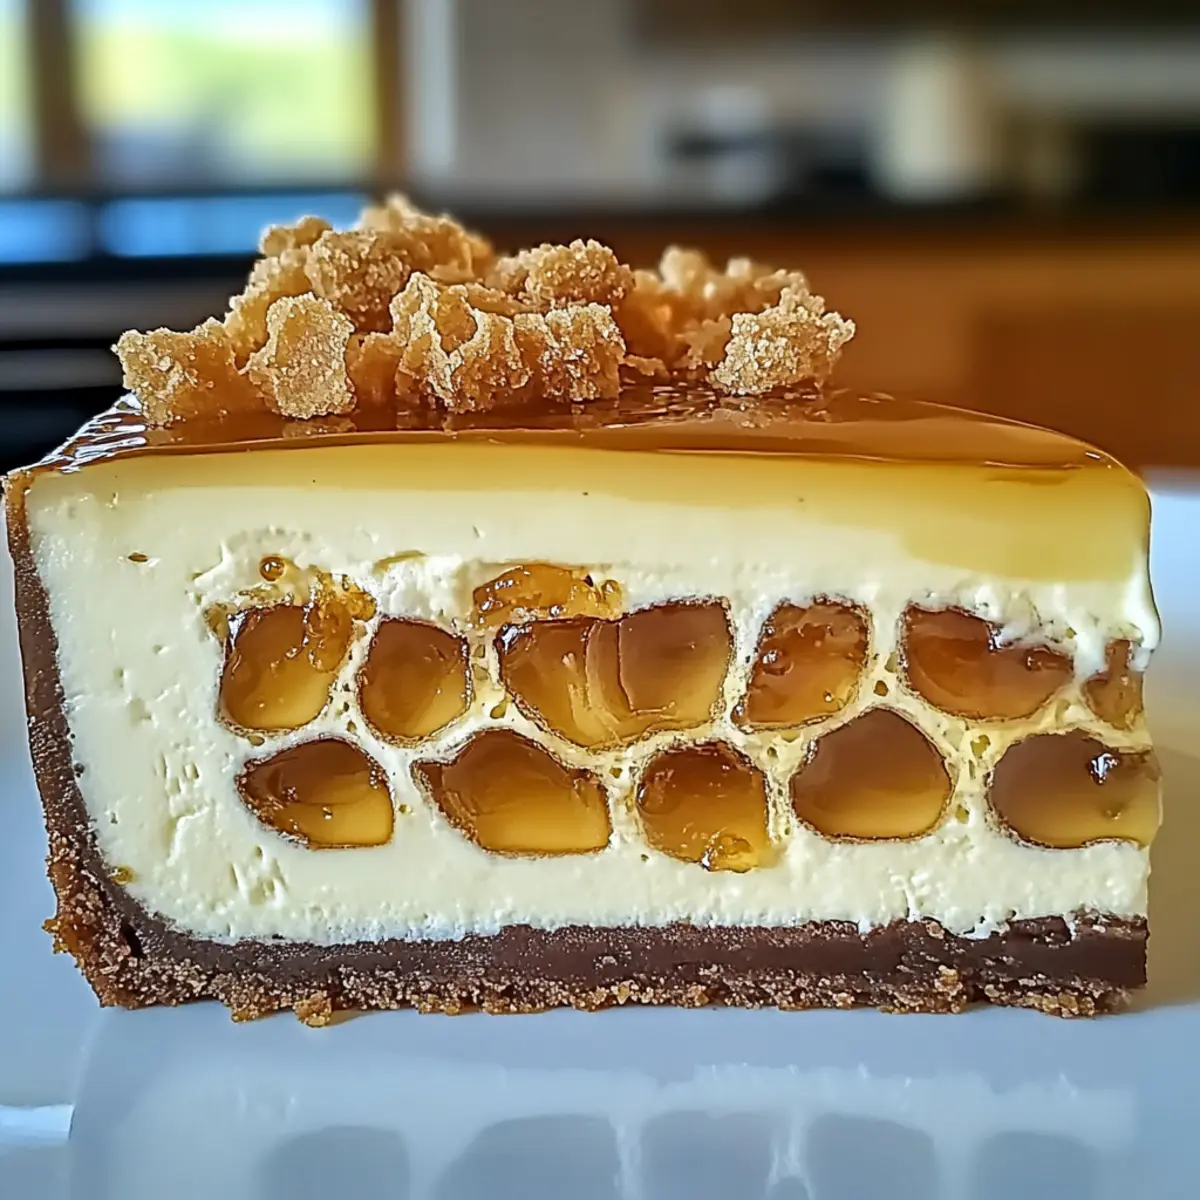
Visual Showstopper: With its gorgeous layers and crunchy topping, it’s a dessert that impresses guests and sparks conversations.
Versatile Pairings: Serve with fresh berries or a mint yogurt dip for added freshness, creating a delightful contrast with the rich cheesecake.
Quick Prep Time: In as little as 15 minutes of hands-on time, you can prepare a dessert that looks like it took hours to create.
Perfect for Any Occasion: Whether it’s a holiday gathering or a casual dinner, this honeycomb cheesecake will add a touch of elegance to your table. Looking for more versatility? Check out my Sugar Cookie Cheesecake for another fantastic dessert that’s sure to impress.
Honeycomb Cheesecake Ingredients
• Get ready to create a showstopper!
For the Crust
- Graham Cracker Crumbs – Provides structure and buttery flavor for the crust; try substituting with Hobnob cookies for a twist.
- Melted Butter – Binds the crust ingredients together and adds richness; use more if the mixture is too crumbly.
- Sugar – Sweetens the crust; brown sugar can enhance the flavor profile beautifully.
For the Filling
- Cream Cheese – Forms the creamy base; ensure it’s soft to avoid lumps.
- Mascarpone – Adds extra creaminess and richness; can be replaced with additional cream cheese or Greek yogurt.
- Powdered Sugar – Sweetens the filling for a noticeably smooth texture.
- Vanilla Extract – Enhances the overall flavor; prioritize pure vanilla extract for the best taste.
- Whipping Cream – Adds lightness to the filling; whip until soft peaks form.
- Gelatin – Provides necessary firmness; agar-agar is a great vegetarian alternative.
Toppings
- Honey – Sweetens and adds a lovely glossy finish; choosing floral honey provides an intricate flavor.
- Honeycomb – Gives the cheesecake its unique crunch; feel free to use store-bought or homemade pieces.
- White Chocolate – Used for drizzling decoration, adding a sweet chocolate element to the presentation.
Now that you have the ingredients lined up, you’re ready to embark on making this delightful honeycomb cheesecake!
Step‑by‑Step Instructions for Honeycomb Cheesecake
Step 1: Prepare the Crust
Combine the graham cracker crumbs, melted butter, and sugar in a mixing bowl until the mixture resembles wet sand. Press this crumb mixture firmly into the bottom of a 9-inch springform pan, ensuring an even layer. Chill the crust in the refrigerator for about 30 minutes, allowing it to set properly before adding the creamy filling.
Step 2: Make the Filling
In a large mixing bowl, beat the softened cream cheese, mascarpone, powdered sugar, and vanilla extract with an electric mixer until the mixture is smooth and creamy, typically 3-4 minutes. It’s essential that the cream cheese is at room temperature for a lump-free filling. Set this creamy mixture aside while you prepare the whipped cream.
Step 3: Whip Cream
In a separate chilled bowl, use a hand mixer to whip the heavy cream until soft peaks form, which should take roughly 2-3 minutes. Be careful not to over-whip; the cream should be airy and light. Gently fold the whipped cream into the cream cheese mixture using a spatula, taking care to maintain its fluffy texture as you combine them.
Step 4: Incorporate Gelatin
Dissolve the gelatin according to package instructions by sprinkling it into cold water. Heat the mixture gently until the gelatin melts completely, around 1-2 minutes in the microwave. Allow it to cool slightly, then carefully mix it into the cream cheese filling, ensuring it’s evenly distributed without affecting the creamy texture.
Step 5: Combine Ingredients
Add the crushed honeycomb pieces into the lumpless cream cheese mixture, gently folding them in to avoid breaking them too much. Pour this delightful honeycomb cheesecake filling over the chilled crust, spreading it evenly to achieve a beautiful top. Tap the pan gently on the counter to release any air bubbles.
Step 6: Decorate
After the cheesecake has set in the refrigerator for at least 4 hours, melt the white chocolate in the microwave or using a double boiler until smooth. Drizzle the melted chocolate and some honey over the top of the cheesecake, then sprinkle additional honeycomb pieces for that crunchy, sweet finish.
Step 7: Chill Again
Cover the cheesecake with plastic wrap and let it chill in the refrigerator for a minimum of 2 hours before serving. This extra chilling time is crucial, as it ensures the filling sets up nicely, making it easier to slice and serve, resulting in the perfect honeycomb cheesecake texture.
Step 8: Serve
When ready to serve, run a warm knife around the edges of the springform pan to release the cheesecake. Slice the cheesecake into neat pieces and serve chilled, adding optional toppings like more honey or whipped cream for additional indulgence, ensuring each bite is a true delight.
How to Store and Freeze Honeycomb Cheesecake
Fridge: Keep your honeycomb cheesecake in an airtight container in the refrigerator for up to 5 days to maintain its freshness and creamy texture.
Freezer: For longer storage, wrap individual slices tightly in plastic wrap and foil, then place them in a freezer-safe bag. It can last for up to 3 months.
Thawing: To enjoy your frozen honeycomb cheesecake, simply transfer it to the fridge and let it thaw overnight. This keeps it perfectly smooth and ready to serve.
Reheating: While cheesecake typically isn’t reheated, if you find it too firm after freezing, let it sit at room temperature for about 30 minutes before serving.
Honeycomb Cheesecake Variations & Substitutions
Feel free to explore new flavors and textures—each variation will bring a unique twist to the delightful honeycomb cheesecake!
- Dairy-Free: Substitute cream cheese and mascarpone with coconut cream and a dairy-free cream cheese alternative to keep it creamy while being dairy-free.
- Fruit-Infused: Add pureed fruit (like strawberries or mango) to the filling for a refreshing fruity twist that balances the richness. It’s a wonderful way to add a pop of color and flavor!
- Nutty Crunch: Replace honeycomb with crushed nuts, such as almonds or hazelnuts, for added crunch and a comforting earthiness. This swap offers a deliciously different texture.
- Chocolate Delight: Mix cocoa powder into the filling for a chocolatey version, or swirl in melted chocolate before pouring it over the crust for an indulgent twist. Everyone loves a chocolate finish!
- Spiced Variation: Incorporate spices like cinnamon or nutmeg into the crust and filling for a warm, comforting flavor profile that’s perfect for cozy gatherings. Spice doesn’t have to be scary!
- Zesty Lift: Add lemon or orange zest to the filling for a burst of citrusy brightness that complements the creamy texture beautifully. A lively addition that will keep you reaching for more!
- No Sugar: Use sugar alternatives like stevia or erythritol in the filling and crust for a low-sugar version without sacrificing flavor. Your health-conscious friends will thank you for this thoughtful adjustment!
Looking for more ideas to elevate your dessert game? Check out my impressive Blueberry Cheesecake Cookie or the delightful Sugar Cookie Cheesecake for taste inspirations! Each option will guide you into delicious territory that leaves your guests asking for seconds.
Make Ahead Options
These No-Bake Honeycomb Cheesecakes are a fantastic option for meal prep, perfect for those busy weeknights! You can prepare the crust and filling up to 24 hours in advance; simply store the components separately in the refrigerator to maintain their quality. For the best results, ensure that the whipped cream is freshly whipped just before folding it into the filling. Once you’re ready to enjoy your cheesecake, just pour the filling over the crust, let it set in the fridge for at least 4 hours, and decorate with chocolate and honeycomb before serving. This way, you’ll have a gorgeous and delicious dessert ready with minimal effort!
Expert Tips for Honeycomb Cheesecake
-
Room Temperature Ingredients: Ensure cream cheese and mascarpone are at room temperature to avoid lumps in your honeycomb cheesecake filling.
-
Pressing the Crust: Press the crust mixture firmly to create stability; this helps maintain shape when slicing.
-
Chill Time: Allow the cheesecake to chill sufficiently, ideally overnight, for the best texture and flavor development.
-
Cutting Slices: Use a warm, sharp knife to cut clean slices; this prevents mess and ensures a stunning presentation.
-
Flavor Adjustments: Don’t hesitate to modify flavors; experimenting with different extracts or mix-ins can elevate your honeycomb cheesecake to new heights!
What to Serve with No-Bake Crispy & Creamy Honeycomb Cheesecake
Enhance your dessert experience by pairing this luscious cheesecake with delightful sides that complement its rich flavors and textures.
-
Fresh Berries: Juicy blueberries or tart raspberries add a refreshing contrast, balancing the creamy sweetness of the cheesecake perfectly. They bring not only color but a burst of flavor with each bite, enhancing your overall dessert experience.
-
Mint Yogurt Dip: This light and refreshing dip offers a cool contrast that cuts through the cheesecake’s richness, adding a delightful twist. The mint invigorates the palate, making every bite feel like a celebration.
-
Chilled Herbal Tea: A lightly brewed herbal tea, such as chamomile or mint, creates a serene complement to the sweet cheesecake, ensuring a calming end to your meal. Its gentle flavors won’t overshadow the dessert, allowing the honeycomb cheesecake to shine.
-
Caramel Sauce: A drizzle of warm caramel sauce over each slice adds a luscious dimension of sweetness that beautifully marries with the cheesecake’s honey notes. Each bite becomes a rich indulgence, drawing everyone back for more.
-
Almond Biscotti: Crunchy and slightly sweet, these biscotti provide a satisfying texture contrast alongside your cheesecake. They also encourage that delightful dip-pairing experience, enriching your dessert’s flavor profile.
-
Vanilla Ice Cream: A scoop of creamy vanilla ice cream adds cold richness that perfectly complements the honeycomb cheesecake. The melting ice cream creates a heavenly mix, enriching your taste sensations with a silky mouthfeel.
Elevate your gathering with these exquisite pairings that promise to enhance your homemade no-bake honeycomb cheesecake experience!
Honeycomb Cheesecake Recipe FAQs
How should I select the best ingredients for my honeycomb cheesecake?
Absolutely! When choosing your ingredients, opt for cream cheese and mascarpone that are fresh and at room temperature. This ensures a smooth filling without lumps. For the honeycomb, whether using store-bought or homemade, look for pieces that are crunchy and not overly sticky. Additionally, check your whipped cream for freshness; it should be kept refrigerated until ready to use.
What is the best way to store honeycomb cheesecake?
Very! To keep your honeycomb cheesecake fresh, store it in an airtight container in the refrigerator for up to 5 days. This preserves its creamy texture and flavor. Make sure to cover it with plastic wrap if you’re not using a container, as this prevents it from absorbing other odors in the fridge.
Can I freeze my honeycomb cheesecake?
The more the merrier! For long-term storage, wrap individual slices tightly in plastic wrap and then in aluminum foil. Place these wrapped slices in a freezer-safe bag. Your cheesecake can be frozen for up to 3 months. Just ensure you give it enough time to thaw in the refrigerator overnight before serving, as this helps retain its texture.
How can I troubleshoot common issues when making honeycomb cheesecake?
If you encounter lumps in your filling, it’s most likely due to the cream cheese not being at room temperature. Make sure to allow it to soften before mixing. If your cheesecake doesn’t set, ensure the gelatin is properly dissolved and incorporated into the mixture. Additionally, be patient—allow it to chill adequately, preferably overnight, for the best results.
Can I modify this honeycomb cheesecake for dietary restrictions?
Absolutely! You can easily make this cheesecake gluten-free by using gluten-free graham cracker crumbs. For a vegetarian option, substitute gelatin with agar-agar. If you have allergies, consider using dairy-free cream cheese and whipped cream alternatives, as well as honey substitutes like agave syrup. Just make sure these alternatives are suitable for your specific dietary needs!
Luscious Honeycomb Cheesecake: No-Bake Bliss Awaits You
Ingredients
Equipment
Method
- Combine the graham cracker crumbs, melted butter, and sugar in a mixing bowl until the mixture resembles wet sand. Press this crumb mixture into the bottom of a 9-inch springform pan. Chill the crust for 30 minutes.
- In a large mixing bowl, beat the softened cream cheese, mascarpone, powdered sugar, and vanilla extract until smooth and creamy, 3-4 minutes. Set aside.
- In a separate bowl, whip the heavy cream until soft peaks form, roughly 2-3 minutes. Gently fold the whipped cream into the cream cheese mixture.
- Dissolve the gelatin in cold water and heat gently until melted. Mix it into the cream cheese filling without affecting its texture.
- Add the crushed honeycomb pieces into the filling, gently folding them in. Pour the filling over the chilled crust and spread evenly.
- Chill the cheesecake in the refrigerator for at least 4 hours. Melt the white chocolate and drizzle over the top, along with honey and extra honeycomb pieces.
- Cover the cheesecake and let it chill for another 2 hours before serving.
- Run a warm knife around the edges of the pan to release the cheesecake. Slice and serve with optional toppings like more honey or whipped cream.
Leave a Reply