
As I stood in my kitchen, the tantalizing scent of ginger and shallots filled the air, instantly transporting me to my favorite Asian eatery. Today, I’m thrilled to share my recipe for Crispy Shrimp Balls—an appetizer that’s sure to make your taste buds dance. These little gems are not just a crowd-pleaser; they offer the perfect balance of crispy panko crust on the outside and a tender shrimp-filled center on the inside. Plus, they’re incredibly adaptable—serve them with your choice of dipping sauces or pair them with a fresh salad. Whether you’re prepping for a cozy family dinner or a lively game day gathering, these delightful bites are a must-try. What dipping sauce will you choose to complement this irresistible snack?
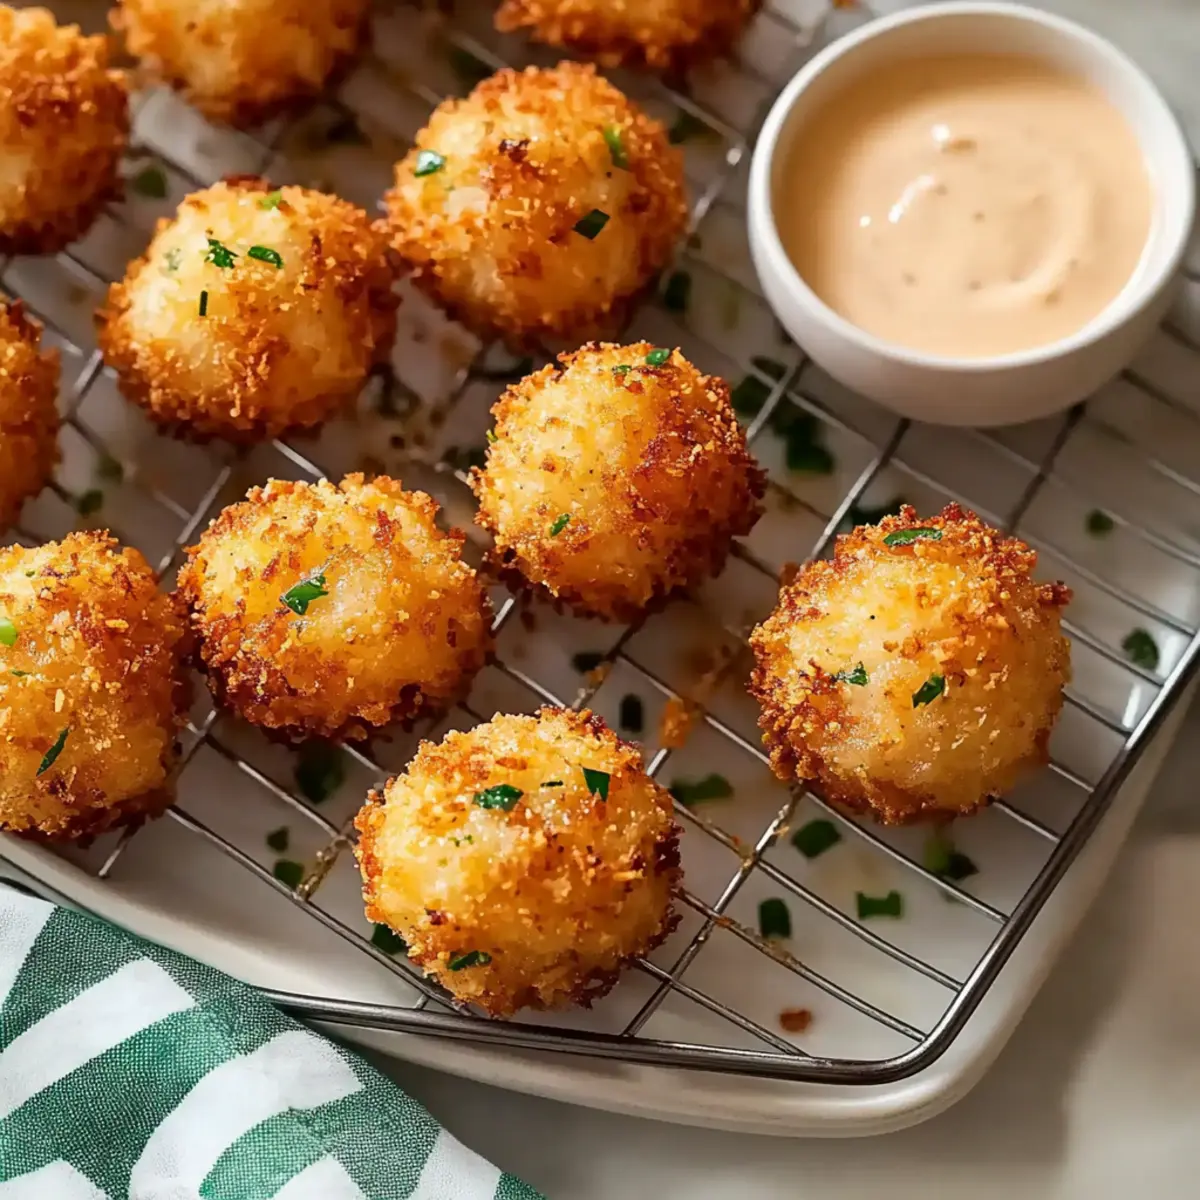
Why Are Crispy Shrimp Balls a Must-Try?
Unmatched Flavor: These crispy shrimp balls marry fresh herbs and shrimp in a way that bursts with flavor, making every bite a delightful experience.
Crowd-Pleasing Appeal: They’re not just tasty; these heavenly bites are perfect for gatherings, bringing everyone together over a shared love for home-cooked goodness.
Versatile Pairings: Serve them alone or alongside dips like sweet chili sauce or a tangy soy sauce. Try them as part of a meal over jasmine rice for a delightful twist!
Quick and Easy: With minimal prep and cooking time, you’ll have these scrumptious shrimp balls ready to impress in no time.
Flexibility: Adjust the recipe to be gluten-free by swapping in crushed rice crackers instead of panko. Your friends and family will never know the difference!
Whether you’re in the mood for something comforting or adventurous, these shrimp balls will undoubtedly elevate your meal, just like my favorite Crispy Bacon Mozzarella Poppers with Glaze do.
Crispy Shrimp Balls Ingredients
For the Shrimp Mixture
• Shrimp – Raw shrimp are essential for processing into a paste, ensuring optimal texture; fresh or fully thawed frozen shrimp can be used.
• Egg White – Acts as a binder to hold the shrimp mixture together.
• White Wine – Adds depth of flavor; substitute with broth if needed.
• Shallot – Provides aromatic flavor; can be replaced with onion if unavailable.
• Green Onions – Adds freshness; can use chives as a substitute.
• Parsley – Enhances flavor and color; swap with cilantro for a different taste.
• Cornstarch – Essential for crispy texture; can be substituted with potato starch.
• Ginger – Offers warmth and spice; fresh or powdered can be used.
• Sesame Oil – Contributes rich flavor; omit if allergic or unavailable.
For the Coating
• Panko Breadcrumbs – Coating that adds crunch; other breadcrumbs can substitute but may yield different textures.
• Canola Oil – Used for frying; opt for vegetable oil as an alternative.
For the Dipping Sauce
• Ketchup – Base for the dipping sauce; can replace with chili sauce for a spicier profile.
• Mayonnaise – Adds creaminess to the sauce; Greek yogurt can substitute for a lighter option.
• Yogurt – Provides tanginess; can use sour cream if preferred.
• Sriracha – Adds heat to the sauce; adjust to taste or omit for mild flavor.
With these ingredients, your Crispy Shrimp Balls will reach new heights, perfect for delighting your guests at any gathering!
Step‑by‑Step Instructions for Crispy Shrimp Balls
Step 1: Prepare Shrimp Mixture
Begin by mincing the raw shrimp in a food processor until they are finely chopped but not pureed. This should take about 30 seconds. Transfer the shrimp to a mixing bowl, and ensure you have your other ingredients ready to combine—egg white, white wine, minced shallot, chopped green onions, parsley, cornstarch, ginger, and sesame oil.
Step 2: Combine Ingredients
In the mixing bowl with the shrimp, mix together all the prepared ingredients until they form a cohesive and sticky mixture. This blending should take about 2-3 minutes of vigorous stirring. Once combined, it’s important to let the mixture sit for 15 minutes in the refrigerator to allow flavors to meld and to prevent the balls from falling apart during frying.
Step 3: Form Balls
After chilling, use wet hands to scoop portions of the shrimp mixture and shape them into balls about the size of walnuts, approximately 12 in total. Ensure they are tightly packed so they hold together while cooking. Set the formed shrimp balls on a plate as you finish shaping the rest of the mixture.
Step 4: Coat in Panko
Spread panko breadcrumbs out on a clean plate or shallow dish. Gently roll each shrimp ball in the panko, pressing lightly to ensure the breadcrumbs stick well. Once coated, let the shrimp balls rest for 5 minutes before frying, allowing the coating to adhere better, which is key for achieving those crispy shrimp balls you desire.
Step 5: Make Dipping Sauce
While the shrimp balls are resting, whisk together the dipping sauce ingredients in a small bowl. Combine ketchup, mayonnaise, yogurt, minced parsley, and Sriracha for a tangy and spicy dip. Adjust the Sriracha to your taste. This refreshing sauce perfectly complements your crispy shrimp balls.
Step 6: Fry
In a deep skillet, heat canola oil to 350°F (175°C). Carefully add the shrimp balls in batches of 3-4 to avoid overcrowding. Fry for 2 to 2.5 minutes or until they turn a golden brown and are crispy on all sides. Use a slotted spoon to gently turn them halfway through cooking for even browning.
Step 7: Drain and Serve
Once the shrimp balls are golden brown and crispy, transfer them to a paper towel-lined plate to drain excess oil. Allow a few moments for them to cool slightly before serving. These delightful crispy shrimp balls are best enjoyed warm with your homemade dipping sauce for a flavorful treat!
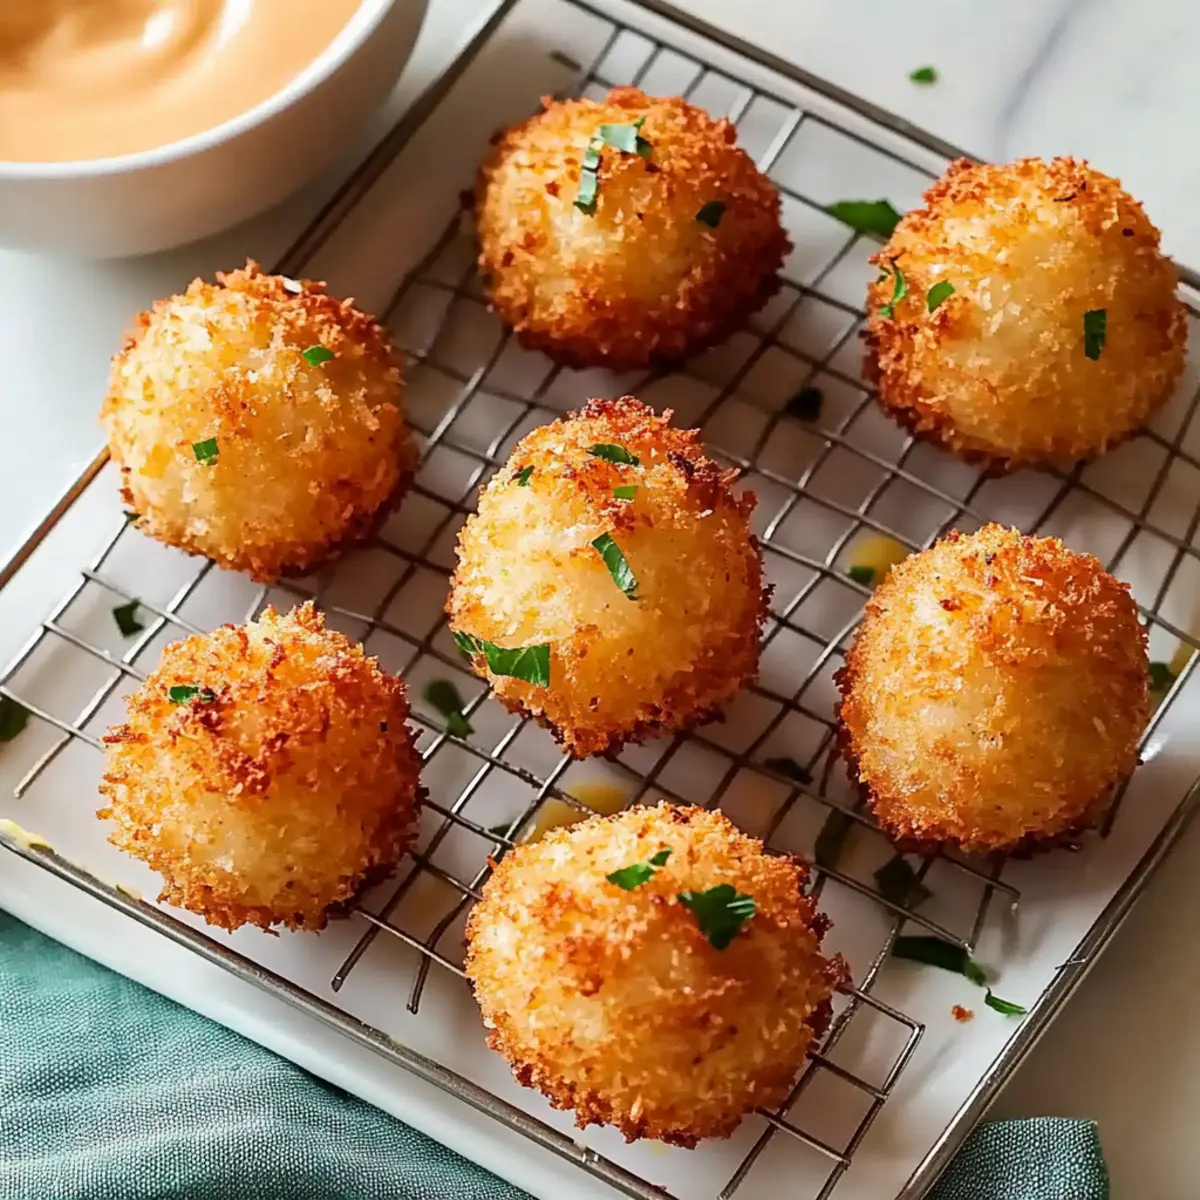
How to Store and Freeze Crispy Shrimp Balls
Fridge: Keep your crispy shrimp balls in an airtight container for up to 3 days. This preserves their flavor and keeps them fresh for snacking.
Freezer: For longer storage, freeze the shrimp balls on a baking sheet in a single layer. Once frozen, transfer them to a freezer bag for up to 2 months. Fry them directly from frozen when you’re ready to enjoy.
Reheating: Reheat leftover crispy shrimp balls in an air fryer or oven at 350°F for about 10-12 minutes until heated through and crisped back up. Avoid microwaving, as they may become soggy.
Serving Suggestions: Consider pairing with various dipping sauces when serving, ensuring you have a delightful array of flavors to enhance your crispy shrimp balls experience.
Expert Tips for Crispy Shrimp Balls
-
Maintain Texture: Avoid over-processing the shrimp. Pulse just enough to achieve a finely chopped consistency without turning it into a paste for perfect crispy shrimp balls.
-
Consistent Frying Temp: Keep the oil temperature stable at 350°F. This ensures the shrimp balls cook through without burning their delicious panko coating.
-
Shape Smart: Chilling the shrimp mixture for at least 15 minutes before shaping helps the balls hold together during frying, preventing any mishaps.
-
Batch Frying: Fry in small batches of 3-4 balls. It keeps the oil hot, leading to even cooking and a crispier finish. Overcrowding leads to sad, soggy shrimp balls.
-
Experiment with Dips: Don’t hesitate to try different dipping sauces. Whether sweet, spicy, or tangy, the right dip can elevate your crispy shrimp balls to new heights.
Crispy Shrimp Balls Variations & Substitutions
Feel free to give these crispy shrimp balls your personal touch and transform them into your perfect creation!
- Seafood Swap: Substitute shrimp with crab or cooked fish for a different seafood twist that delights the palate.
- Gluten-Free: Use crushed rice crackers instead of panko to satisfy gluten-free friends without sacrificing crunch.
- Spice it Up: Add minced jalapeños or chili flakes for an extra kick that elevates flavor! A little heat goes a long way.
- Herb Infusion: Swap out parsley for cilantro for a fresh, zesty flavor that brightens your shrimp balls even more.
- Asian Twist: Include lemongrass in the shrimp mixture for an aromatic lift that harkens back to your favorite Asian dishes.
- Tangy Sauce Variation: Mix in a bit of honey or Sriracha into your dipping sauce for a sweet and spicy balance that’s simply addictive.
- Vegetable Crunch: Add finely chopped bell peppers or carrots into the shrimp mixture for a delightful texture that adds a nutritious crunch.
- Other Dipping Sauces: Explore flavors by pairing your shrimp balls with sauce variations such as sweet chili sauce or even a creamy Chili Tofu Balls dip for a change of pace!
Your culinary journey begins with these simple tweaks—impress your family and friends with your creativity while enjoying these irresistible bites!
Make Ahead Options
These Crispy Shrimp Balls are an excellent choice for meal prep, saving you valuable time during busy weeknights! You can prepare the shrimp mixture up to 24 hours in advance by combining the minced shrimp, egg white, and seasonings, then refrigerating it until you’re ready to form the balls. To maintain their quality, ensure they stay covered to prevent drying out. You can also shape the shrimp balls and coat them in panko up to 3 days ahead; just keep them in an airtight container in the fridge. When you’re ready to serve, simply fry them straight from the refrigerator for that comforting, crispy crunch—delightful and hassle-free!
What to Serve with Crispy Shrimp Balls?
Elevate your meal experience by complementing these delightful bites with fresh, vibrant sides and drinks that enhance their flavors.
-
Crisp Green Salad: A simple mix of arugula, cherry tomatoes, and a zesty vinaigrette balances the richness of the shrimp balls beautifully. The freshness cuts through the savory bites, making each mouthful feel light and refreshing.
-
Jasmine Rice: Fluffy jasmine rice acts as a perfect base, absorbing any dipping sauce that might spill over. It adds a comforting element, making for a satisfying meal that feels complete.
-
Sweet Chili Sauce: This popular dipping option is a wonderful contrast to the savory shrimp balls, bringing a hint of sweetness that complements their crispy texture. The perfect pairing for those who enjoy a taste of sweet and spicy!
-
Stir-Fried Vegetables: A colorful mix of bell peppers, snap peas, and carrots sautéed in sesame oil brings crunch and vibrancy to your plate, ensuring every bite is an adventure in flavor.
-
Spicy Asian Slaw: Cabbage, carrots, and green onions tossed in a light soy dressing add a crunchy texture that harmonizes beautifully with the shrimp balls. This fresh slaw also offers a spicy kick, keeping your palate excited.
-
Mango Salsa: The sweetness of ripe mango paired with a squeeze of lime adds a tropical twist to the meal. This refreshing salsa can be served on the side or as a topping for the shrimp balls themselves.
-
Ginger Beer: For a drink, consider pairing these savory morsels with a crisp ginger beer. Its effervescence and hint of spice carry the delightful flavors of the shrimp balls.
-
Coconut Sorbet: End your meal on a blissful note with coconut sorbet. This creamy treat will cool your palate while offering a light finish after enjoying the crispy shrimp balls.
Whichever pairings you choose, these dishes alongside your crispy shrimp balls will create a memorable dining experience!
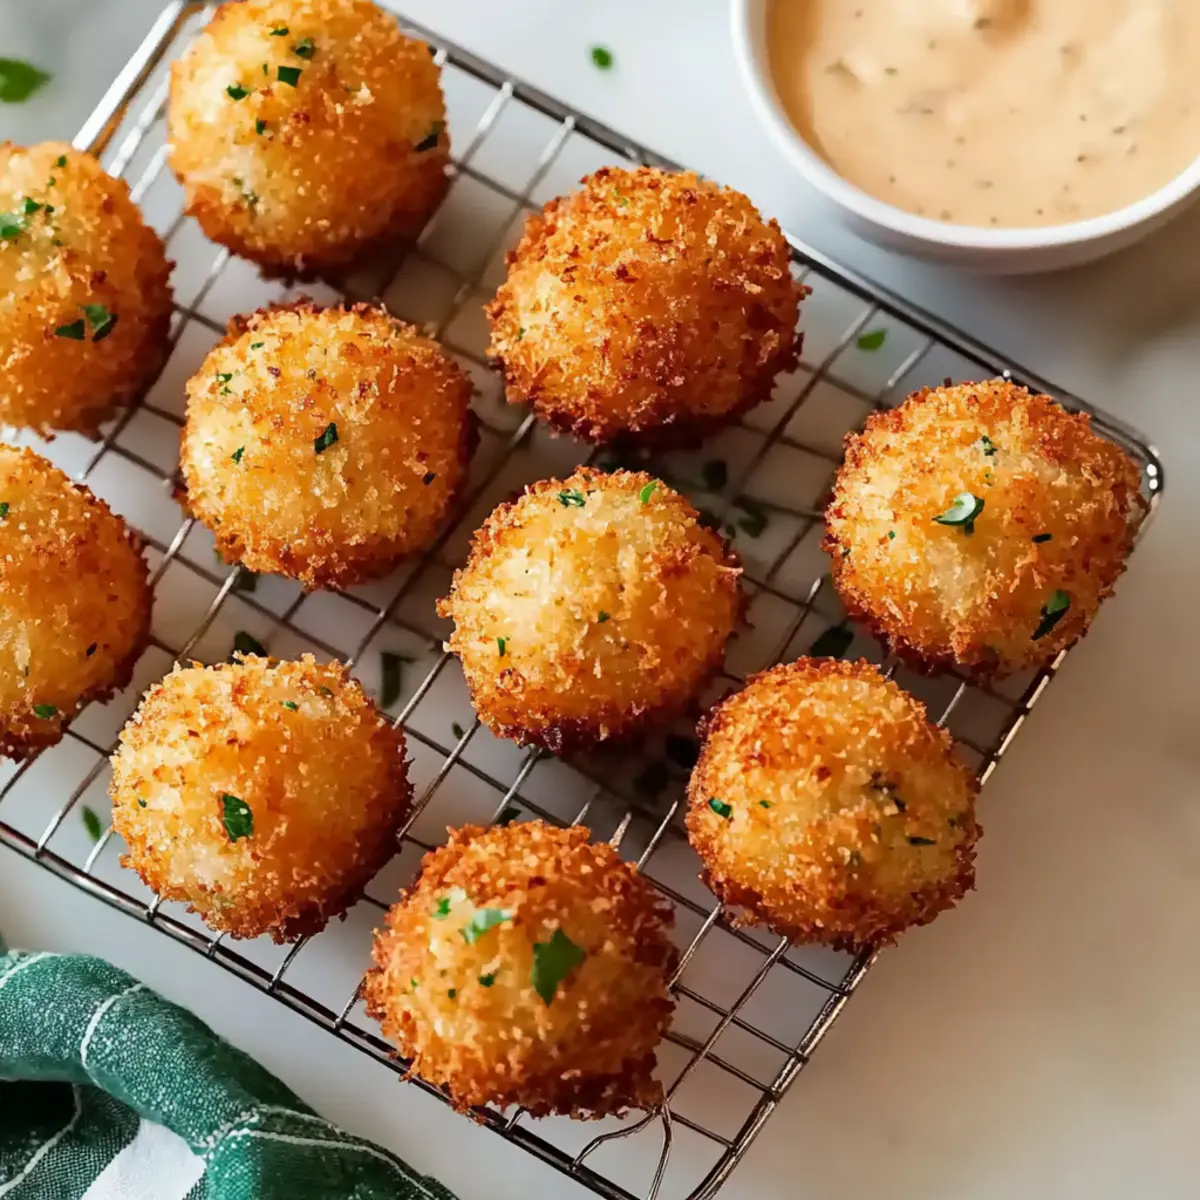
Crispy Shrimp Balls Recipe FAQs
What type of shrimp should I use for crispy shrimp balls?
Absolutely! Fresh or fully thawed frozen raw shrimp are best for ensuring a tender texture. When selecting shrimp, look for firm, pinkish flesh without any dark spots or strong fishy odor. If using frozen shrimp, be sure they are completely thawed before processing.
How should I store leftover crispy shrimp balls?
Very simply! Keep your crispy shrimp balls in an airtight container in the fridge for up to 3 days. This keeps them fresh and ready for snacking. Just remember, they’re best enjoyed warm!
Can I freeze crispy shrimp balls and how?
Yes, indeed! To freeze, lay the shaped shrimp balls on a baking sheet in a single layer. Freeze them for about 1-2 hours until firm, then transfer to a freezer bag. They can be stored for up to 2 months. When you’re ready to enjoy, simply fry them directly from frozen; just add an extra minute or so to the cooking time.
What should I do if my shrimp balls fall apart during frying?
If they fall apart, don’t worry; it can happen! Ensure that your shrimp mixture is well-chilled for at least 15 minutes before shaping. Also, avoid over-processing the shrimp, as this can lead to a pasty texture that doesn’t hold well. When frying, remember to form them tightly and consider frying in small batches to maintain oil temperature.
Are there any dietary considerations I should keep in mind?
Absolutely! If you have allergies, be cautious with ingredients like shrimp and sesame oil. To make your shrimp balls gluten-free, substitute panko with crushed rice crackers, and feel free to adjust the dipping sauce components if you have any food sensitivities. Always check labels to ensure the ingredients meet your dietary needs.
How long do cooked crispy shrimp balls last in the fridge?
Cooked shrimp balls will last for up to 3 days in the fridge when stored properly in an airtight container. Just make sure to enjoy them while they’re fresh for the best flavor and texture!
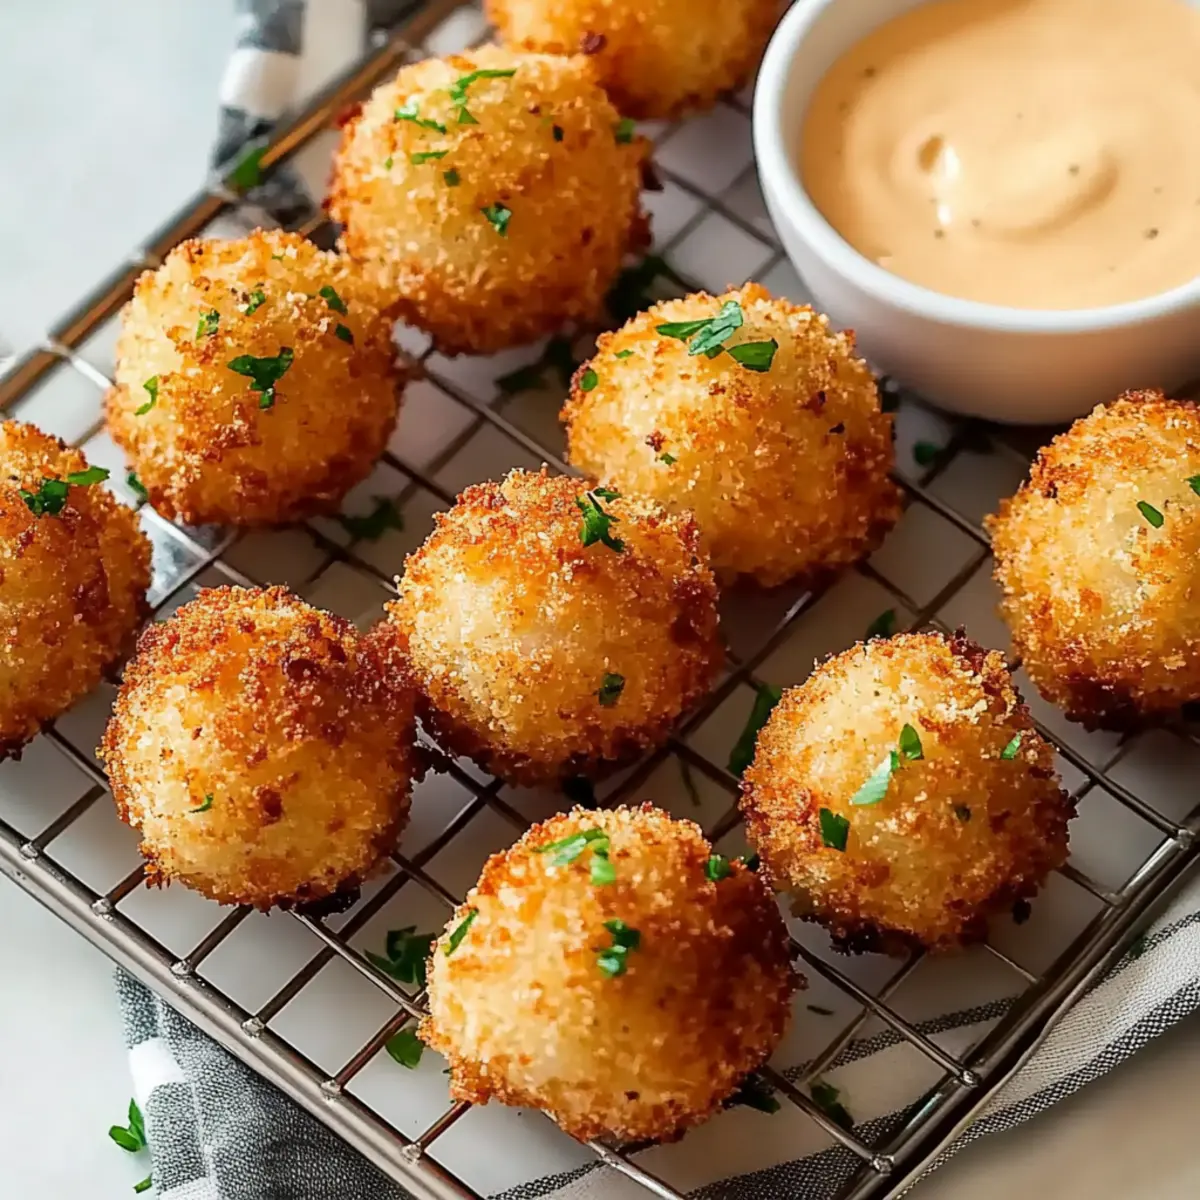
Crispy Shrimp Balls That'll Wow Your Guests Every Time
Ingredients
Equipment
Method
- Begin by mincing the raw shrimp in a food processor until finely chopped but not pureed. Transfer to a mixing bowl.
- In the mixing bowl, mix together the shrimp, egg white, white wine, shallot, green onions, parsley, cornstarch, ginger, and sesame oil until a sticky mixture forms.
- Let the mixture sit for 15 minutes in the refrigerator to allow flavors to meld.
- Shape the mixture into walnut-sized balls, about 12 in total, ensuring they are tightly packed.
- Roll each shrimp ball in the panko breadcrumbs, pressing lightly to adhere. Let rest for 5 minutes.
- Whisk together the dipping sauce ingredients in a bowl and adjust Sriracha to taste.
- Heat canola oil in a deep skillet to 350°F (175°C). Fry the shrimp balls in batches for 2-2.5 minutes until golden brown.
- Transfer fried shrimp balls to a paper towel-lined plate to drain excess oil. Serve warm with dipping sauce.
Leave a Reply