
As I gazed at the first blooms of spring, a cozy nostalgia washed over me, reminding me of the delightful Easter gatherings from my childhood. This year, I want to bring those cherished memories to life with a colorful Easter Trifle Dessert, a dish that combines vibrant pastel cake layers, luscious pudding, and fluffy whipped topping. Not only is this no-bake dessert an instant crowd-pleaser, but it also doubles as a make-ahead treat, allowing you to enjoy more time with loved ones. The beauty of this recipe lies in its simplicity, as it’s crafted mainly from boxed cake mix and instant pudding, ensuring you can whip it up without a fuss. Are you ready to create a showstopper that will make your Easter celebrations even sweeter? Let’s dive into this deliciously fun treat!
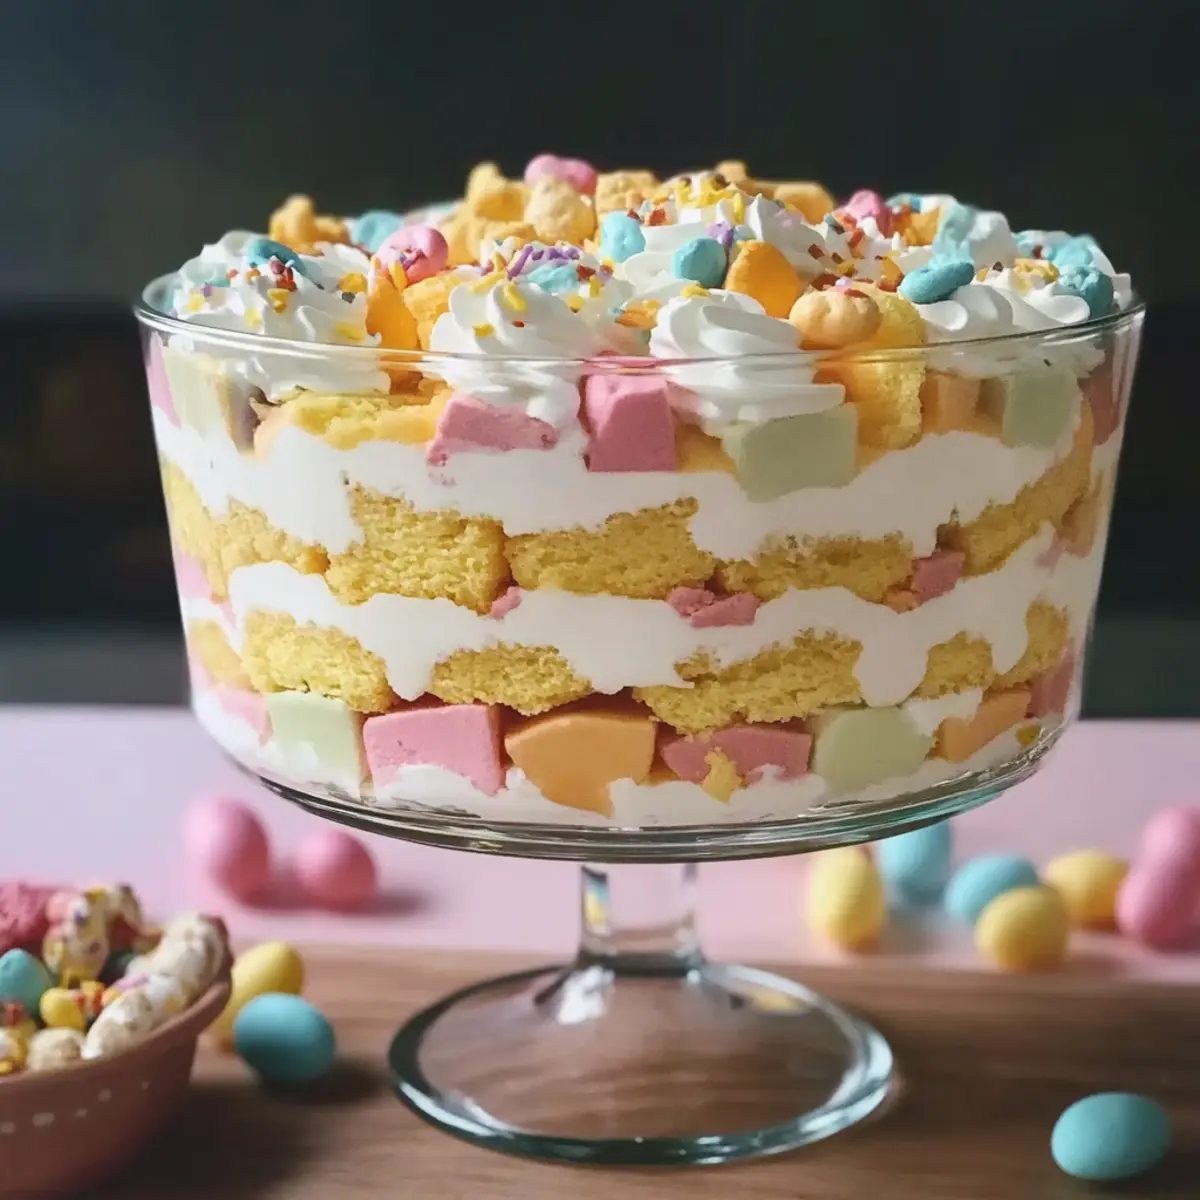
Why is this Easter Trifle Dessert special?
Ease of Preparation: This no-bake recipe is a breeze, making it perfect for busy hosts who want to impress without the stress.
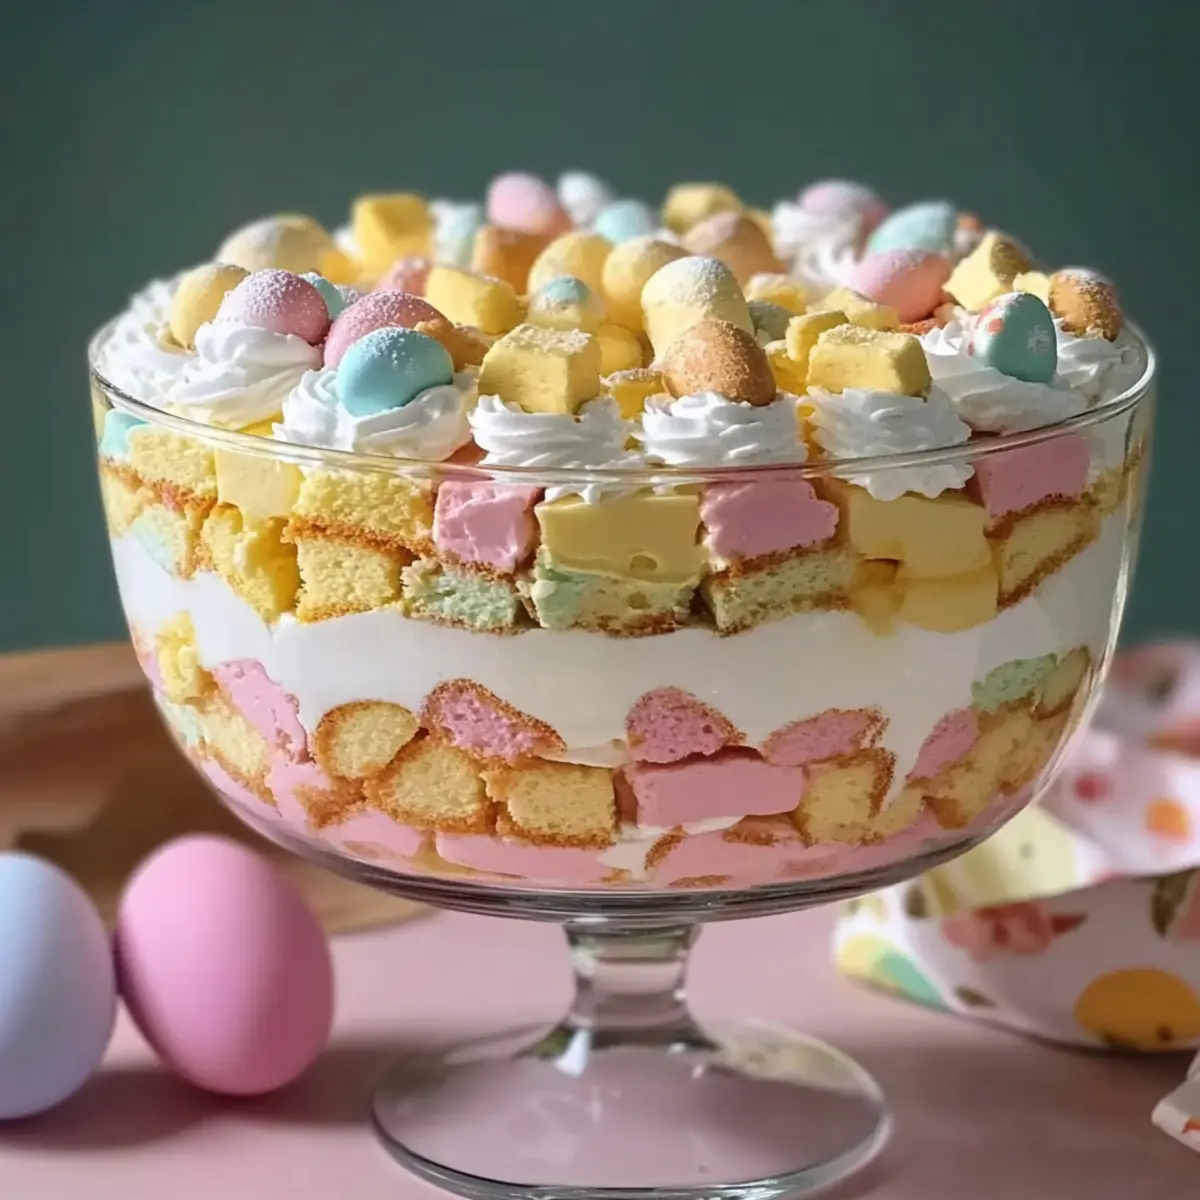
Visually Stunning: With vibrant pastel layers, it brings a burst of color to your table, elevating any celebration.
Versatile Customization: Whether you prefer chocolate or want to add fresh berries, the options to personalize are plenty!
Make-Ahead Magic: Ideal for planning ahead, you can assemble it 24 hours in advance for a hassle-free dessert on the big day.
Crowd-Pleasing Flavor: The combination of sweet cake, creamy pudding, and fluffy topping keeps everyone coming back for more.
Elevate your next gathering with this delightful Easter Trifle Dessert!
Easter Trifle Dessert Ingredients
Prepare to create a sweet masterpiece!
For the Cake Layers
- White or Yellow Cake Mix – A sturdy base for your trifle; a white mix gives brighter pastels, while yellow adds warmth.
- Pink, Yellow, Green, Blue Food Coloring – Adds vibrant pastel shades to your layers; gel food coloring works best for rich colors.
For the Pudding
- Instant Vanilla or White Chocolate Pudding Mix (2 boxes) – Provides rich creaminess; try lemon or cheesecake flavor for a delightful twist.
- Cold Milk (4 cups) – Essential for preparing your pudding; whole milk will give you the creamiest texture.
For the Whipped Topping
- Whipped Topping (16 oz, thawed) – Brings lightness and sweetness to your dessert; homemade whipped cream can be used if stabilized with powdered sugar.
For Decoration
- Mini Chocolate Eggs (1 cup) – A fun, decorative element that adds a sweet surprise on top; optional for a playful touch.
- Pastel Sprinkles (2 tbsp) – Perfect for adding color and festivity; optional for an extra sparkle.
- Edible Flowers (optional) – Great for decoration, adding an appealing touch; ensure flowers are safe for consumption.
Gather these ingredients for a delightful Easter Trifle Dessert that will charm your guests and sweeten your celebrations!
Step‑by‑Step Instructions for Easter Trifle Dessert
Step 1: Preheat and Prepare Cake Mix
Begin by preheating your oven to 350°F (175°C) and greasing four 9-inch round cake pans. Prepare the cake mix according to the package instructions, combining the mix with eggs, oil, and water. Mix until smooth and well combined. This light batter will be the foundation for your vibrant Easter Trifle Dessert.
Step 2: Divide and Color the Batter
Once the batter is ready, divide it evenly into four bowls. Add a few drops of pink, yellow, green, and blue gel food coloring to each bowl, respectively. Mix each bowl until the colors are vibrant and uniform. This will create bright pastel layers for your trifle, reminiscent of spring’s beauty.
Step 3: Bake the Cake Layers
Pour each colored batter into the prepared pans. If needed, bake in batches to prevent overlapping. Bake for 25-30 minutes, or until a toothpick inserted into the center comes out clean. Allow the cakes to cool in the pans for about 10 minutes, then transfer them to wire racks to cool completely.
Step 4: Prepare the Pudding
While the cake layers are cooling, prepare the pudding by whisking together the two boxes of instant pudding mix with 4 cups of cold milk. Beat for about 2 minutes until the mixture thickens to a creamy consistency. Place the pudding in the refrigerator to chill for at least 10 minutes while you prepare the layers.
Step 5: Loosen the Whipped Topping
Gently loosen the thawed whipped topping in a mixing bowl with a spatula. This step is essential for creating smooth layers in your Easter Trifle Dessert. The fluffiness of the whipped topping will complement the creaminess of the pudding and the pastel cake layers beautifully.
Step 6: Cut the Cake Layers
Once the cakes are completely cool, carefully cut them into cubes. Aim for uniform pieces, about 1-inch in size. These colorful cake cubes will be layered in your trifle dish and are essential for the lovely visual effect that will delight your guests during Easter celebrations.
Step 7: Assemble the Trifle
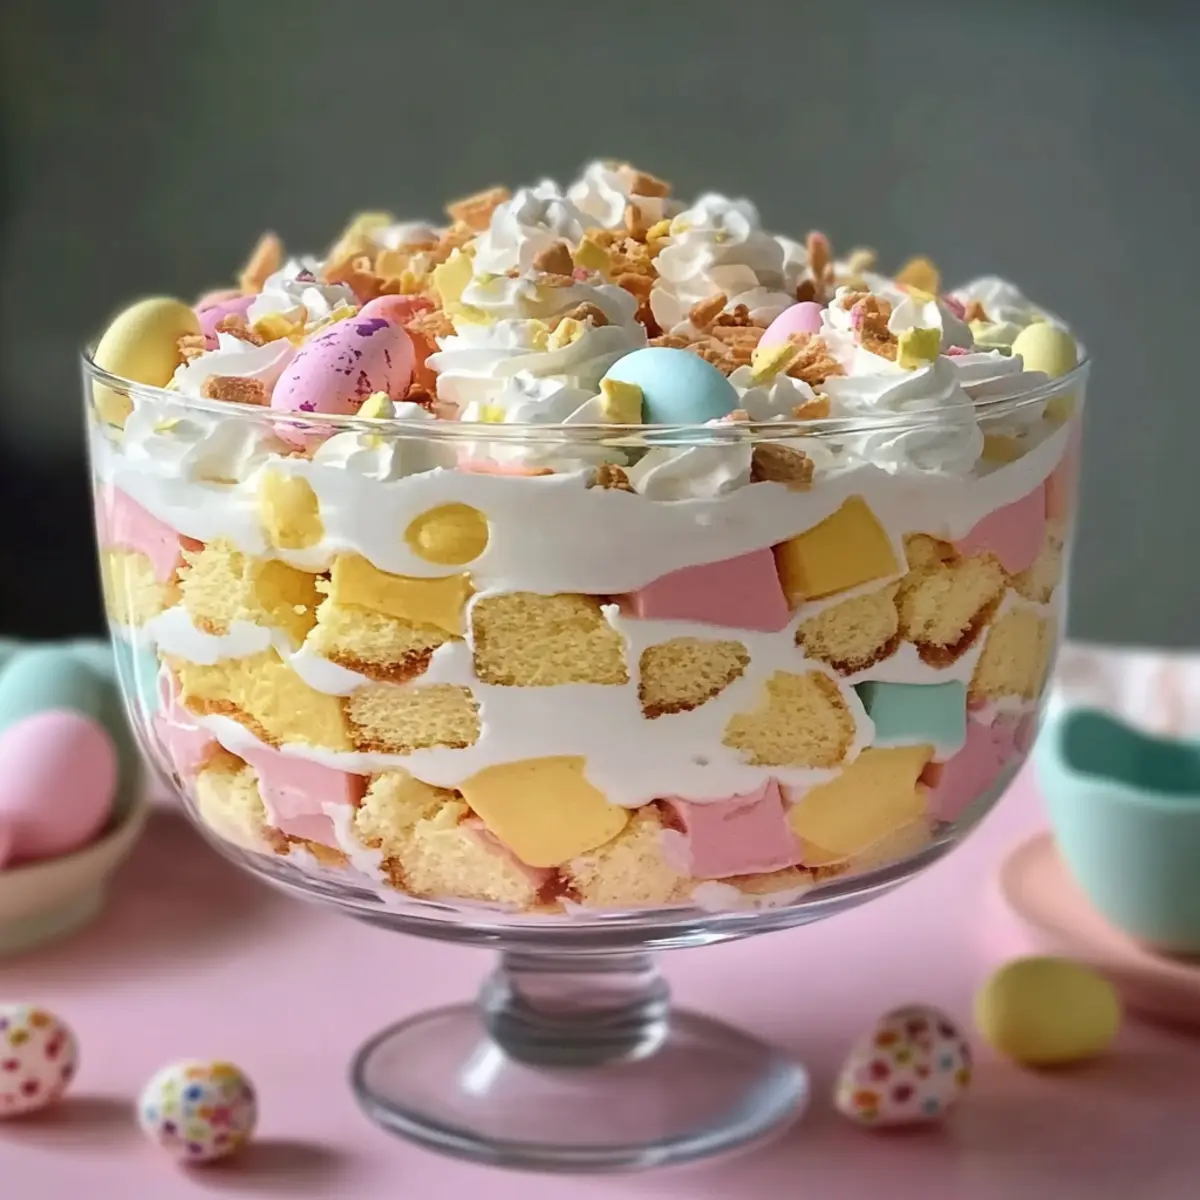
In a large trifle dish, start by placing a layer of cake cubes at the bottom. Follow it with a generous layer of the chilled pudding. Then, spread a layer of the whipped topping. Repeat this process until you run out of cake cubes and pudding, finishing with a layer of whipped topping on top for a beautiful finish.
Step 8: Add the Final Touches
To make your Easter Trifle Dessert truly festive, top it with mini chocolate eggs, a sprinkle of pastel sprinkles, and any edible flowers you desire for decoration. This playful presentation captures the essence of the spring season and adds a whimsical touch to your table.
Step 9: Chill Before Serving
Refrigerate the assembled trifle for at least one hour before serving, allowing the flavors to meld together beautifully. This chilling period ensures the dessert holds its shape and enhances the overall taste, making it a delightful make-ahead treat for your Easter gathering.
Easter Trifle Dessert Variations & Substitutions
Feel free to add your personal touch to this delightful dessert and make it truly yours!
-
Flavor Twist: Substitute the white chocolate pudding with lemon pudding for a zesty kick. The citrus adds brightness, perfect for spring!
-
Berry Layers: Add fresh berries like strawberries or blueberries between the layers for a fruity burst and extra freshness. They complement the sweetness wonderfully!
-
Gluten-Free Option: Use a gluten-free cake mix for a gluten-free Easter Trifle. This way, everyone can indulge in the joy of this celebration dessert.
-
Chocolate Lovers: Replace mini chocolate eggs with crushed chocolate cookies or fudge pieces for a richer flavor. A delightful twist for chocoholics!
-
Dairy-Free Delight: Swap out regular pudding and whipped topping for coconut milk-based options. They provide creaminess with a hint of tropical flavor.
-
Mini Trifles: Create individual mini trifles in small cups for easy serving at gatherings. These petite versions are sure to impress guests.
-
Nutty Crunch: Incorporate a layer of chopped nuts like almonds or pecans for added texture and delicious crunch throughout the dessert.
-
Spiced Surprise: Add a sprinkle of cinnamon or nutmeg to the pudding for an unexpected warm spice note. It feels cozy and festive!
Explore these variations to craft a trifle that reflects your taste and love for homemade treats! If you’re excited about other easy recipes, don’t forget to check out my delicious Easter Basket Cake or the delightful No-Bake Cheesecake for more festive options.
How to Store and Freeze Easter Trifle Dessert
Fridge: Keep the assembled Easter Trifle Dessert covered in the refrigerator for up to 3 days. This allows the flavors to develop and improve.
Freezer: Avoid freezing the trifle, as the pudding and whipped topping can separate when thawed, ruining the texture.
Reheating: This dessert is meant to be served chilled, so there’s no need to reheat it. Just scoop it out from the fridge and enjoy!
Make-Ahead: Assemble your trifle 4-24 hours in advance for optimal flavor and texture, ensuring you add toppings just before serving.
Expert Tips for the Best Easter Trifle Dessert
-
Cool Completely: Ensure the cake layers are completely cool before cutting into cubes to maintain their shape and prevent sogginess.
-
Assemble Wisely: For the best flavor and texture, construct your Easter Trifle Dessert 4-24 hours ahead of time and add the toppings just before serving.
-
Use Gel Colors: Opt for gel food coloring over liquid to achieve vibrant pastel layers that won’t alter the batter’s consistency.
-
Whip it Right: If making homemade whipped cream, stabilize it with powdered sugar to keep it fluffy and prevent separation in your trifle.
-
Avoid Freezing: Steer clear of freezing your trifle; the texture of pudding and whipped topping can separate, impacting the final presentation.
Make Ahead Options
These Easter Trifle Desserts are perfect for busy home cooks who want to save time during spring celebrations! You can prepare the cake layers and pudding mixture up to 24 hours in advance. Simply bake the colored cake layers, allow them to cool completely, and cut them into cubes. Store the cake cubes and pudding in airtight containers in the refrigerator to maintain their freshness. On the day you plan to serve, layer the prepped components together in a trifle dish, add the whipped topping, and finish with your favorite decorations. The flavors will meld beautifully, making your dessert just as delightful as if you made it fresh!
What to Serve with Vibrant Easter Trifle Dessert
Delight in creating a festive meal that perfectly complements this colorful showstopper for your spring celebrations.
- Fresh Berries: A bright, fruity element that adds freshness and balances the sweetness of the trifle; strawberries and blueberries are perfect choices.
- Creamy Vanilla Ice Cream: The cool creaminess of vanilla ice cream enhances the flavors of the trifle and adds a luxurious touch to each bite.
- Lemonade: A refreshing drink that cuts through the richness of the dessert, making your meal feel light and cheerful; opt for homemade for an extra zing.
- Savory Spring Salad: A light and crisp salad with mixed greens, nuts, and citrus dressing brings a delightful contrast; it’s the perfect companion to balance the sweet trifle.
- Mini Quiches: These bite-sized savories introduce a warm, savory touch to the table; consider flavors like spinach and cheese or ham and cheese for a delightful mix.
- Mimosas: Celebrate with bubbly refreshments that add a festive flair to your meal; a lovely blend of orange juice and sparkling wine elevates the experience.
Create an unforgettable Easter gathering with these thoughtful pairings that will have your guests swooning!
Easter Trifle Dessert Recipe FAQs
What kind of cake mix should I use for the Easter Trifle Dessert?
You can use either white or yellow cake mix for this recipe. A white mix results in brighter pastel layers, while a yellow mix gives a warmer tone. Just follow the instructions on the box regarding eggs, oil, and water to prepare the batter.
How long can I store the Easter Trifle Dessert in the fridge?
The trifle can be kept in the refrigerator, covered, for up to 3 days. This resting period actually enhances the flavors, making it even more delightful when served. Just remember to add any toppings right before you serve it to keep everything looking fresh.
Can I freeze the Easter Trifle Dessert?
It’s best to avoid freezing this dessert. Freezing can cause the pudding and whipped topping to separate when thawed, resulting in an unappealing texture. Instead, I recommend preparing it a day or two in advance and keeping it chilled in the fridge!
What if my cake layers crumble during cutting?
Make sure your cake layers are completely cool before cutting them into cubes. This helps them hold their shape better. If they still crumble, try gently pressing the pieces together when layering; it’ll all be delicious regardless!
Can I make a gluten-free version of the Easter Trifle Dessert?
Absolutely! You can substitute a gluten-free cake mix and ensure all other ingredients, like pudding and whipped topping, are also gluten-free. This way, everyone can enjoy the fun without worrying about dietary restrictions!
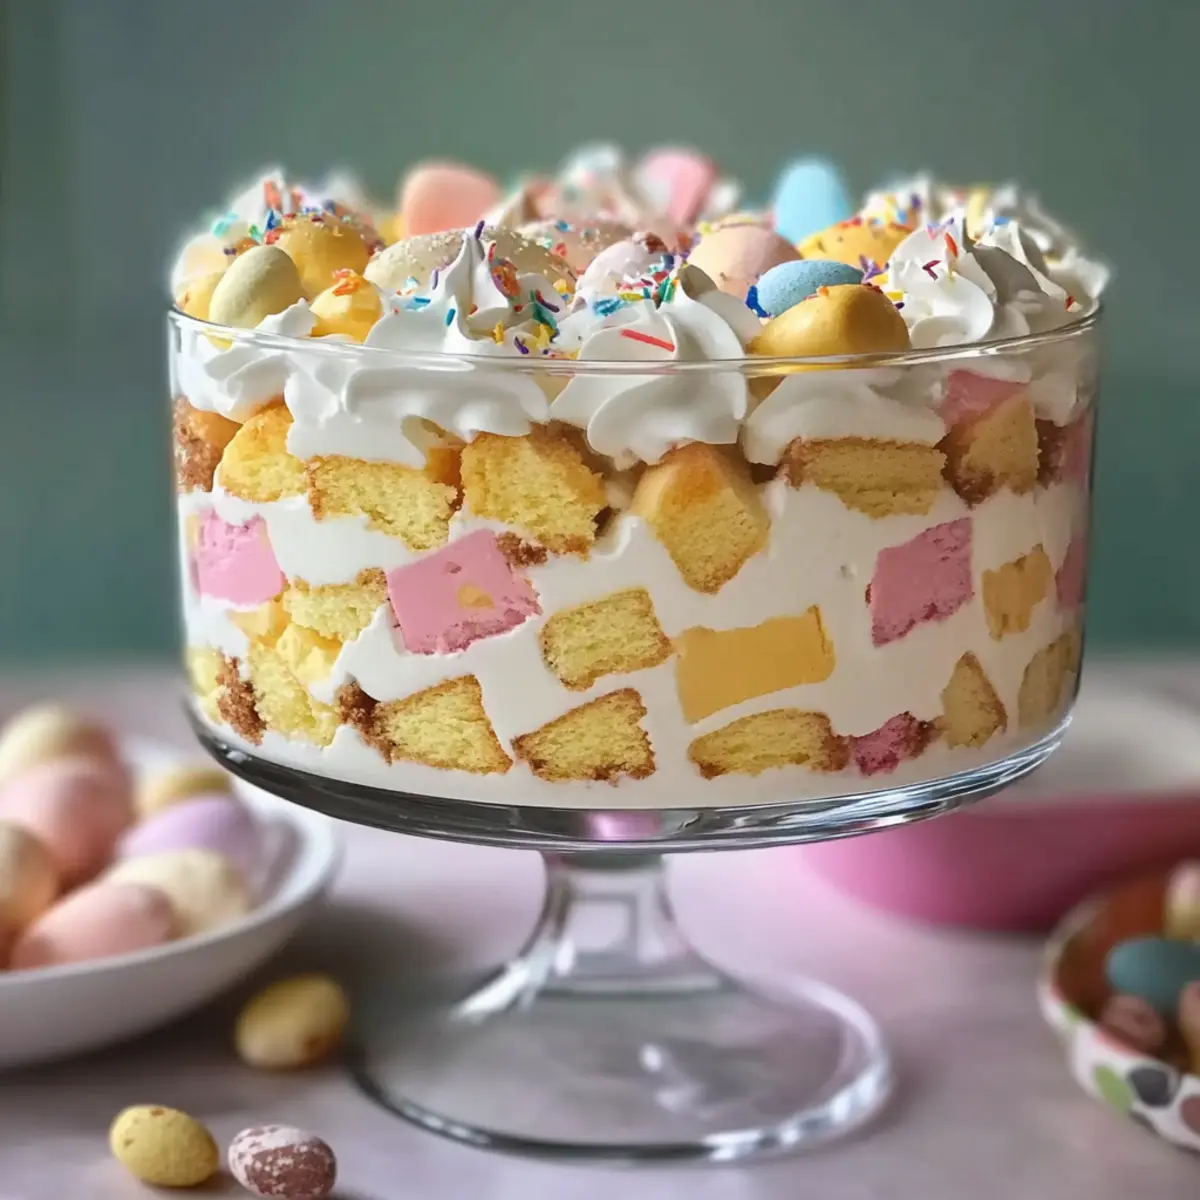
Easter Trifle Dessert: A Colorful No-Bake Delight
Ingredients
Equipment
Method
- Preheat your oven to 350°F (175°C) and grease four 9-inch round cake pans. Prepare the cake mix according to package instructions.
- Divide the batter evenly into four bowls and add food coloring to each bowl. Mix until colors are vibrant.
- Pour each colored batter into the prepared pans and bake for 25-30 minutes until a toothpick comes out clean.
- Cool the cakes in the pans for 10 minutes, then transfer to wire racks to cool completely.
- Prepare the pudding by whisking together the pudding mix and cold milk. Beat until thickened and refrigerate for at least 10 minutes.
- Loosen the thawed whipped topping in a mixing bowl with a spatula.
- Cut the cooled cakes into uniform cubes, about 1-inch in size.
- In a trifle dish, layer the cake cubes, pudding, and whipped topping, repeating until all ingredients are used.
- Top with mini chocolate eggs, sprinkles, and edible flowers before serving.
- Chill the assembled trifle for at least one hour before serving.
Leave a Reply