
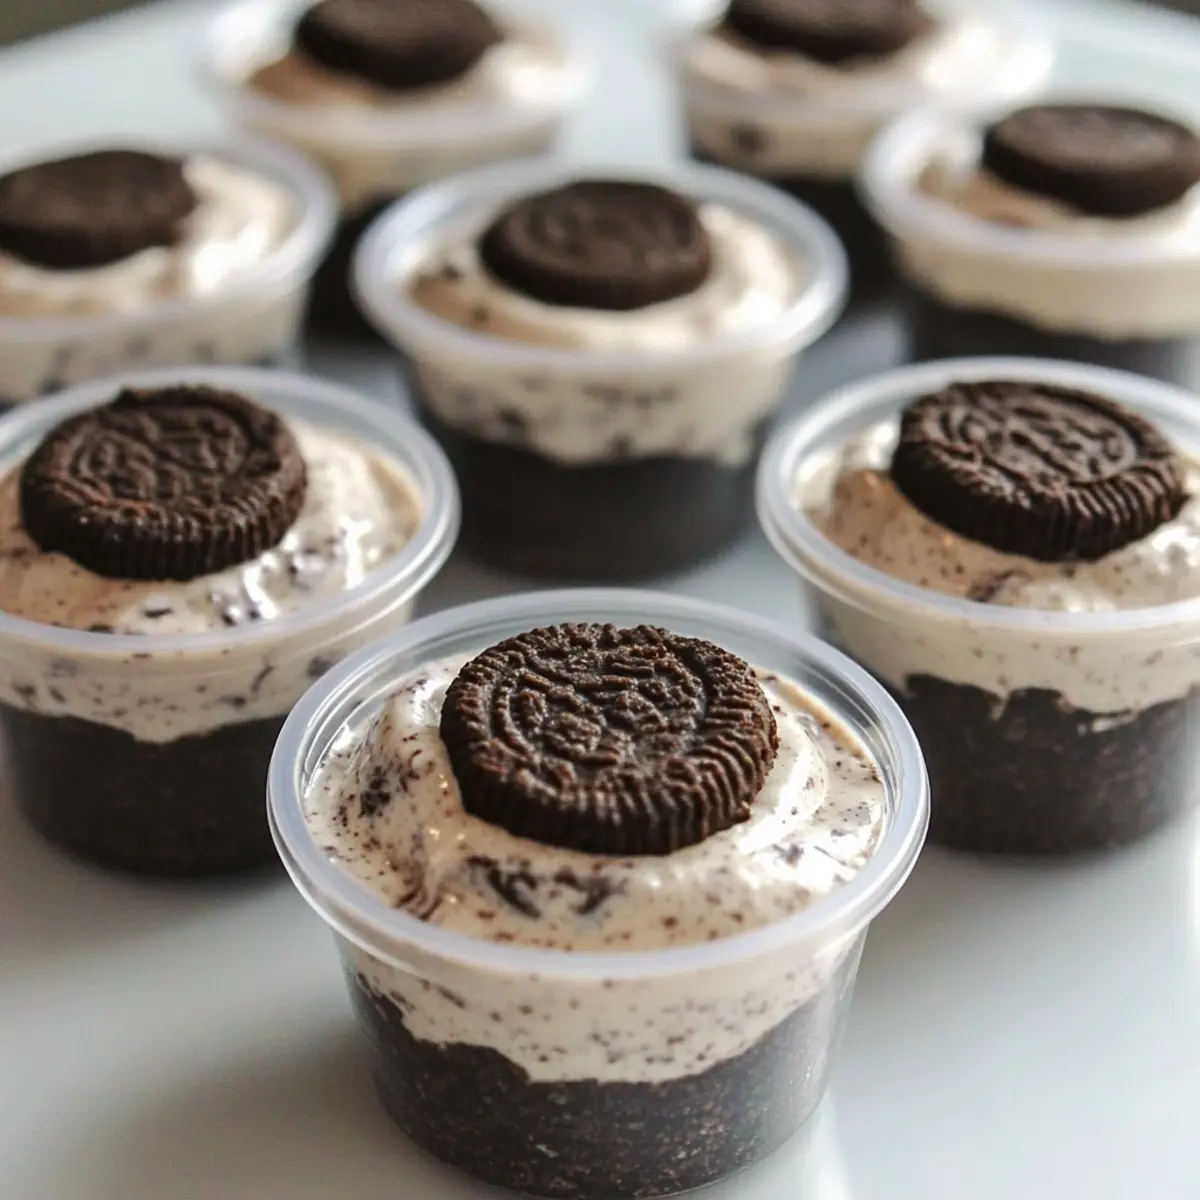
In the midst of a bustling kitchen, with laughter flowing and the sweet scent of nostalgia filling the air, I stumbled upon a delightful creation that takes me right back to childhood—No-Bake Cookies and Cream Dessert Cups. This recipe is a straightforward yet impressive crowd-pleaser, offering a charming twist on the classic Oreo flavor that everyone adores. With a rich chocolate cookie crust and a light, creamy cheesecake filling, these dessert cups are not only visually stunning but also quick to whip up for any gathering. Plus, there’s no baking involved, so you can spend more time enjoying the company of friends and family. Whether you’re hosting a patio party or just indulging a late-night craving, these cups are sure to impress. Ready to dive into this sweet adventure? Let’s get started!
Why will you adore these dessert cups?
Quick and Easy: These no-bake Cookies and Cream Dessert Cups come together in a flash, letting you focus on enjoying your time with loved ones rather than stressing in the kitchen.
Crowd-Pleasing Delight: With their charming individual servings and familiar Oreo flavor, they’re perfect for parties, potlucks, or a midnight snack—guaranteed to make everyone smile!
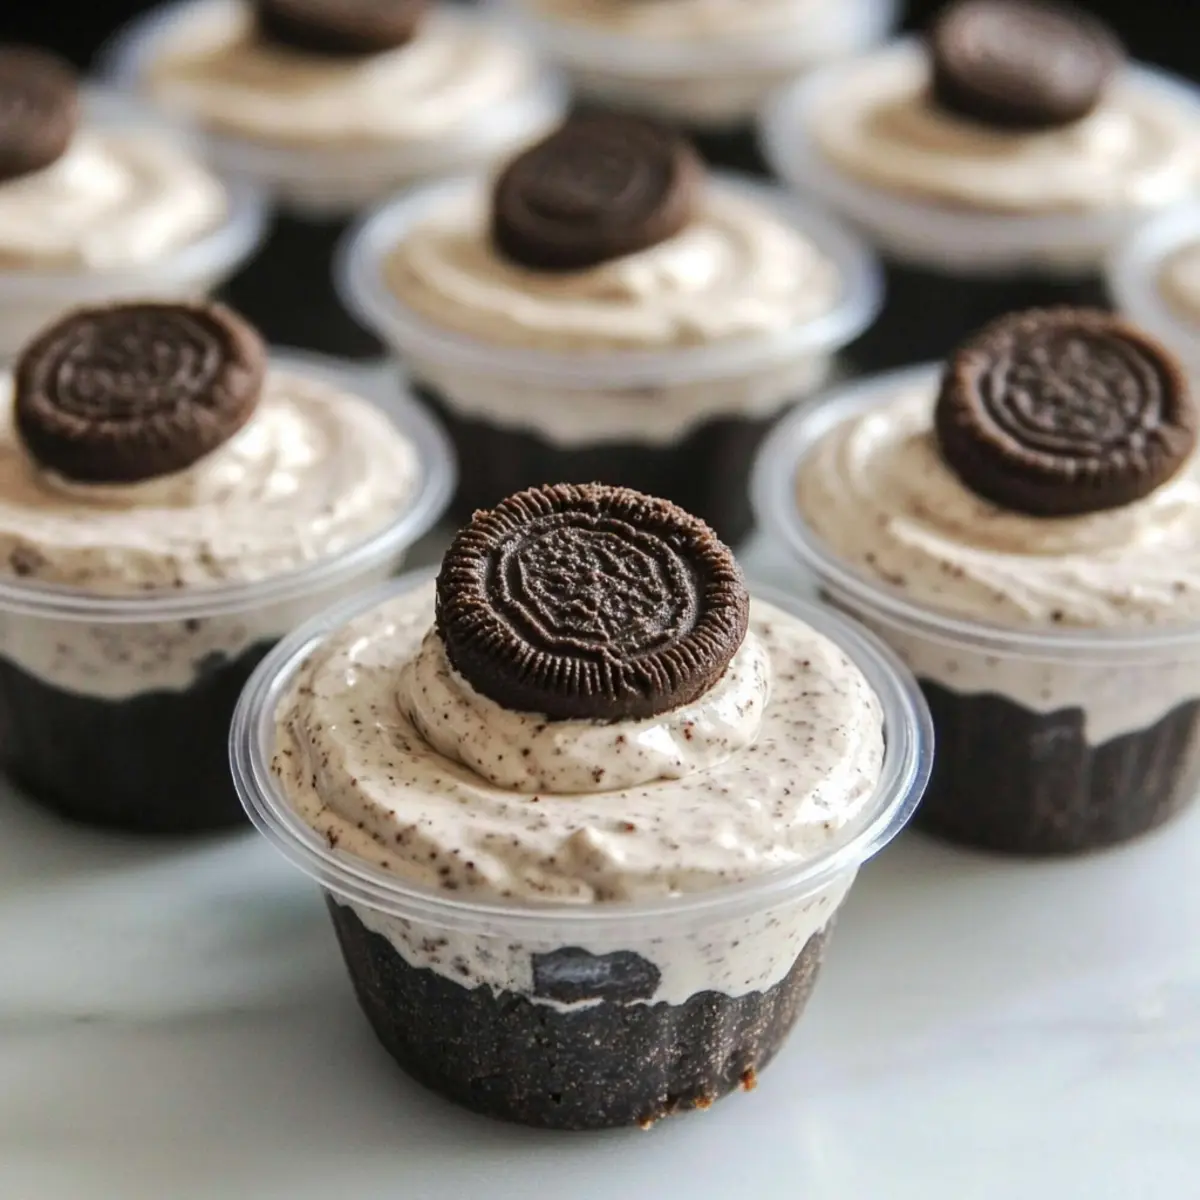
Rich Creaminess: The combination of a chocolate cookie crust paired with a light, fluffy cheesecake filling makes each bite decadent and satisfying, reminiscent of a favorite ice cream but in a fun new form.
Versatile Ingredients: Swap out traditional chocolate cookies for graham crackers for a s’mores twist, or drizzle with chocolate syrup for that extra flourish! Ideal for those who love experimenting.
Make-Ahead Magic: Prep these delightful cups a day in advance, allowing the flavors to meld while saving you time on the day of your gathering.
So, whether served at a festive gathering or enjoyed after a long day, these cookies and cream dessert cups will be a hit at every occasion! If you love easy yet impressive desserts, you might also enjoy Lemon Cream Puffs or the refreshing flavors of Vegan Lemon Cookies.
Cookies and Cream Dessert Cups Ingredients
For the Crust
- Chocolate Sandwich Cookies – A sweet base that adds delightful crunch; feel free to swap for any chocolate wafer cookies.
- Butter (melted) – Binds the crust beautifully; coconut oil can be used for a dairy-free option.
For the Filling
- Cream Cheese – Creates a creamy, rich texture; ensure it’s at room temperature for easier blending.
- Granulated Sugar – Sweetens the filling perfectly; powdered sugar can substitute for a smoother finish.
- Vanilla Extract – Infuses depth of flavor; no significant substitutes needed here.
- Heavy Cream – Whipped to create a light, airy filling; try whipped coconut cream for a non-dairy alternative.
For the Garnish
- Mini Chocolate Sandwich Cookies – These add a decorative and crunchy touch on top; chocolate curls or sprinkles make great alternatives too.
Step‑by‑Step Instructions for Cookies and Cream Dessert Cups
Step 1: Prepare the Cookie Crust
In a small mixing bowl, combine crushed chocolate sandwich cookies and melted butter until the mixture resembles wet sand. This mixture forms the base of your Cookies and Cream Dessert Cups. Using a fork or your hands, ensure the crumbs are well-coated with butter for perfect binding.
Step 2: Mold the Cups
Divide the cookie crust mixture evenly among 28 2-ounce dessert cups. Press down firmly using the back of a spoon or your fingers to create a compact layer that will hold the filling. This step should create a sturdy base for the cups, and you’ll want it to be about a quarter inch thick.
Step 3: Make the Cream Mixture
In a clean mixing bowl, beat room temperature cream cheese and granulated sugar using an electric mixer until it’s smooth and creamy. This should take about 2-3 minutes on medium speed. Make sure there are no lumps; a perfect mixture will have a glossy finish that indicates it’s well-blended for the rich filling.
Step 4: Whip the Cream
Gradually add the heavy cream and vanilla extract to the cream cheese mixture. Continue to beat on medium to high speed until the mixture is fluffy and forms soft peaks, which should take about 3-5 minutes. This fluffy texture will create an airy filling that complements the dense cookie crust beautifully.
Step 5: Fold in the Chocolate Cookies
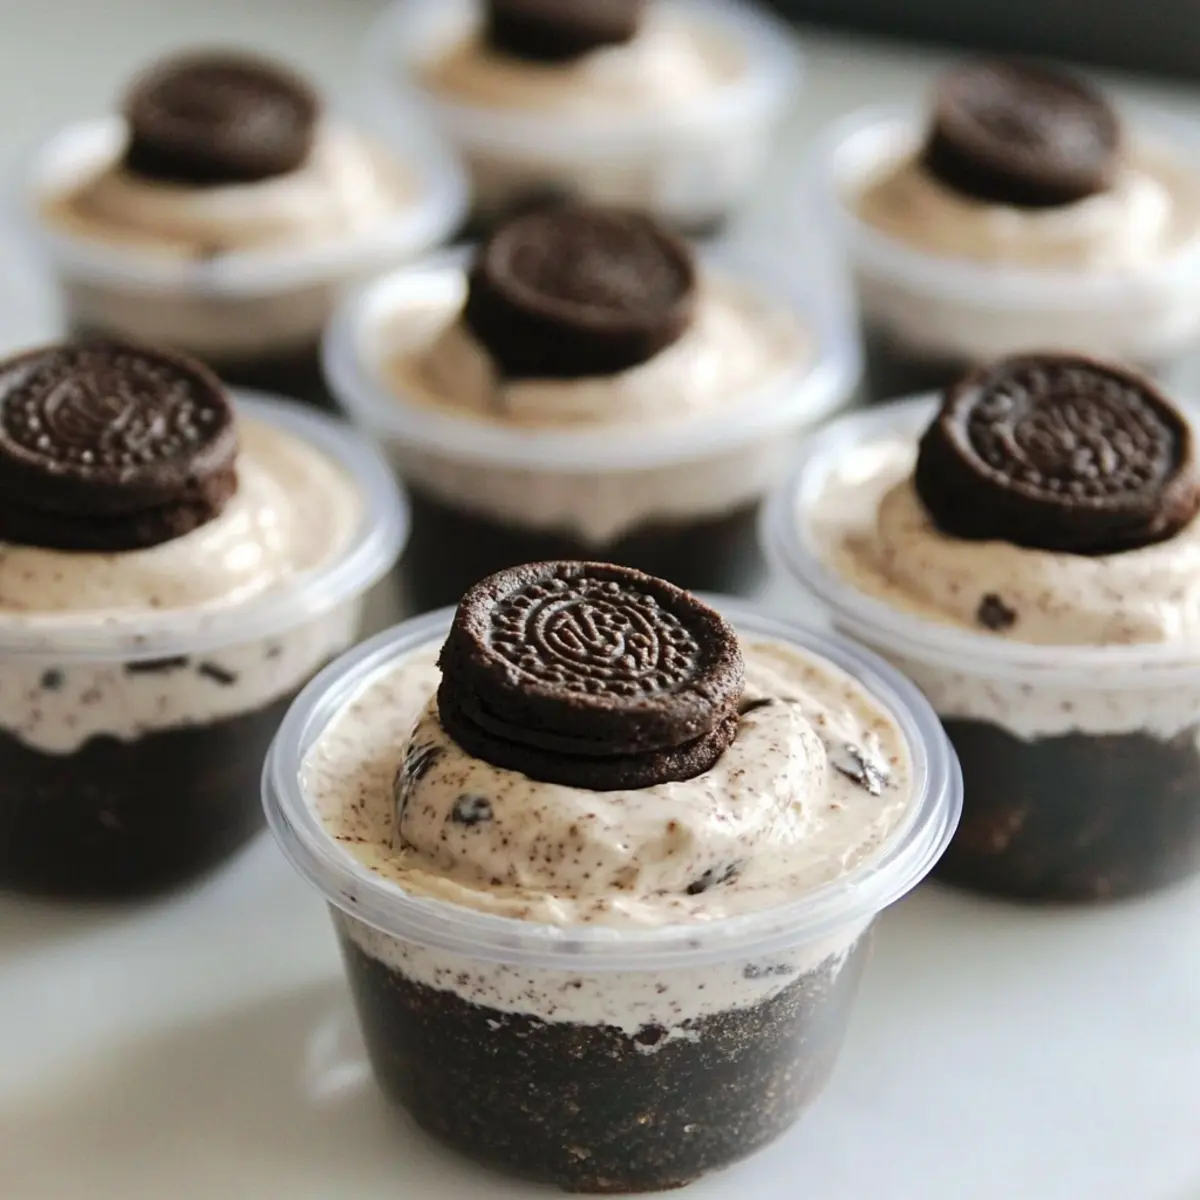
Gently fold in ½ cup of crushed chocolate cookies into the cream mixture using a spatula. This will add texture and enhance the cookies and cream flavor throughout the filling. Be sure to mix carefully to maintain the airy consistency you achieved in the previous step.
Step 6: Fill the Dessert Cups
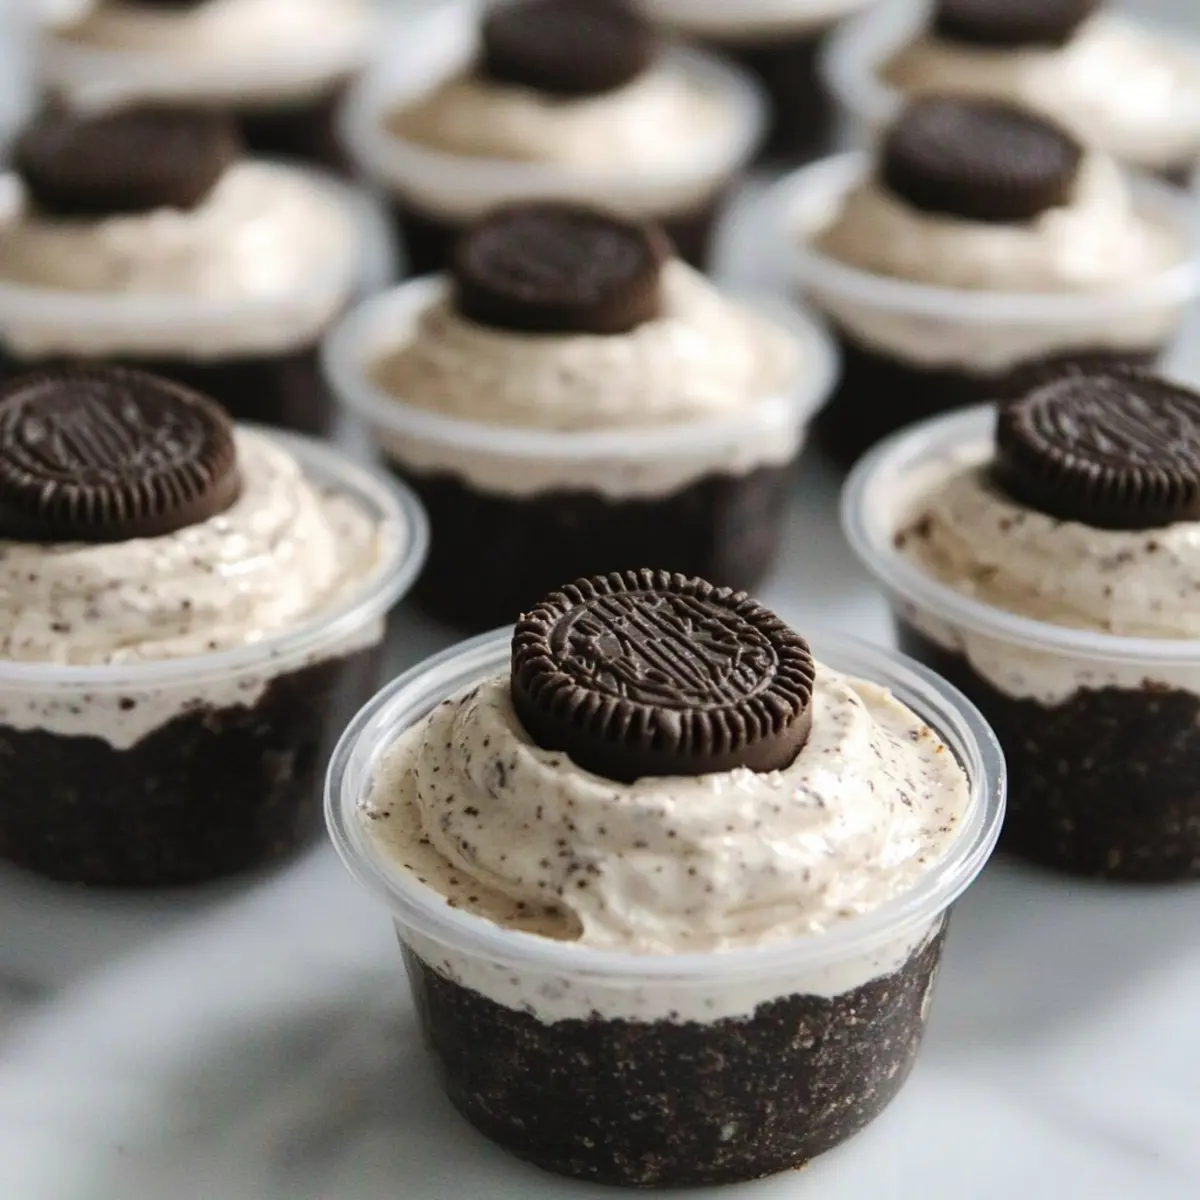
Transfer the delightful filling into a piping bag fitted with a large round tip. Pipe the creamy mixture into the prepared cookie crusts in the dessert cups until they are about three-quarters full. This will create an attractive layered look perfect for showcasing your delicious Cookies and Cream Dessert Cups.
Step 7: Garnish and Chill
Top each filled cup with a mini chocolate sandwich cookie for added flair and crunch. Carefully cover the cups with plastic wrap or a lid. Place your dessert cups in the refrigerator for at least 1 hour to allow the filling to set, though they can be prepared a day in advance for optimal flavor melding.
Make Ahead Options
These No-Bake Cookies and Cream Dessert Cups are ideal for meal prep, allowing you to streamline your dessert-making process! You can prepare the cookie crust portion up to 24 hours in advance by mixing the crushed cookies and melted butter and pressing it into the cups. Store the crust-covered cups in an airtight container in the refrigerator. The creamy filling can also be made ahead—just whip it up up to 3 days prior, store it covered, and when you’re ready to serve, pipe the filling into the crusts and top with mini cookies. This way, your treats remain as delightful and fresh as if you made them on the spot!
Cookies and Cream Dessert Cups Variations
Feel free to let your creativity shine as you customize these delightful dessert cups to suit your tastes!
-
S’mores Twist: Swap chocolate cookies for graham crackers to create a delicious s’mores version. The subtle hint of toasted marshmallow will elevate the flavor experience!
-
Peanut Butter Delicacy: Fold in creamy peanut butter into the filling for a nutty richness that’s oh-so-tempting. Just imagine the dreamy combination of cookies and cream with peanut butter!
-
Minty Freshness: Add a few drops of peppermint extract to the filling for a refreshing minty flavor. Perfect for those who crave a cool twist on the classic!
-
Fruit-Filled Delight: Mix in mashed raspberries or crushed strawberries for a fruity burst in your dessert cups. Their tartness beautifully contrasts with the sweetness of the filling!
-
Caramel Drizzle: Drizzle homemade or store-bought caramel sauce on top for an irresistible sweet finishing touch. This combination will excite your taste buds and impress your guests.
-
Spiced Pumpkin Variation: For a seasonal touch, incorporate pumpkin puree and pumpkin spice into the cream mixture. This will create a cozy fall vibe everyone will love!
-
Vegan Option: Substitute dairy components with vegan cream cheese and whipped coconut cream for a plant-based version. It’s just as creamy and delicious, perfect for everyone at the table.
-
Chocolate Ganache Layer: For an added touch of luxury, pour a layer of chocolate ganache on top before adding the filling. This extra layer not only looks beautiful but also enhances the richness!
These variations not only add unique flavors but also cater to various dietary preferences. Mix it up and enjoy your adventure in creating the ultimate Cookies and Cream Dessert Cups! And if you’re in the mood for yet another sweet treat, don’t forget to check out my delightful Matcha Butter Cookies or the rich flavor of Jalapeno Pineapple Cream.
How to Store and Freeze Cookies and Cream Dessert Cups
Fridge: Store the assembled dessert cups in the refrigerator for up to 2-3 days. Cover them with plastic wrap to prevent drying out and maintain freshness.
Freezer: If you’d like to keep them longer, these cookies and cream dessert cups can be frozen for up to 30 days. Wrap each cup tightly in plastic wrap, then place them in an airtight container.
Thawing: To enjoy frozen cups, transfer them to the fridge to thaw for several hours or overnight. Avoid microwave thawing to preserve texture.
Reheating: These dessert cups are best served chilled and do not require reheating; simply pop them out of the fridge and they’re ready to delight!
What to Serve with No-Bake Cookies and Cream Dessert Cups
These delightful dessert cups create a sweet finale to any meal, but choosing the right accompaniments can elevate your experience even further.
-
Fresh Berries: The tartness of strawberries or raspberries adds a vibrant contrast to the creamy sweetness, creating a refreshing bite.
-
Coffee: A cup of rich, aromatic coffee enhances the dessert’s chocolatey tones, making it a perfect pairing for a cozy gathering. The warmth and bitterness balance the sweet creaminess beautifully.
-
Chocolate Sauce: Drizzling a bit of warm chocolate sauce over each cup adds an indulgent touch, intensifying the decadent flavors and inviting a bit of extra indulgence.
-
Mini Cheesecake Bites: Offering bite-sized cheesecake pairs nicely as a contrasting texture, allowing guests to enjoy the rich creaminess in a different form while keeping the celebration sweet.
-
Vanilla Ice Cream: A scoop of vanilla ice cream alongside each cup adds a delightful creaminess and elevates the dessert experience with its luscious, cool texture.
-
Sparkling Water: Light and bubbly, sparkling water cleanses the palate perfectly and offers a refreshing break between bites of these rich dessert cups.
Each pairing complements the charm of your cookies and cream dessert cups, transforming a simple treat into a memorable celebration. Enjoy this sweet adventure with your loved ones!
Expert Tips for Cookies and Cream Dessert Cups
-
Room Temperature Cream Cheese: Start with cream cheese at room temperature to ensure a smooth filling. Cold cream cheese can clump, affecting the texture.
-
Finely Crushed Crust: Ensure your cookie crust crumbs are finely crushed for even distribution. A food processor can make this task a breeze, resulting in a perfect base for your Cookies and Cream Dessert Cups.
-
Whip Until Fluffy: Whipping the heavy cream is key for that light, airy texture. Don’t stop until you see soft peaks forming, which adds volume to your filling.
-
Careful Folding: When adding crushed cookies to the cream mixture, fold gently to maintain the airy texture you whipped in. Overmixing can deflate your filling.
-
Chill to Set: Always refrigerate the assembled cups for at least an hour before serving. This not only sets the filling but enhances the overall flavors, making each bite even more delightful.
Cookies and Cream Dessert Cups Recipe FAQs
How do I select the right chocolate sandwich cookies?
Absolutely! When selecting chocolate sandwich cookies, look for ones that are fresh and intact, without dark spots all over or any signs of staleness. If you’re looking for alternatives, any chocolate wafer cookies will do just fine too!
How should I store leftover dessert cups?
Very simply! Store the assembled Cookies and Cream Dessert Cups in the refrigerator for up to 2-3 days. Make sure to cover them with plastic wrap to keep them fresh and prevent them from drying out!
Can I freeze the dessert cups for later?
Yes, you can! To freeze the Cookies and Cream Dessert Cups, wrap each cup tightly in plastic wrap and then place them in an airtight container. They can be frozen for up to 30 days. When you’re ready to enjoy, just thaw them in the refrigerator overnight.
What if my cream mixture didn’t whip up fluffy?
No worries! If your cream mixture isn’t fluffing up, make sure your heavy cream is cold before whipping; this helps it reach those glorious soft peaks. Also, ensuring your cream cheese is at room temperature is crucial—if it’s too cold, the mixture will struggle to whip. Try whipping for a bit longer, and avoid overmixing to maintain that light texture.
Are there any dietary considerations for pets or allergies?
Very much so! If you plan to share these dessert cups with friends, be aware that they contain dairy (cream cheese and heavy cream), which can cause issues for lactose intolerant individuals. Additionally, chocolate can be harmful to pets, so be sure to keep these delightful treats out of paw’s reach. If anyone has allergies, check for cross-contamination with ingredients that might contain nuts or gluten.
Can I make these dessert cups dairy-free?
Absolutely! You can substitute the cream cheese with a dairy-free cream cheese alternative and use whipped coconut cream instead of heavy cream to make them dairy-free. The flavor might vary a bit, but they will still be delicious!
Decadent Cookies and Cream Dessert Cups for Sweet Celebrations
Ingredients
Equipment
Method
- In a small mixing bowl, combine crushed chocolate sandwich cookies and melted butter until the mixture resembles wet sand.
- Divide the cookie crust mixture evenly among 28 2-ounce dessert cups and press down to create a compact layer.
- In a clean mixing bowl, beat room temperature cream cheese and granulated sugar until smooth and creamy.
- Gradually add the heavy cream and vanilla extract and beat until fluffy with soft peaks.
- Fold in ½ cup of crushed chocolate cookies into the cream mixture using a spatula.
- Transfer the filling into a piping bag and pipe it into the prepared cookie crusts until they are about three-quarters full.
- Top each filled cup with a mini chocolate sandwich cookie and cover them with plastic wrap. Refrigerate for at least 1 hour.
Leave a Reply