
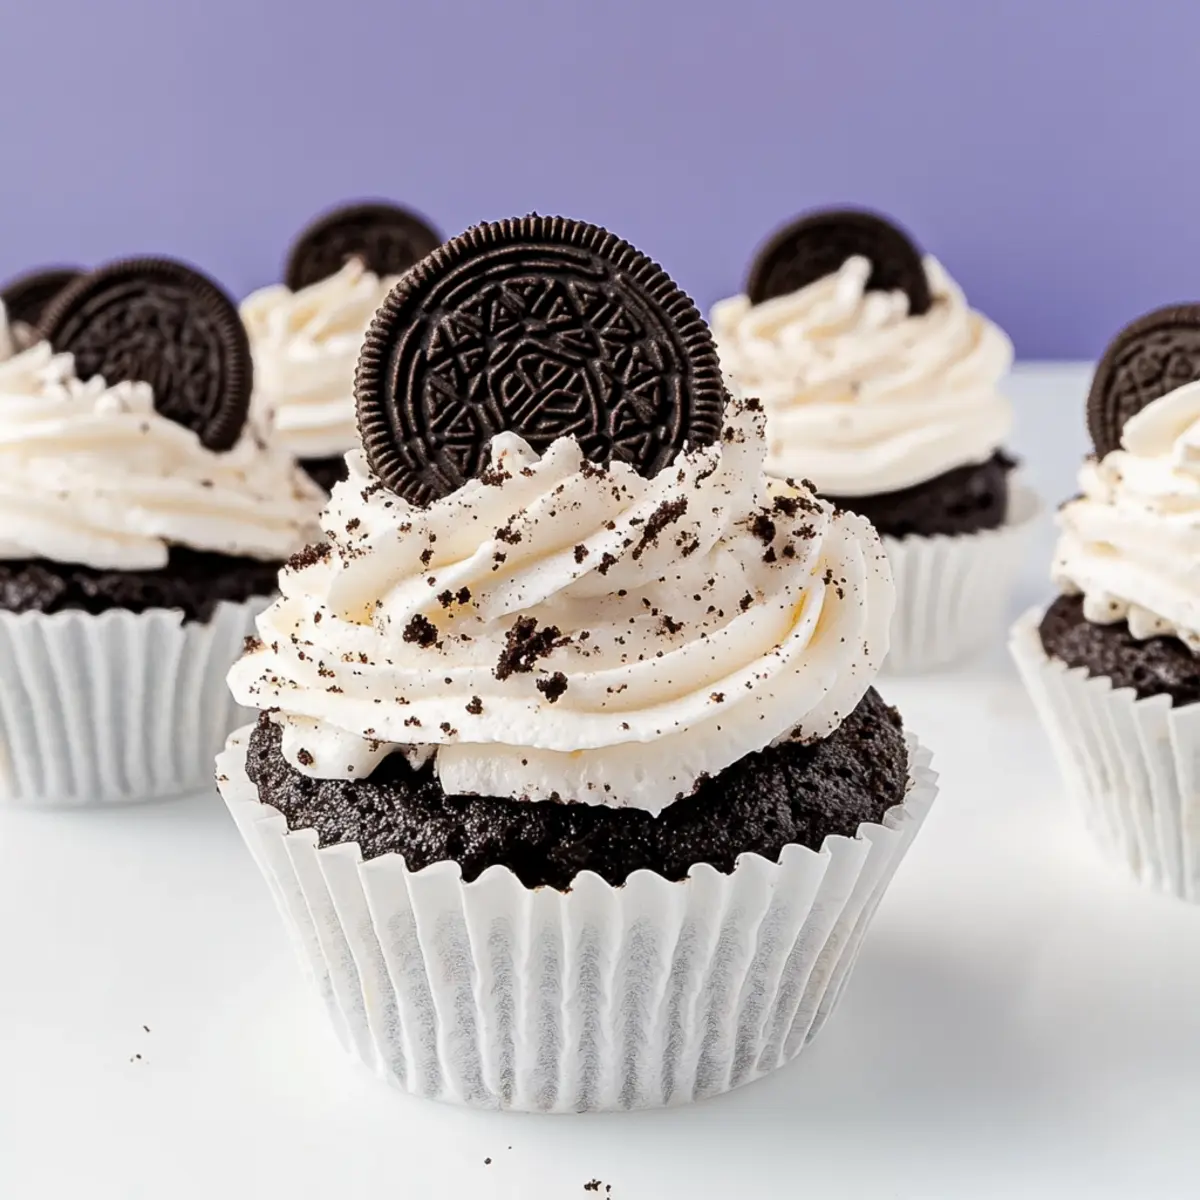
The sun is shining, the temperature is rising, and my cravings for something decadent yet easy to prepare just hit a peak. Enter the refreshing, no-bake Oreo Icebox Cupcakes! Combining layers of rich Oreo cookies with fluffy whipped cream, this dessert is a delightful crowd-pleaser perfect for summer gatherings or a cozy night at home. With minimal effort in the kitchen, you can whip these up in no time—no baking required! Not only are they a simple dessert that everyone will love, but they also provide a cool escape from the typical heat. Trust me, once you dive into this creamy, dreamy treat, you’ll be hooked. What’s your go-to summer dessert that brings you instant joy?
Why Are Oreo Icebox Cupcakes Irresistible?
Simplicity at its Best: These no-bake Oreo Icebox Cupcakes require minimal skills and ingredients, making them ideal for any home cook.
Irresistible Creaminess: The combination of rich Oreo cookies and fluffy whipped cream offers a decadently smooth texture that melts in your mouth.
Effortless Indulgence: Perfectly made ahead for summer parties, these cupcakes can be prepared in advance, freeing up your time for fun festivities.
Versatile Delight: Feel free to swap out the Oreo flavors for extra fun—consider Peanut Butter or Mint to surprise your guests!
Crowd Pleaser: Whether at a picnic or cozy night in, these cupcakes earn rave reviews from guests both young and old.
Looking for more simple yet delicious dessert ideas? Try my easy-to-make Poppy Seed Cupcakes to expand your summer treat repertoire!
Oreo Icebox Cupcakes Ingredients
For the Whipped Cream Layer
• Heavy Cream – This rich ingredient adds creaminess; ensure it’s cold for the best results.
• Powdered Sugar – Sweetens the whipped cream; using powdered ensures a smooth texture without graininess.
• Vanilla Extract – Enhances the whipped cream flavor; opt for pure vanilla for a richer taste.
For the Cookie Base
• Oreo Cookie Crumbs – Adds flavor and texture; feel free to substitute with any preferred cookie crumbs for creativity.
• Oreo Cookies – The star of this dessert; swap with different flavors like Golden or Peanut Butter for a fun twist.
• Milk – Used to soak Oreos, softening them before layering; whole milk adds extra creaminess.
For the Final Touch
• Additional Heavy Cream & Powdered Sugar – Mix for a final topping; this adds an extra touch of indulgence atop your Oreo Icebox Cupcakes!
Each ingredient plays a vital role in crafting these delightful cupcakes, ensuring every bite is a melt-in-your-mouth experience that evokes the cheerfulness of summer!
Step‑by‑Step Instructions for Oreo Icebox Cupcakes
Step 1: Prepare Your Cupcake Liners
Begin by lining a 24-cup muffin pan with cupcake liners. Double up on the liners to ensure they hold the weight of the cupcake layers. Once lined, set them aside to have a sturdy base for your Oreo Icebox Cupcakes.
Step 2: Whip the Cream
In a large mixing bowl, combine 2 cups of cold heavy cream, ½ cup of powdered sugar, and 1 teaspoon of vanilla extract. Using an electric mixer, whip the mixture on medium speed until soft peaks form, typically around 3-5 minutes. The cream should appear fluffy and billowy, ready to envelop your Oreo crumbs.
Step 3: Fold in the Crumbs
Gently fold 1 cup of Oreo cookie crumbs into the whipped cream mixture using a rubber spatula. Take care to maintain the airiness of the whipped cream while ensuring the cookie crumbs are evenly distributed throughout. This layer will create a deliciously crunchy texture in your Oreo Icebox Cupcakes.
Step 4: Assemble the Base Layer
Using a piping bag or a ziplock bag with a corner snipped off, pipe an even layer of the Oreo whipped cream mixture into each cupcake liner, filling it about halfway. This base layer will serve as the delightful foundation for your cupcakes, so make sure they are beautifully smooth and uniform.
Step 5: Soak the Oreos
Dip the remaining Oreo cookies briefly in a shallow dish of whole milk, ensuring they are coated but not soggy. Place one soaked Oreo cookie gently in each liner on top of the whipped cream. Press down lightly to secure them in place, adding a yummy layer of flavor to your Oreo Icebox Cupcakes.
Step 6: Add More Whipped Cream
Pipe another layer of the Oreo whipped cream mixture over the soaked Oreos, covering them completely. Ensure that this layer is smooth and even; you can use an offset spatula to create a polished finish. This step seals the cookies in delicious creaminess, making your cupcakes even more indulgent.
Step 7: Top with Additional Oreos
Repeat the milk-dipping process with another layer of Oreo cookies and place them on top of the whipped cream layer for a decadent finish. Press gently to secure, so they meld perfectly with the layers beneath, creating an irresistible treat in your Oreo Icebox Cupcakes.
Step 8: Chill to Set
Cover the muffin pan with plastic wrap and place it in the refrigerator. Allow your Oreo Icebox Cupcakes to chill for at least 12 hours. This resting time lets the flavors meld together beautifully for a refreshing dessert ready to impress your guests.
Step 9: Make the Final Whipped Cream Topping
In a clean mixing bowl, whip together an additional cup of heavy cream with ¼ cup of powdered sugar and a splash of vanilla extract until stiff peaks form. Once your cupcakes are fully chilled, this creamy topping will create the perfect crowning glory.
Step 10: Decorate and Serve
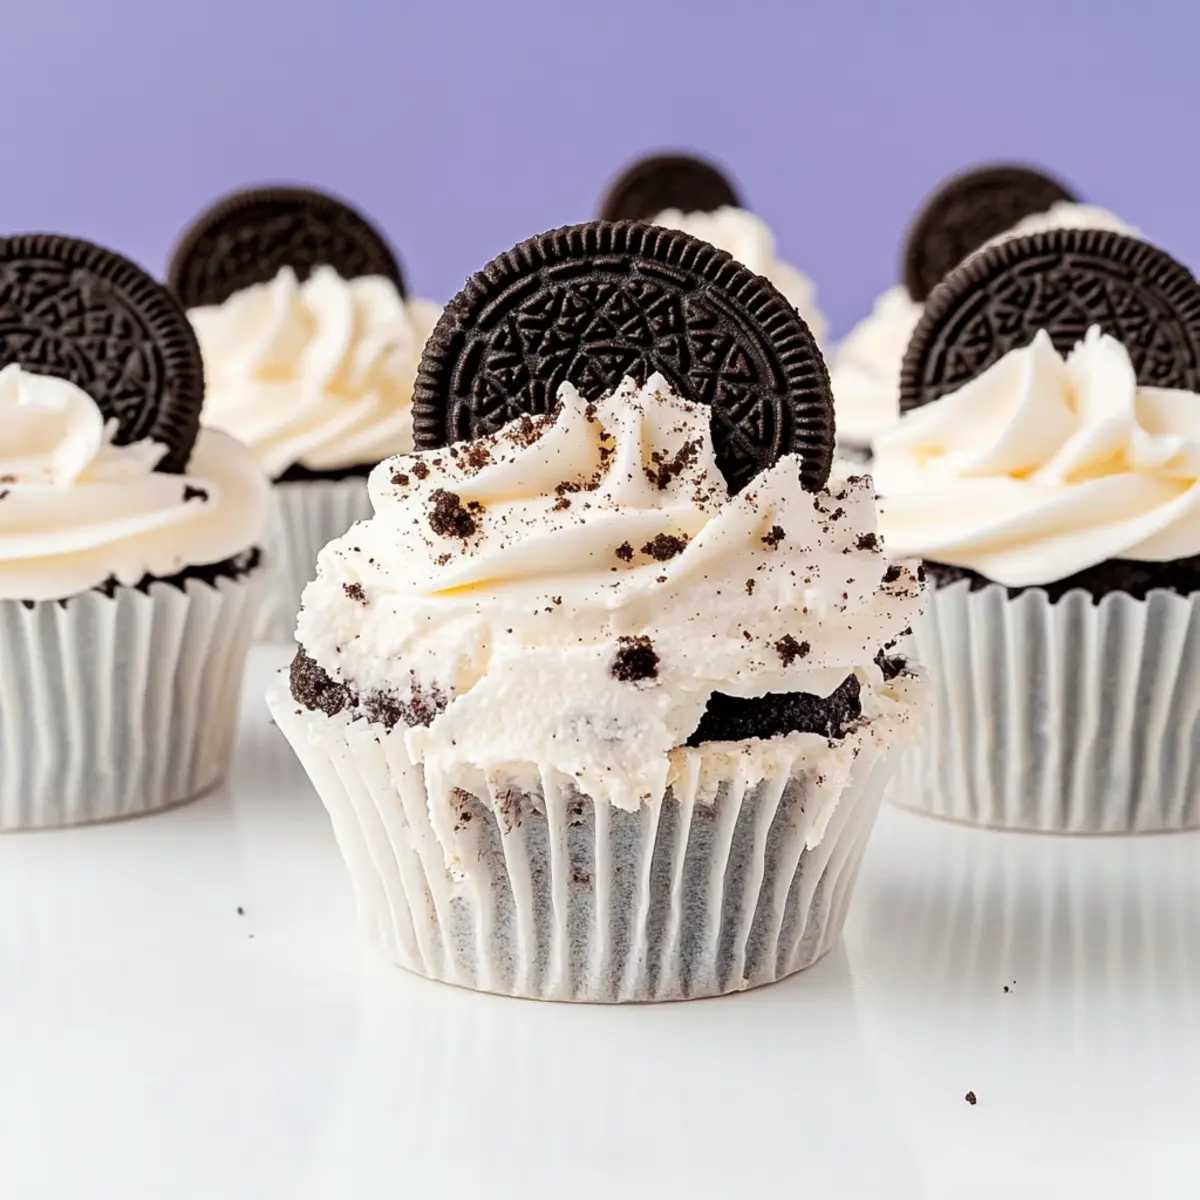
Pipe the fresh whipped cream topping onto each chilled cupcake, smoothing it out for a gorgeous finish. Scatter some extra crushed Oreo cookie crumbs on top, and consider adding halved Oreos for a fun and decorative touch. Serve your Oreo Icebox Cupcakes chilled to enjoy the ultimate summer treat!
How to Store and Freeze Oreo Icebox Cupcakes
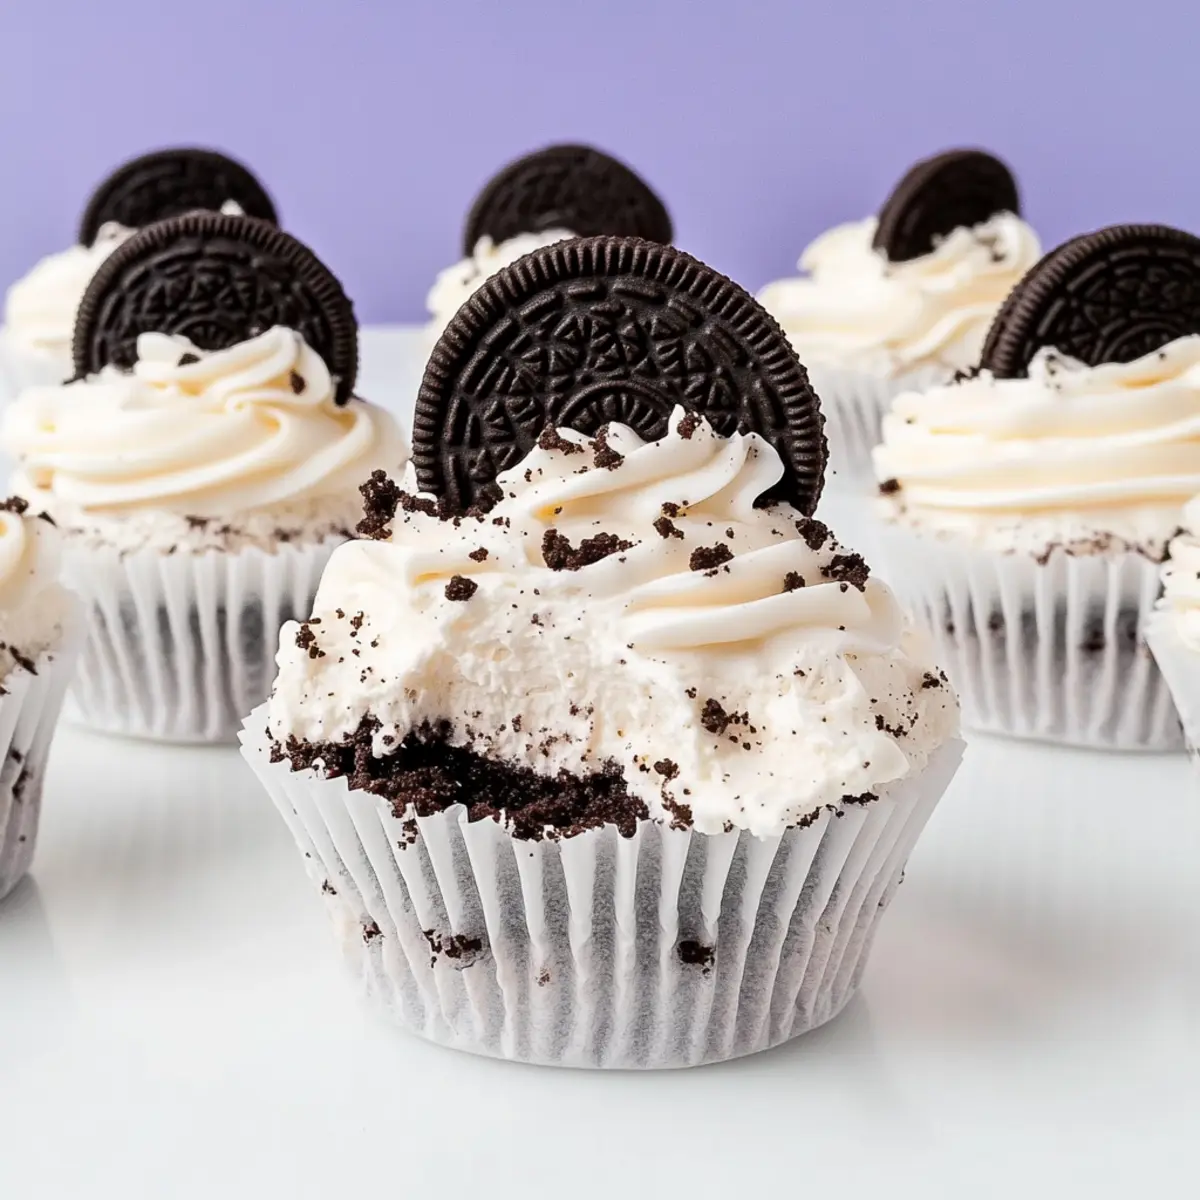
Fridge: Store the Oreo Icebox Cupcakes in an airtight container for up to 2-3 days. This keeps them fresh and creamy, perfect for serving guests or enjoying a late-night treat.
Freezer: For longer storage, these cupcakes can be frozen unfrosted for up to 3 months. Just wrap them tightly to prevent freezer burn. Thaw before adding toppings for best results.
Reheating: There’s no need to reheat these cupcakes as they are best enjoyed chilled. Simply remove from the fridge or freezer and let them sit for a few minutes before serving.
Serving Notes: Keep the decorative toppings, such as extra cookie crumbs or halved Oreos, separate until just before serving to maintain their texture and freshness.
Expert Tips for Oreo Icebox Cupcakes
Chill Your Ingredients: Ensure the heavy cream is thoroughly chilled before whipping. This helps achieve fluffy peaks that hold their shape beautifully.
Don’t Over-Soak: When dipping Oreos in milk, do it quickly. Over-soaking can make them too soggy and difficult to layer properly.
Use an Offset Spatula: For a smooth finish on your whipped cream, an offset spatula is perfect for spreading and creating a professional look to your Oreo Icebox Cupcakes.
Fresh Decorations: Add decorative toppings, like cookie crumbs or halved Oreos, just before serving to ensure they maintain their crunch.
Make-Ahead Convenience: These cupcakes can be prepared a day in advance, saving you time and stress on the day of your gathering. Enjoy knowing your dessert is all set!
Make Ahead Options
These delightful Oreo Icebox Cupcakes are perfect for your meal prep plans! You can prepare the cupcake base, including the whipped cream layer and soaked Oreos, up to 24 hours in advance. Simply follow the assembly steps, then cover and refrigerate them. For optimal flavor, allow them to chill for at least 12 hours to meld the delicious layers together. To maintain their quality, keep the decorative whipped cream topping separate until you’re ready to serve; simply whip it up fresh shortly before serving. With these make-ahead options, you’ll have a stunning dessert ready to impress your guests—with minimal effort on the day of your gathering!
What to Serve with Oreo Icebox Cupcakes
Elevate your summer gatherings with delightful accompaniments that complement these creamy, dreamy cupcakes.
- Fresh Berries: Their juicy sweetness balances the rich flavors of the cupcakes and adds a pop of vibrant color to your dessert table.
- Chocolate Drizzle: A warm, melted chocolate drizzle over the cupcakes enhances their decadence, inviting a truly indulgent experience.
- Coconut Macaroons: Chewy, toasted coconut brings in a chewy contrast that pairs beautifully with the soft texture of the cupcakes.
- Mint Mojito Mocktails: Refreshing and zesty, these mocktails provide a cooling effect that brightens and contrasts the rich Oreo flavors.
- Lemon Sorbet: A tangy, icy treat that cleanses the palate between bites, making each Oreo Icebox Cupcake even more enjoyable.
- Fudge Brownies: For the chocolate lovers in your crowd, fudgy brownies create a rich, complementing treat that makes for a sweet pairing.
- Whipped Cream Topping: Extra whipped cream served on the side can double the indulgence, inviting guests to personalize their own dessert experience.
- Peach Iced Tea: Sweet and subtly fruity, this chilled drink pairs perfectly to refresh your palate alongside your delicious cupcakes.
- Almond Biscotti: Crunchy and lightly sweet, biscotti offers a delightful textural contrast while its nutty notes enhance the dessert experience.
Oreo Icebox Cupcakes Variations & Substitutions
Get creative with these delightful variations to tailor the Oreo Icebox Cupcakes to your taste and dietary preferences!
-
Flavored Oreos: Swap regular Oreos for Peanut Butter or Mint cookies to bring a fun twist to the recipe.
-
Dairy-Free Delight: Use coconut cream instead of heavy cream and almond milk for soaking the Oreos to make this treat dairy-free.
-
Sugar Alternatives: Replace powdered sugar with a sugar alternative like erythritol for a lower-calorie version that still satisfies your sweet tooth.
-
Add Some Fruit: Layer in some fresh raspberries or strawberries between the whipped cream layers for a burst of fruity freshness.
-
Chocolate Drizzle: Drizzle some melted chocolate over the final whipped cream layer for an extra touch of indulgence and flavor.
-
Crunchy Bits: Incorporate crushed nuts like walnuts or pecans into the whipped cream to add delightful texture and a nutty flavor dimension.
-
Mini Cupcakes: Make mini versions of these cupcakes in a mini muffin pan for bite-sized treats perfect for parties and gatherings.
Looking for another delightful treat? Consider my easy Poppy Seed Cupcakes for a summer-ready dessert that will leave everyone wanting more!
Oreo Icebox Cupcakes Recipe FAQs
What type of Oreos should I use?
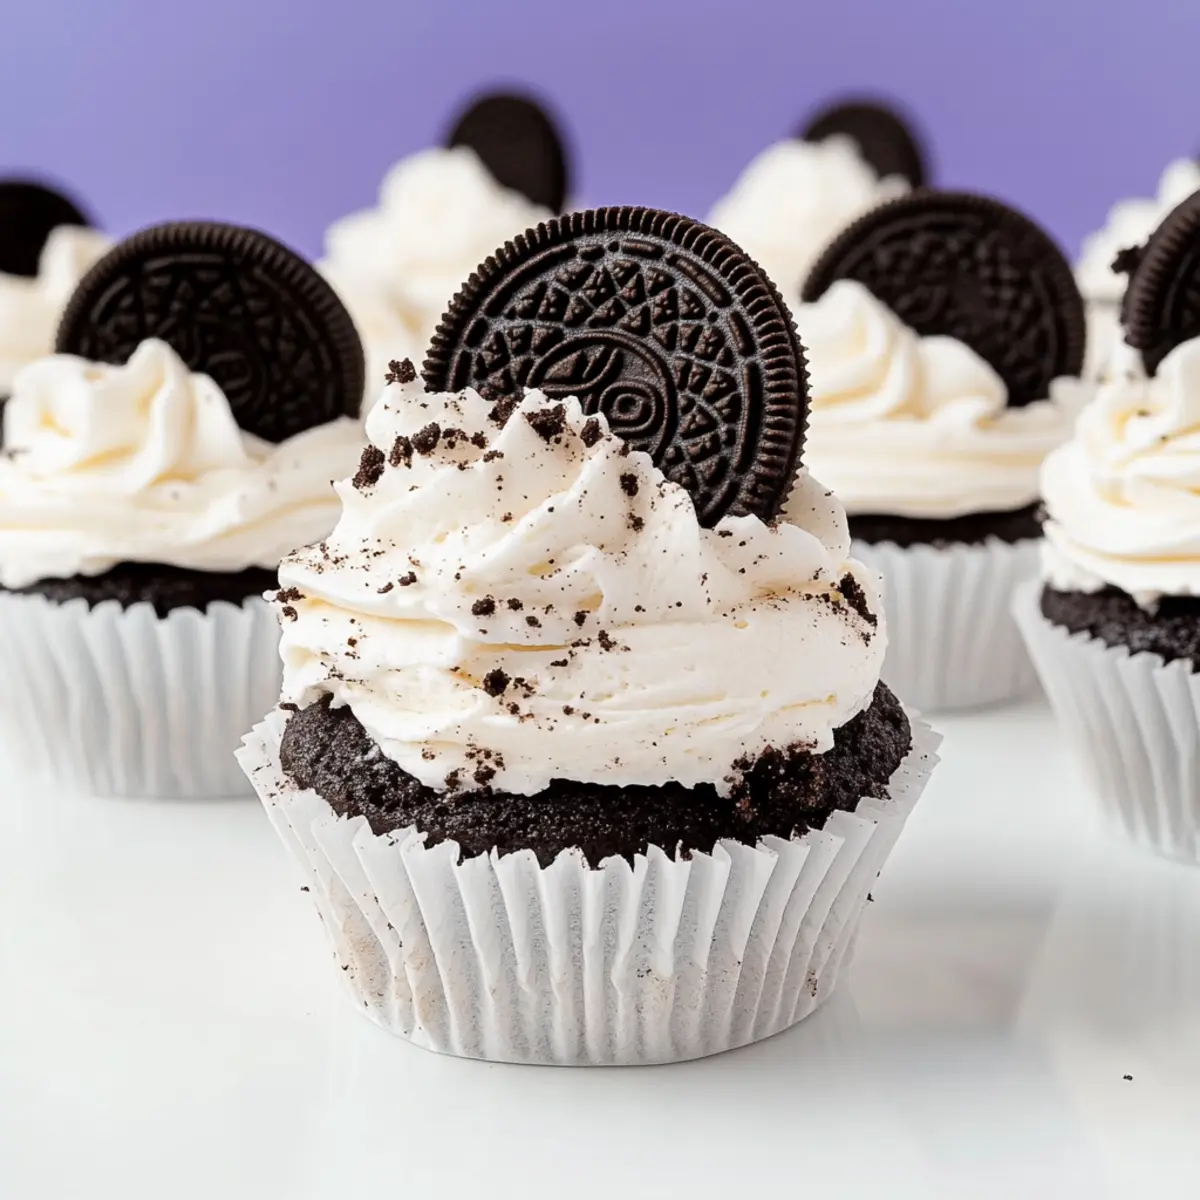
You can use any variety of Oreos—classic, Golden, peanut butter, or mint! Each type will provide a different flavor experience, making it fun to switch things up and find your favorite.
How do I store leftover Oreo Icebox Cupcakes?
Store your Oreo Icebox Cupcakes in an airtight container in the refrigerator for up to 2-3 days. This keeps them fresh and ready for an after-meal treat or a gathering surprise.
Can I freeze the Oreo Icebox Cupcakes?
Absolutely! You can freeze the unfrosted cupcakes for up to 3 months. Just wrap them tightly in plastic wrap or place them in an airtight container before freezing. When you’re ready to enjoy, thaw them in the refrigerator overnight before decorating.
What if my whipped cream isn’t stiff enough?
If your whipped cream isn’t whipping to stiff peaks, ensure your heavy cream is cold and your mixing bowl is chilled. Whip on a higher speed, and if needed, add a little more powdered sugar (1-2 tablespoons at a time) until you achieve the right texture.
Can I make Oreo Icebox Cupcakes gluten-free?
Definitely! Just substitute regular Oreos with gluten-free Oreos or any gluten-free cookie option. This way, everyone can enjoy this delectable dessert without worry!
How long should I let them chill before serving?
Chill your Oreo Icebox Cupcakes for at least 12 hours, but longer is even better! This gives the flavors time to meld and create that delightful creamy texture you’ll love.
Irresistible Oreo Icebox Cupcakes for Effortless Summer Bliss
Ingredients
Equipment
Method
- Line a 24-cup muffin pan with cupcake liners, doubling up on the liners.
- In a large bowl, whip together 2 cups of cold heavy cream, ½ cup of powdered sugar, and 1 teaspoon of vanilla extract until soft peaks form.
- Gently fold 1 cup of Oreo cookie crumbs into the whipped cream mixture.
- Pipe an even layer of the Oreo whipped cream mixture into each cupcake liner, filling it halfway.
- Dip the remaining Oreo cookies briefly in whole milk and place one soaked Oreo cookie gently in each liner on top of the whipped cream.
- Pipe another layer of the Oreo whipped cream mixture over the soaked Oreos.
- Repeat the milk-dipping process with another layer of Oreo cookies and place them on top of the whipped cream layer.
- Cover the muffin pan with plastic wrap and refrigerate for at least 12 hours.
- In a clean bowl, whip together an additional cup of heavy cream with ¼ cup of powdered sugar until stiff peaks form.
- Pipe the fresh whipped cream topping onto each chilled cupcake and decorate with crushed Oreo cookie crumbs.
Leave a Reply