
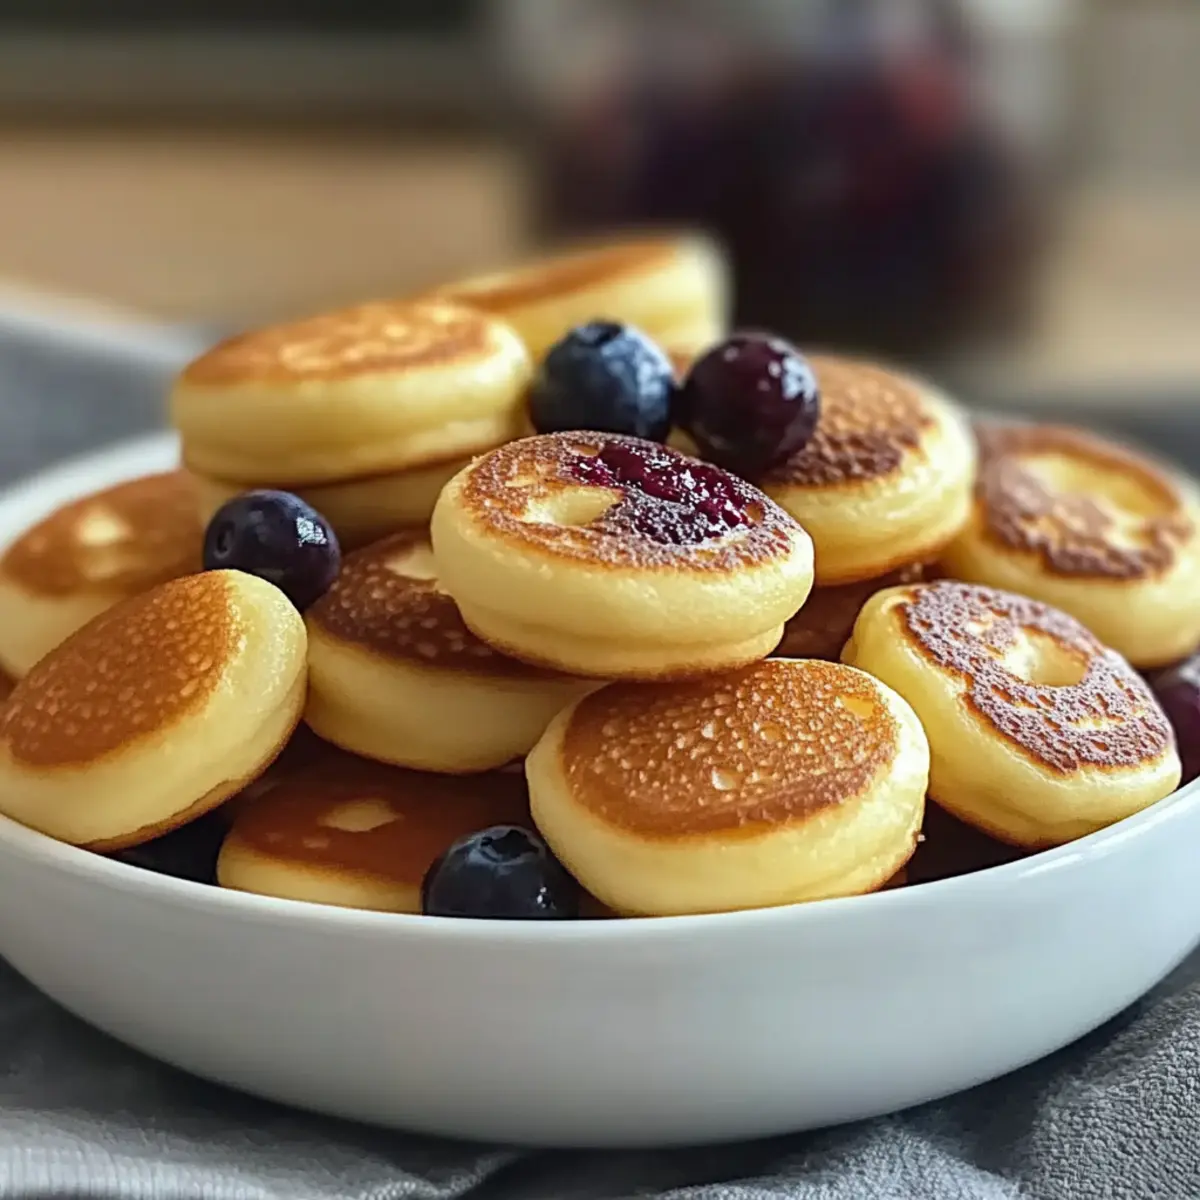
As I stood in my kitchen, the sweet aroma of warm pancakes danced through the air, transporting me back to carefree mornings with my family. Today, I’m excited to share my recipe for Fluffy Breakfast Pancake Poppers—a delightful twist on the classic breakfast favorite. These little gems are perfect for busy weekdays or leisurely Sunday brunches, offering an effortless way to elevate your morning routine. Not only are they incredibly easy to whip up in a mini muffin tin, but they also come with a gluten-free option, ensuring everyone can indulge. With endless customization possibilities—from chocolate chips to bursts of fresh blueberries—these pancake poppers are a surefire way to make kids and adults alike smile. Are you ready to bring a bit of magic to your breakfast table?
Why Are Pancake Poppers So Amazing?
Miniature perfection: Fluffy Breakfast Pancake Poppers offer the joy of traditional pancakes in a savory bite-sized delight, perfect for any meal!
Customizable fun: With options for chocolate chips, blueberries, or even bacon, you can tailor each batch to satisfy every palate.
Gluten-free friendly: Easy to adapt, just substitute with a gluten-free flour blend for a delicious version that everyone can enjoy.
Quick prep time: Perfect for busy mornings, these poppers bake in just 10-12 minutes—making them a fantastic choice for children and adults alike.
Ideal for sharing: Serve them warm at a brunch or family gathering, and watch them disappear! For added inspiration, check out my Bacon Mozzarella Poppers for some savory snack ideas.
Pancake Poppers Ingredients
• Make your mornings even brighter with these essential components!
For the Batter
- All-purpose flour – This creates the basis for fluffy texture; substitute with a 1:1 gluten-free flour blend for a gluten-free version.
- Sugar – Sweetens the poppers and promotes a lovely golden crust.
- Baking powder – A crucial leavener ensuring that your pancake poppers rise beautifully.
- Salt – Balances sweetness, enhancing all the flavors in your batter.
For the Wet Ingredients
- Milk – Adds moisture and creaminess; can be swapped with almond or oat milk for a dairy-free option.
- Large egg – Binds everything together, contributing to the poppers’ delightful fluffiness.
- Melted butter – Introduces richness and depth, and can be replaced with a dairy-free alternative if needed.
- Vanilla extract – A splash of this sweet essence elevates the overall flavor profile of your pancake poppers.
For Customization
- Optional mix-ins (mini chocolate chips, blueberries, cinnamon) – Get creative! These flavorful additions bring unique tastes and textures, from sweetness to tartness.
Step‑by‑Step Instructions for Pancake Poppers
Step 1: Preheat the Oven
Start by preheating your oven to 375°F (190°C) while you prepare the batter. Meanwhile, grease a mini muffin pan generously with cooking spray or butter to ensure easy release later on. This is an essential step to guarantee your fluffy Pancake Poppers won’t stick to the pan!
Step 2: Mix Dry Ingredients
In a large mixing bowl, combine 1 cup of all-purpose flour, ¼ cup of sugar, 2 teaspoons of baking powder, and a pinch of salt. Use a whisk to mix thoroughly, breaking up any clumps and ensuring even distribution of the leavening agent. The dry ingredients will provide the structure and fluffiness for your pancake poppers.
Step 3: Combine Wet Ingredients
In a separate bowl, whisk together ¾ cup of milk, 1 large egg, ¼ cup of melted butter (cooled slightly), and 1 teaspoon of vanilla extract until well blended. This wet mixture adds moisture and richness, forming the perfect batter for your Pancake Poppers. Be sure to incorporate all ingredients thoroughly for a smooth consistency.
Step 4: Fold the Mixtures Together
Gently fold the wet ingredients into the dry ingredients, using a spatula to combine until just mixed. Be careful not to overmix; a few lumps are okay! Overmixing can lead to dense pancake poppers instead of the light, fluffy texture you’re aiming for.
Step 5: Prepare the Muffin Tin
Spoon the batter into the greased mini muffin cups, filling them about two-thirds full. If desired, sprinkle in optional mix-ins like mini chocolate chips or blueberries at this stage. This part is where you can customize your Pancake Poppers to suit different tastes and dietary preferences.
Step 6: Bake the Pancake Poppers
Place the muffin tin in the preheated oven and bake for 10-12 minutes. Keep an eye on them; they should puff up and turn a lovely golden brown. To test for doneness, insert a toothpick into the center of a popper; it should come out clean when they’re perfectly baked.
Step 7: Cool and Serve
Once baked, remove the mini muffin tin from the oven and allow the Pancake Poppers to cool in the tin for about 5 minutes. Then, gently pop them out and transfer them to a wire rack. Serve warm with maple syrup, fresh fruit, or yogurt to add a delicious finishing touch to your tasty breakfast!
Make Ahead Options
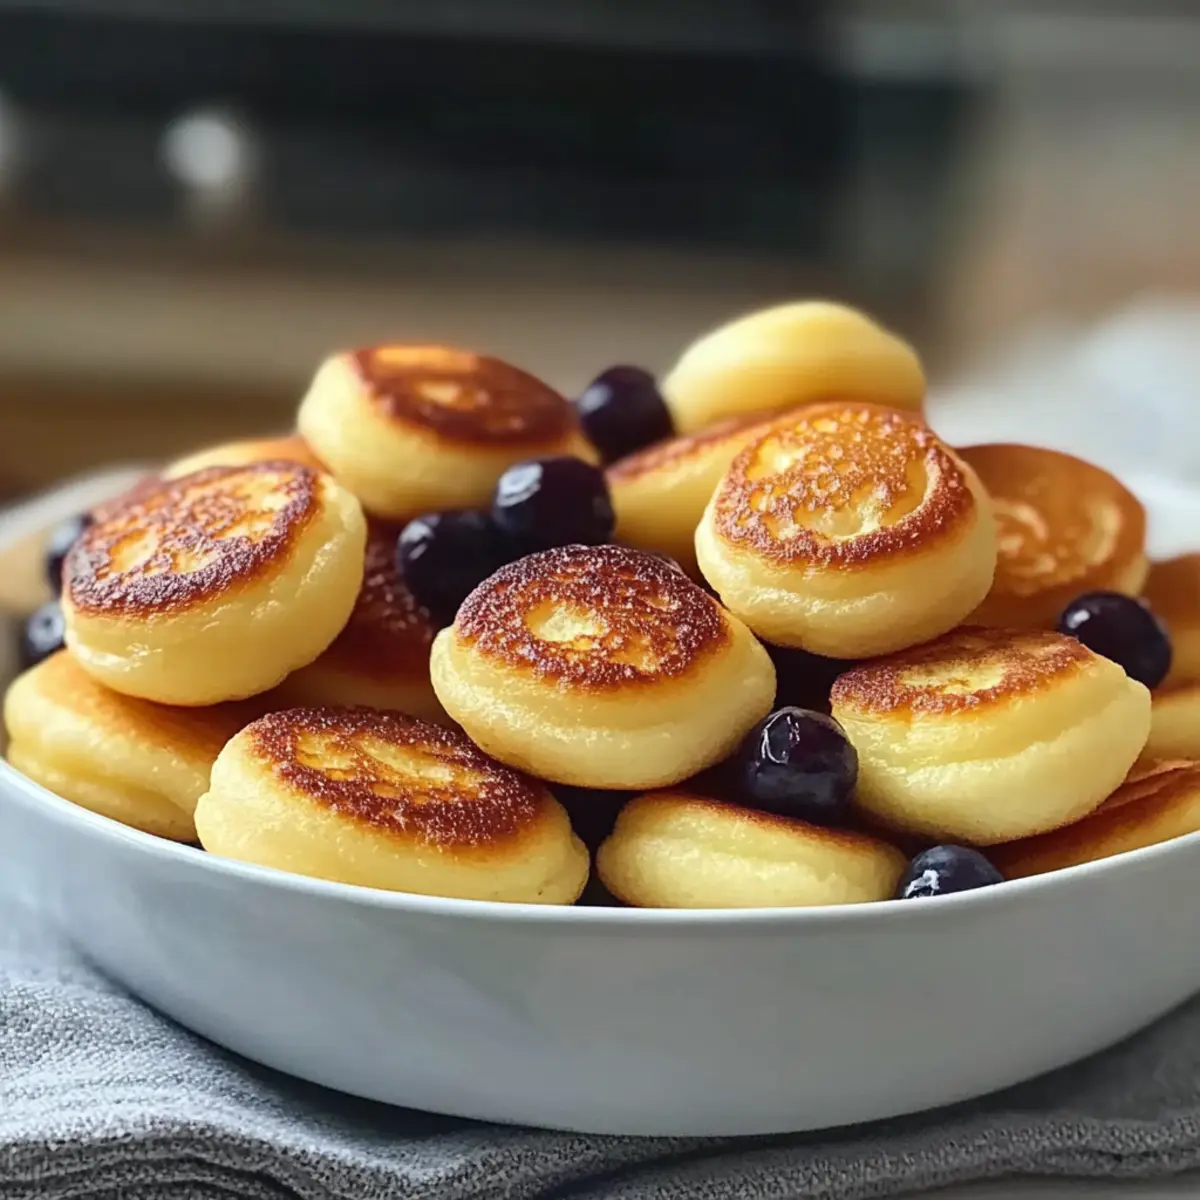
These Fluffy Breakfast Pancake Poppers are ideal for meal prep and can save you precious time during busy mornings! You can prepare the batter up to 24 hours in advance; simply mix the dry and wet ingredients separately and refrigerate them until ready to bake. Additionally, you can pre-fill the mini muffin tin with the batter and cover it, allowing for a quick pop in the oven the following day. For best results, add any desired mix-ins just before baking to ensure freshness and flavor retainment. When you’re ready to serve, pop them in the oven for 10-12 minutes, and you’ll enjoy delicious, fluffy poppers that taste freshly made!
What to Serve with Fluffy Breakfast Pancake Poppers
Bring your breakfast table to life with delightful pairings that will elevate these fluffy bites into a memorable meal!
-
Maple Syrup: A classic combination that adds a touch of sweetness to every bite, complementing the fluffy texture of the poppers beautifully.
-
Fresh Berries: Bursting with freshness, strawberries, blueberries, or raspberries bring a juicy, vibrant contrast that brightens your breakfast. Their natural sweetness harmonizes perfectly with the pancake poppers.
-
Yogurt Parfait: A creamy yogurt layered with fruit and granola adds richness and crunch, creating a delightful balance with the soft pancake texture. This duo is not just delicious but also provides wholesome nutrition.
-
Scrambled Eggs: For a hearty breakfast, serve soft, fluffy scrambled eggs alongside the poppers. Their creamy texture and savory flavor create a wonderful contrast to the sweet pancake bites.
-
Cinnamon Sugar Dust: A light sprinkle of cinnamon sugar brings warmth and sweetness, instantly elevating these bites to a new culinary realm. It’s simple yet effective!
-
Fruit Smoothie: A refreshing smoothie, perhaps made with bananas and spinach, provides a healthy, nutrient-packed addition to your breakfast spread. It adds creaminess and a touch of coolness to the meal.
-
Crispy Bacon: For those who enjoy a savory touch, pairing pancake poppers with crispy bacon adds a delightful crunch and saltiness, creating the perfect sweet-and-salty balance.
-
Iced Coffee: Sip on a glass of iced coffee to complement your morning bites and provide that necessary caffeine kick. The bitter notes contrast the sweetness of the poppers, tantalizing your taste buds.
Storage Tips for Pancake Poppers
- Room Temperature: Store leftover pancake poppers in an airtight container at room temperature for up to 3 days to maintain their fluffiness.
- Fridge: Keep pancake poppers in the fridge for up to 5 days, ensuring they are sealed well to prevent drying out.
- Freezer: Freeze pancake poppers for up to 1 month in a freezer-safe container; remember to separate layers with parchment paper to avoid sticking.
- Reheating: Reheat from frozen in the microwave for 15-30 seconds or bake in a preheated oven at 350°F (175°C) for about 5-7 minutes for best results.
Pancake Poppers Variations and Substitutions
Feel free to get creative with these pancake poppers and discover a world of flavors and textures at your breakfast table!
- Gluten-Free: Use a 1:1 gluten-free flour blend instead of all-purpose flour for a deliciously fluffy option.
- Dairy-Free: Substitute milk with almond or oat milk, and use coconut oil in place of butter for a creamy, dairy-free batter.
- Cinnamon Burst: Add a teaspoon of ground cinnamon to the batter for a warm and comforting spice that dances on your palate.
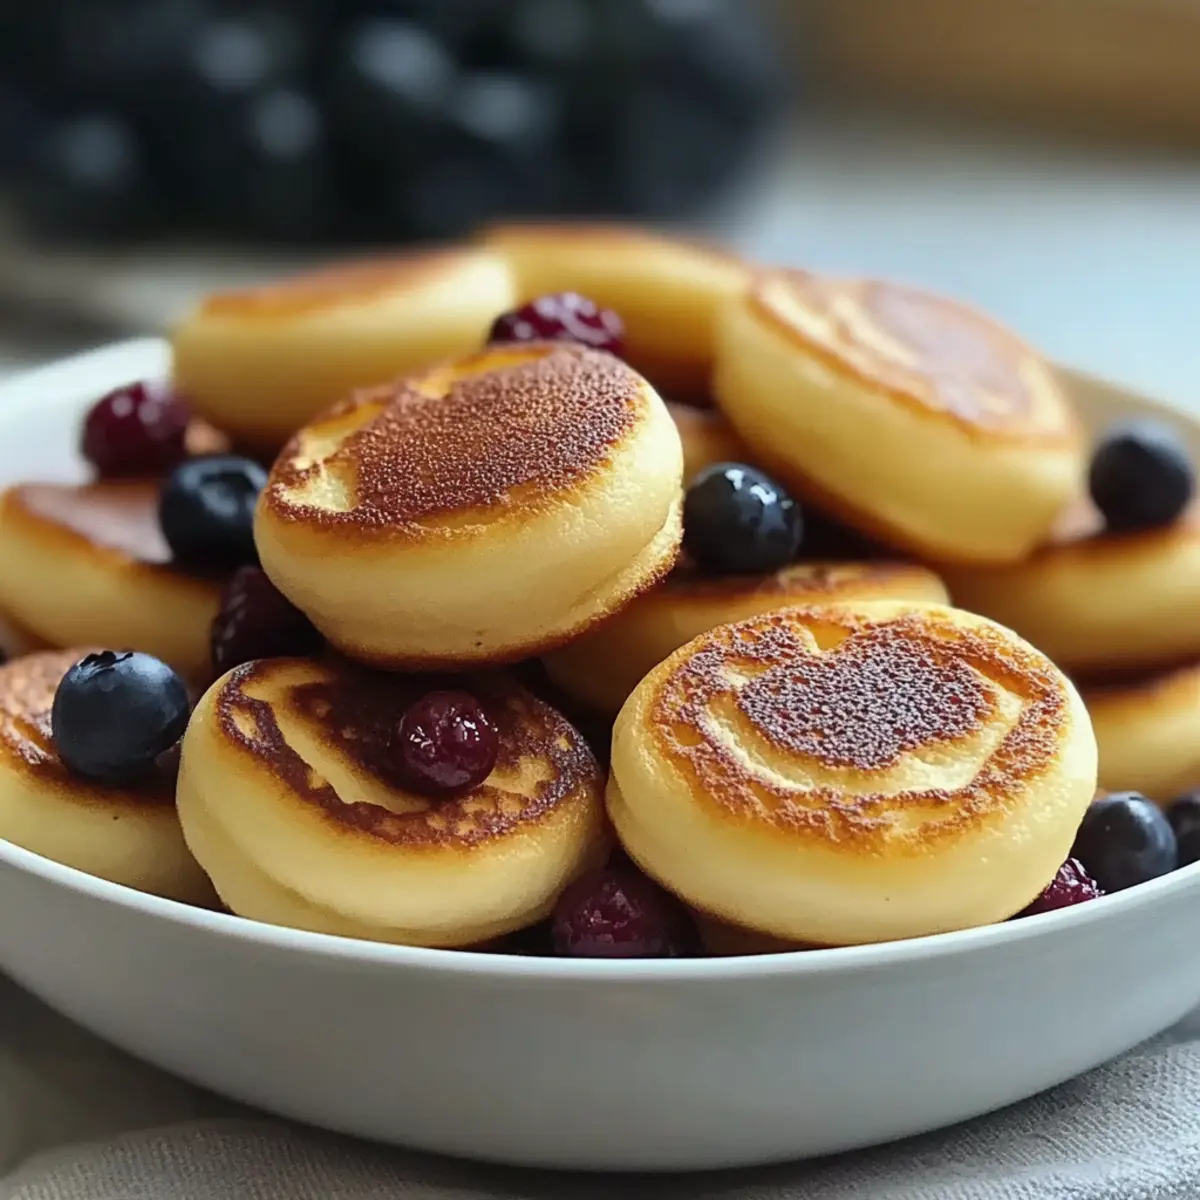
- Fruit Explosion: Toss in fresh blueberries or diced strawberries for a burst of juicy flavor with every bite. Imagine the sweetness releasing as you sink your teeth in!
- Chocolate Lovers: Mix in mini chocolate chips to satisfy those sweet cravings—these will melt slightly as they bake, creating gooey pockets of delight!
- Savory Twist: Incorporate crumbled bacon or shredded cheese into the batter for a fun savory twist that will surely please any breakfast lover. For extra indulgence, pair these with my Bacon Mozzarella Poppers for a sensational brunch spread.
- Nutty Crunch: Stir in some chopped nuts like pecans or walnuts for an added crunch that complements the fluffy texture perfectly.
- Spicy Addition: For those who love a kick, try adding a dash of cayenne pepper or finely chopped jalapeños to the batter for a spicy flavor explosion!
With these easy swaps and variations, you’ll have endless possibilities to keep breakfast fresh and exciting!
Expert Tips for Pancake Poppers
- Perfect Fluffiness: Avoid overmixing the batter; just combine until the dry ingredients are moistened for the fluffiest pancake poppers.
- Butter Temp Check: Let the melted butter cool slightly before adding it to the batter to prevent cooking the egg and ensure even mixing.
- Consistent Measurements: Use a kitchen scale for accurate flour measurements to achieve great texture every time; even slight variations can affect fluffiness.
- Creative Mix-ins: Experiment with different mix-ins like nuts, dried fruits, or spices to create unique flavors in your pancake poppers.
- Storage Savvy: Store leftovers in an airtight container for up to 5 days, or freeze for quick breakfasts later; just microwave from frozen for a quick treat!
Pancake Poppers Recipe FAQs
What type of flour should I use for pancake poppers?
All-purpose flour is the go-to choice for fluffy pancake poppers. However, if you’re looking for a gluten-free option, I recommend using a 1:1 gluten-free flour blend, which works beautifully without compromising on taste or texture!
How long can I store pancake poppers?
Pancake poppers can be stored at room temperature in an airtight container for up to 3 days. If you prefer a longer shelf life, refrigerate them in a well-sealed container for up to 5 days. Just make sure they’re cooled completely before sealing to maintain their freshness.
Can I freeze pancake poppers?
Absolutely! You can freeze pancake poppers for up to 1 month. To do this, allow them to cool completely, then arrange them in a single layer on a baking sheet and freeze until solid. Once frozen, transfer them to a freezer-safe container or bag, separating layers with parchment paper to prevent sticking.
What should I do if my pancake poppers turn out dense?
If your pancake poppers come out dense, the most likely culprit is overmixing. When combining the wet and dry ingredients, be gentle! Mix just until combined—it’s okay if there are a few lumps. Also, ensure your baking powder is fresh, as this is essential for achieving that delightful fluffiness.
Are pancake poppers suitable for kids and those with allergies?
Yes! Pancake poppers are kid-friendly and can easily be modified to cater to various dietary needs. For lactose-free options, simply substitute regular milk with almond or oat milk, and use a dairy-free butter alternative. If there are tree nut allergies, ensure the gluten-free flour doesn’t contain any nut flours.
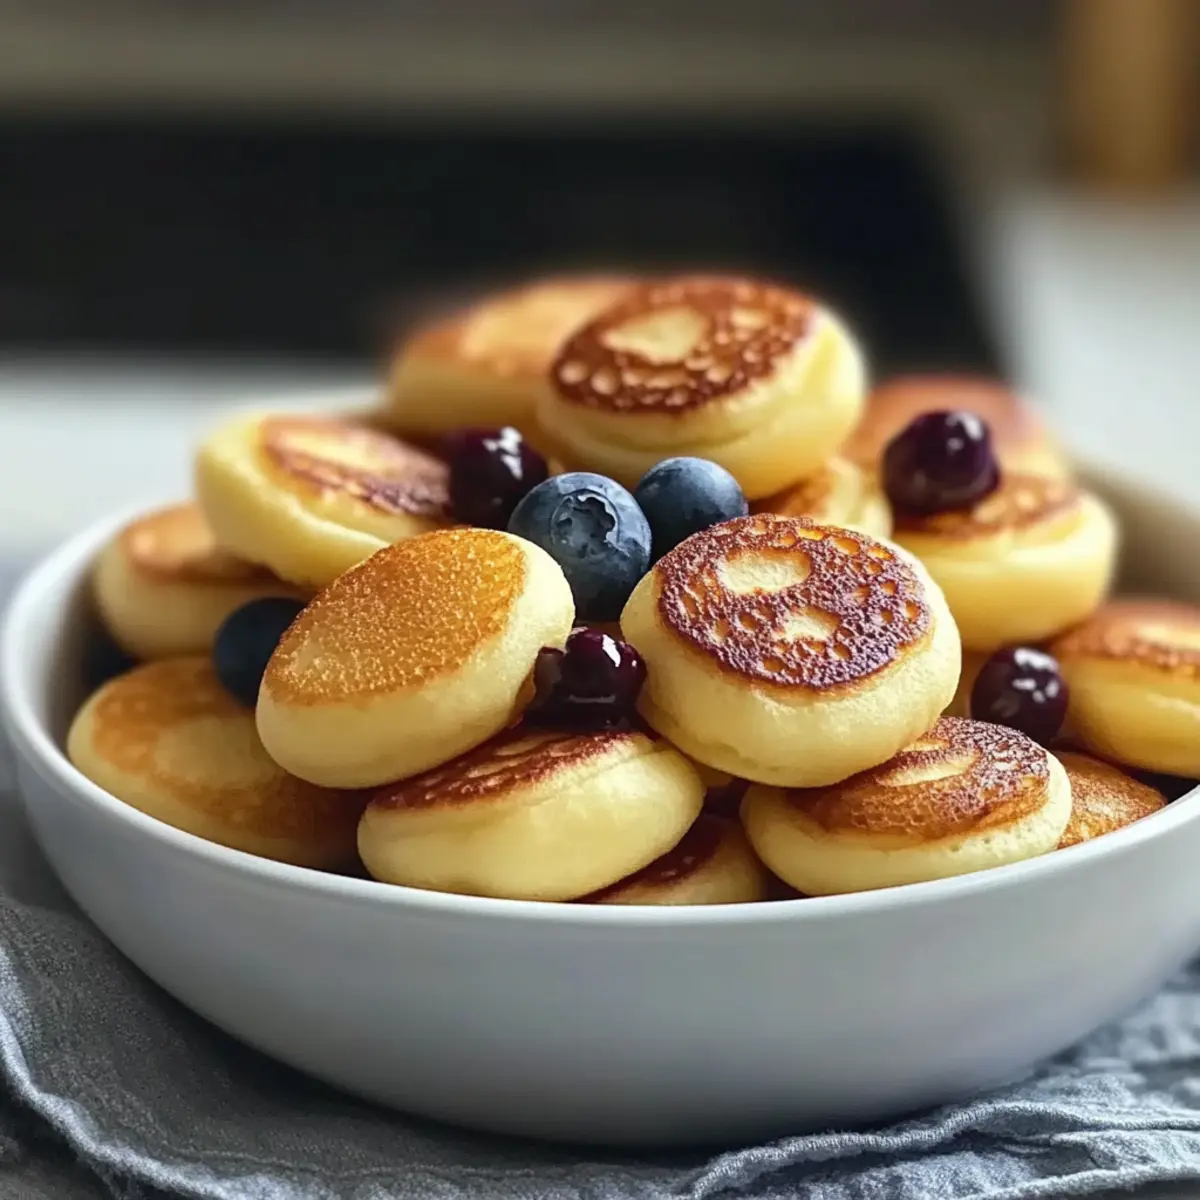
Pancake Poppers: Fluffy Bites Perfect for Family Mornings
Ingredients
Equipment
Method
- Preheat your oven to 375°F (190°C) and grease a mini muffin pan generously.
- In a large bowl, mix flour, sugar, baking powder, and salt until well combined.
- In another bowl, whisk together milk, egg, melted butter, and vanilla extract until smooth.
- Gently fold the wet mixture into the dry ingredients until just mixed.
- Spoon the batter into the greased muffin cups, filling them about two-thirds full and adding optional mix-ins if desired.
- Bake in the preheated oven for 10-12 minutes or until golden brown.
- Remove from oven, let cool for about 5 minutes, then pop them out and serve warm.
Leave a Reply