
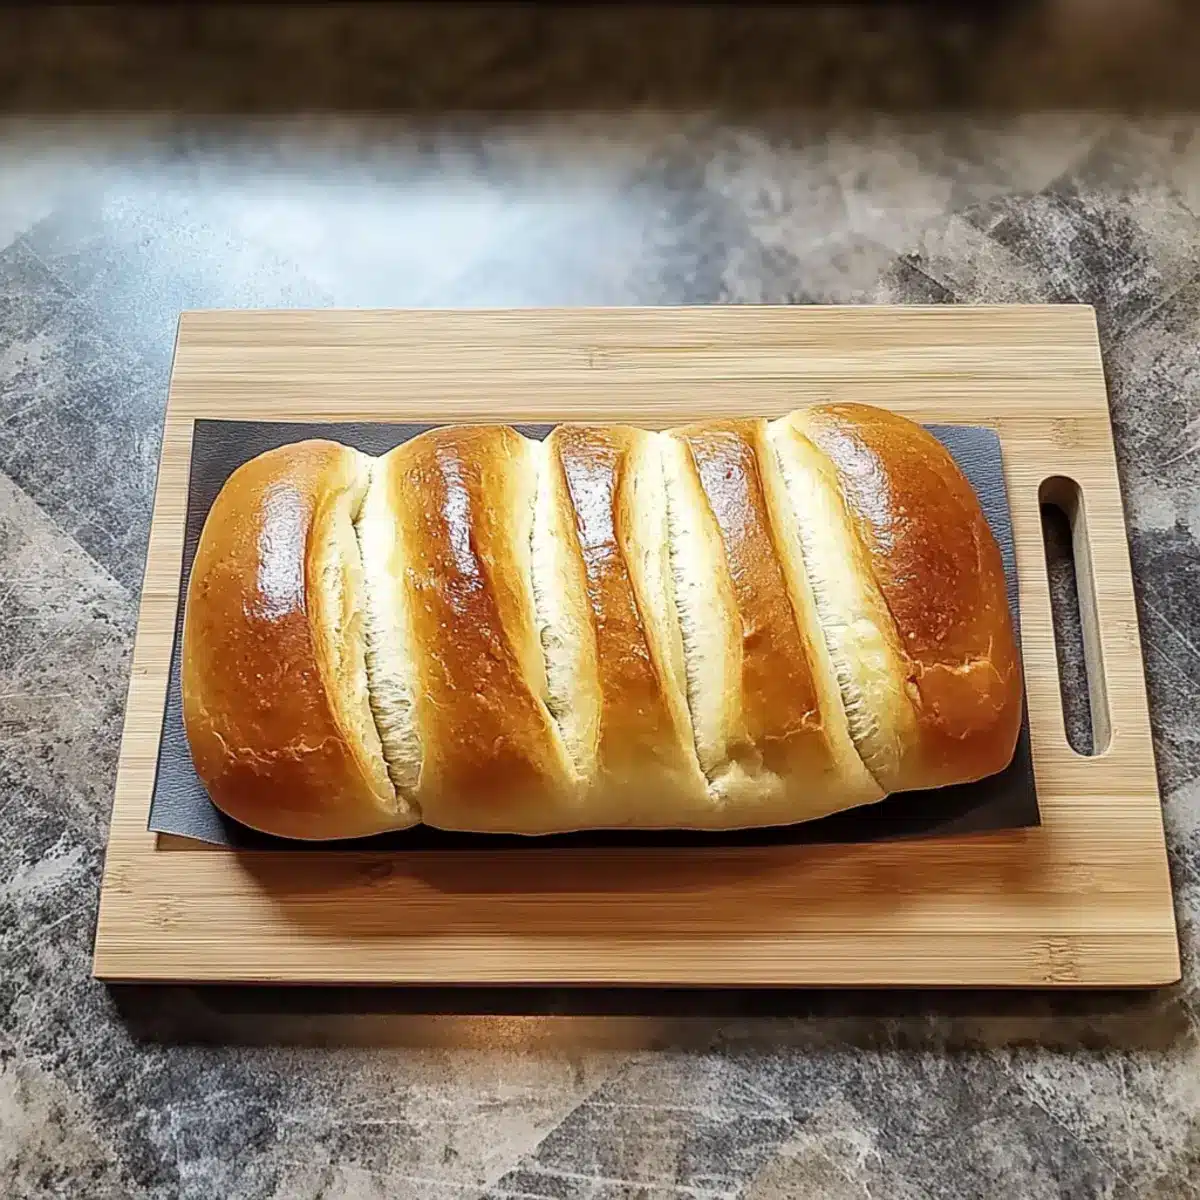
As I rolled out the dough, the comforting aroma of freshly baked bread wafted through my kitchen, instantly transporting me to a quaint Italian bakery. This recipe for Handmade Sub Rolls captures that magic, delivering a soft, fluffy interior with a sturdy crust, perfect for fueling your next deli-style sandwich craving. Not only are these rolls a cinch to whip up at home, but they also serve as a delightful canvas for anything from hearty meatball subs to delicious veggie fillings. Plus, the joy of creating your own bread means saving money while elevating your homemade meals. Are you ready to roll up your sleeves and bake something extraordinary? Let’s dive into this delicious journey together!
Why Are Handmade Sub Rolls So Special?
Freshness at Home: There’s nothing quite like the aroma of homemade bread wafting through your kitchen, creating warmth and anticipation.
Versatile Delight: These rolls are not just for subs; fill them with your favorite ingredients, from Italian meatball subs to grilled vegetables, and watch them disappear!
Simple Ingredients: With easy-to-find ingredients, you can enjoy this bakery-style bread without any fuss.
Crowd-Pleasing: Perfect for gatherings, these rolls will impress friends and family alike. Pair them with your favorite Garlic Rolls Every for an unforgettable meal experience.
Affordable Indulgence: Baking at home saves money while allowing you to relish the luxury of fresh, delicious bread.
Unique Flavor: Specialize your rolls by mixing in herbs or cheese for a flavorful twist—an Italian Herb and Cheese version is a delightful option!
Handmade Sub Rolls Ingredients
For the Dough
• Whole Milk – Provides richness and a slight sweetness to the dough; can substitute with 2% milk or a dairy alternative with extra butter.
• Sugar – Activates the yeast for proper dough rise, essential for perfect Handmade Sub Rolls.
• Active Dry Yeast – Essential for leavening; aids in dough expansion; one standard packet is about 2¼ tsp (7g).
• Bread Flour – Creates a strong gluten structure for texture; opting for all-purpose flour may result in a less chewy final product.
• Fine Sea Salt – Enhances flavor and regulates yeast activity; cannot be substituted directly.
• Eggs (Beaten) – Adds structure and moisture to the dough.
• Unsalted Butter (Cold, Cubed) – Contributes to a tender structure and moisture; cold butter improves dough quality during kneading.
For the Egg Wash
• Egg White + Water – Provides a golden, glossy finish during baking, enhancing the visual appeal of your rolls.
Step‑by‑Step Instructions for Handmade Sub Rolls
Step 1: Bloom the Yeast
In a small bowl, combine 1 cup of warm whole milk (about 110°F) with 2 tablespoons of sugar and 2¼ teaspoons of active dry yeast. Allow it to sit for 5-10 minutes until frothy, indicating that the yeast is activated. This crucial step ensures that your Handmade Sub Rolls will rise beautifully.
Step 2: Prepare the Dry Ingredients
While the yeast blooms, measure 4 cups of bread flour and add 1 teaspoon of fine sea salt to the bowl of a stand mixer. Using the dough hook attachment, mix the flour and salt together. This blend lays the foundation for a flavorful and chewy texture in your handmade rolls.
Step 3: Combine Wet and Dry Ingredients
Once the yeast mixture is frothy, pour it into the mixer along with 2 beaten eggs. Start mixing on low speed until a shaggy dough forms, about 2-3 minutes. This initial mixing will bring the dough together and prepare it for kneading.
Step 4: Knead in the Butter
With the mixer running, gradually add ½ cup of cold, cubed unsalted butter. Knead the dough on low to medium speed for about 8-10 minutes until it becomes smooth and elastic. This process develops the gluten structure, yielding the ideal texture for your soft Handmade Sub Rolls.
Step 5: First Rise
Shape the kneaded dough into a ball and place it in a greased bowl, turning once to coat. Cover the bowl with a clean kitchen towel or plastic wrap and let it rise in a warm, draft-free area for 1 hour, or until doubled in size. This rising time is essential for fluffy, airy rolls.
Step 6: Divide and Shape
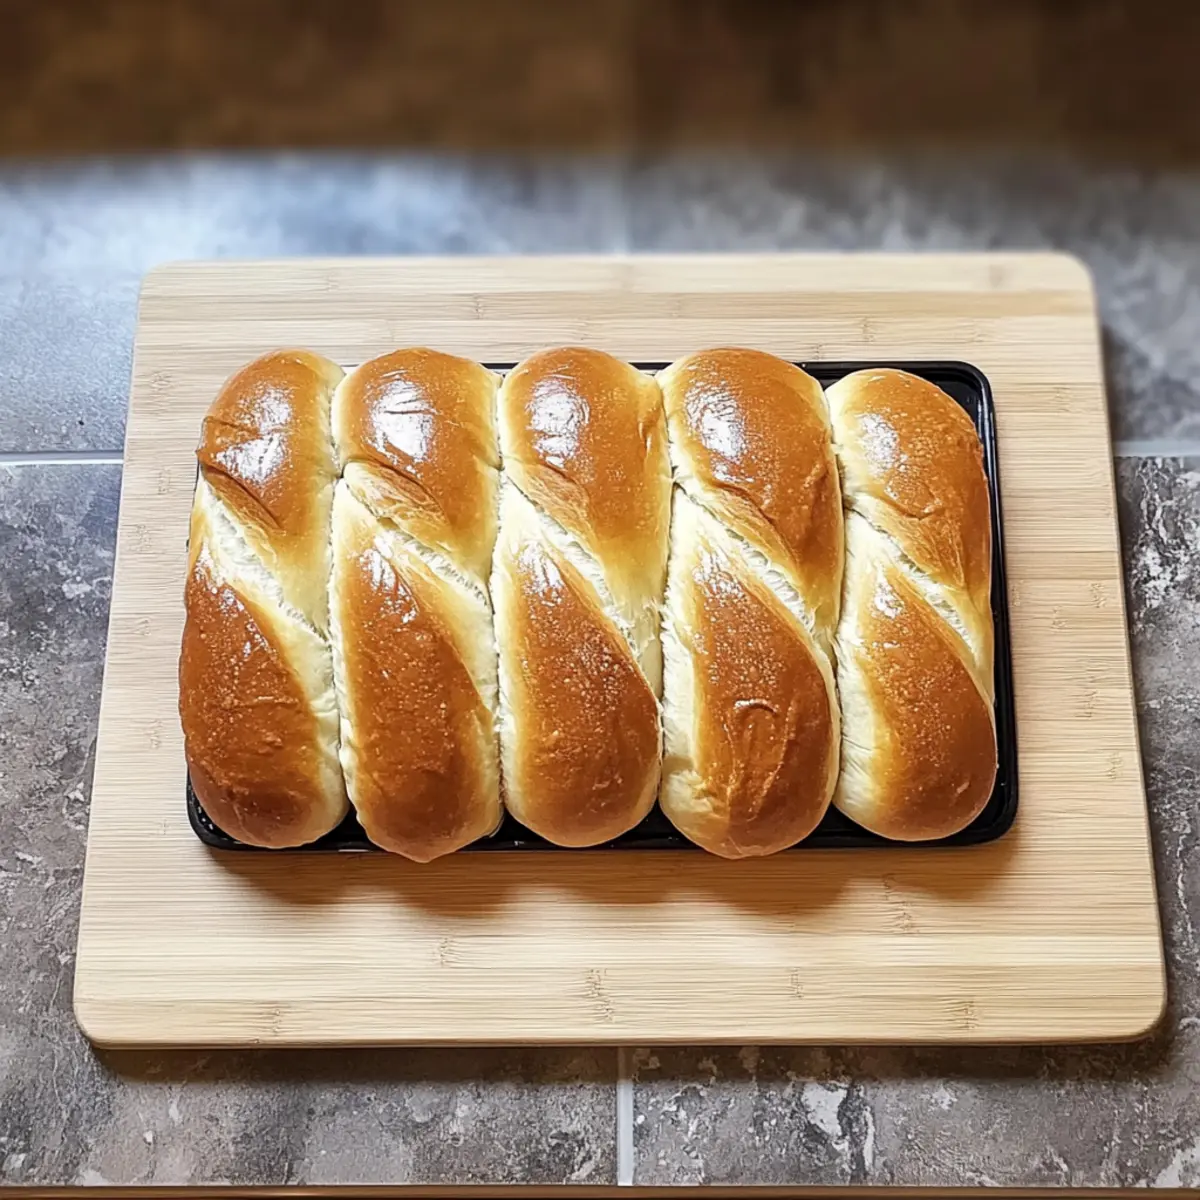
After the first rise, punch down the dough to release excess air. Divide it into six equal pieces, approximately 140 grams each, and shape them into tight balls. This step shapes the individual sub rolls, preparing them for their final form.
Step 7: Roll into Logs
Take each ball and roll it into a rectangle about 9″x5″. Starting from the shorter side, tightly roll the dough into a log, ensuring it’s sealed well at the seam. Place the shaped rolls seam-side down on a parchment-lined baking sheet for even baking.
Step 8: Second Rise
Cover the rolled dough lightly with a towel and allow it to rise for another 30 minutes. This second rise will make your Handmade Sub Rolls even fluffier and more tender once baked.
Step 9: Preheat and Prepare for Baking
While the dough is rising, preheat your oven to 400°F. In a small bowl, whisk together an egg white and 1 tablespoon of water for the egg wash. This wash will give your sub rolls a beautiful, glossy finish.
Step 10: Bake the Rolls
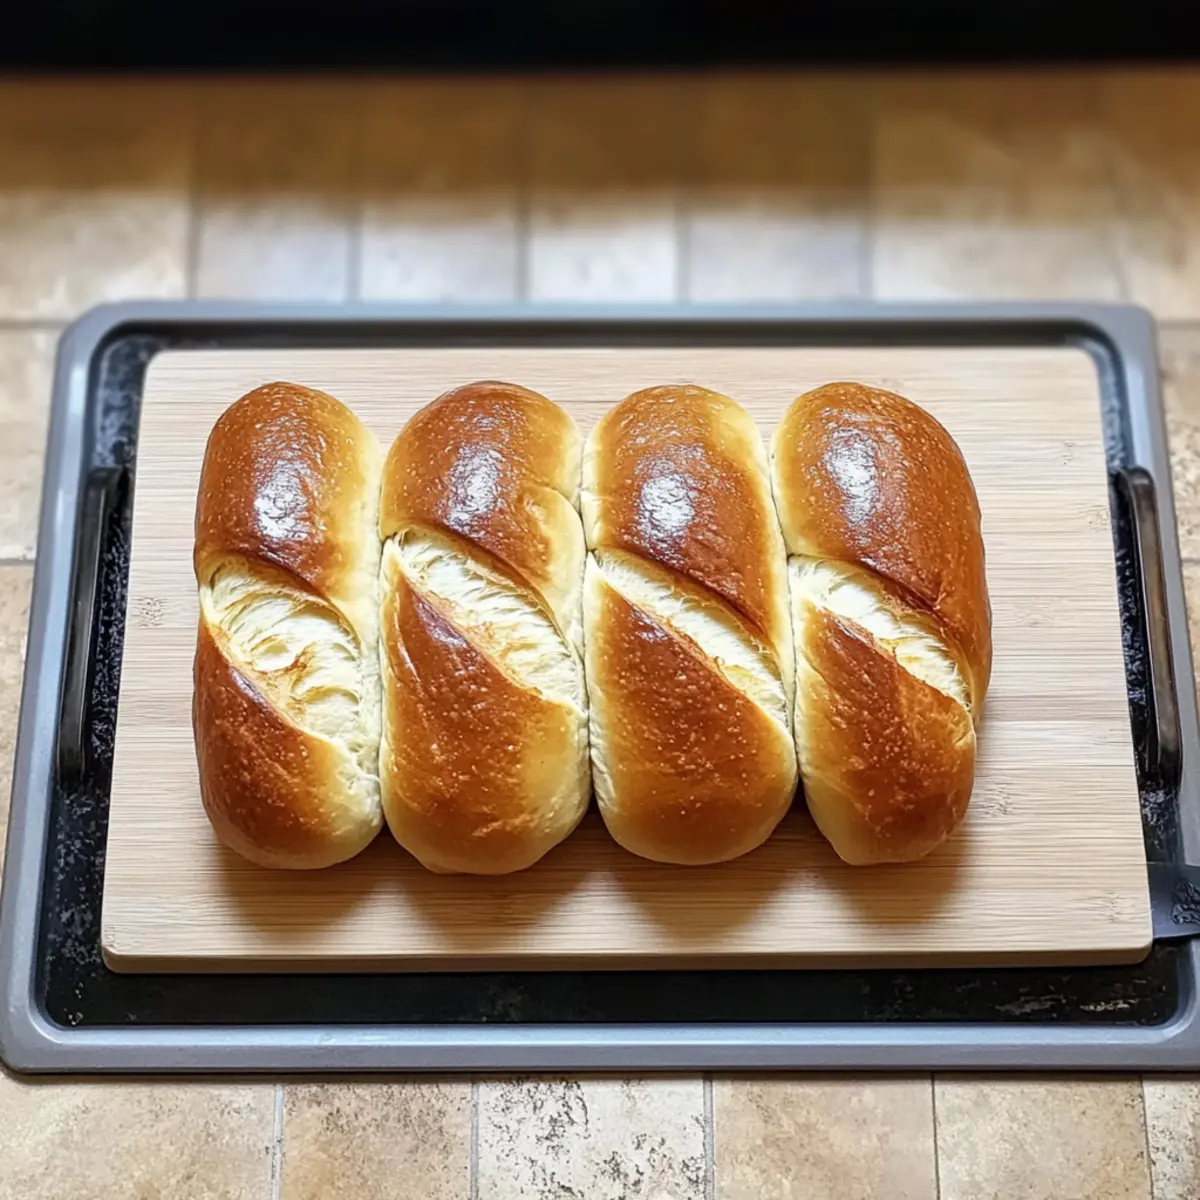
After the second rise, brush the tops of the rolls with the egg wash and use a sharp knife to score each one lightly. Bake in the preheated oven for 15 minutes, or until they are golden brown and the internal temperature reaches 195-200°F. This will ensure perfect, soft Handmade Sub Rolls ready for your favorite fillings.
Make Ahead Options
These Handmade Sub Rolls are ideal for busy home cooks looking to save time during the week! You can prepare the dough up to 24 hours in advance by following steps 1 through 6, then cover the bowl tightly with plastic wrap and refrigerate it. When you’re ready to bake, simply take the dough out and let it come to room temperature for about 30 minutes before dividing and shaping the rolls (steps 6-10). For the best results, remember to keep the rolls tightly covered as they rise, maintaining their fluffy texture and moisture. By preparing in advance, you’ll enjoy fresh, homemade bread with minimal last-minute effort!
What to Serve with Handmade Sub Rolls
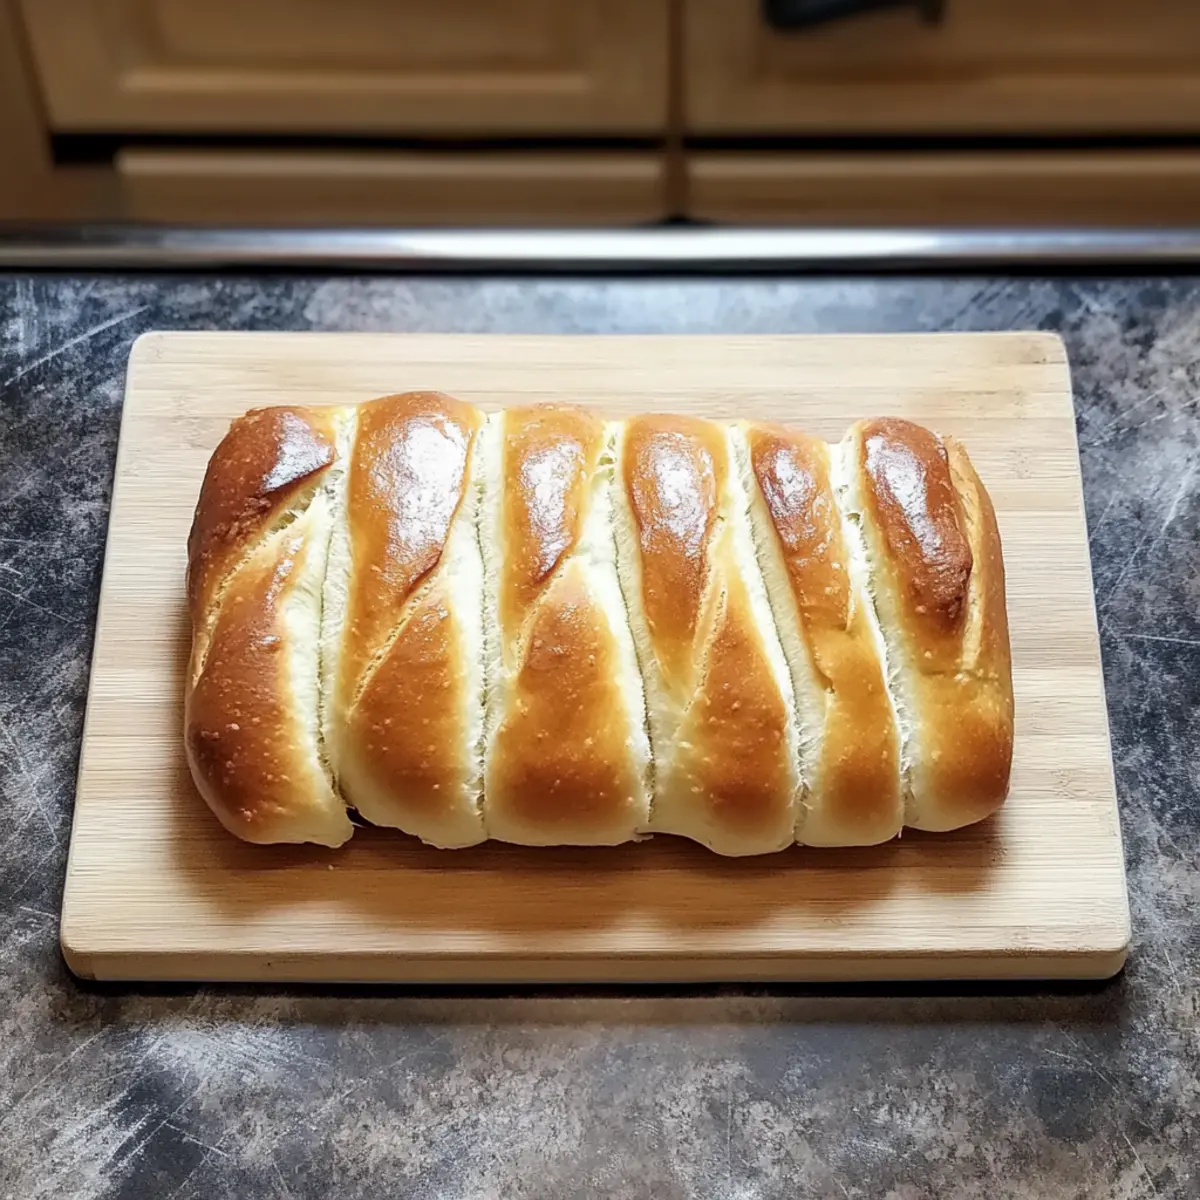
Imagine sinking your teeth into a fluffy slice of freshly baked bread, elevating every bite to a new level of comfort and satisfaction.
-
Savory Meatball Sub: The classic pairing of Italian meatballs nestled in a rich sauce is an unbeatable choice, perfectly filling these soft rolls.
-
Grilled Chicken Cutlets: Juicy chicken, complemented with fresh herbs or aioli, brings a delightful crunch and flavor contrast, making every bite a treat.
-
Roasted Veggie Medley: A colorful mix of seasonal vegetables adds a nutritious touch and vibrant flavor, enhancing the wholesome experience of your homemade rolls.
-
Creamy Coleslaw Side: The crisp, tangy crunch of coleslaw provides a refreshing contrast to the soft bread, balancing flavors beautifully.
-
Italian Herb and Cheese Filling: Mixing in herbs or a cheese blend into the dough transforms these rolls into flavorful delights, perfect for sandwiches or snacking.
-
Tomato Basil Salad: Fresh tomatoes, onions, and basil drizzled with olive oil create a light and zesty side, adding brightness to your meal.
-
Crisp Pickles: Serve with tangy dill pickles for a satisfying crunch that complements the tender sub rolls.
-
Refreshing Lemonade: A chilled glass of lemonade brings a citrusy zing, cutting through the richness of the fillings perfectly.
-
Chocolate Chip Cookies: For a sweet ending, pair your meal with soft chocolate chip cookies—the perfect warm, nostalgic dessert to complete your dining experience.
Expert Tips for Handmade Sub Rolls
-
Weigh Ingredients: Use a digital kitchen scale for accurate measurement, particularly for bread flour, which can greatly affect dough consistency.
-
Right Temperature: Ensure your milk is warm but not hot; temperatures above 120°F can kill the yeast, affecting the rise of your Handmade Sub Rolls.
-
Avoid Over-Kneading: While kneading is important for gluten development, over-kneading can result in tough rolls. Aim for a smooth, elastic texture without overdoing it.
-
Proper Rising Space: Let your dough rise in a warm area; a slightly heated oven with the light on works wonders to create the perfect environment for fluffy rolls.
-
Monitor Baking Time: Ovens vary; if the rolls aren’t golden brown after 15 minutes, add an additional 1-3 minutes to achieve that perfect color and crust.
Handmade Sub Rolls: Flavorful Twists Await!
Feel free to make these Homemade Sub Rolls your own by trying out these delightful twists and substitutions!
-
Cheesy Delight: Add ½ cup of grated Parmesan or mozzarella to the dough for an irresistible cheesy flavor throughout.
Cheese not only enhances taste but also brings a lovely texture to your rolls, making each bite even more satisfying. -
Herb-Infused: Mix in 2 tablespoons of your favorite dried herbs—like rosemary, thyme, or oregano—into the dough for a fragrant twist.
These herbs will transport you straight to an Italian garden, infusing your rolls with a beautiful aroma as they bake! -
Spicy Kick: Incorporate 1 teaspoon of red pepper flakes into the dough for a flavorful heat that elevates your sandwiches.
This will surprise your taste buds and pair wonderfully with rich fillings, creating an unforgettable flavor experience. -
Whole Grain Twist: Substitute half of the bread flour with whole wheat flour for a heartier roll packed with nutrients.
The nutty flavor of whole grain adds depth while maintaining the beloved softness of these Handmade Sub Rolls. -
Sweet Variation: Fold in ¼ cup of chopped dried fruits, such as cranberries or apricots, for a sweet and savory blend perfect for sandwiches.
This beautiful contrast will surprise your guests and works wonderfully with honey glaze or creamy cheeses! -
Garlic Infusion: Mix in 3-4 minced garlic cloves into the dough for a savory touch that complements just about any filling.
Garlic lovers will rejoice, as the fragrance and flavor will elevate your sandwiches to gourmet status. Consider pairing these with Garlic Rolls Every for a flavorful meal! -
Vegan Alternative: Swap milk with a dairy-free alternative, use a flax egg, and replace butter with coconut oil for a lovely vegan version.
This ensures everyone can enjoy homemade rolls, maintaining a soft and fluffy texture that doesn’t compromise flavor! -
Italian Herb and Cheese Topping: Before baking, sprinkle a mix of Italian herbs and additional cheese on top for a crunchy, flavorful crust.
This elegantly simple touch can transform your rolls into a stunning centerpiece for any gathering!
How to Store and Freeze Handmade Sub Rolls
Fridge: Store baked Handmade Sub Rolls in an airtight container or individually wrapped in plastic wrap for up to 2 days to keep them fresh without drying out.
Freezer: For longer storage, freeze the rolls in a zip-top freezer bag, removing as much air as possible. They’ll stay fresh for up to 3 months.
Reheating: To regain that fresh-baked quality, reheat the rolls in a preheated oven at 350°F for about 10-15 minutes, until warmed through.
Preventing Freezer Burn: Wrap each roll tightly in aluminum foil or parchment paper before placing them in the freezer bag to prevent freezer burn and maintain flavor.
Handmade Sub Rolls Recipe FAQs
How do I choose the right flour for my Handmade Sub Rolls?
For Handmade Sub Rolls, I highly recommend using bread flour, as it has a higher protein content than all-purpose flour, resulting in a chewier and more structured texture. If you don’t have bread flour on hand, all-purpose flour will work, but it might yield a slightly less chewy final product. Just remember, the difference in texture will be noticeable!
How should I store my Handmade Sub Rolls?
Store your baked Handmade Sub Rolls in an airtight container or wrap them individually in plastic wrap to keep them fresh for up to 2 days. Make sure they are completely cooled down before storing to prevent condensation, which can make them soggy. Keeping them at room temperature away from direct sunlight works wonders!
Can I freeze Handmade Sub Rolls for later use?
Absolutely! To freeze your Handmade Sub Rolls, place them in a zip-top freezer bag after they have cooled completely. For the best quality, remove as much air as possible and freeze them for up to 3 months. When you’re ready to enjoy them, simply reheat in a preheated oven at 350°F for about 10-15 minutes. You’ll get that fresh-baked warmth back again!
What if my dough doesn’t rise properly?
If your dough isn’t rising, it could mean that the yeast wasn’t activated properly. Make sure your milk is warm—not hot—when blooming the yeast; ideally, it should be around 110°F. If you see that the mixture isn’t frothy after 5-10 minutes, your yeast might be expired. You could also try creating a warm environment for the dough to rise by placing it in a slightly heated oven with just the light on, which helps encourage a proper rise.
Are these rolls suitable for people with dietary restrictions?
These Handmade Sub Rolls contain dairy and eggs, so they may not be suitable for individuals with lactose intolerance or egg allergies. However, you can experiment with dairy-free milk options and egg substitutes like flax or chia seeds for binding! Just keep in mind that changing the ingredients might adjust the texture and flavor slightly, but it’s definitely worth it to keep everyone included at the table!
Homemade Sub Rolls That Elevate Your Sandwich Game
Ingredients
Equipment
Method
- In a small bowl, combine 1 cup of warm whole milk with 2 tablespoons of sugar and 2¼ teaspoons of active dry yeast. Allow to sit for 5-10 minutes until frothy.
- Measure 4 cups of bread flour and add 1 teaspoon of fine sea salt to the bowl of a stand mixer. Mix together.
- Once the yeast mixture is frothy, pour it into the mixer along with 2 beaten eggs. Mix on low speed until a shaggy dough forms.
- Gradually add ½ cup of cold, cubed unsalted butter while kneading the dough until smooth and elastic, about 8-10 minutes.
- Shape the dough into a ball and place it in a greased bowl. Cover and let rise for 1 hour, or until doubled in size.
- Punch down the dough, divide it into six equal pieces, and shape them into tight balls.
- Roll each ball into a rectangle about 9"x5" and tightly roll each into a log, placing them seam-side down on a baking sheet.
- Cover and let the dough rise for another 30 minutes.
- Preheat oven to 400°F. Whisk together an egg white and 1 tablespoon of water for the egg wash.
- Brush the tops of the rolls with the egg wash and score each lightly. Bake for 15 minutes or until golden brown and internal temperature is 195-200°F.
Leave a Reply