
The aroma of warm oats and melted chocolate wafting through the kitchen always brings me back to cherished childhood days. Yep, I’m talking about my beloved Monster Cookie Bars—a delightful fusion of chocolate, peanut butter, and chewy oatmeal goodness. These bars are an absolute game-changer when it comes to dessert: they’re quicker to whip up than traditional cookies since there’s no need to roll individual dough balls, and they double as a crowd-pleaser at gatherings. Adorned with colorful M&Ms, each bite is not only visually appealing but also packed with texture and flavor that will leave your tastebuds dancing. So, are you ready to create a sweet treat that’s sure to impress? Let’s dive in and get baking!
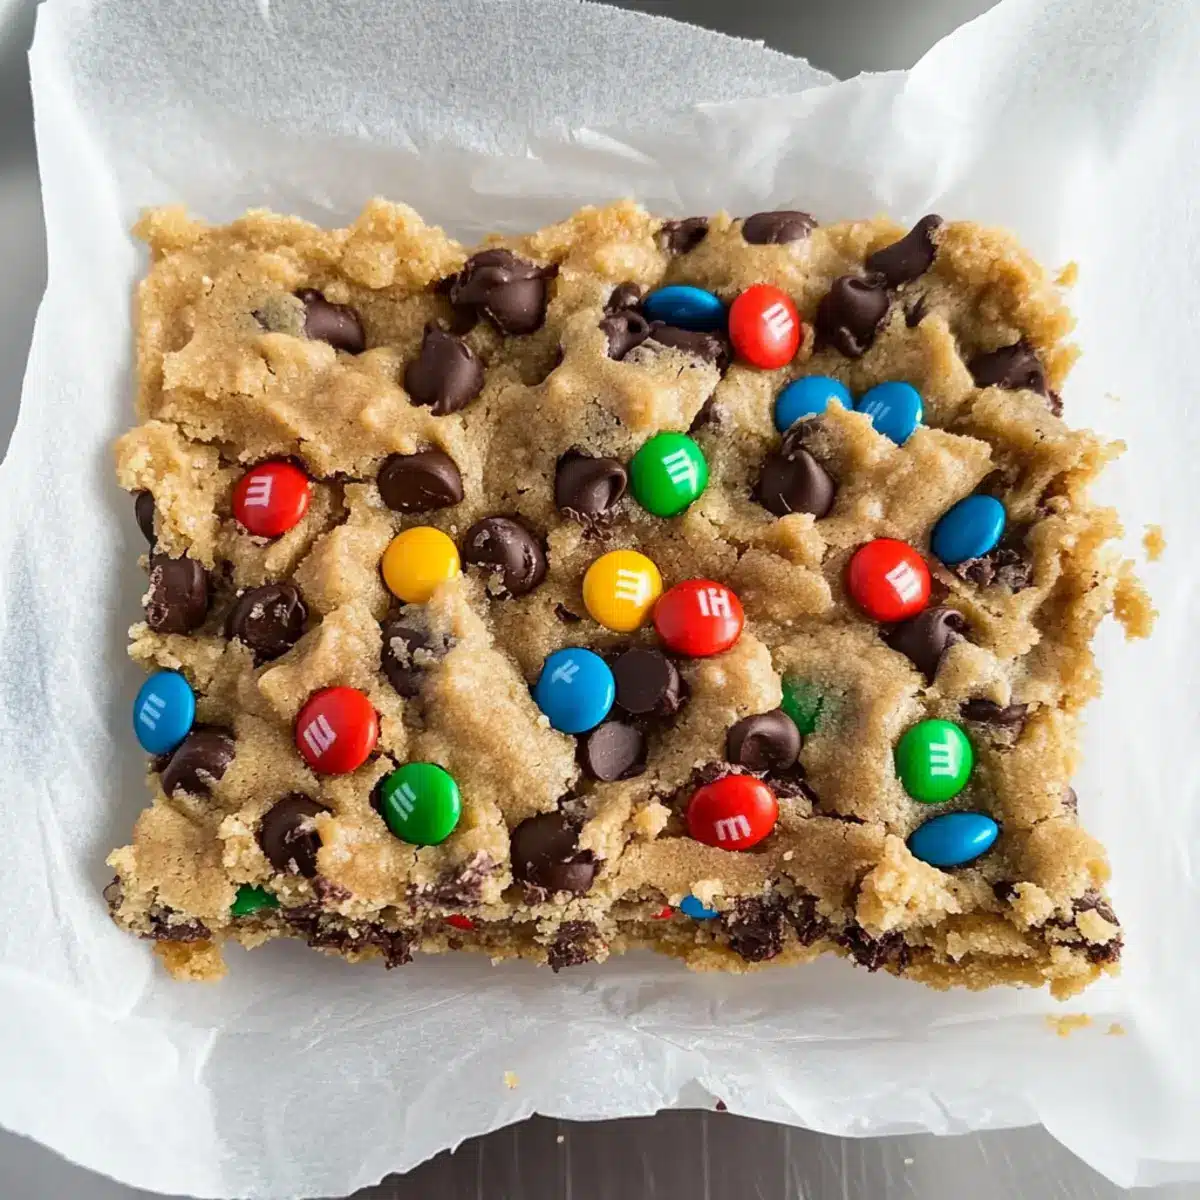
Why are Monster Cookie Bars a must-try?
Simplicity: With their easy preparation, there’s no fuss in rolling dough into balls. Just mix, spread, and bake!
Irresistible Flavor: The sweet combination of chocolate and peanut butter creates an explosion of taste that you can’t resist.
Heartfelt Comfort: Packed with oats, these bars bring nostalgia and warmth, making them perfect for family gatherings.
Crowd-Pleasing Appeal: Everyone loves the colorful M&Ms mixed in, adding a fun twist that’s sure to delight any crowd.
Versatile Options: Feeling adventurous? Switch up the treats by adding nuts or dried fruits to create your own personalized version! If you love cookie bars, you might also enjoy these delectable Sugar Cookie Cheesecake or Blueberry Cheesecake Cookie options.
Monster Cookie Bars Ingredients
• Get ready to create cookie magic!
For the Batter
- Salted Butter – Provides richness and moisture for the bars. Substitution: Unsalted butter can be used, but add a pinch of salt.
- Peanut Butter – Adds flavor and helps bind the dough together. Substitution: Almond butter or sunflower seed butter for nut-free version.
- Brown Sugar – Contributes sweetness and moisture, yielding chewy bars.
- Granulated Sugar – Balances sweetness and lightens the texture slightly.
- Eggs – Provide structure and moisture.
- Vanilla Extract – Enhances flavor depth.
- All-Purpose Flour – Forms the bar structure. Substitution: Gluten-free flour blend for gluten-free option.
- Rolled Oats – Adds chewiness and heartiness. Substitution: Quick oats can be used, but texture may vary.
- Baking Soda – Helps the bars rise.
- Baking Powder – Ensures the right leavening action for the desired texture.
- Salt – Enhances flavors.
For the Mix-Ins
- Semi-Sweet Chocolate Chips – Provides rich chocolate flavor. Substitution: Milk chocolate or dark chocolate chips for preference.
- M&Ms – Adds color and crunch. Substitution: Any candy or chocolate bits can be used.
These Monster Cookie Bars are a delightful treat, perfect for any occasion! Enjoy the baking adventure!
Step‑by‑Step Instructions for Monster Cookie Bars
Step 1: Preheat the Oven and Prepare the Pan
Start by preheating your oven to 350°F (180°C) to create the ideal baking environment for your Monster Cookie Bars. While the oven is heating up, line a 9×9 inch baking pan with parchment paper, allowing some overhang on the sides. This will make it easy to lift the bars out later for cutting.
Step 2: Cream the Butters and Sugars
In a large mixing bowl, combine softened salted butter and creamy peanut butter with brown sugar and granulated sugar. Use an electric mixer to beat the mixture on medium speed until it becomes light and fluffy, which should take about 2-3 minutes. You want a smooth texture that indicates your Monster Cookie Bars will be extra chewy.
Step 3: Add Eggs and Vanilla
Next, beat in the eggs, one at a time, ensuring each is fully incorporated before adding the next. Pour in the vanilla extract and mix until everything is blended together nicely and the batter looks uniform. This step adds depth to the flavor profile of your Monster Cookie Bars and sets the stage for the dry ingredients.
Step 4: Combine Dry Ingredients
Gradually add in the all-purpose flour, rolled oats, baking soda, baking powder, and salt. Mix on low speed until just combined, being careful not to overmix. The dough should be sticky and cohesive, which is what you’ll need for those delicious Monster Cookie Bars.
Step 5: Fold in the Chocolate and M&Ms
Gently fold in the semi-sweet chocolate chips and M&Ms using a spatula. Make sure the mix-ins are evenly distributed throughout the dough to ensure every bite of your Monster Cookie Bars is packed with chocolatey goodness. The vibrant colors of the M&Ms will make the bars look inviting and fun!
Step 6: Transfer to the Baking Pan
Pour the cookie dough into the prepared baking pan, using a spatula to spread it out evenly. Press the dough down firmly to ensure it holds its shape while baking. This step is essential for that perfect chewy texture throughout your Monster Cookie Bars.
Step 7: Bake to Golden Perfection
Place the pan in the preheated oven and bake for 25-30 minutes. Keep an eye on the bars, aiming for a golden brown top with slightly soft center edges. Be careful not to overbake, as you want your Monster Cookie Bars to remain chewy and flavorful.
Step 8: Cool Before Cutting
Once baked, remove the pan from the oven and allow the bars to cool completely in the pan. This cooling period is crucial; if you cut them too soon, they may crumble. Once cooled, gently lift the bars out using the parchment overhang, slice, and enjoy the chewy goodness of your Monster Cookie Bars!
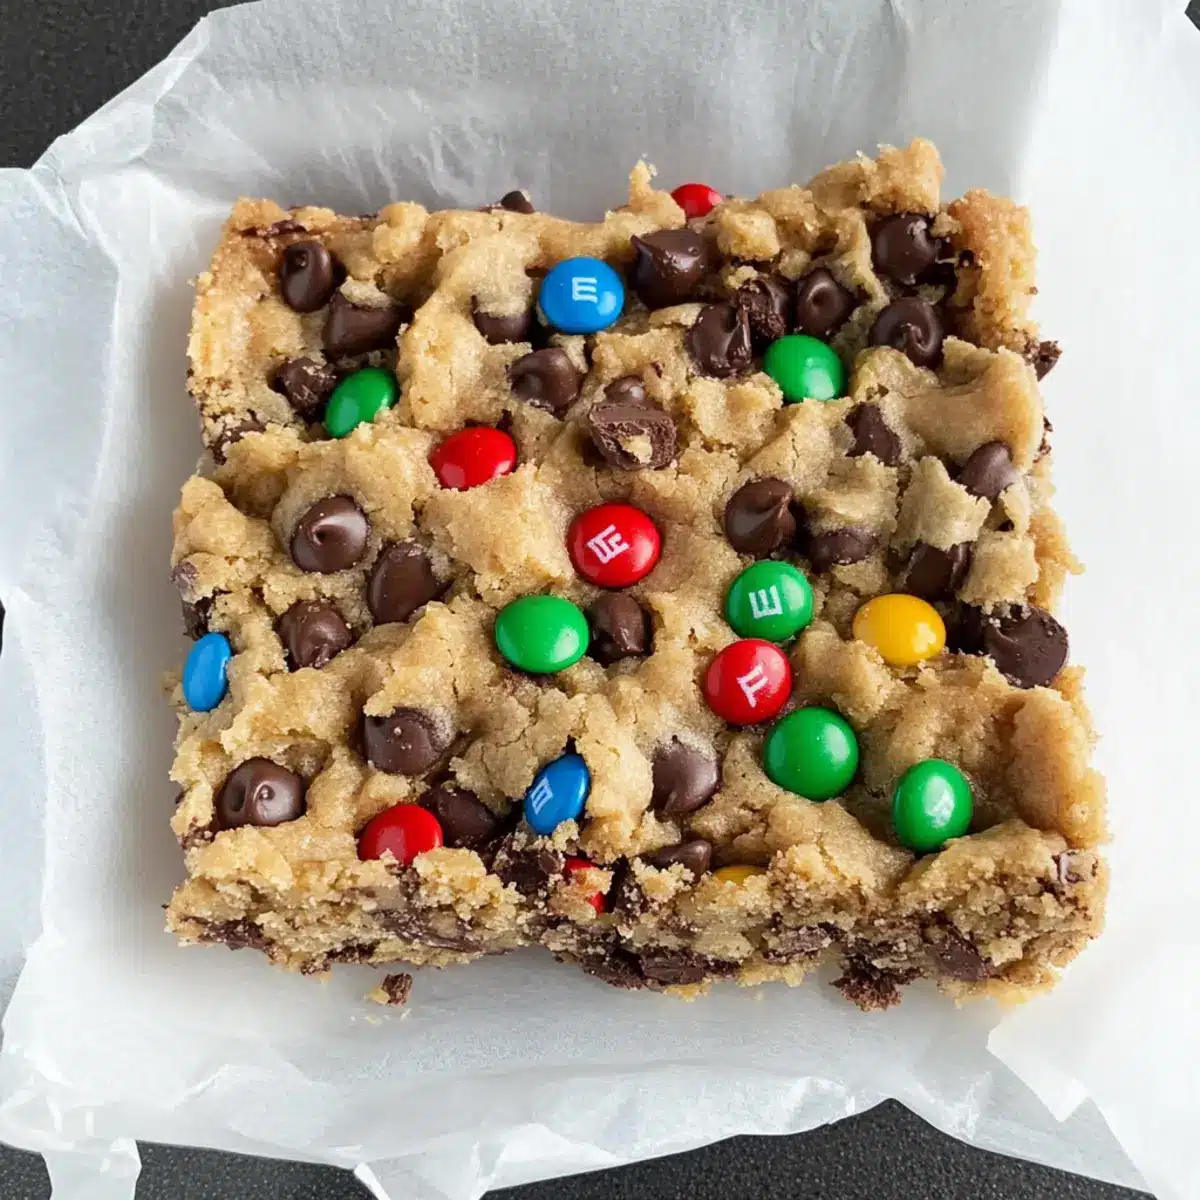
What to Serve with Monster Cookie Bars
These delightful treats are perfect for creating a memorable dessert experience that everyone will love.
-
Vanilla Ice Cream: A scoop of creamy vanilla ice cream adds a cool, contrasting texture and enhances the chocolatey flavors. The warm bars paired with cold ice cream create a delightful treat.
-
Fresh Fruit Salad: A refreshing mix of seasonal fruits brings a bright, zesty notes that balance the richness of the bars. The vibrant colors also make for a visually stunning presentation!
-
Coffee or Tea: A warm cup of coffee or herbal tea serves as a comforting drink alongside these bars. The subtle warmth and aromatic flavors make every bite more enjoyable and cozy.
-
Chocolate Milk: A classic choice that elevates the chocolate experience! This sweet, creamy drink harmonizes beautifully with the rich flavors of the bars and is great for kids and adults alike.
-
Whipped Cream: Topping your Monster Cookie Bars with a dollop of light, fluffy whipped cream adds an airy contrast, enhancing the overall sweetness and mouthfeel. It’s an elegant touch that impresses guests!
-
Peanut Butter Drizzle: For an extra indulgent touch, drizzle melted peanut butter on top. The nuttiness accentuates the flavors and adds a creamy finish—perfect for peanut butter lovers!
Expert Tips for Monster Cookie Bars
Don’t Overbake: Keep an eye on your bars; they should be golden on the edges but still soft in the center to ensure a chewy texture.
Cool Completely: Allow the bars to cool fully in the pan before cutting to prevent them from crumbling—a crucial step for perfect Monster Cookie Bars!
Refrigerate for Ease: For cleaner cuts, place the cooled bars in the refrigerator for about 30 minutes before slicing. This helps the bars firm up.
Mix-Ins Variation: Feel free to swap M&Ms for your favorite candies or nuts, but remember to keep the overall balance of wet and dry ingredients intact.
Measuring Flour: Use the “spoon and level” method when measuring flour to avoid overly dense bars—lightly spoon the flour into the measuring cup and level off.
Storing Tips: Store your Monster Cookie Bars in an airtight container at room temperature for up to 4 days or freeze for later indulgence.
Monster Cookie Bars Variations & Substitutions
Feel free to play with these ideas to make your Monster Cookie Bars truly your own and cater to your cravings!
- Nut-Free: Substitute peanut butter with sunflower seed butter for a deliciously nut-free alternative that retains the creamy texture.
- Gluten-Free: Use a gluten-free flour blend in place of all-purpose flour to create a cookie bar everyone can enjoy without compromising on taste.
- Chocolatey Boost: Add an extra half cup of chocolate chips or swap in dark chocolate chips for an indulgent flavor that chocolate lovers will adore.
- Fruit Infusion: Incorporate chopped dried fruits like cranberries or apricots to add a sweet chewy texture that contrasts beautifully with the chocolate.
- Coconut Twist: Include shredded coconut for added flavor and chewiness; it gives a tropical flair that brightens each bite.
- Seasonal Sprinkles: Top with seasonal sprinkles before baking for a festive look that can turn any batch into a celebration. Imagine the smiles at your next gathering!
- Maple Sweetness: For a unique sweetness, substitute brown sugar with maple sugar, giving your bars a lovely caramel undertone.
- Heavenly Heat: Add a sprinkle of cinnamon or a dash of cayenne pepper to the dough for a subtle warmth that will intrigue your taste buds.
Explore these variations for a delightful adventure in flavor! If you’re looking for even more delicious recipes to try, consider diving into these delightful Loaded Cookie Brittle or enjoy the bright flavors of Vegan Lemon Cookies. Happy baking!
Make Ahead Options
These Monster Cookie Bars are fantastic for meal prep enthusiasts! You can prepare the dough up to 24 hours in advance—simply mix everything as instructed and store the unbaked dough in an airtight container in the refrigerator. This helps the flavors meld together beautifully. Alternatively, you can bake the bars ahead of time and let them cool completely, then store them tightly wrapped for up to 3 days. To maintain their chewy texture, place parchment paper between layers if stacking. When it’s time to enjoy, just slice and serve, ensuring a delightful treat is ready with minimal effort, perfect for busy weeknights!
How to Store and Freeze Monster Cookie Bars
Room Temperature: Keep your Monster Cookie Bars in an airtight container at room temperature for up to 4 days, ideal for enjoying their chewy texture and rich flavor.
Freezer: For longer storage, freeze cut bars in an airtight container for up to 3 months. This way, you can savor your homemade treats whenever the craving strikes!
Thawing: To enjoy, simply allow them to sit at room temperature for about an hour before indulging in the delightful flavors again.
Airtight Protection: Always ensure your bars are well-wrapped or in an airtight container to maintain their freshness and prevent them from drying out.
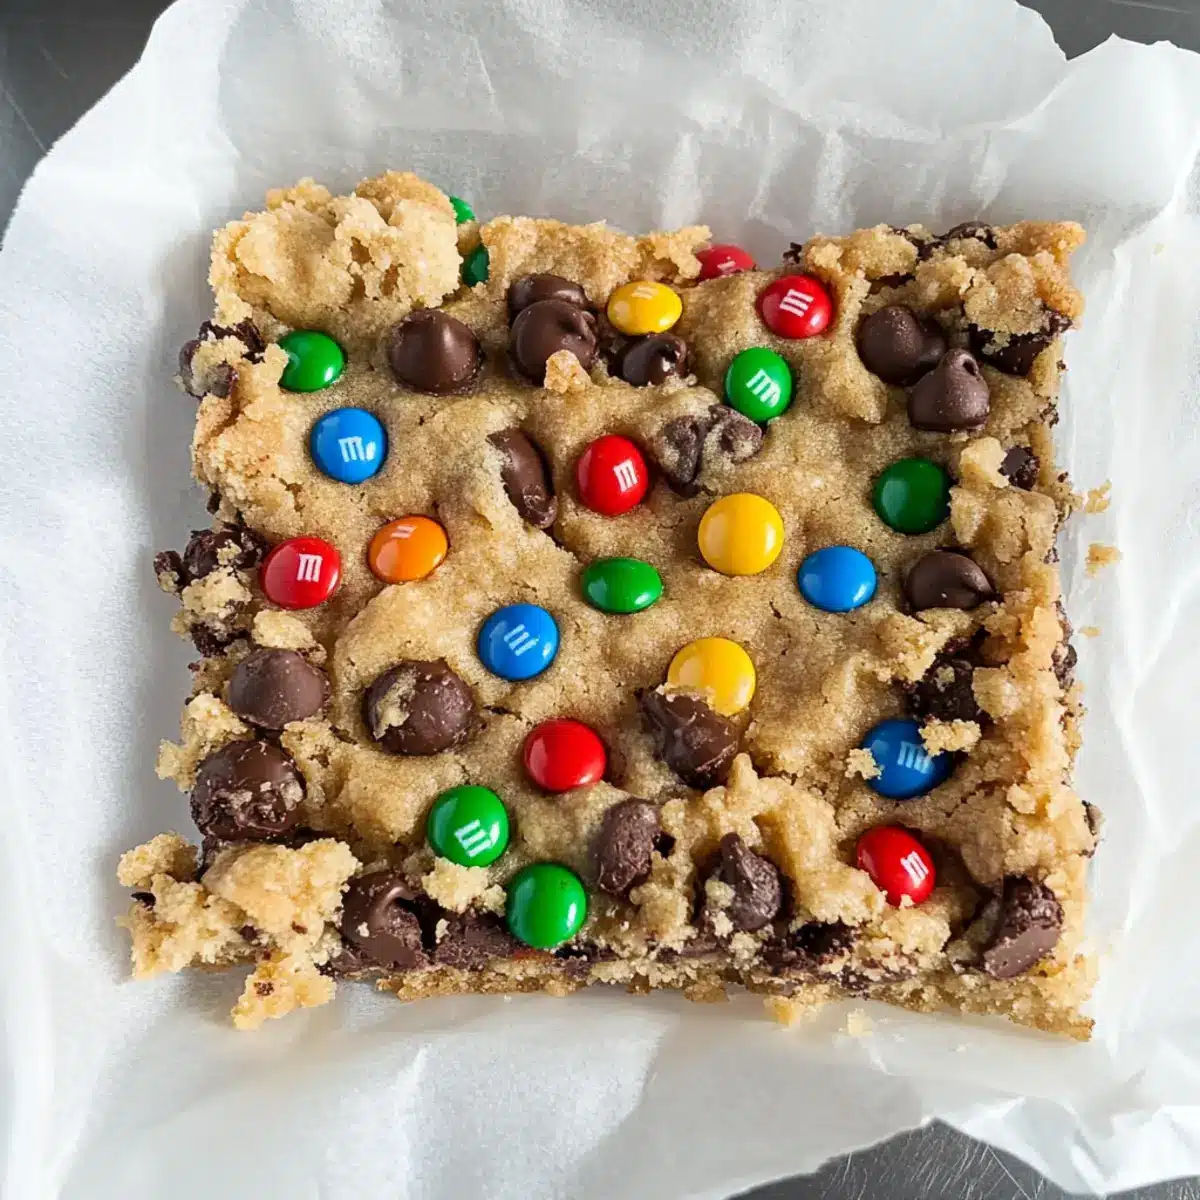
Monster Cookie Bars Recipe FAQs
How do I choose the best ripeness of bananas for my Monster Cookie Bars?
While bananas aren’t a main ingredient in Monster Cookie Bars, ensuring your other ingredients, like the butter and peanut butter, are fresh can make all the difference. Look for butter that’s slightly softened but not melted, and peanut butter that’s silky and smooth for the best texture and flavor in your bars.
What’s the best way to store Monster Cookie Bars?
You’ll want to store your Monster Cookie Bars in an airtight container at room temperature. They will stay deliciously chewy for up to 4 days. If your kitchen is on the warmer side, consider placing them in the fridge to prolong their freshness.
Can I freeze Monster Cookie Bars?
Absolutely! Freezing is a fantastic way to keep your bars fresh for later. Cut them into individual squares and place them in an airtight container, separating layers with parchment paper to prevent sticking. They’ll last up to 3 months in the freezer. When you’re ready to enjoy, let them thaw at room temperature for about an hour.
What do I do if my Monster Cookie Bars turned out too crumbly?
If your bars are too crumbly, it’s likely they didn’t have enough moisture. Make sure you’re accurately measuring your ingredients, particularly the butter and eggs, as they are key for binding. If you find your dough too dry before baking, try adding a splash of milk or an extra egg to improve moisture content.
Can I make Monster Cookie Bars nut-free?
Yes, you can easily customize your Monster Cookie Bars for dietary needs! Simply replace the peanut butter with sunflower seed butter or almond butter if there are nut allergies. Ensure any mix-ins, like M&Ms, are also nut-free, as some brands may contain traces of nuts.
Are Monster Cookie Bars suitable for pets?
While the ingredients in Monster Cookie Bars are safe for human consumption, they’re not suitable for pets. Chocolate and certain sugars can be harmful to dogs and cats. Always keep your baking goodies out of your furry friend’s reach!
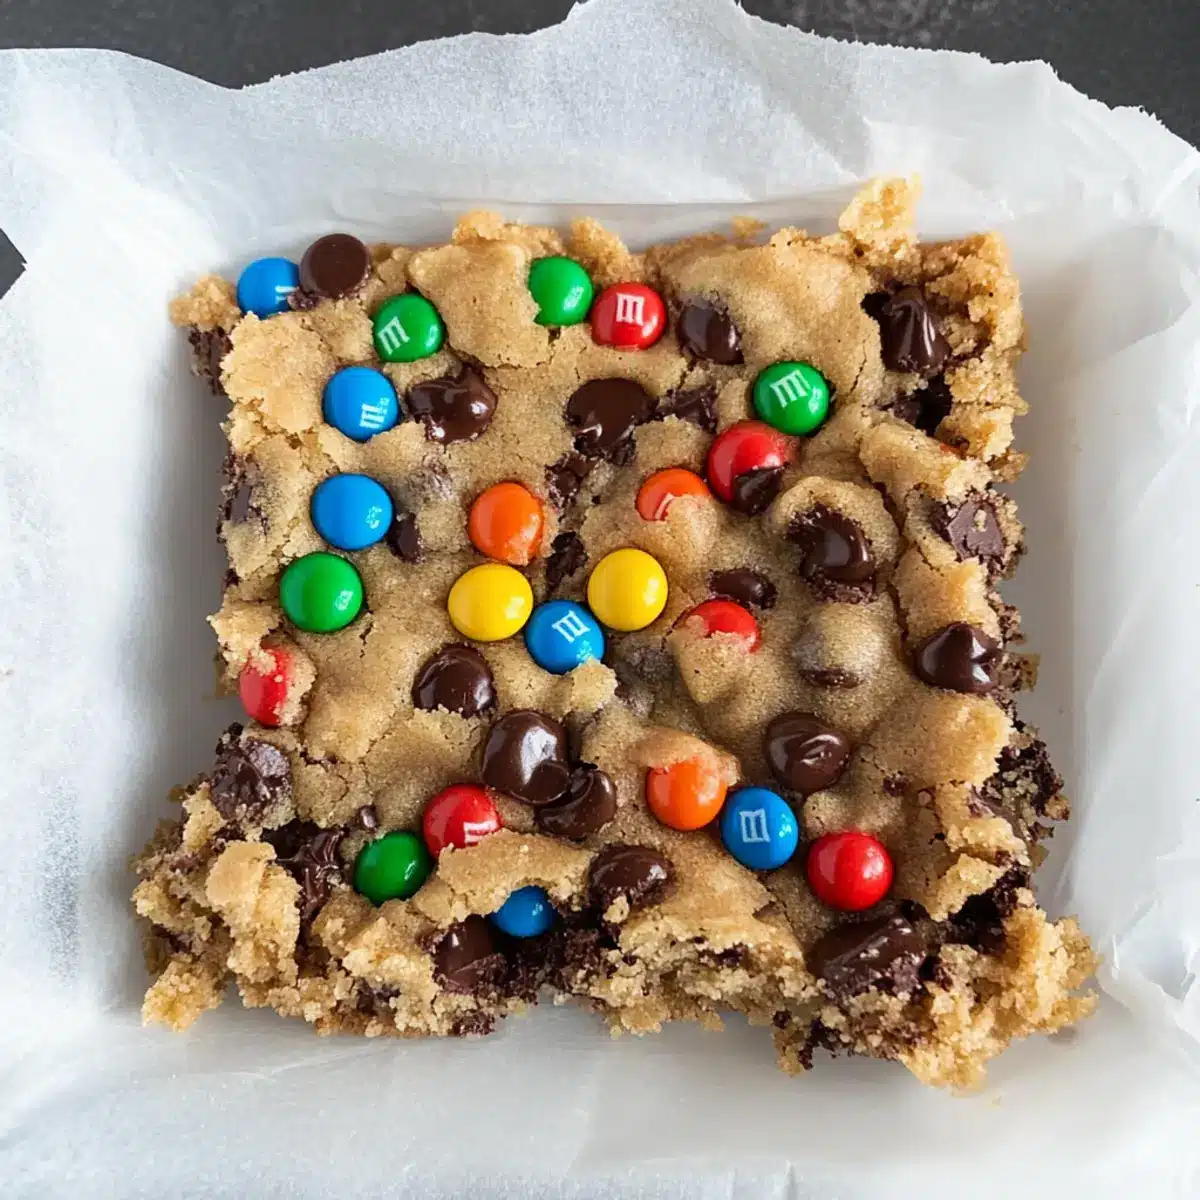
Ultimate Monster Cookie Bars: Chewy Bliss in Every Bite
Ingredients
Equipment
Method
- Preheat your oven to 350°F (180°C) and line a 9x9 inch baking pan with parchment paper.
- In a large mixing bowl, combine softened salted butter and creamy peanut butter with brown sugar and granulated sugar. Beat until light and fluffy, about 2-3 minutes.
- Beat in the eggs, one at a time, then add the vanilla extract and mix until blended.
- Gradually add in the flour, rolled oats, baking soda, baking powder, and salt. Mix on low until just combined.
- Fold in the chocolate chips and M&Ms with a spatula.
- Pour the dough into the prepared pan, spread it out evenly, and press it down firmly.
- Bake for 25-30 minutes until golden brown on top.
- Allow the bars to cool completely in the pan before cutting. Use parchment overhang to lift them out and slice.
Leave a Reply